This article was co-authored by wikiHow staff writer, Kyle Hall. Kyle Hall works on the content team at wikiHow. He helps manage our team of editors and creates content for a variety of wikiHow projects. Kyle continually looks for new ways to improve the content at wikiHow and make it more helpful and enjoyable for readers. He graduated from Eckerd College in 2015, where he majored in Political Science.
wikiHow marks an article as reader-approved once it receives enough positive feedback. In this case, 88% of readers who voted found the article helpful, earning it our reader-approved status.
This article has been viewed 486,068 times.
Learn more...
Painting your Warhammer figures will make your collection of miniatures more vibrant and personal. Before you get started painting, prime your figures so the paint is able to stick to them. Then, can use small brushes to carefully paint a base coat and any intricate details. Use techniques like washing and dry brushing to make your Warhammer figures look more realistic!
Steps
Priming Your Figures
-
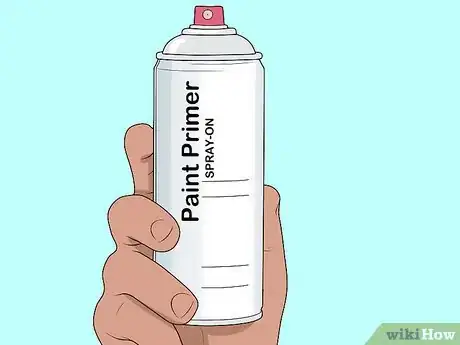
1Get a can of black or white spray-on paint primer. Don’t skip out on priming your figures before painting them. The primer will help the paint stick to the figures, making them easier to paint. Black or white primer will work, but keep in mind that white primer is easier to cover with light-colored paints.
- You can find a can of spray-on primer at your local hardware store or paint store.
- Look for a primer designed specifically for plastic.
-
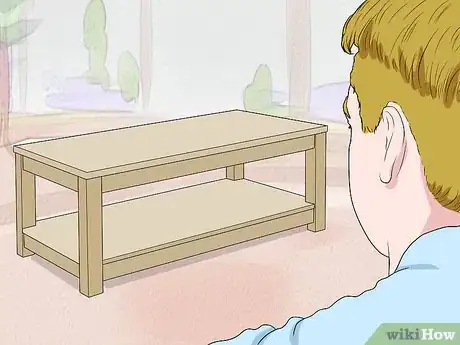
2Work in a well-ventilated area. Prime your figures outdoors if possible. If you have to work inside, open any windows in the room you’ll be working in. Set up a box fan to help blow fumes from the primer out of the windows.
- If you’re working inside, lay down a tarp or newspaper so you don’t get primer everywhere.
Advertisement -
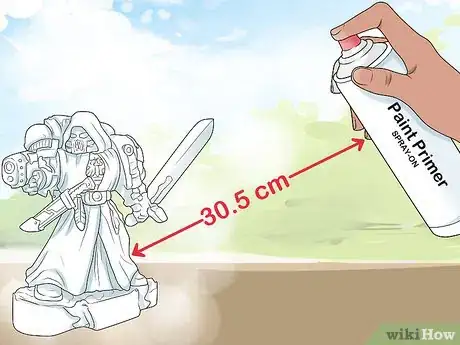
3Spray the figures with primer until they’re completely coated. Hold the can of primer about 1 foot (0.3 m) (30.5 cm) away from the figures as you spray them. Wear gloves and prime the figures one at a time, or attach multiple figures to a scrap piece of wood using double-sided tape to speed up the priming process. Rotate the figures as you’re spraying them so they get fully covered.[1]
-
4Let the figures dry for 15 minutes. Leave them on a tarp or newspaper as they dry. After 15 minutes, gently touch one of the figures with the tip of your finger. If it’s dry to the touch, the figures are ready to paint.[2]
Applying the Basecoating
-
1Use acrylic paints on your figures. You can find acrylic paint online or at your local paint or craft store. If you plan on painting more figurines in the future, buy acrylic paints specifically designed for miniatures so you have a high-quality assortment of paints on hand.
-
2Select the paint colors you want to basecoat your figure with. The basecoat will be the first layer of paints on your figure. Choose the colors that will make up the major parts of your figure, like the skin, clothes, and hair. Don’t worry about any small details yet.
- For example, if the figure you’re painting is supposed to have a red body and a blue mask, you would want to use red and blue paint for the base coating.
-
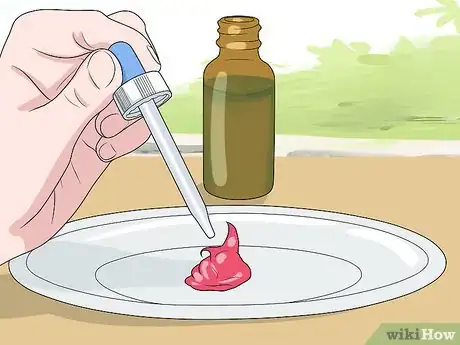
3Thin the paint with water. Add a drop of the paint you want to use first to a palette or plastic plate. Use a plastic bottle with a dropper cap to add a drop of water to the paint. Mix the paint and water together with a brush.
- Don’t skip this step! If you don't thin your paint with water, you'll end up painting over all of your Warhammer figure's small details!
- If you don’t have a plastic bottle with a dropper cap, dip a clean brush in water and drop water onto the paint with the tip of the brush.
-
4Apply the basecoat to your figure with a small brush. Start with the most prevalent color and then move on to any other colors after that. Try to be as precise as possible so you don’t have to go back over the base colors later on.[3]
- For example, if your figure has a blue body with a brown cape, paint the figures body blue first, leaving the cape blank. Then, once you’ve finished painting the body with blue paint, fill the cape in with brown paint.
- It’s OK to cover up detailed areas -- eyes, lips, accessories, etc -- with the basecoat colors. You’ll be able to paint over them later once the basecoat dries.
-
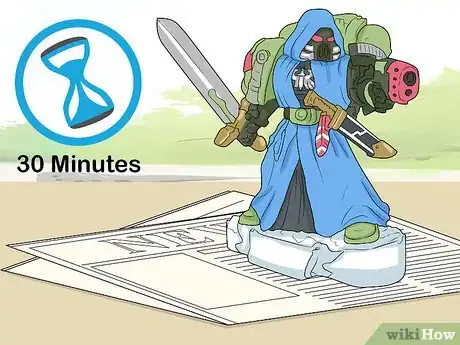
5Let the basecoat dry for 30 minutes. After 30 minutes, touch the figure with your finger. If it’s still wet to the touch, let the figure continue to dry. Don’t paint over wet paint or the colors will blend together.
Adding Details
-
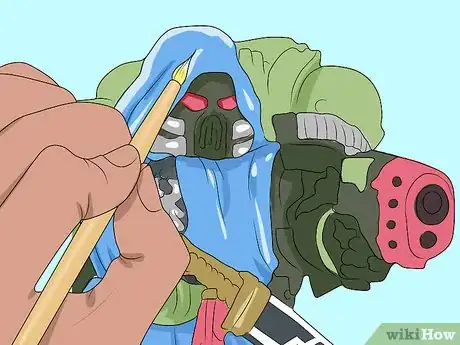
1Paint over small details with a thin brush. Go over the eyes, lips, hair, and any other small details on your figures. Don’t forget to thin the paint with water before you use it. After you’re finished using one paint color, rinse off the brush or grab a new brush to use with a different color.
- If you want the colors on your figures to be more vibrant, apply multiple coats of paint. Let the paint dry completely between each coat.
-
2Drybrush on light-colored paint to add highlights to your figures. Make sure the paint on the figures is dry before you add highlights. Add a drop of light-colored paint to your palette. Without thinning the paint with water, dip the end of a small brush into the paint. Brush the paint onto a dry paper towel until most of it’s off the brush. Then brush the dry, leftover paint on the brush over the sections of the figure you want to highlight.[4]
- When you’re finished, you should see highlights on all the raised surfaces on the section of the figure you went over.
- For the best results, use a lighter shade of the same color you used for the section you’re going to highlight.
-
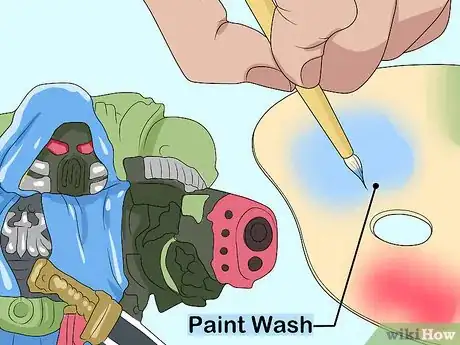
3Apply a paint wash to add shading to your figures. Paint wash is a thinned version of paint that will settle into the nooks on your figures, giving them a shaded look. Pour some paint wash onto your palette. Dip the tip of a small brush in the paint wash and brush a liberal amount of the wash over the entire surface of your figure. Let the wash dry on the figure.[5]
- You can find paint wash online or at your local paint store.
-
4Use water and a paper towel to fix any mistakes. Brush water over the area you messed up on using a clean brush. Then take a paper towel and dab it on the area to absorb the paint. Let the area dry and then go over it again with more paint.
Community Q&A
-
QuestionThe 25mm black plastic bases don't seem to hold the paint very well. What should I do?
 Community AnswerTry covering it in a different substance, such as air dry clay, then paint it.
 -
QuestionWould this work when painting toy army men?
 Community AnswerYes, as long as you apply primer to them first.
 -
QuestionShould I put on decals after I shade?
 Uni StormCommunity AnswerNo do it as the last step. Some people add a varnish (only for plastic miniatures not for wood) to their miniatures as the last step, this protects the miniature from scratching, dust and other such things. Put your decals on before the varnish. Make sure the water you used to apply the decals is dry.
Things You’ll Need
- Spray-on paint primer
- Gloves
- Tarp or newspaper
- Acrylic paints
- Small paint brushes
- Palette
- Paint wash
- Paper towels
References
- ↑ https://www.youtube.com/watch?v=V2MOmj-D9uo&feature=youtu.be&t=111
- ↑ https://www.youtube.com/watch?v=V2MOmj-D9uo&feature=youtu.be&t=111
- ↑ https://www.youtube.com/watch?v=KoJgUdyO4vM&feature=youtu.be&t=193
- ↑ https://www.youtube.com/watch?v=KoJgUdyO4vM&feature=youtu.be&t=453
- ↑ https://www.youtube.com/watch?v=KoJgUdyO4vM&feature=youtu.be&t=617
