This article was co-authored by Sam Adams. Sam Adams is the owner of Cherry Design + Build, a residential design and construction firm, which has been operating in the Greater Seattle Area for over 13 years. A former architect, Sam is now a full-service contractor, specializing in residential remodels and additions.
wikiHow marks an article as reader-approved once it receives enough positive feedback. In this case, 100% of readers who voted found the article helpful, earning it our reader-approved status.
This article has been viewed 148,513 times.
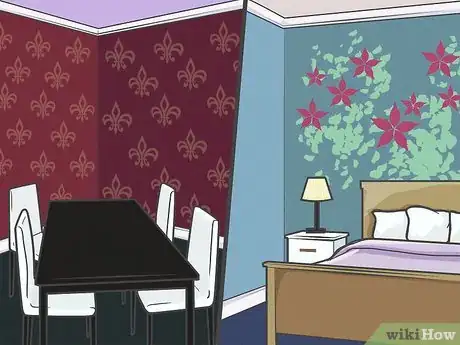
Painting designs on walls is a great way to make your space look more colorful and unique. It can as simple as hand painting some designs to as extensive as using stencils. This article will show you a few ways of painting designs onto your wall.
Steps
Getting Started and Preparing Your Wall
-
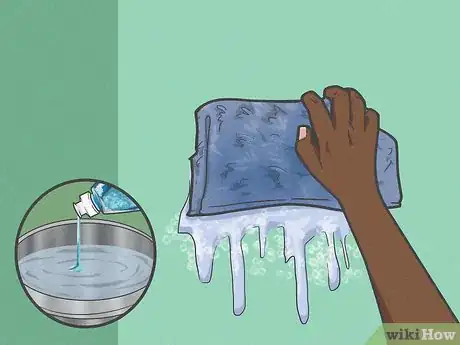
1Make sure that the wall is clean. If the wall is dirty, the paint may not stick to it. Wash the wall using a microfiber cloth and a solution made of one-part mild dish soap and four parts warm water. Dry the wall afterwards with a clean cloth.[1]
-
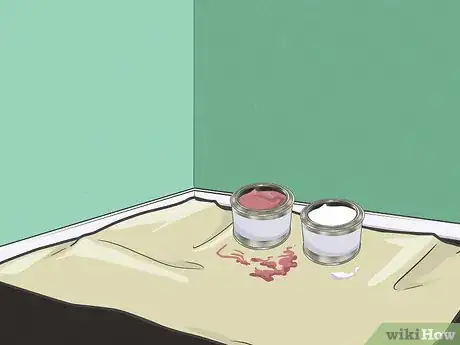
2Prepare your work area. Spread a drop cloth, some newspapers, cardboard, or a plastic tarp down on the floor where you will be working. This is to catch any paint drips or spills and protect your floor. You will also want to have all your paints, brushes, tape, and paper towels handy.Advertisement
-
3Protect your clothes. Put on a painter's smock or some old clothes that you don't mind getting dirty. If you have very sensitive skin, you might want to consider putting on a pair of vinyl or latex gloves, although most acrylic paints are considered to be safe and non-toxic.
-
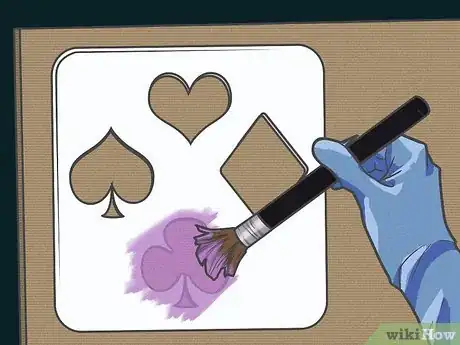
4Consider practicing your design on a piece of cardboard first. If you are planning on using stencils for the first time, you might want to practice on a piece of cardboard first. This will allow you to get the feel for your foam roller or stencil brush first. It will also allow you to develop the right technique before you move onto your actual wall.[2]
- You can even paint the cardboard the same color as your wall first. This will not only give you a similar texture, but it will also give you an idea of how the final colors will look like,
-
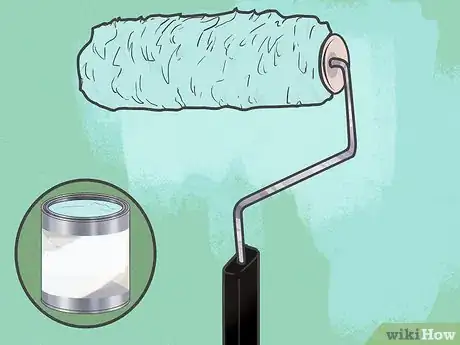
5Consider giving the entire wall a fresh coat of paint first. This can be the same color as before, or a whole new color. Be sure to use an indoor latex house paint. Keep in mind, however, that if you are using reverse stencils, the color you are using right now will be the color of your shapes or designs.
Using Stencils
-
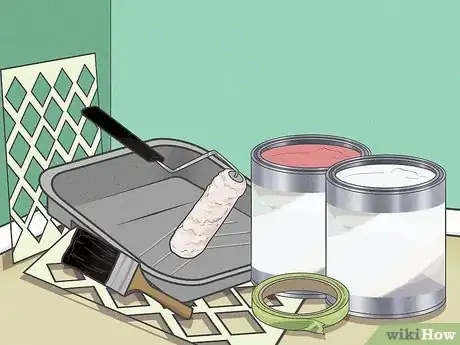
1Gather your supplies. Stenciling is a great way to add simple or complex designs to walls. You can even go back over the stencil with a second color to add shading. Be sure to give yourself plenty of time for this project, however, as stenciling can take a while. Here's a list of what you will need:
- Wall stencils
- Painter's tape or repositionable spray adhesive
- Foam roller or good quality stencil brush
- Acrylic paint or wall paint
- Paint pan or paint palette
- Paper towels
-
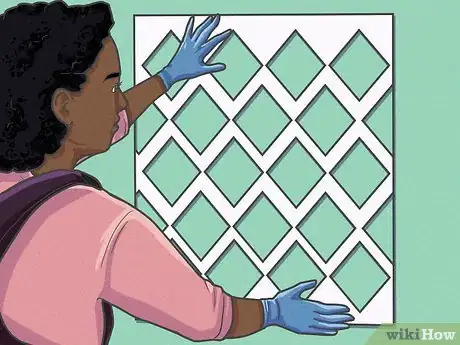
2Position your stencil. You can place it anywhere you want. If you want to cover your entire wall with the design, you can start off by placing it in the top left corner of your wall or right in the middle of your wall. Once you know where you want your stencil, trace the corners lightly with a pencil. You can also outline the corners with some painter's tape.[3]
- Consider using a level tool to ensure that your stencil is straight. It looks like a metal or plastic ruler, with a short, fluid-filled tube in the middle of it. The air bubble inside the tube moves around as you tilt the level about. Your project is leveled if the bubble is in the middle of the tube.
-
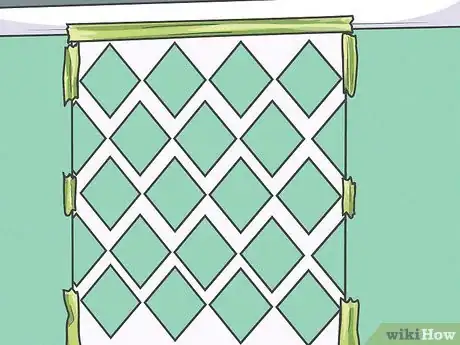
3Attach the stencil to the wall. You can do this by taping it to the wall along the edges with painter's tape. You can also spray the back with a repositionable spray adhesive, wait for the adhesive to get tacky, then press the stencil against the wall.
- Consider sealing the edges off with a few rows of painter's tape, especially if the design on your stencil is close to the edge. The painter's tape will prevent you from accidentally going over the edges of the stencil and painting the wall by mistake.
-
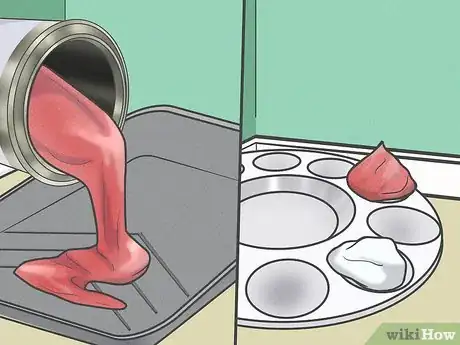
4Pour some paint out. Acrylic paint would be great for small areas, but if you are stenciling your entire wall, you might want to consider some wall paint instead. Choose a finish that matches the original finish of your wall: glossy, satin, eggshell, matte, etc. Do not pour too much paint out at once, or the paint will dry before you can use all of it. This way, you won't be wasting any paint.
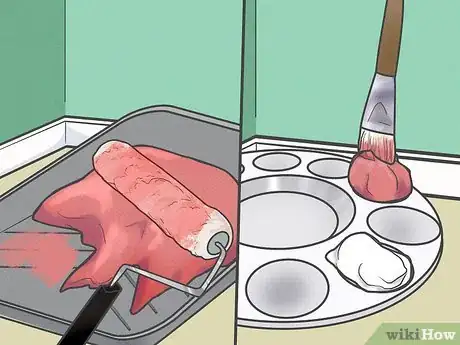
- If you are using a foam roller, pour the paint out onto a paint pan. Foam rollers are great for covering large stencils and large areas.
- If you are using a stencil brush, pour the paint out onto a paint palette. Stencil brushes are great for covering small stencils. They are also good for designs with multiple colors.
-
5Dip your paint roller or stencil brush into the paint and tap the excess off onto a folded paper towel. You don't want to apply too much paint all at once, or you might get drips. The paint may also leak under the stencil and create blotches. Because of this, it is much better to apply many thin coats of paint rather than one thick coat.
- If you are working with a stencil brush, you can tape several folded paper towels onto the wall next to your work.[4] This way, you can hold the palette in one hand and the brush in the other. Everything will be close by. Just make sure that your paper towels are folded thick enough so that the paint does not bleed through them and onto the wall.
-
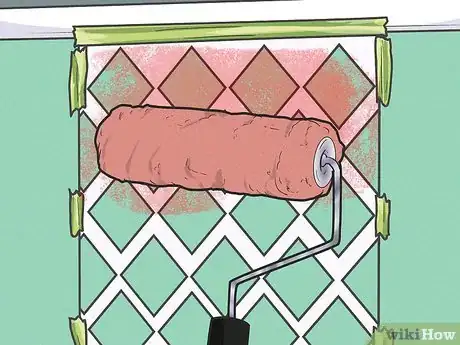
6Start applying the paint onto your stencil. Apply the paint using light to medium pressure. You don't want to press down too hard with your brush or foam roller, or you will squish the paint out and create blob.[5] Work with one color at a time, and use a fresh paint roller or brush when you do.
- If you are using a foam roller, simply roll back and forth lightly across the pencil.
- If you are using a stencil brush, lightly tap the brush over the stencil.
-
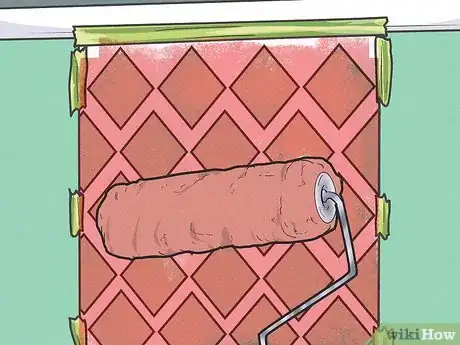
7Apply as many coats as you need until you get the look you want. At some point, you will probably need to reload the roller or brush with more paint. Do this only when your roller or brush completely runs out of paint.[6] Whenever you dip your roller or brush into paint, be sure to tap the excess paint off onto a paper towel.
- If you accidentally painted outside the stencil, wipe the paint off using a damp paper towel or a baby wipe.[7]
- Consider adding some shading to your design using a stencil brush. Use a slightly darker color to do this, not straight black. This will look more realistic. A great places to use shading is around the edges or tips of your design.[8]
-
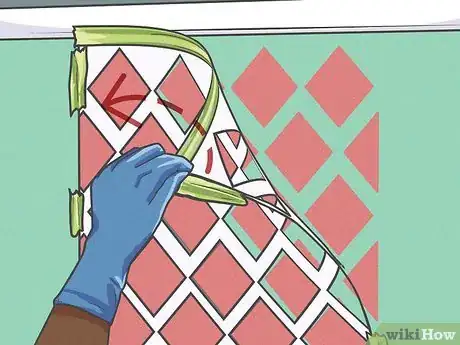
8Remove the stencil when you are done and make any necessary touchups. If some paint got under the stencil and onto the wall, use a damp Q-tip to clean the excess paint off. If there are any gaps along the edges of your design, use a thin paintbrush and some extra paint to fill in those gaps.[9]
- If you painted a design, such as a branch with flowers and leaves, your stencil may have left some gaps between the different shapes. You can fill those gaps in using a thin paintbrush and extra paint for a more authentic, hand painted look.[10]
-
9Check the underside of the stencil for any leaked paint before reusing it. If you plan on reusing the stencil, double-check underneath it. If any paint got underneath the stencil, you might end up transferring that paint into your wall. If you see any leaked paint, wipe it off using a damp paper towel.
-
10Keep stenciling your wall until you get the effect your want. If you attached your stencil using painter's tape, pull off the old pieces and use new ones. If you used repositionable spray adhesive, you may need to re-spray the back before you press the stencil down again.
-
11Let the paint dry fully before erasing any pencil marks. Refer to the label on your paint can or bottle. Just because something is dry to the touch does not necessarily mean it is fully dry. Most acrylic paints will be dry in 20 minutes, while some may require up to two hours. Latex wall paints will require a much longer drying and curing time.
Using Reverse Stencils
-
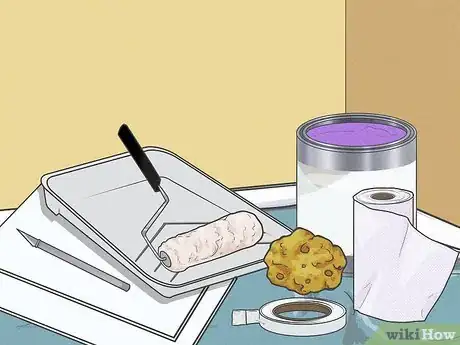
1Gather your supplies. Reverse stencils work similar to regular stencils, except that you will be putting paint around the shape instead. Here's a list of what you will need:
- Cardstock
- Craft knife
- Double-sided tape or repositionable spray adhesive
- Foam roller or paint sponges
- Acrylic paint or wall paint
- Paint pan or paint palette
- Paper towels
-
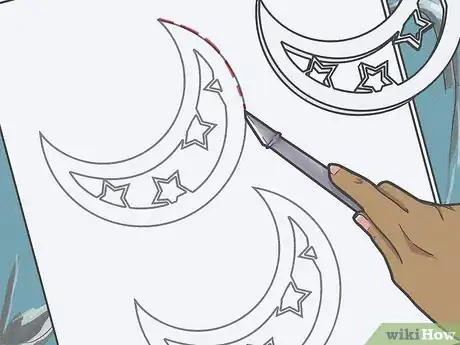
2Cut shapes or designs from a piece of cardstock. You can also use template plastic, or blank stencil sheeting as well.
- You can find template plastic in the quilting section of a fabric store.
- You can find blank stencil sheeting in the stencil section of an arts and crafts store.
-
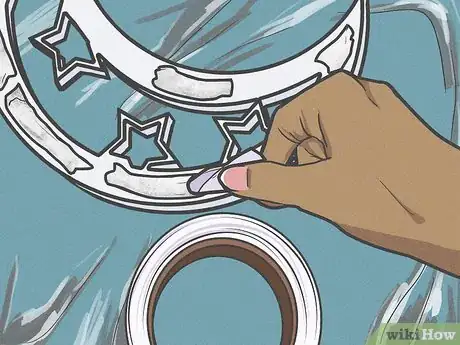
3Put some double-sided tape onto the back of each shape. You can also spray the back of each shape with repositionable spray adhesive.
-
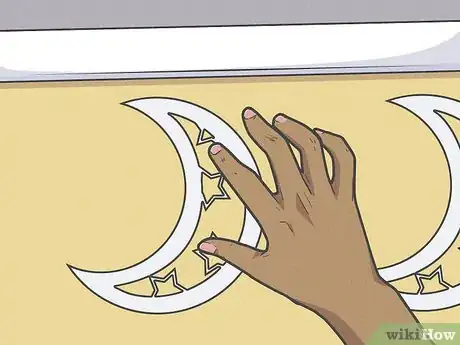
4Arrange the shapes in any pattern you want on your wall. You can create a grid or checkered pattern. You can also use a completely random pattern.
- If you are using shapes of different sizes, consider arranging them in an asymmetric clump. Keep the larger shapes towards the center, and the smaller shapes towards the edges/ends.
-
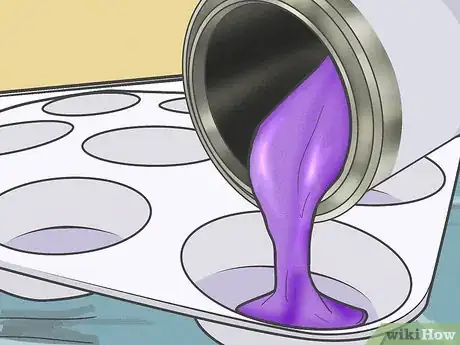
5Pour some paint out. Don't pour out a whole lot, or the paint will dry out before you can finish using it. You can always pour more paint out into your paint pan or paint palette. If you are painting a large area, consider using wall paint. If you are painting just a small area, any acrylic paint will do.
- If you are using a paint roller to apply the paint, you might find a paint pan easier to use.
- If you are using a small paint sponge, you might find a paint palette easier to work with.
-
6Dip your paint roller or sponge into the paint and tap off excess paint onto a folded sheet of paper towel. This will prevent you from applying too much paint all at once. If you apply too much paint at one time, the paint may not dry or cure properly. It may also end up with a bubbly texture. Because of this, it is much better to apply many thin coats of paint rather than one thick coat.
-
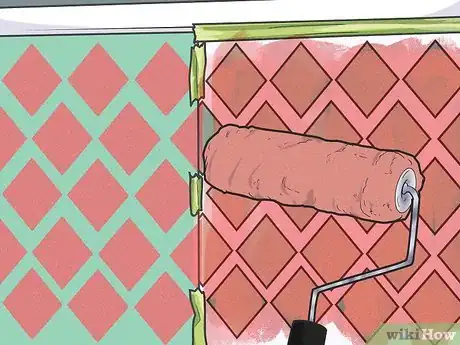
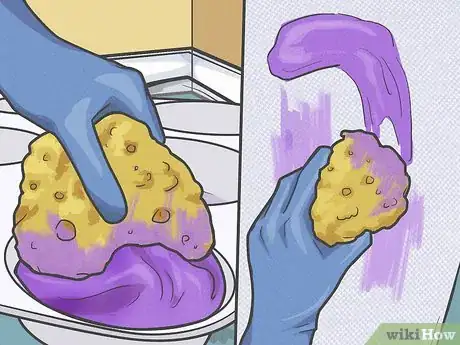
7Start painting over your shapes. Simply roll the foam paint roller across the entire wall, including your shapes. If you want a softer look, you can gently tap around your shapes with a paint sponge.
-
8Apply a second coat, if necessary. Wait for the paint to dry, then apply a second coat. If you are taping the paint on with a sponge, you can even use a slightly lighter or darker color.
-
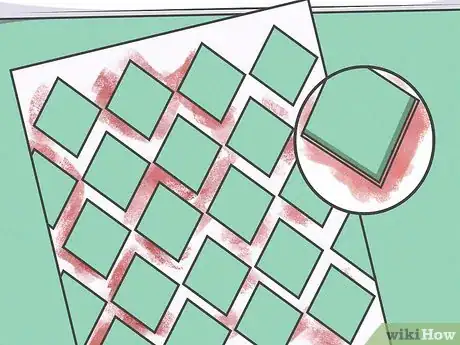
9Remove the shapes before the paint dries. If you remove the shapes after the paint dries, you will risk accidentally chipping the paint. Gently peel the shapes off using your fingernail.
-
10Make any touchups using extra paint and a thin paintbrush. Look over your design, and fill in any gaps using a thin brush and some extra paint. If you got paint where you don't want it to be, wipe it off using a damp Q-tip.
-
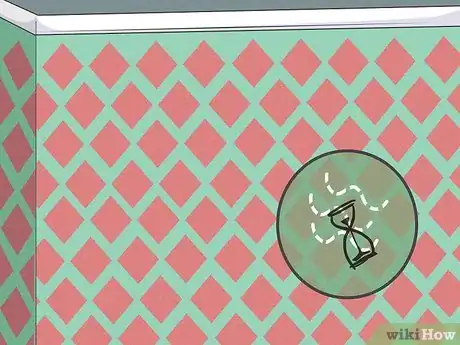
11Allow the paint to dry fully. Most acrylic paints will dry within 20 minutes to two hours. Latex wall paints have a different composition and may require four to six hours to dry, if not more. Refer to the label on the can or bottle for more specific drying times.
Painting Designs Freehand
-
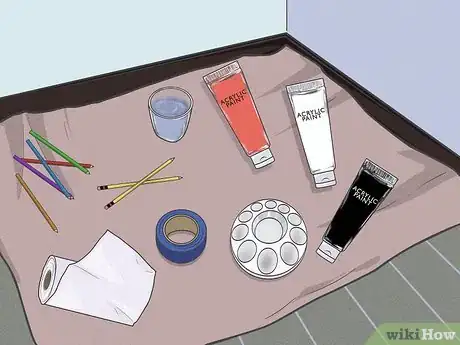
1Gather your supplies. Painting designs straight onto the wall without any stencils can be difficult, but it can also be a lot of fun. The result is unique, and each brushstroke is filled with beauty. This is a great technique for organic designs, such as curling vines and twisting branches. Here's a list of what you will need:
- Paintbrushes
- Acrylic paint
- Paint palette
- Chalk, pencils, or watercolor pencils
- Cup of water
- Painter's tape (optional)
- Paper towels
-
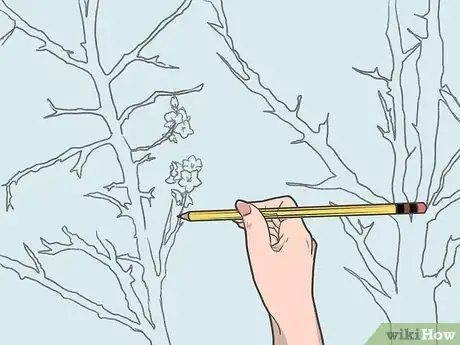
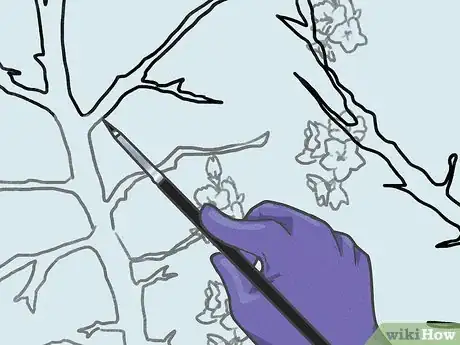
2Sketch out your design onto the wall. Use a light color for the outlines if your wall is dark. Use a dark color for your outlines if your wall is light. Start with the largest shapes first, then move onto the smaller ones. For example, if you are painting a cherry blossom branch, sketch out the branch first, then add the flowers. You don't need to add the details just yet, since your paint will likely cover those up. You will be painting your design on in layers.
- Consider using watercolor pencils that match your paint color. This will make them less visible once the paint dries. For example, if you are outlining a brown branch, use a brown watercolor pencil. If you are outlining some green leaves, use a green watercolor pencil.
-
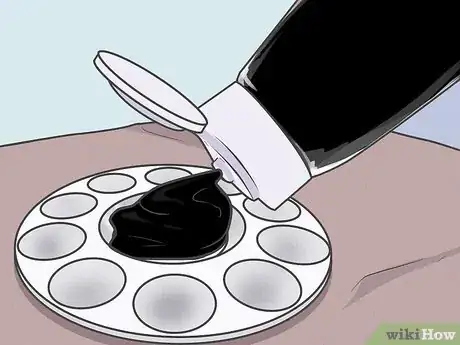
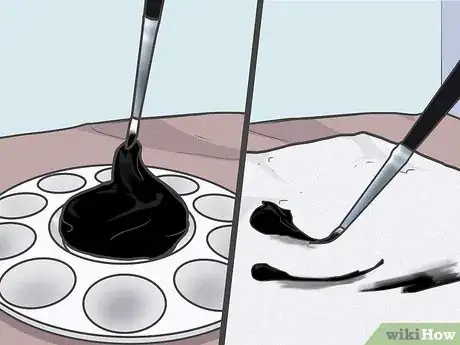
3Pour the color for your largest shapes out first. Pour some paint right out onto your paint palette. You will be starting from the largest shapes first. Avoid pouring out too much paint at one time. Acrylic paint dries fast. If you pour out too much paint at one time, the paint may dry out before you use it all. You can always pour out some more paint if you run low.
-
4Dip a small, pointy paintbrush into the paint and gently tap off any excess paint onto a folded paper towel. If you apply the paint too thickly, you will get visible brush strokes. Consider using a small, pointy brush for organic, twisting designs. If you are painting lots of straight lines, consider using a small, flat brush. This will give your more control over your line work.
- If you want, you can tape the paper towel onto the wall next to your work; just make sure that it is folded thick enough so that the paint does not bleed through.
-
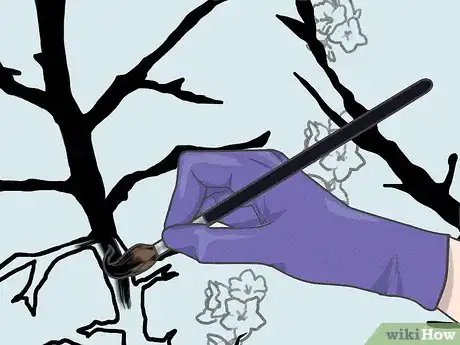
5Use the small paintbrush to outline your largest shape. Be mindful of the direction you are painting in. If you are right-handed, start from the left side of your design. If you are left-handed, start from the right side of your design.
- You will probably need to reload your paintbrush a few times. Always remember to tap off the excess paint onto the paper towel.
-
6Fill in your largest shape once you have painted the outline. Use a large brush for the larger areas, and a smaller brush for the smaller areas. If you accidentally go outside your outline, wipe it off using a damp Q-tip. If you can't wipe the mistake off, keep painting. You can "erase" the mistake after it dries by covering it up with your background/wall color.
-
7Outline and fill in the smaller shapes. Use the same technique as you did for the larger shapes. Depending on how small your shapes are, you might not even have to switch to a larger brush; you might be able to paint the entire shape with the brush you used for outlining.
-
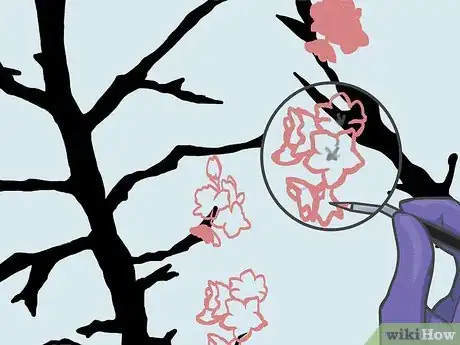
8Wait for the paint to dry before you add any details. For example, if you want to add some texture to the bark or some white centers to the flowers, wait until the paint has dried. Paint on the details using a small, pointy brush.
-
9Make any touchup after the paint has dried. You can "erase" any mistakes by covering them with your background color (the color of your wall). You can also fill in any missed spots with some extra paint. Use a small brush for this.
Painting Geometric Designs
-
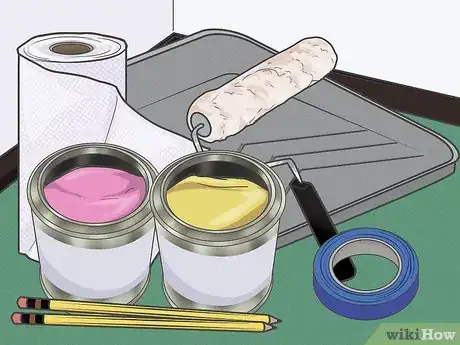
1Gather your supplies. You can create simple designs using just painter's tape and some wall paint. This method is best for geometric designs, such as stripes, zigzags, and chevron. Here's a list of what you will need:
- Painter's tape
- Wall paint
- Paint roller
- Paint pan
- Paper towels
- Pencil
-
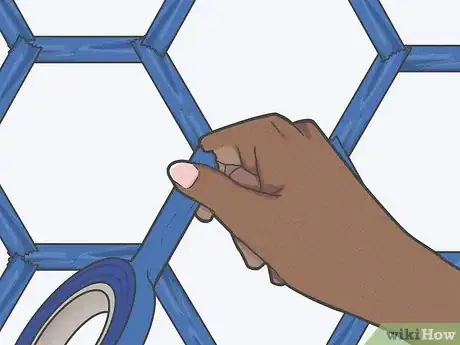
2Start by applying painter's tape to your wall in a design you find pleasing. The width of the tape will be the lines between your designs. When you are done painting, you will pull the tape off to reveal the original wall color underneath. Try to make the designs large and bold. If you make the designs too small, they will appear out of proportion against your huge wall. Here are some ideas for designs:
- Chevron
- Zigzag
- Stripes (vertical or horizontal)
- Triangles
-
3Smooth the tape down with your fingers or a straight edge. The tape needs to be sealed against the wall. If the tape is not properly sealed against the wall, paint might seep underneath it.
- Consider leaving small tabs at the end of each piece of tape. This will make it easier to pull off at the end.
-
4Pour some wall paint out onto a paint pan. Try not to pour too much paint out at one time. If you pour out too much paint at once, the paint may dry out before you get a chance to use it all. You can always refill your paint pan with more paint when you run out.
- Try to match the paint finish to the finish of your wall. For example, if your wall has a satin finish, choose a paint that has a satin finish as well. This will help your design blend in better.
-
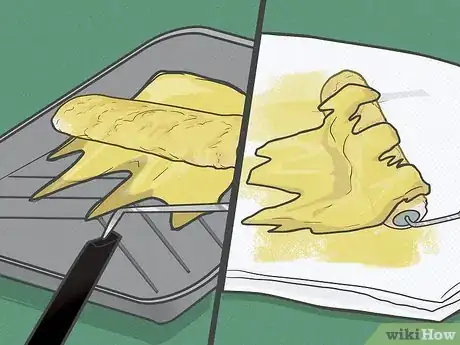
5Dip the paint roller into the paint pain and tap off any excess paint onto a folded paper towel. You don't want to apply too much paint all at ones. If you put too much paint onto the wall, it may leak under the tape. It may also create a bubbly texture, or take too long to dry. For these reasons, it is better to apply many thin coats of paint rather than one thick coat.
-
6Gently roll the paint roller across your entire wall. Use a light to medium pressure, and always go in the same direction: back-and-forth or up-and-down. When your roller starts to get dry, apply more paint, but remember to tap it off onto the paper towel.
- If you are using more than one color, work with one color at a time. Use a fresh paint roller and paint when moving on to a different color.
-
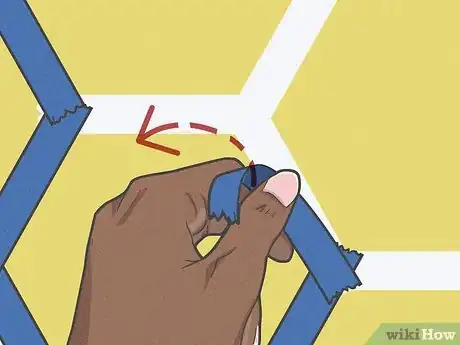
7Pull the painter's tape off as soon as your are done painting. Gently pull the tape towards you at a 135 degree angle. Don't wait for the paint to dry. If you pull the painter's tape off when the paint is already dry, you may cause the paint to chip or flake off.
- If the paint has dried and sealed over the edge of the tape, gently scratch at the seam with a craft knife.
- If the paint has dried and chips when you pull the tape off, get out a small, pointy paintbrush and fill in the gaps using extra paint.
Finding Design Ideas
-
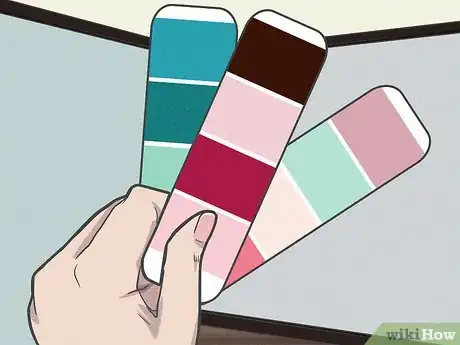
1Choose your color scheme. Unless you are painting a mural, you might want to limit your colors to two or three; this includes the base/background color of the wall. If you make your wall too busy, it will draw attention away from the rest of your room. Here are some color ideas to get you started:
- If you want a more subtle look, use two different shades for your wall and design. For example, you can paint your wall a dark blue, and stencil on some bird silhouettes in light blue.
- If you want a bolder look, use contrasting colors. For example, you can paint your wall a fresh, spring green, and some leaf and branch outlines in bright white.
- You can also paint colored designs. For example you could start with a dark brown or black branch on a white wall. Then, you could add some light pink cherry blossom flowers to the branch.
-
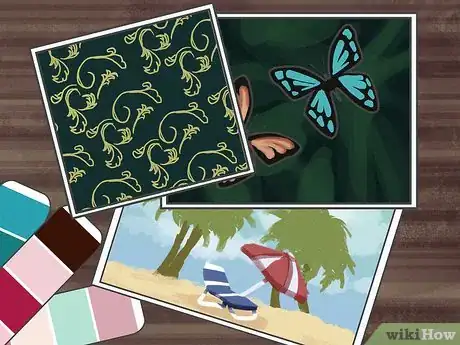
2Pick a theme. Most walls with designs have a specific theme to them. The easiest designs to paint are silhouettes or outlines. They will be just enough to add some interest and movement to your wall, but they won't be so busy as to detract attention from the rest of your room. Here are some common themes:
- Nature-related, such as branches, leaves, and birds
- Abstract designs, such as scrolls and damask
-
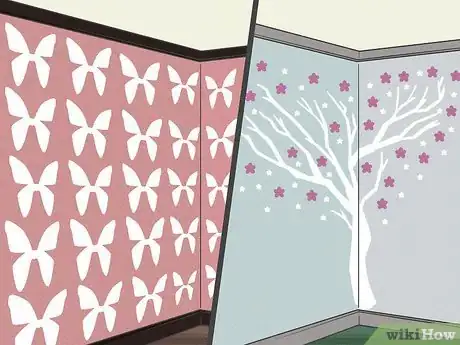
3Decide on the layout. Do you want your design to cover the entire wall, or just a small patch? How you arrange the design is important. Here are some ideas to get you started:
- If you are covering your entire wall with the design, consider a grid or checked pattern.
- If you are covering just a small patch, consider making the patch more asymmetric than symmetric. If you are using both large and small shapes in your design, try to place the larger designs more towards the center of the patch, and the smaller designs towards the edges.
-
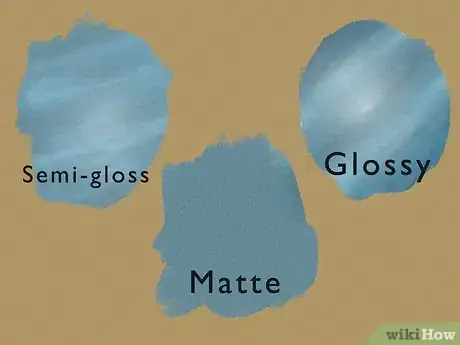
4Consider the paint finish. Most acrylic paints will have a glossy, satin/semi-gloss, or matte finish. Most walls will have a satin/semi-gloss or matte finish. If you use the same finish for both your wall and your design, you will get a more uniform result. The design will blend into the wall, and look like it is part of it. If you use contrasting finishes (such as a glossy design on a matte wall), you will get a bolder result. The design will contrast with the background/wall, which can create a very interesting result.
-
5Consider the room that you are painting. Some designs are better suited to certain rooms than other designs. For example, you might consider a more energized design in a room that sees a lot of activity, such as a family room. Bedrooms are generally a place of rest, so a more peaceful design might do better there. Here are some ideas to get you started:
- For a fancy dining or family room, consider using dark, rich colors. Use ornate designs, such as scrolls and damask.
- For a kitchen, consider using something bright and open. You can also paint some food-related designs, such as grapevines or citrus.
- For a bedroom, use colors that you find peaceful. These can be cool blues and purples, refreshing greens, or even pastels. Consider using something organic for the design, such as long, sweeping curves, leaves, flowers, or branches.
Expert Q&A
Did you know you can get expert answers for this article?
Unlock expert answers by supporting wikiHow
-
QuestionWhat color should I use for an accent wall?
 Sam AdamsSam Adams is the owner of Cherry Design + Build, a residential design and construction firm, which has been operating in the Greater Seattle Area for over 13 years. A former architect, Sam is now a full-service contractor, specializing in residential remodels and additions.
Residential Design Expert
-
QuestionWhat's a good place for a fancy design or accent wall?
 Sam AdamsSam Adams is the owner of Cherry Design + Build, a residential design and construction firm, which has been operating in the Greater Seattle Area for over 13 years. A former architect, Sam is now a full-service contractor, specializing in residential remodels and additions.
Residential Design Expert
-
QuestionCan I paint laminated cabinets?
 Sam AdamsSam Adams is the owner of Cherry Design + Build, a residential design and construction firm, which has been operating in the Greater Seattle Area for over 13 years. A former architect, Sam is now a full-service contractor, specializing in residential remodels and additions.
Residential Design Expert
Warnings
- Keep pets and children out of the room you are working in. Curiosity can lead to paint-covered fur or clothing.⧼thumbs_response⧽
Things You'll Need
Using Stencils
- Wall stencils
- Painter's tape or repositionable spray adhesive
- Foam roller or good quality stencil brush
- Acrylic paint or wall paint
- Paint pan or palette
- Paper towels
Using Reverse Stencils
- Cardstock
- Craft knife
- Double-sided tape or repositionable spray adhesive
- Foam roller or paint sponges
- Acrylic paint or wall paint
- Paint pan or paint palette
- Paper towels
Painting Designs Freehand
- Paintbrushes
- Acrylic paint
- Paint palette
- Chalk, pencils, or watercolor pencils
- Cup of water
- Painter's tape (optional)
- Paper towels
Painting Geometric Designs
- Painter's tape
- Wall paint
- Paint roller
- Paint pan
- Paper towels
References
- ↑ Sam Adams. Professional Contractor. Expert Interview. 4 June 2019.
- ↑ Apartment Therapy, How to Paint a Wall Using a Stencil
- ↑ Apartment Therapy, How to Paint a Wall Using a Stencil
- ↑ Houzz, DIY: How to Paint a Wall Stencil
- ↑ Houzz, How to Use an All Over Wall Stencil
- ↑ Houzz, How to Use an All Over Wall Stencil
- ↑ Houzz, How to Use an All Over Wall Stencil
- ↑ Houzz, DIY: How to Paint a Wall Stencil
- ↑ Apartment Therapy, How to Paint a Wall Using a Stencil
- ↑ Houzz, DIY: How to Paint a Wall Stencil
- ↑ Apartment Therapy, How to Paint a Wall Using a Stencil
About This Article
To paint designs on walls, start by attaching a stencil to the wall with painter’s tape. Next, dip your paint roller or stencil brush into the paint and apply thin coats of paint with a light pressure. When you’re done, remove the stencil and make any needed touchups. Alternatively, to paint geometric designs, apply painter’s tape in large and bold designs, like zigzags, stripes, or triangles. After you smooth the tape down, gently roll your paint on the wall. As soon as you’re done painting, pull the tape off the wall to see your design! To learn how to paint freehand designs on your walls, keep reading!
