This article was co-authored by Karen Parziale. Karen Parziale is a Home Stager, Home Organizer, and the Founder of The Real Estate Staging Studio based in Hoboken, New Jersey. Karen has over 15 years of home staging and decorating experience and has staged over 5,000 homes. She specializes in project management, space planning, material selections, and builder, architect, and client relationships.
This article has been viewed 438,115 times.
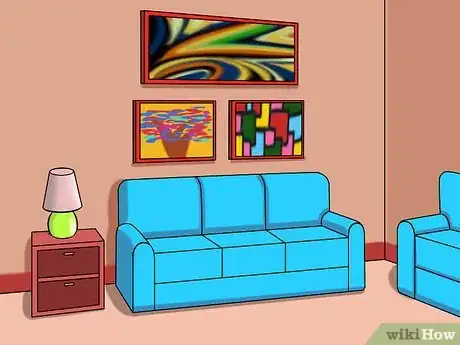
Good wall décor, combined with sensible furniture and decorations, can take a room from "good" to "great," but even the Mona Lisa will look silly on your wall if it's crooked or poorly-arranged. Don't waste time arranging and adjusting photos, postcards, or paintings on your walls in search of the "perfect fit" for your room. With the common-sense tips below, you'll be arranging your family photos intelligently on your first try.
Steps
Arranging Pictures Professionally
-
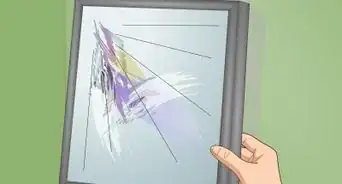
1Choose pictures with appropriate content. Sometimes the images we like the most are not the best ones to hang. If you have lots of images at your disposal, it's usually best to choose the most distinctive and professional ones. Wall pictures will be seen by almost every visitor to your home, many of which won't be able to appreciate the inside jokes behind embarrassing photos or goofy low-brow art. For your hall and living room, it's best to stick to standard family photos (professionally-shot is a plus) or traditional art - save your roadside velvet paintings for the basement and your naked baby photos for the photo album.
- Avoid using multiple pictures of the same thing since it could make your wall look cluttered.[1]
-
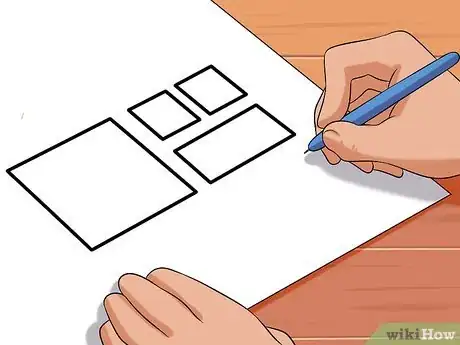
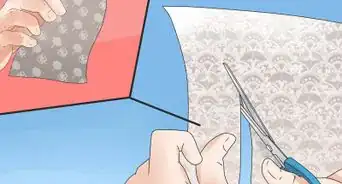
2Plan picture groupings beforehand. If you plan to hang more than one picture in a certain wall space, that's great - by playing with the precise spacing and arrangement of the pictures, you can create striking visual impressions.[2] Before you hang multiple pictures together, though, make a "blueprint" for your group of pictures - if you're confident you can erase it, lightly trace the pictures' outlines with a pencil, otherwise, lay your pictures down on a roll of paper and cut squares around them. Tape these squares to the wall to give you an idea of how your arrangement will look when the pictures are actually hung on the wall. It's much easier to adjust paper squares than to re-hang your pictures.Advertisement
-
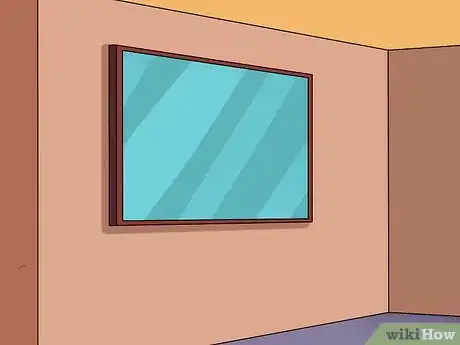
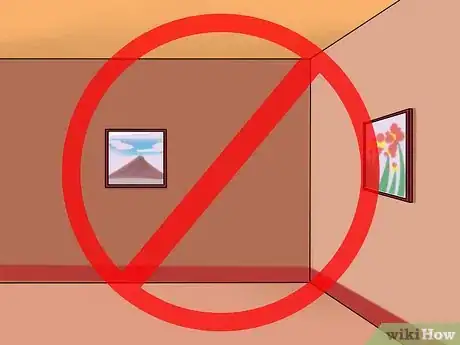
3Hang big pictures first. Big pictures, especially ones you're especially proud of, deserve a prominent position in the room. Hang them at eye-level or higher on a wall where they'll be noticed. Give them priority positioning - a great picture can double as a room's centerpiece. Don't put them too close to any of the room's corners - you'll inadvertently give your art a "squished in" look. A foot or two of room should suffice.
- Provided your picture doesn't absolutely dwarf other, smaller pictures, you use it as part of a multi-picture arrangement. If you're not sure how to arrange your big picture sensibly as part of a group, a good idea is to put it in one of the lower corners of the arrangement, with the second-largest picture in the upper corner opposite it. Line smaller pictures up in the two unoccupied sections of the imaginary rectangle containing both big pictures.
-
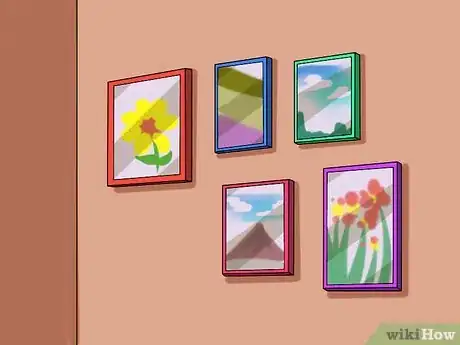
4Group smaller pictures in rows or clusters. You don't need to center rooms around massive landscape paintings or stuffy portraits. When grouped together in visually-pleasing patterns, a cluster of smaller pictures can make for an eye-catching arrangement. Adjust your arrangement to suit the needs of the room you're in. Tight, straight vertical or horizontal rows can make the most of limited wall space, while large cloud-like arrangements incorporating pictures of different sizes can give a room a modern feel.[3]
- The most important thing to remember while making picture clusters is to make sure that the edges of every frame are at precise ninety-degree angles to each other (use a level to get your pictures perfectly straight.) Also make sure the distance between pictures is uniform throughout your arrangement.
- An added benefit of smaller pictures is that they're much more versatile than larger pictures. Stick a short row of small pictures in a crowded bedroom for a big difference or slip a few old family photos on a stairway for a visual timeline of your family's history.
-
5Coordinate your frame choices. Generally, when grouping framed pictures, like frames should go with like. This doesn't necessarily mean that every picture in a group needs to have identical frames (though that's certainly a valid option.) Rather, it means there should be an overarching theme for all the frames in a certain cluster. For instance, a cluster of pictures where every picture has a black frame will look better than a cluster of pictures with some metal frames, some bamboo frames, etc.
- Experiment with patterns - alternating blue and white frames in a checkered pattern, for instance. Patterns count as an "overarching theme" - more important than having an identical frame for every picture is to give the impression that the pictures were arranged according to some logical goal.
- When in doubt, remember - white and black go with almost anything.
Fitting Your Pictures to Your Room
-
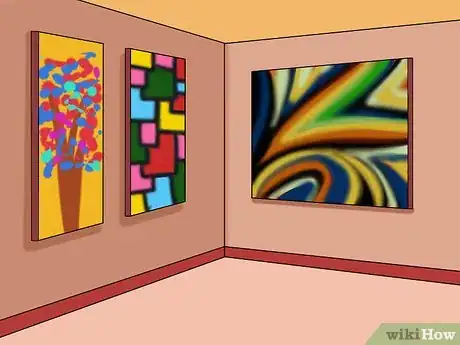
1Choose pictures with appropriate style for your room. This seems like a no-brainer, but it's easy to forget - different pictures will create different visual impressions in a given room. Unless you're going for an avant-garde, dissonant clash between your picture and the room it's hung in, try to match the picture to the purpose for the room. Classical landscape style paintings and portraits are great for living rooms, while smaller family photos are great for halls, staircases, bedrooms and bathrooms. Impressionistic paintings of fruit or cookware are an appetizing addition to kitchens. Use common sense - you know the impression you want your room to give visitors, so use pictures and paintings that help you achieve that impression.
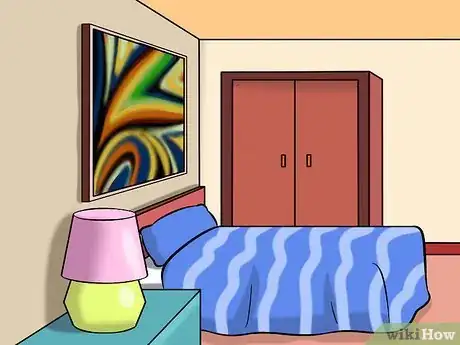
- Abstract paintings can be incredibly vivid additions to a room - however, if you plan to hang a painting that's nothing more than an assortment of shapes and colors, you might want to make sure the colors match the rest of the room's décor (see: How to Match Colors.)
-
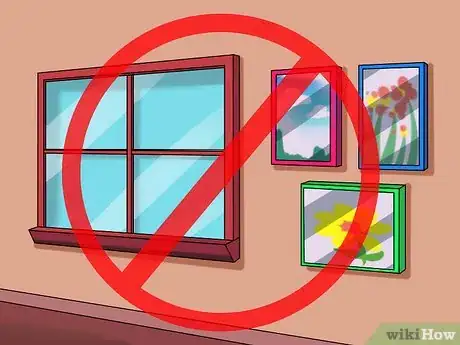
2Respect the space by not crowding your walls. One of any room's biggest assets is its sense of space. A high ceiling can make you feel like you're in a chapel. Large windows can guide your sight toward the horizon. Don't let your pictures obstruct a room's natural sense of space! Too many pictures can give a wall a cluttered " police evidence board" feel. Try to leave at least 3 inches (7.6 cm) between each of your pictures.[4]
- Pictures on a wall should never compete for space - if you have to move old pictures around to make room for a new one, you may want to consider a new home for your pictures.
- Many walls are best-suited by only one or two pictures. Or no images at all. If you've got great wallpaper, a killer rug, or an amazing centerpiece, don't be too hasty to distract attention with imposing collections of pictures.
-
3Blow up small rooms with big pictures. A large picture can make a cramped room seem larger. Similarly, pictures hung high on the wall will improve a room's dimensions by distracting attention from the imposing wall surfaces at the viewer's eye-level. For instance, a gorgeous print high on the wall of a cramped bathroom will lend the stuffy room a sense of dignity.
- Use big pictures, if possible, but don't take up the entire wall space. Covering one of a cramped room's entire walls with one picture will have an overpowering effect.
-
4Don't allow huge rooms to dwarf your pictures. Big, spacious rooms present problems of their own. High, plain walls with widely-spaced pictures look like they belong in a modern art museum, not a family home. Balance the arrangement of your pictures so as not to leave any huge barren patches on your wall. Furniture can be a huge help here - tall bookcases and wardrobes take up lots of wall space.
- If you've got an interesting wallpaper or even a monochrome painted wall, you can get away with more unused space when hanging your pictures. Plain, un-decorated walls commit the cardinal sin of making a room seem boxlike and cold.
-
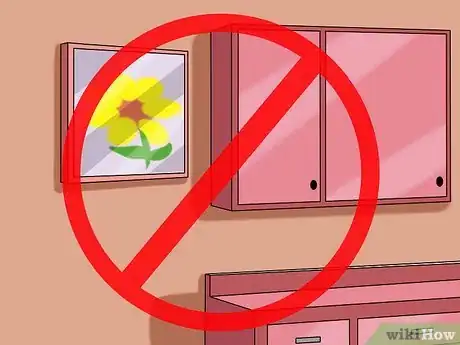
5Be conscious of furniture placement. Furniture and wall art work together to form a room's sense of space. Coordinate them intelligently to make to the most of your living space. Try to place pictures places people will naturally look without interfering with the normal functions of the room. Small pictures are great for slim stretches of wall in a kitchen, but not if you can't open cabinets because the picture's frame is in the way. Pictures are great above corner chairs and tables fo a stately yet-lived in feel, but not at heights where people are likely to bang their heads on them. Use common sense - make note of your daily routine to get a sense of where your eyes spend most of their time.
- Follow the two thirds rule - art placed above a piece of furniture should be at least two thirds as wide as the furniture itself.[5] For instance, a ten foot wide sofa should have at least about six and a half feet of art above it. This rule applies to individual pictures as well as clusters of smaller pictures.
-
6Tailor your picture placement to suit the room's function. For instance, many living rooms contain sets of couches facing each other so people can sit and talk. In this case, give your guests something to look at by placing pictures behind each couch (one designer recommends hanging pictures one palm width above the top of the couch.[6] ). In the kitchen, a few small photos in the corner above a breakfast nook table can liven up meals and serve as great conversation pieces when you're having guests over.
Hanging Pictures
-
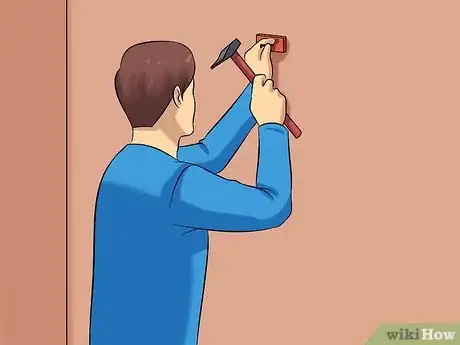
1Hang your pictures securely. A great picture or piece of artwork can be a source of pride, but it can also be a source of headaches if it simply won't stay put on the wall. Save yourself the hair-pulling that comes from constantly re-adjusting and re-hanging problem pictures by installing your picture right the first time. If you do, you'll also feel the savings in your wallet - when a picture falls out of the wall, the wall or picture can easily be damaged. For a detailed guide to picture-hanging, see our guide on hanging pictures professionally.
- When hanging anything on your wall, it's best to place the nail in the stud - the sturdy piece of wood supporting the wall. For heavier pictures or pieces of art, this can be a necessity. However, because studs are only an inch or two thick and fairly spaced-out, they're often not exactly where you want to hang a picture. For dainty and medium-weight pictures, you can get away with hanging in the space between studs.
- Whether you're hanging pictures off a stud or the drywall in between studs, drive the nail into the wall at a steep angle - 45 degrees or more.[7] Doing this provides a much sturdier hold than a nail that's perpendicular to the wall - the are of contact between the nail and the wall is greater and the lever action of the picture on the nail is reduced.
-
2Invest in alternate hanging options. For many pictures, a single nail will suffice. However, there is more than one way to hang a picture. A variety of hooks, anchors, and other products exist for the express purpose of mounting art on your wall. Some items you might consider are:
- Drywall hooks - small metal hooks designed to easily punch through drywall, providing a firm hold without a stud.
- Heavy-duty wall anchors - a small plastic sheath is installed into the stud using a drill, then a screw (supporting your art) is driven into the sheath. For heavier items.
- Toggle bolts - special screws with metal "wings" that open when they're driven into a wall, providing extra grip and hold.
- Adhesive hanging strips - sticky adhesive patches that attach to the back of your picture so you can stick it directly to the wall. No nails required.
-
3Avoid crookedness. If you hang a beautiful picture of your family on your wall, but you don't hang it so its edges are straight, guests won't notice your kids' adorable smiles - unfortunately, they'll notice the picture's two-and-a-half degree lean instead. Use a ruler to measure the picture's horizontal center, trying to align this spot with your nail as you loop the nail through the frame's hanging wire (you can make a tiny erasable mark with a pencil on the front of the picture to help you remember where its center is.) Once your picture is hung, use a level to make minor adjustments to find the picture's exact balance.
- Modern high-tech tools offer new options for hanging your pictures with exact straightness. Try searching your hardware store for a laser level - they'll paint a perfectly-straight horizontal line on the wall with a laser that you can use to line your pictures up perfectly.
Expert Q&A
-
QuestionHow do you arrange 3 large pictures on a wall?
 Karen ParzialeKaren Parziale is a Home Stager, Home Organizer, and the Founder of The Real Estate Staging Studio based in Hoboken, New Jersey. Karen has over 15 years of home staging and decorating experience and has staged over 5,000 homes. She specializes in project management, space planning, material selections, and builder, architect, and client relationships.
Home Stager & Interior Designer I would keep them on the same horizontal plane and then just leave 3 inches of space between them.
 -
QuestionHow can I make a gallery wall look less cluttered?
 Karen ParzialeKaren Parziale is a Home Stager, Home Organizer, and the Founder of The Real Estate Staging Studio based in Hoboken, New Jersey. Karen has over 15 years of home staging and decorating experience and has staged over 5,000 homes. She specializes in project management, space planning, material selections, and builder, architect, and client relationships.
Home Stager & Interior Designer Make it symmetrical! So many people go over the top with their gallery walls. There's nothing wrong with spacing them out evenly, and I think that style actually looks super neat.
 -
QuestionI have four 8x10 pictures to hang. Three are horizontal, one is vertical. I want to cluster them. How do I organize them?
 Community AnswerStaircase the three horizontal pictures going down to the right or left, and then place the vertical one to their right or left respectively, like their north star, but within an imaginary rectangle. Line up the top of the vertical with the top of the top left or right top horizontal.
References
- ↑ Karen Parziale. Home Stager & Interior Designer. Expert Interview. 30 June 2021.
- ↑ Karen Parziale. Home Stager & Interior Designer. Expert Interview. 30 June 2021.
- ↑ Karen Parziale. Home Stager & Interior Designer. Expert Interview. 30 June 2021.
- ↑ Karen Parziale. Home Stager & Interior Designer. Expert Interview. 30 June 2021.
- ↑ http://www.bhg.com/decorating/home-accessories/wall-art/how-to-arrange-art/#page=2
- ↑ http://www.bhg.com/decorating/home-accessories/wall-art/how-to-arrange-art/#page=1
- ↑ http://www.popularmechanics.com/home/improvement/interior/the-proper-way-to-hang-a-picture-10792209
About This Article
To arrange pictures on a wall in your house, think about what pictures will work best in that room, and try not to crowd the walls. Make a small room seem larger by opting for large pictures, or make the room seem taller by hanging pictures high on the wall. If a room is very large, group together pictures so you’re not left with bare patches on the walls, or consider using large pieces of furniture to help balance the room. Keep reading for tips on how to hang a picture!


