This article was co-authored by Robert Rybarski. Robert Rybarski is an Organizational Specialist and Co-Owner of Conquering Clutter, a business that customizes closets, garages, and plantation shutters to ensure organized homes and lifestyles. Robert has over 23 years of consulting and sales experience in the organization industry. His business is based in Southern California.
There are 7 references cited in this article, which can be found at the bottom of the page.
wikiHow marks an article as reader-approved once it receives enough positive feedback. In this case, 100% of readers who voted found the article helpful, earning it our reader-approved status.
This article has been viewed 38,002 times.
Chest freezers are a cheaper, more spacious alternative to upright freezers and refrigerator-freezer combos. For those with greater storage needs, these chests are often a perfect solution. However, because they’re built so differently from their vertical siblings, adjusting to their organization style may take a bit of time. Thankfully, you can speed up the process with the help of some cheap purchases and simple storage techniques.
Steps
Using Storage Dividers
-
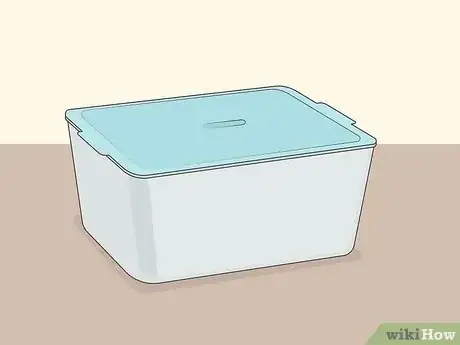
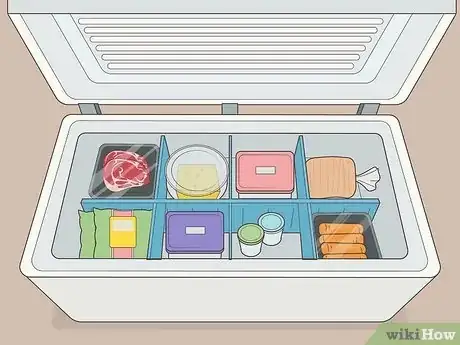
1Purchase large storage bins to hold groups of food. When treated as a single, open space, chest freezers often become messy and frustrating. An easy way to fix this is by purchasing large, square or rectangular storage bins to hold different groups of food. Look for plastic or metal storage bins that will easily fit inside your freezer. Though not required, bins with handles will be significantly easier to manipulate on a day-to-day basis.[1]
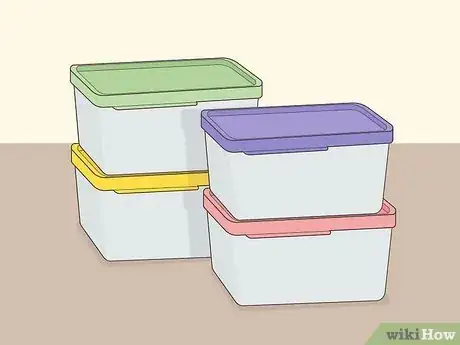
- To make your chest easier to navigate, try purchasing different colored bins to represent different foods, like pink for meat and green for vegetables.[2]
- To save money, try using old cardboard boxes to separate items.
-
2Purchase small storage containers to hold loose items. As an addition to your large bins, small storage containers may be perfect for holding loose food items like breakfast sandwiches, frozen waffles, corn dogs, ice cream bars, and yogurt cups. Look for square or rectangular containers that will easily slip inside the larger bins.[3]
- To maximize space, look for containers that nest together or stack on top of each other.
Advertisement -
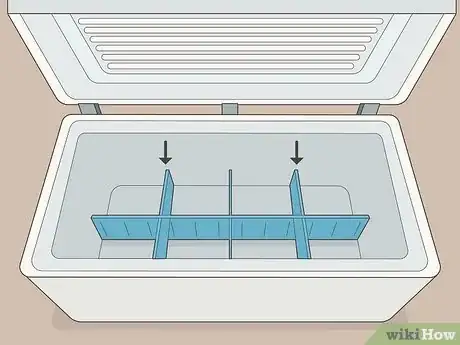
3Use solid dividers to separate bins.[4] To give your freezer a definite structure and to keep your bins from falling into each other, invest in some chest dividers. These can be simple pieces of plastic or wood, available at most craft stores, or professional freezer and pallet rack dividers, available at most department and appliance stores.[5]
-
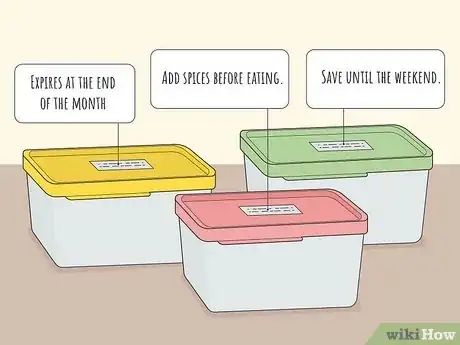
4Label your storage bins and food. Perhaps the best way to keep track of your food is by labeling it. When installing your bins, tape small labels on each that state, in clear writing, what type of food it should contain. In addition, if individual items need special attention, place labels on them like:[6]
- Expires at the end of the month.
- Add spices before eating.
- Save until the weekend.
Organizing Your Food by Type
-
1Separate the food into groups. Perhaps the easiest way to organize a chest freezer is by food group. In general, try to separate your meat, cheese, vegetables, bread, stock, cooked grains, frozen dinners, and frozen desserts into distinct sections. This will allow you to find food quickly, know where to put new purchases, and see when a type of food is almost gone.[7]
- If you’re using the chest primarily for one type of food, separate items by style, like a chicken section and a beef section, or brand, like a Ben & Jerry’s section and a Blue Bunny section.
-
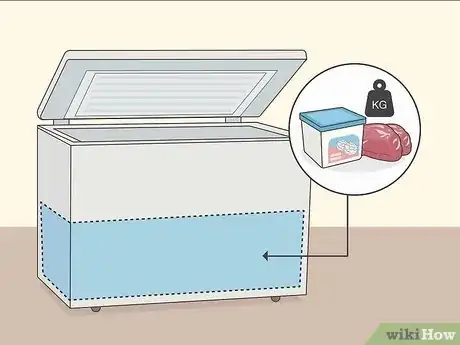
2Keep large and heavy foods at the bottom of the freezer. Though a chest freezer offers quite a bit of space, big and hefty foods can fill it quickly if you’re not careful. In general, keep products that are large near the bottom of the freezer. The same applies to heavy foods, which can make it difficult to reach items beneath and, in some cases, will even crush lighter foods.
- Try cutting items like meat and cheese into smaller, lighter chunks that are easier to store.
- Take pre-made frozen foods out of their boxes to conserve space.
-
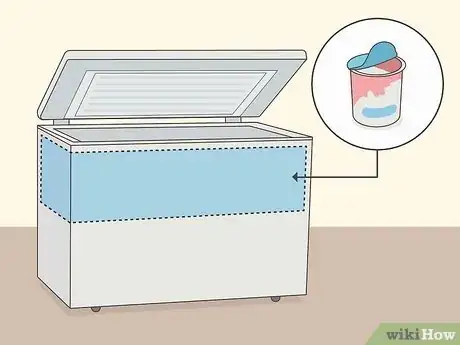
3Place old and opened food near the top of the freezer. It’s very easy to forget about food if you leave it in the freezer for too long. Though some frozen items will remain edible for years, food that is near expiration or was previously opened may lose its flavor if ignored. To avoid this, keep old and opened food near the top of the freezer as a reminder to use it.
-
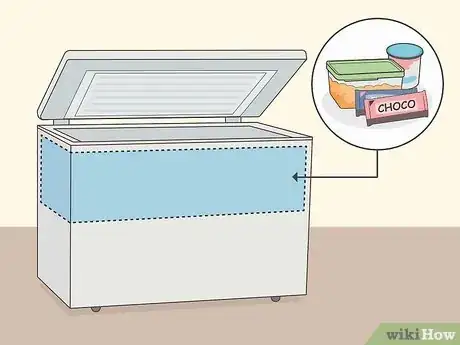
4Keep food you use often at the top of the freezer. This will give you easy access to ingredients you use frequently, frozen foods you make often, snacks you enjoy daily, and items you make in a hurry. Keep speciality ingredients, occasional snacks, and party items near the bottom since you won’t need to access them as frequently.[8]
- If you’re on a diet, try doing the opposite. Keep your favorite treats near the bottom of the freezer, making them harder to eat on a whim.
References
- ↑ https://www.upliftingmayhem.com/5-simple-ways-to-organize-a-chest-freezer/
- ↑ https://www.thekitchn.com/ways-to-organize-your-chest-freezer-love-your-freezer-215976
- ↑ http://www.iheartorganizing.com/search?q=freezer
- ↑ Robert Rybarski. Organizational Specialist. Expert Interview. 31 January 2020.
- ↑ http://hoosierhomemade.com/how-to-organize-a-chest-freezer/
- ↑ https://www.upliftingmayhem.com/5-simple-ways-to-organize-a-chest-freezer/
- ↑ http://www.goodhousekeeping.com/food-recipes/cooking/g2895/foods-you-should-freeze/
- ↑ https://www.practicallyfunctional.com/chest-freezer-organization-system/
About This Article
To organize your chest freezer, use large storage bins or dividers to separate different types of food. You can also use smaller storage containers to hold loose items. To keep everything easy to find, label your storage bins or use a color coding system so you will know where everything is. Either way, put heavier frozen goods on the bottom and more frequently used items on top for easy access. For tips on color coding your freezer, read on!
