This article was co-authored by wikiHow Staff. Our trained team of editors and researchers validate articles for accuracy and comprehensiveness. wikiHow's Content Management Team carefully monitors the work from our editorial staff to ensure that each article is backed by trusted research and meets our high quality standards.
There are 9 references cited in this article, which can be found at the bottom of the page.
This article has been viewed 82,595 times.
Learn more...
Figuring out the size of a bolt seems like a simple enough task until you try to match your bolt with a sea of options at the hardware store. In order to get accurate measurements, you’ll need a bolt gauge, which you can purchase from your local hardware or auto parts store. Measure the diameter, thread pitch, and length of the bolt so you can easily find a replacement or matching fasteners.
Steps
Measuring the Diameter
-
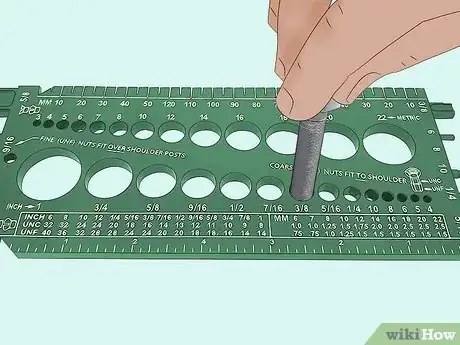
1Use a bolt gauge to find the diameter quickly and easily. A bolt gauge is divided into standard and metric sections. Usually, the metric holes are in the top row and the standard holes are in the bottom row. Push the bolt into the holes on the gauge and find the smallest hole the bolt will fit into.[1]
- Check more than once to ensure the bolt cannot fit into a smaller hole.
-
2Use a ruler to measure diameter if you don’t have a bolt gauge. Measure from the outermost edge of the bolt’s thread on one side to the outermost edge of the thread on the other side. Make sure your measurement is in a straight line across the thickest portion of the bolt.[2]Advertisement
-
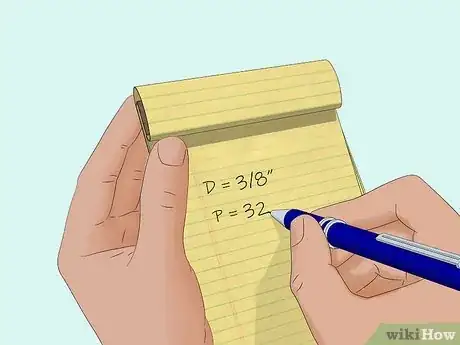
3Record the diameter. If you used a bolt gauge, make note of the number marked next to the smallest hole the bolt fit through. If you used a ruler, write down the measurements to the nearest millimeter (for metric bolts) or fraction of an inch (for standard bolts).[3]
Finding the Thread Pitch
-
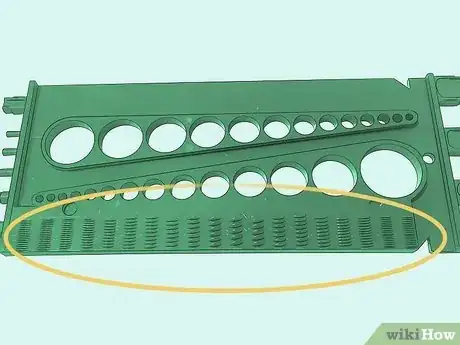
1Turn your bolt gauge over to find the thread gauge. The back of your bolt gauge has plastic ridges that can be used to determine the thread of your bolt. Look at the labels to see which gauge is for standard bolts and which is for metric ones, as they are separate.[4]
- Some thread gauges may look like a pocket knife. If you have one of those, open the thread gauge up by pulling out the first gauge.
-
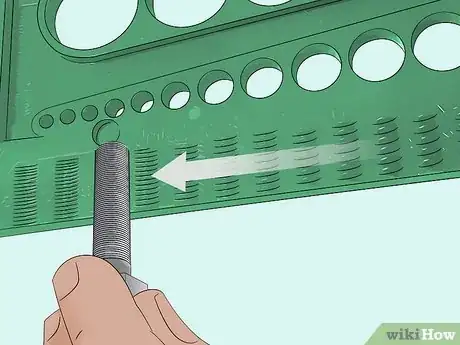
2Rub the bolt on different sized thread gauges. Run the threads of the bolt along the thread gauge of the appropriate type (standard or metric). Orient the bolt so the threads are facing in the same direction as they are on the gauge. As you rub the bolt on the plastic threads, feel for one that fits correctly.[5]
- If you are using a thread gauge that unfolds like a pocket knife, you’ll need to unfold each gauge and press it up against the threads instead.
-
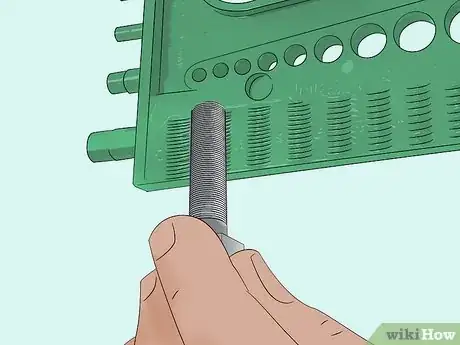
3Stop when the thread gauge grabs the threads of the bolt. When the plastic threads fit perfectly into the bolt’s threads, you’ve found a match. Look at the gauge from an angle to see if any light passes between the plastic threads and the threads of your bolt. If it does, try the next size down.[6]
- Double-check the thread measurement by rubbing the bolt on the gauge a few times. It can be really tough to spot a half millimeter difference in bolt threads, so once you have your thread measurement, do the test one more time to make sure you got the same result.[7]
-
4Make a note of the thread pitch. Once you find the thread that allows no light to pass through, record that measurement. Metric threads are measured in millimeters and are often 1.5 or 2.0 millimeters. Standard threads are counted per inch, so they’re recorded as a single number (like 16).[8]
Determining the Length
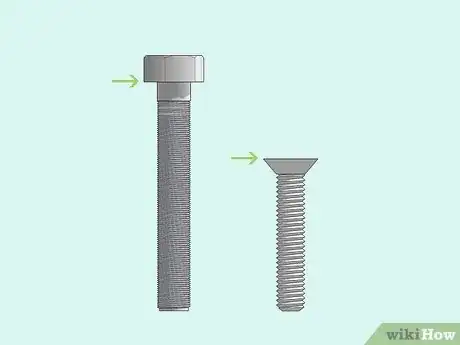
The bolt's length is the distance from the surface of the item being bolted, to the end of the bolt. For a normal hex or pan style bolt, this means the bottom of the head, which will be flush with the surface. For a countersunk bolt, where the top of the head is flush with the surface, the length is measured from the top of the head.
-
1Locate the portion of the bolt’s head which will be flush. On traditional bolts, the flush portion of the head is at the bottom where the head meets the threads of the bolt. On countersunk bolts, which are shaped like cones, the flat portion of the head is the very top.[9]
-
2Measure from the flat portion to the tip of the bolt. Use a ruler or your bolt gauge to measure the length of the bolt starting at the flat portion you identified and ending at the very tip of the bolt’s threaded portion.[10]
-
3Write down the length measurement. For standard bolts, record the measurement to the nearest fraction of an inch. For metric bolts, record the measurement to the nearest millimeter.[11]
Things You’ll Need
- Bolt gauge
- Ruler
References
- ↑ https://youtu.be/uPxHj652Y1w?t=195
- ↑ https://youtu.be/IGfars7Idko?t=69
- ↑ http://homepages.cae.wisc.edu/~me231/online_notes/dimensoning/fastener_handout.pdf
- ↑ https://youtu.be/uPxHj652Y1w?t=220
- ↑ https://youtu.be/0JammBOVZ8w?t=277
- ↑ https://youtu.be/0JammBOVZ8w?t=277
- ↑ https://youtu.be/lOoTpbxZQTY?t=49
- ↑ http://homepages.cae.wisc.edu/~me231/online_notes/dimensoning/fastener_handout.pdf
- ↑ https://youtu.be/zHZtJ-b75r0?t=42
