This article was co-authored by wikiHow staff writer, Nicole Levine, MFA. Nicole Levine is a Technology Writer and Editor for wikiHow. She has more than 20 years of experience creating technical documentation and leading support teams at major web hosting and software companies. Nicole also holds an MFA in Creative Writing from Portland State University and teaches composition, fiction-writing, and zine-making at various institutions.
This article has been viewed 15,790 times.
Learn more...
This wikiHow teaches you how to edit your iTunes subscriptions on a Windows or macOS computer.
Steps
-
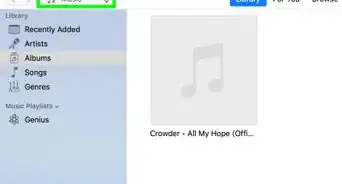
1Open iTunes on your PC or Mac. It's the music note icon typically found on the macOS Dock or the All Apps section of the Windows Start menu.
-
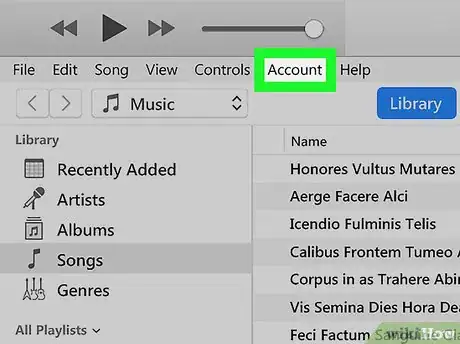
2Click the Account menu. It's at the top of iTunes in Windows, and in the menu bar in macOS.Advertisement
-
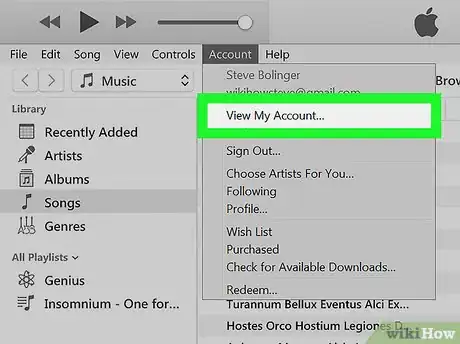
3Click View my account. A sign-in screen will appear.
-
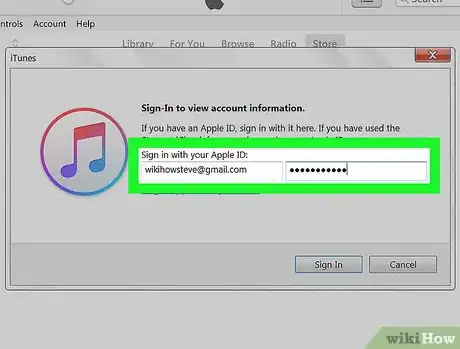
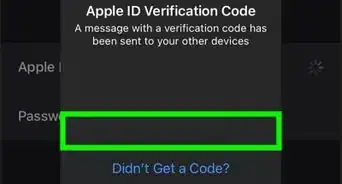
4Sign in with your Apple ID. Use the same username and password you use to sign in to your iCloud account. This brings you to the Account screen.
-
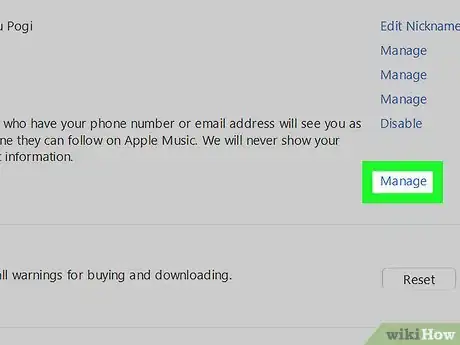
5Scroll down and click Manage next to “Subscriptions.” It's under the “Settings” header near the bottom of the page. A list of current and past subscriptions will appear.
-
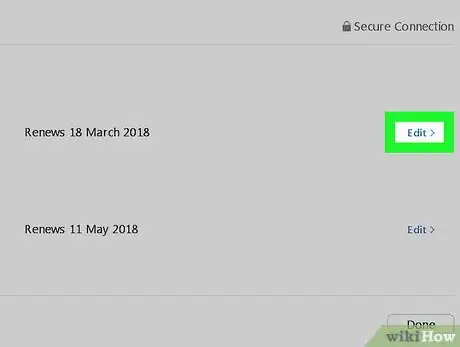
6Click Edit next to a subscription. Information about that subscription will appear.
-
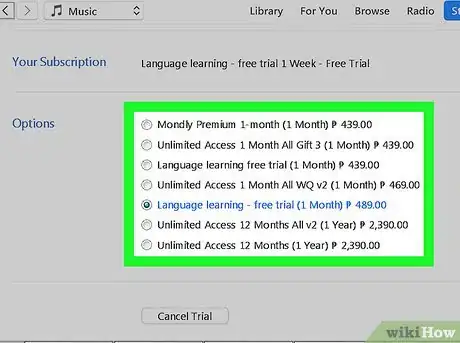
7Make changes to your subscription. The options will vary depending on the type of subscription. You can usually restart or cancel a subscription. You may also be able to select an alternative plan.
- If you cancel a subscription, the subscription will stop at the end of the current billing cycle.
-
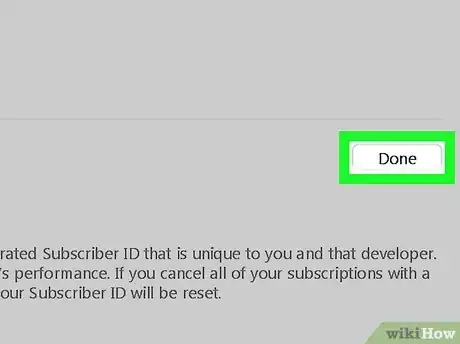
8Click Done. It's at the bottom-right corner of the page. This saves any changes you made to this subscription.
About This Article
1. Open iTunes.
2. Click Account.
3. Click View my account.
4. Sign in with your Apple ID.
5. Click Manage next to “Subscriptions.”
6. Click Edit.
7. Make changes as needed.
8. Click Done.
