This article was co-authored by wikiHow staff writer, Jack Lloyd. Jack Lloyd is a Technology Writer and Editor for wikiHow. He has over two years of experience writing and editing technology-related articles. He is technology enthusiast and an English teacher.
The wikiHow Tech Team also followed the article's instructions and verified that they work.
This article has been viewed 914,366 times.
Learn more...
This wikiHow teaches you how to burn a music playlist to a CD using iTunes.
Things You Should Know
- Create a new playlist and add the songs in your preferred order. You can then burn the playlist to a CD to listen to your mix anywhere.
- You can add up to 80 minutes of music to your playlist.
- Use a blank CD-R instead of a CD-RW, as CD-RWs won't play in all CD players.
Steps
Create a Playlist
-
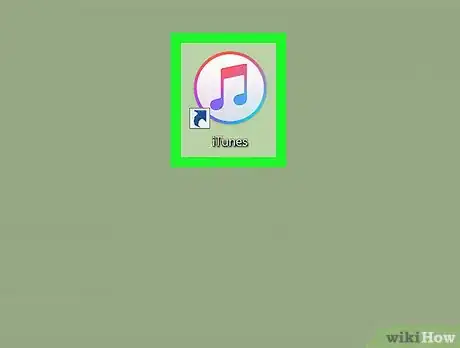
1Open iTunes. Its app icon resembles a multicolored musical note on a white background.
- If prompted to update iTunes, click Download iTunes and follow any on-screen instructions before proceeding.
-
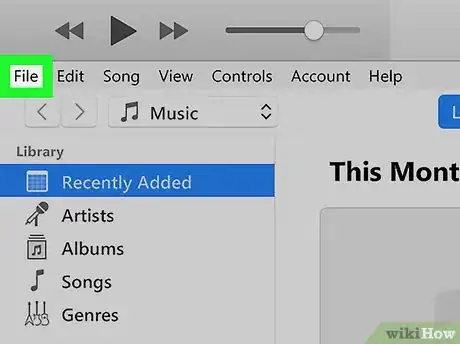
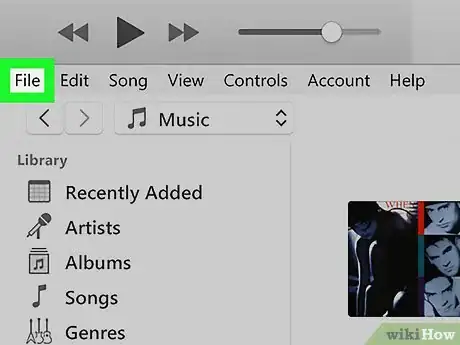
2Click File. It's in the top-left corner of the window (Windows) or the screen (Mac). A drop-down menu will appear.Advertisement
-
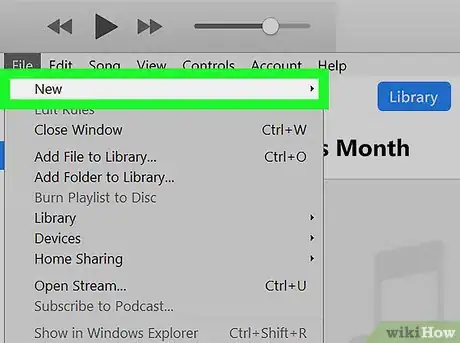
3Select New. This option is near the top of the File drop-down menu. A pop-out menu will appear.
-
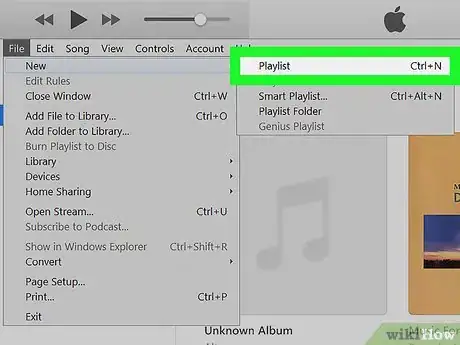
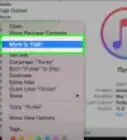
4Click Playlist. It's in the pop-out menu. Doing so causes a blank playlist to appear on the left side of the window.
-
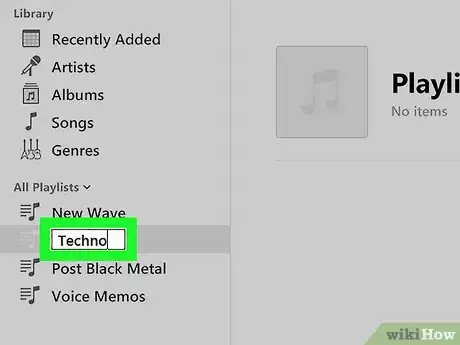
5Enter a name for the playlist. Without clicking elsewhere, type in a name for your playlist, then press ↵ Enter. This will assign a name to your playlist.
-
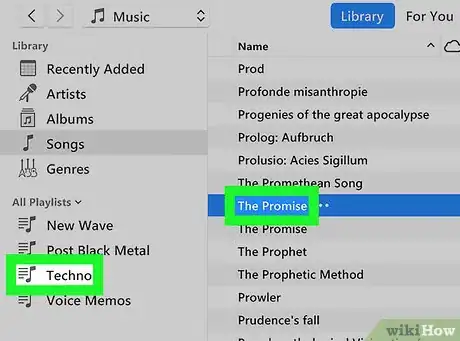
6Add music to the playlist. Click and drag songs from your iTunes library onto the playlist's title, then drop them there. Once you've added the songs you want to burn, you can proceed with burning the playlist to your CD.
- You can add around 80 minutes of music to one audio CD.[1]
Burn the Playlist
-
1Make sure your computer has a DVD drive. In order to burn an audio CD, your computer must have a DVD drive; the easiest way to tell whether or not your computer has a DVD drive is by looking for the "DVD" logo on the CD slot.
- If your computer either doesn't have a DVD-certified drive or doesn't have a CD slot at all, you'll need to buy an external DVD drive and plug it into your computer via a USB cable.
- If you have a Mac, you'll almost certainly need to buy an external DVD drive. Make sure you buy an Apple-certified one which comes with a USB-C cable if your Mac doesn't have rectangular USB 3.0 slots.
-
2Insert a blank CD-R into your computer. Place the CD-R logo side-up in your DVD drive to do so.
- The CD-R must be blank (never used) for this to work.
- Avoid using a CD-RW for this process, as they don't always play when inserted into a CD player.
-
3Close any windows which open. Depending on your computer's settings, inserting a blank CD may trigger a new window to open; if so, just close the window(s).
-
4Select your playlist. Click your playlist's name in the left-hand sidebar.
-
5Click File. It's in the top-left corner of iTunes. A drop-down menu will appear.
-
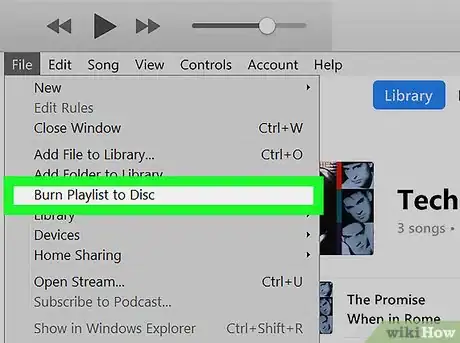
6Click Burn Playlist to Disc. This option is in the File drop-down menu. Doing so brings up a new window.
-
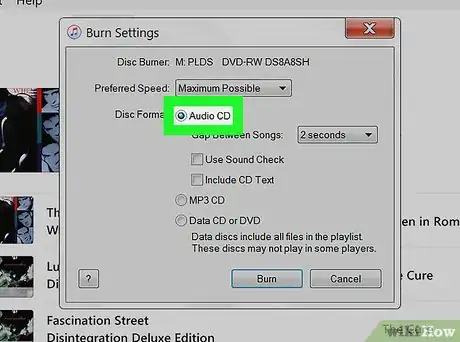
7Make sure the "Audio CD" box is checked. If another option is selected, click the "Audio CD" box. This will ensure that your CD can play your music when inserted into a CD player.
- If you just want to store your songs on the CD without needing to play the CD in a stereo, you can check the "Data CD or DVD" box instead.
-
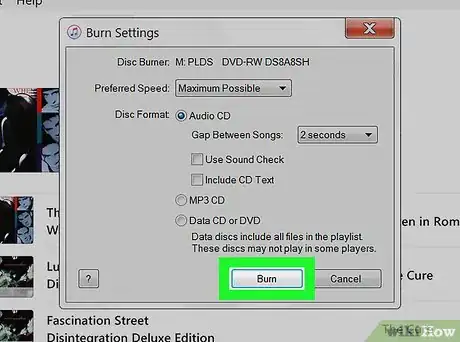
8Click Burn. It's at the bottom of the window. Doing so will prompt your CD to begin burning.
- It can take up to a minute per song when burning your CD, so be patient.
-
9Eject your CD when it finishes burning. Once your CD finishes burning, press the "Eject" button on your DVD drive's face (or on your Mac's keyboard, if applicable) and remove the CD.
- On some computers, the CD may automatically eject when it's done burning.
Community Q&A
-
QuestionHow do I fix it so my Apple songs will burn properly?
 Community AnswerSongs from Apple Music, a subscription service offering over 30 million songs, cannot be burned on to a CD, because they were saved through the subscription service. You'll have to actually buy the song. If it is a song that you do, in fact, own, you may need to save it as a windows file, such as a WMA, instead of an Apple file.
 -
QuestionWhy can I only burn 18 songs onto a CD from iTunes?
 Community AnswerYou need to use CDs with a larger capacity. When you buy your CDs, look for ones with longer playing times.
 -
QuestionCan I play the disk elsewhere besides my computer?
 Community AnswerYes, it should play on Blu-ray players and CD players.
Warnings
- Creating a data CD rather than an audio CD will allow you to store more music, but you won't be able to play a data CD in a CD player.⧼thumbs_response⧽
About This Article
1. Open iTunes.
2. Go to File > New > Playlist.
3. Name the playlist.
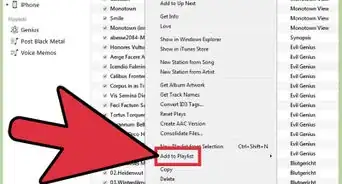
4. Drag songs to the playlist.
5. Insert a blank CD-R.
6. Select the playlist in the left panel.
7. Go to File > Burn Playlist to Disc.
8. Select Audio CD and click Burn.
