This article was co-authored by wikiHow staff writer, Janice Tieperman. Janice is a professional and creative writer who has worked at wikiHow since 2019. With both a B.A. and M.A. in English from East Stroudsburg University, she has a passion for writing a wide variety of content for anyone and everyone. In her free time, you can find her working on a new crochet pattern, listening to true crime podcasts, or tackling a new creative writing project.
There are 13 references cited in this article, which can be found at the bottom of the page.
This article has been viewed 2,695 times.
Learn more...
Getting ready to say your vows? A homemade vow book is an elegant and beautiful way to remember each and every sentiment you want to share with your partner on your special day. This special keepsake is super easy to make from scratch or with a pre-designed template—it all depends on your personal preference. We’re here to walk you through everything you need to know, so you can make a beautiful memento that will last for years to come.
Thing You Should Know
- Pick a style and design for your vow book that best lines up with the aesthetic and vibe of your wedding.
- Download or buy a pre-made vow book template to save yourself some time.
- Print your vow book on cardstock to give it a structured, high-quality touch.
- Make your vow book extra special by filling it with keepsakes from your wedding.
Steps
Choose the style and size of your vow book.
-
Pick a vow book that matches the aesthetic of your wedding. Think about the type of wedding that you’re planning, as well as what you’ll be using the vow book for. A smaller, pocket-sized vow book might be best if you’ll be reading from it at the altar, while a larger vow book could make a nice memento after the wedding.
- A handwritten, journal-like vow book might be good for a small, rustic wedding, while a monochromatic, minimalistic vow book could be better for a more modern gathering.
- If you’re hosting your wedding in the mountains, you might add an image of the mountains to the front of your vow book.
Download a template to save time.
-
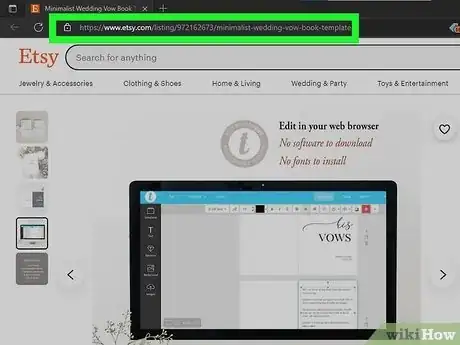
Vow book templates come in a pre-determined size and design. Plenty of DIYers and Etsy sellers make a variety of vow book templates for you to choose from—all you have to do is download the file and follow the creator’s printing and assembly instructions. Here are just a few templates for you to peruse:
Grab several sheets of cardstock to construct your book.
-
Cardstock offers a sturdy, high-quality look to your vow book. Set aside 1 sheet to act as the outer cover, and a few other sheets to serve as the interior paper. Keep in mind that all of the cardstock gets folded in half to make your book; so, 3 sheets yield 6 pages, 4 sheets yield 8 pages, and so on. Set aside enough paper so you can comfortably type or write out your vows.
- Feel free to play around with different cardstock colors, too! For a minimalist look, you might choose white- or cream-colored paper for the cover and gray paper for the interior pages.[1] X Research source
- You can always trim your cardstock down to size later if you don’t want your vow book to be a standard 8 1⁄2 by 14 in (22 by 36 cm) or A4 size. Some people format their vow books to be on the smaller side, like 4 by 5 in (10 by 13 cm).
- You don’t have to use cardstock if you don’t have any on hand—regular printer paper can also work if needed. Lined paper could also be a great option if you plan on handwriting your vows.
- Some DIYers like using a completely different material for their vow book cover, like leather.[2] X Research source
Format the booklet on your computer.
-
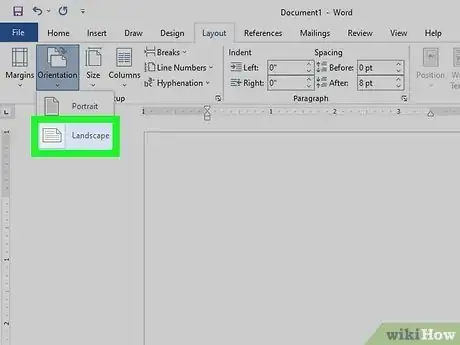
Open a Word document or design program file to make your book. If you’re using Microsoft Word, start by setting your document to “Landscape” mode so the paper is horizontal rather than vertical. Then, go to the “Margins” tab and select the “Book fold” option from the drop-down menu for “Multiple pages.” Make sure the “Gutter” measurement is at least 1 cm (0.39 in) so you have enough room for binding.[3] X Trustworthy Source Microsoft Support Technical support and product information from Microsoft. Go to source
- Microsoft Publisher: Click on the arrow in the lower-right corner of the “Page Setup” box. Then, select “Booklet” from the “Layout type” menu in the dialog box that pops up.[4] X Trustworthy Source Microsoft Support Technical support and product information from Microsoft. Go to source
- Adobe InDesign: Make a book file in InDesign by clicking “Choose File,” “New,” and then “Book.” Type a file name for your vow book, choose a location on your computer to save the file, and hit the “Save” button on your screen.[5] X Research source
- You can also format your booklet in a program like Microsoft Publisher or Adobe InDesign.
- Skip this step if you’re using a template for your vow book.
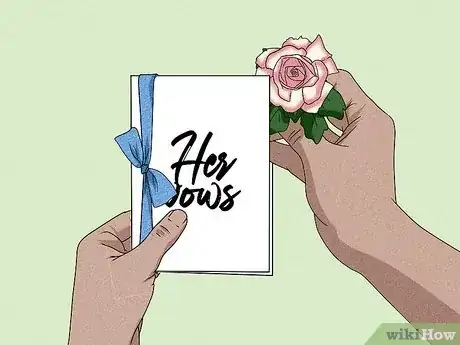
Type “His Vows” or “Her Vows” on the front cover.
-
Choose an eye-catching font that matches your wedding’s aesthetic. Searching for something posh and elegant? An elegant cursive font like Sacramento, Parisienne, or Allura might be up your alley. In the mood for something more intimate and handwritten? Look no further than fonts like Shadows Into Light, Indie Flower, and Gloria Hallelujah.[6] X Research source Play around with different fonts and see what most appeals to you!
- You can write the titles by hand in calligraphy, too!
- You don’t need to do this if you’re using a template—chances are, the original creator already designed and formatted the front cover.
Type your vows.
-
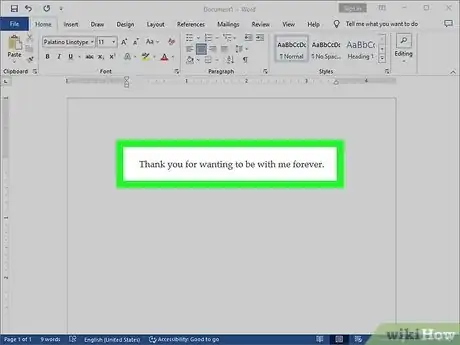
Come up with vows that will take less than 2 minutes to read.[7] X Research source Choose a font size that’s big enough for you to comfortably read, like 12, 14, or 16. Double-check your formatting as you type, making sure that your text is fitting correctly and covering the right number of pages. Then, do a quick round of proofreading to ensure that everything looks and sounds good.
- Skip this step if you plan on handwriting your vows later on.
Print out all of your materials.
-
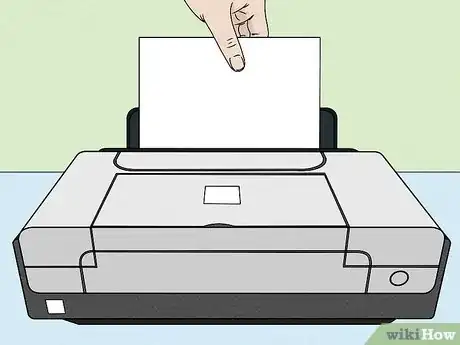
Load your printer with cardstock or your desired material. Review your book’s layout using the “Print Preview” feature in your word processor design program. Double-check that all of the text is aligned and formatted in a way that’s easy to fold and assemble into a booklet. Then, confirm that your paper tray is filled with the correct printing material before you click “Print.”
- Check your printer’s settings or user manual to make sure that it can handle printing out specialty paper. If you aren’t sure, send your vow book to a professional printing company for publication.
Put the pages in order.
-
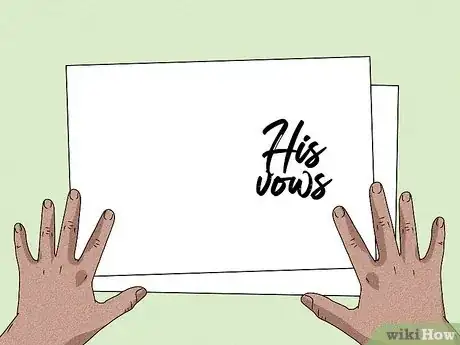
Check that the cover page is in front and your vows are in the right order. Read through your typed vows and make sure that everything is printed and ordered correctly. Don’t worry about the page order too much if you plan on handwriting your vows—just make sure that the cover page is in the front before you continue.
- If you’re using a template, make sure to follow the original designer’s instructions when it comes to formatting and ordering the pages.
Fold the pages into a booklet.
-
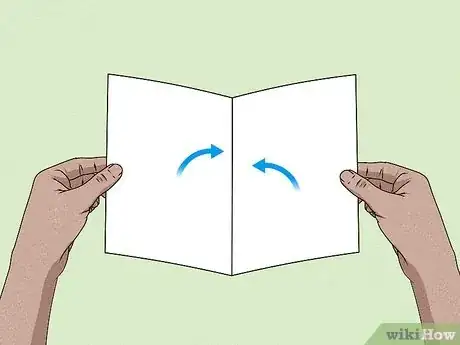
Measure the pages halfway and crease them down the center. Place a ruler vertically down the center of each printed page. Use the blunt edge of an X-ACTO knife to mark a dull line along the middle of the paper. Fold the paper in half along the crease, using the indented line as a guide. Repeat this process with each page in your vow book, including the cover.[8] X Research source
- Crease and fold your pages in the correct order so you don’t lose track.
Trim the pages to size.
-
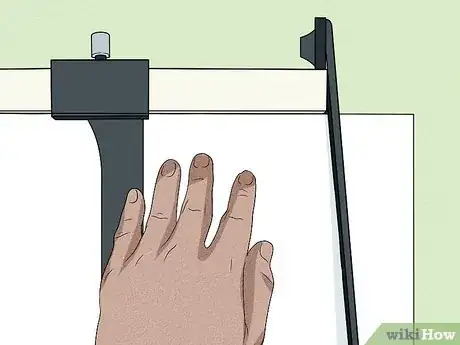
Use a paper cutter to trim all of the pages if they aren’t the correct size already. Measure the cutting line on your stack of papers, and then slice them all at once in a uniform line.[9] X Research source Feel free to skip this step if you’re happy with the size of your pages.
- A smaller vow book might be trimmed down to be 4 by 5 in (10 by 13 cm) rather than the standard paper size. It all depends on your personal preference!
- If you don’t have a paper cutter, cut each page very carefully with a pair of scissors.
- Skip this step if your printed pages are already the correct size.
- Check your template download for exact measurements.
Bind the book.
-
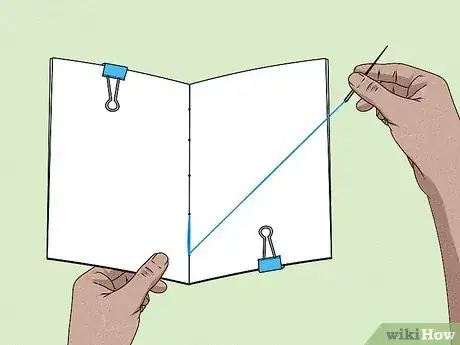
Binder clips, an awl, and waxed thread are all you need for easy binding. Check that all of your pages are stacked in the correct order and attach a binder clip to the top left and bottom right corners of the papers. Then, use an awl to poke a vertical line of evenly-spaced holes along the center seam of your book. String waxed thread on a sewing needle and sew the binding with a saddle stitch.[10] X Research source
- Space the holes about 1 in (2.5 cm) apart.
- Pull a length of embroidery floss through a thread conditioner to wax your own thread.[11] X Research source
Tie a bow around the book.
-
A bow is a nice touch if you plan on photographing the book. Grab a 1⁄4 in (0.64 cm) thick ribbon and cut a section that’s easily long enough to wrap around the front of your book. Tie the bow along the front of book, centering it around or below the cover title.[12] X Research source
- This step is completely optional and up to your personal preference. If you aren’t a fan of bows and ribbons, feel free to leave it off!
Stick mementos in the pages of your vow book.
-
Photos and pressed flowers are items you might include. Set aside small trinkets and keepsakes to remind you about your special day—maybe a picture of you and your partner walking down the aisle, or a save-the-date card. As an extra special touch, press a few flowers from your wedding bouquet and stick them between the pages of your book. You could also include:
- A plane ticket for your honeymoon
- A snapshot of the wedding party
- A bulletin from a religious ceremony
Use your vow books on your wedding day.
-
Read from your vow books during the ceremony. Stash your book on your person during the wedding or place it near the altar ahead of time. When the big moment arrives, pull out your book and read your vows aloud to your partner. This way, you don’t have to worry about memorizing them![13] X Research source
- You can also photograph your vow book and add the picture to your wedding photo collection.
- Feel free to make your vow books after the wedding, too! Type out or write down the vows that you shared on your special day, and then hold onto the books as a sweet memento.
Things You’ll Need
- Cardstock
- X-ACTO knife
- Paper cutter
- Binder clips
- Awl
- Waxed thread
- Sewing needle
- Ribbon (optional)
- Embroidery floss (optional)
- Thread conditioner (optional)
You Might Also Like


-Step-15.webp)

 How to Use Notion for Students: The Ultimate Guide for Organized Note-Taking


 3 Simple Ways to Stop Losing Your Wallet for Good


References
- ↑ https://www.stylemepretty.com/2019/01/21/diy-calligraphy-vow-books-with-free-download/
- ↑ https://www.tidewaterandtulle.com/2018/11/how-to-make-your-own-wedding-vow-book.html
- ↑ https://support.microsoft.com/en-us/office/create-a-booklet-or-book-in-word-dfd94694-fa4f-4c71-a1c7-737c31539e4a
- ↑ https://support.microsoft.com/en-us/office/set-up-and-print-a-letter-sized-booklet-or-newsletter-c2f408d0-2f04-4d43-84ec-5b305b426aea
- ↑ https://helpx.adobe.com/indesign/using/creating-book-files.html
- ↑ https://fonts.google.com/?category=Display,Handwriting
- ↑ https://www.theknot.com/content/favorite-wedding-vows-from-real-weddings
- ↑ https://www.youtube.com/watch?v=fznrnJ9ORU8&t=1m11s
- ↑ https://www.youtube.com/watch?v=bktbW1KnsPo&t=0m23s
- ↑ https://www.youtube.com/watch?v=aWHkY5jOoqM&t=0m24s
- ↑ https://www.tinymodernist.com/blogs/news/to-wax-or-not-to-wax-the-basics-of-thread-conditioning
- ↑ https://www.stylemepretty.com/2019/01/21/diy-calligraphy-vow-books-with-free-download/
- ↑ https://www.weddingwire.com/wedding-ideas/what-are-wedding-vows
- ↑ https://www.stylemepretty.com/2019/01/21/diy-calligraphy-vow-books-with-free-download/
- ↑ https://www.theknot.com/content/wedding-vow-notebooks
About This Article


