wikiHow is a “wiki,” similar to Wikipedia, which means that many of our articles are co-written by multiple authors. To create this article, 15 people, some anonymous, worked to edit and improve it over time.
wikiHow marks an article as reader-approved once it receives enough positive feedback. In this case, 92% of readers who voted found the article helpful, earning it our reader-approved status.
This article has been viewed 33,874 times.
Learn more...
Are all of your recipes in a box? Do you find yourself getting tired of having to file through them? A recipe binder might just be the answer. They are a great way to organize your recipes and keep them safe. This article will show you how to make and organize a recipe binder. It will also show you how to make a very simple, rustic binder.
Steps
Making the Binder
-
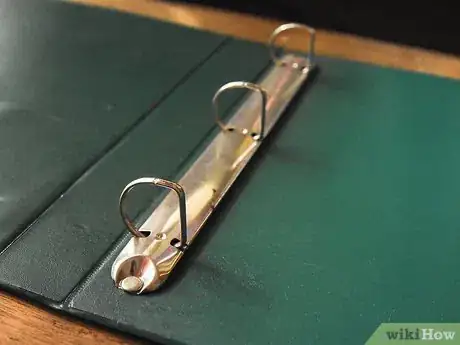
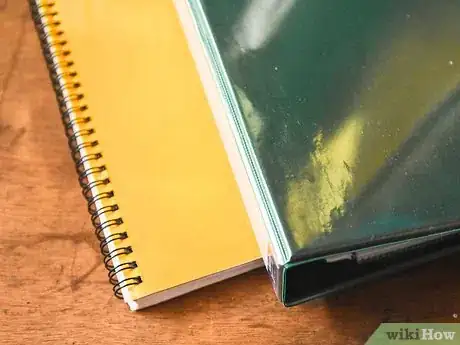
1Find a 3-ring binder that is 2 to 3 inches (5.08 to 7.62 centimeters) thick. You can buy a plain one that is all one color. You can also buy a fancy one with a pattern on the cover.
- You can also use a 2-ring binder if you can't find a 3-ring binder.
-
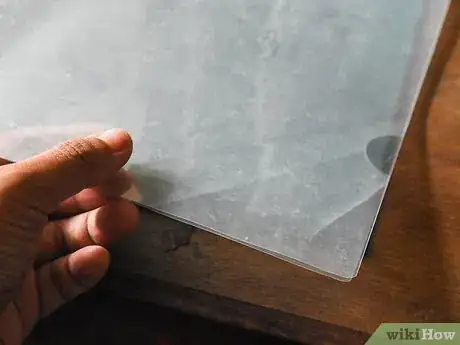
2Buy some page protectors to keep your recipes clean. Paper stains easily in the kitchen. A plastic page protector will keep your recipes clean. The smooth surface is also easy to wipe clean. They are transparent plastic sleeves, about same size as a sheet of printer paper. Most will already have holes punched in the sides for the binder rings to go through. You can find them at office supply stores, and well-stocked arts and crafts stores.Advertisement
-
3Find some recipes you like. You might already have some in your home. You can also find plenty of recipes online and in magazines. Lastly, you can also ask your friends and family members if they have any recipes they would like to share with you.
-
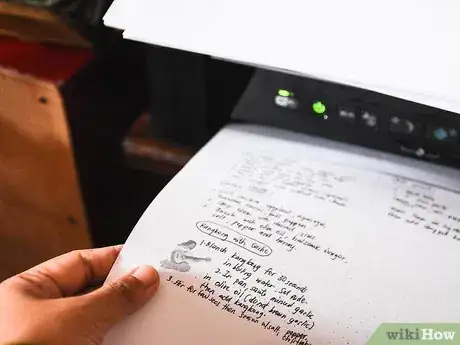
4Consider typing and printing the recipes out. This will keep everything looking consistent. If you have beautiful handwriting, you can write the recipes out by hand instead. You can also use the original recipes if you don't care about consistency.
- Avoid adding page numbers if you plan on adding more recipes to the binder later.
- Use page numbers if you already have all the recipes you want and don't plan on adding anymore.
- If the recipe is a long one, print it out on a single page. If you have a few recipes that are short and very similar, try putting them on the same page. You can divide them into paragraphs or columns.[1]
-
5Put the recipes into the page protectors. If you cannot find any page protectors, try to order some online. You can also get the pages laminated at a photocopying shop. Once they are laminated, punch holes in them using a hole puncher.
-
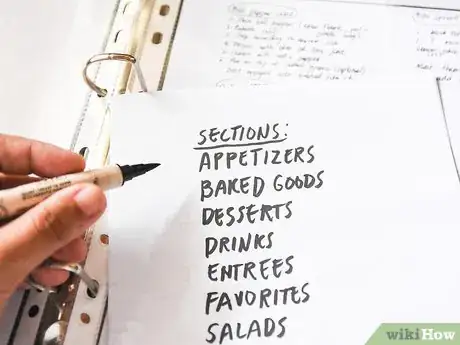
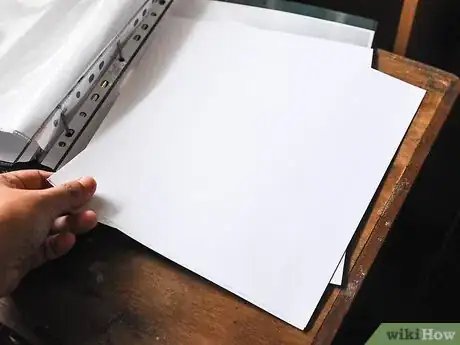
6Decide what sections you want. Having sections will make your recipe binder less overwhelming. They will also make your binder more organized and easier to browse. Here are some ideas for the different sections you could have in your binder:
- Appetizers
- Baked goods
- Desserts
- Drinks
- Entrees
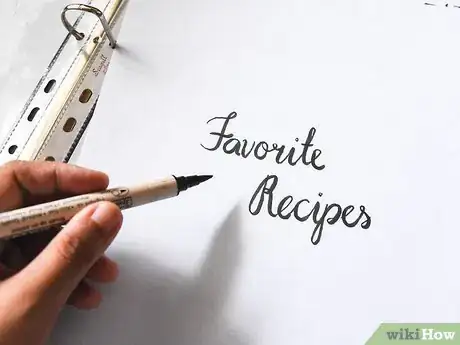
- Favorites
- Salads
- Soups
- Treats
-
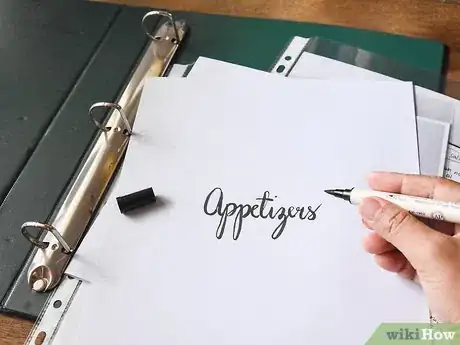
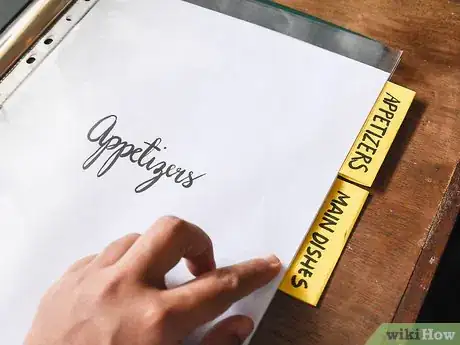
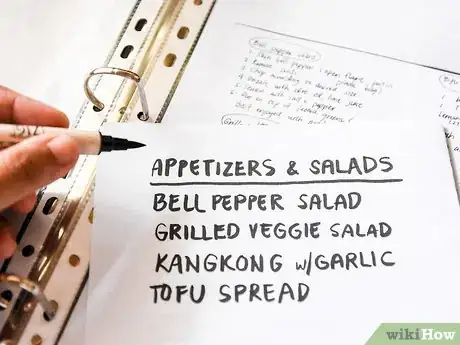
7Make a title page for each section. You can design the title page using an image or word processing program. You can also design it right onto a sheet of paper. The title page should include the name of the section in large letters. You can also include a border and a table of contents that lists all the recipes in that section.
-
8Slide each title page into a page protector. Again, if you don't have any page protectors, try to get the pages laminated. Be sure to punch holes in the sides.
-
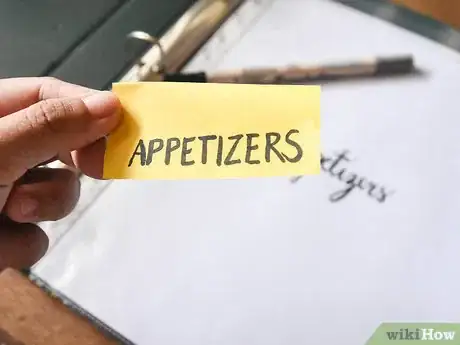
9Buy some sick-on tabs and label them. The tabs should match the section title pages. For example, if you have a section title page for desserts, write "Desserts" on the tab.
-
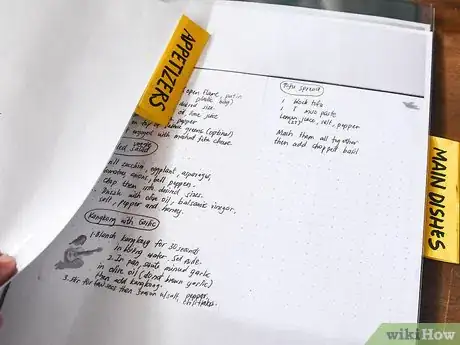
10Attach the tabs to the category title pages. Stagger the tabs when you stick them down onto the pages. Each tab should be positioned a little bit lower than the previous tab. That way, you will be able to see all the tabs at once when you open the binder and look down at it.
-
11Put all the recipes in. You can put them in any order you want, but make sure that they are under the right sections.
-
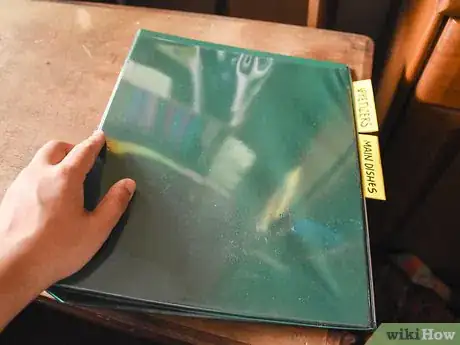
12Place the binder in your kitchen or give it as a gift. Recipe binders make great gifts, especially if they are filled with treasured family recipes that have been passed down for generations. They can also make an ideal going-away-to-college gift.
Organizing the Binder
-
1Know how to organize your binder. You can arrange your binder however you think would be the most helpful for you. This section will give you a few ideas on how to do this. You don't have to use all the ideas from this section.
-
2Make more than one binder. If you have a lot of recipes, you could divide them up further between several binders. For example, you can have a binder for baked goods and another one for salads. You could even have a special one just for family recipes.
-
3Alphabetize your recipes within each section. This means that if you have a section for pies, you might arrange your recipes like this: apple pie, blueberry pie, pecan pie, pumpkin pie, rhubarb pie, etc.
-
4Arrange your sections in a specific order. This can help make your binder look more orderly. It can also help you find recipes quicker. Here are some ideas for you:
- Alphabetize the sections. For example: appetizers, beverages, cakes and cookies, desserts, pasta, poultry, salads, etc.
- Arrange the sections in the order you might eat a meal. For example: breakfast, lunch, appetizers, salad, main course, dessert, etc.
-
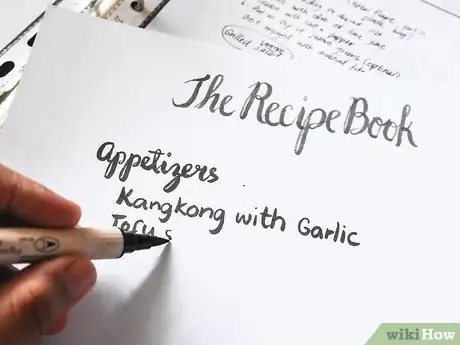
5Add a table of contents. This will make finding recipes a lot easier.
- Start by writing down the name of your recipe book in the top center of the page. Use a large, fancy font.
- Next, write down the names of the sections in a slightly smaller font. You can still use a fancy font. The section names should be on the left side of the page.
- Lastly, write down the names of the recipes in a smaller, but plain, font. Make sure that the recipes are under the right section. The recipes should also be on the left.
- If your binder has page numbers, write them down on the right side. The font should be the same as the one you used for the recipe names.
-
6Include a few extra, blank pages at the end of each section. If you think you might want to keep adding to your binder, it might be a good idea to include two or three extra pages at the end of each section. This way, if you come across a recipe you like, all you have to do it print it out or write it down.
-
7Add some special sections. These sections aren't based off of any regular food group, such as soups, salads, cakes, and so forth. They are unique and include dishes from multiple food groups. Here are some examples:
- Include some categories inspired by foods from different countries, such as: Chinese, French, Indian, Italian, Mexican, Thai, etc.
- Add a section for your favorite recipes.
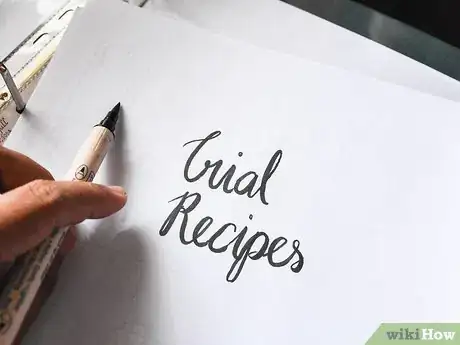
- Put all of the recipes you are interested in trying out in their own section.
- Have a special section for holiday recipes. This will make finding all of those recipes for Thanksgiving a lot easier.[2]
-
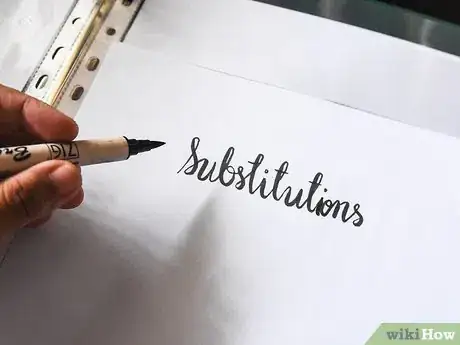
8Be prepared for the worst by including a section for substitutions. Sometimes, you run out of a certain ingredient and don't have the time to run to the store. Research some common substitutions, and print them out onto a sheet of paper. Add this to the back of your binder.[3] Some common cooking substitutions include margarine for butter and white vinegar for lemon juice.
- You can also include a section for healthy substitutions, such as wheat flour for white flour, or apple sauce instead of oil/butter.[4]
-
9Add a section for measurement conversions and equivalents. This will come in handy if you are living in the UK and are working with a US recipe, and vice versa. It will also come in handy when you need to measure out liters using cups instead.[5]
-
10Add some binder dividers with pockets for recipes you want to try. You can also just use an empty page protector. This is great for those recipes you are not sure about and don't want to put the effort into printing them out just yet.[6]
-
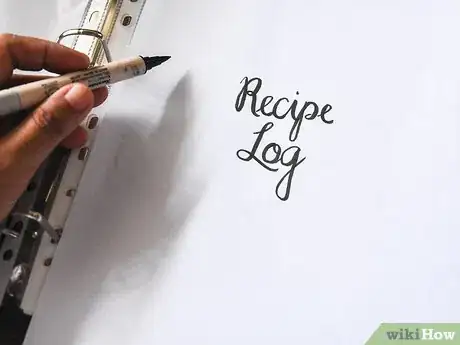
11Include a recipe log to record what you liked and did not like. You can tape it to the back of your binder. You can also keep it in its own page protector. This will allow you to keep track of what recipes you have tried and didn't like, so you can avoid using them in the future.[7]
Decorating the Binder
-
1Consider decorating your binder to make it more unique and interesting. You can leave your binder as is, or you can add some special touches to it. This section will give you some ideas. You don't have to use all of the ideas from this section, however. Use the ones you like the most.
-
2Print your recipes on stationery paper instead of plain paper. Stationery paper usually has a pretty boarder. This can make your recipes more interesting to look at.
- Stationery paper also tends to come in different themes. Choose a theme you like. You can also match the theme to your binder.
- If you have a special section for holiday recipes, such as Thanksgiving or Christmas, try matching the paper to the holiday. For example, use paper that has pumpkins or autumn leaves for Thanksgiving recipes, and paper that has snowflakes or Christmas trees for Christmas recipes.
-
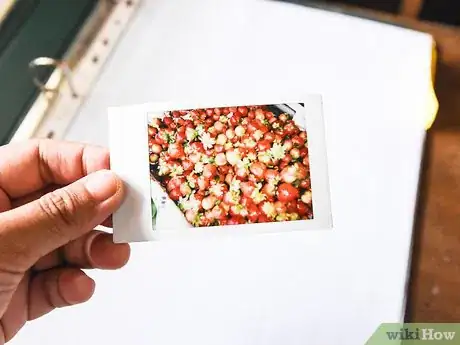
3Add pictures to the recipes. You can add step-by-step pictures to your recipes. You could also add a picture of the final dish instead. This will make the recipes more colorful. The photos will also give you an idea of what the final dish is supposed to look like in the end.
-
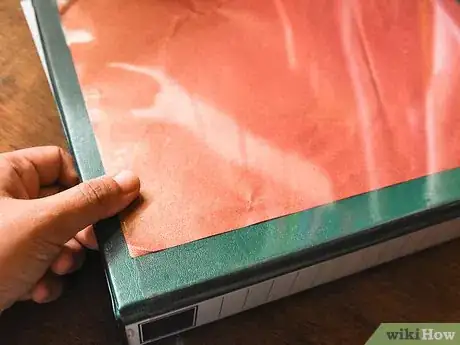
4Give your binder a nice cover. You can make a plain binder more interesting by decorating a sheet of paper, and slipping it behind the clear, protective cover. Here are some ideas to get you started:
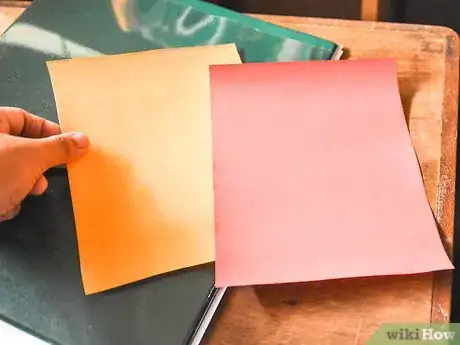
- If you just want a fancy cover, use a sheet of scrapbook paper. You may have to trim it down a little in order to get it to fit.
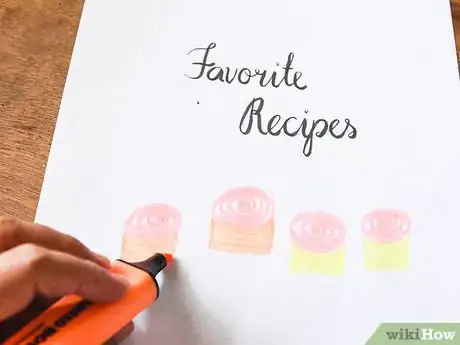
- Give your binder a title. Write the title down on some paper and slip it behind the protective sheet on the cover. You call it anything you want, such as: You Name's Cookbook.
- Use an opaque fabric marker to draw designs on a fabric-covered binder. Most fabric markers come in opaque and transparent colors. Don't use a transparent fabric marker. The colors will blend right into the fabric and won't show up well.
- If your binder already has a pattern on it, you could use letter stickers to give it a title.
-
5Decorate the section title pages. This can be a nice way to introduce each section. Here are some ideas"
- If you have a salad section, add a picture of your favorite salad onto the title page.
- If you have a section for desserts or pastries, add a picture of a fancy cake or pie.
- If you have all of the recipes you want in that section, consider adding a mini table of contents. Right beneath the title, write down the names of all the recipes that are in that section. This will help remind you of what is in there.
-
6Make your own section tabs. This will allow you to get a bit more creative, and match the design of the tab to the rest of your binder. Here's how to make one:
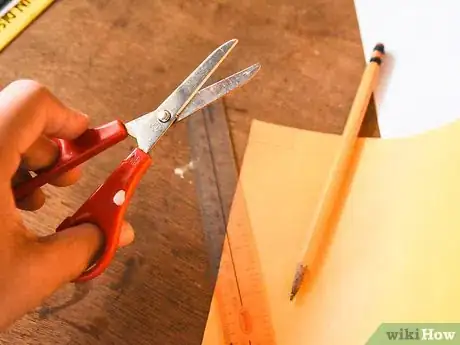
- Cut some colored paper into a ½ by 1 inch (1.27 by 2.54 centimeter) rectangle.
- Label the tab.
- Cut some clear packaging tape into a 1½ by 1½ inch (3.81 centimeter) square
- Place the ½ inch (1.27 centimeter) of the tape onto the side of the page protector.
- Place the tab under the tape. The long side of the rectangle should flush with the edge of the page protector. It should also be centered on the tape.
- Fold the tape over and press it down onto the back of the page protector.
Making a Binder from Scratch
-
1Gather your supplies. Using just a few items, you can make your own rustic recipe binder. Here's what you will need:
- 2 sheets thin cardboard or illustration board
- Printer paper
- 2 – 3 binder rings
- Markers or letter stickers
-
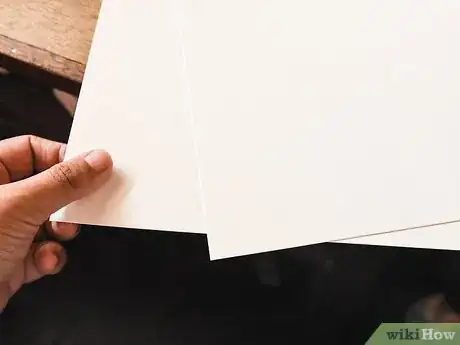
2Find two pieces of thin cardboard or illustration board. Make sure that they are the same size. These will be the front and back cover of your binder.
-
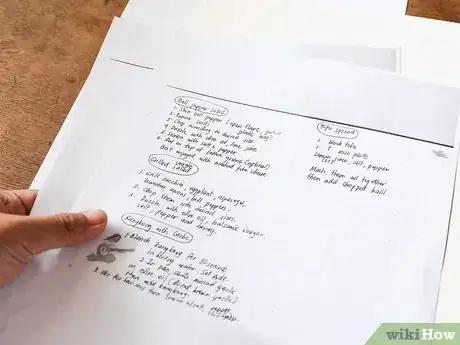
3Print your recipes out onto sheets of paper. The paper you are using should be a little bit smaller than the covers.
-
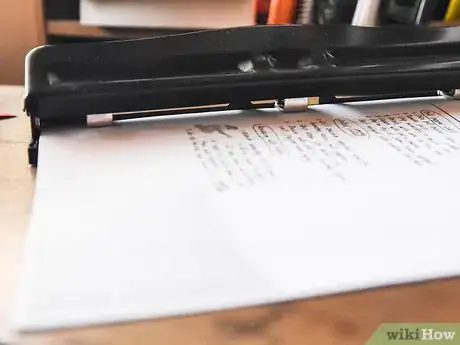
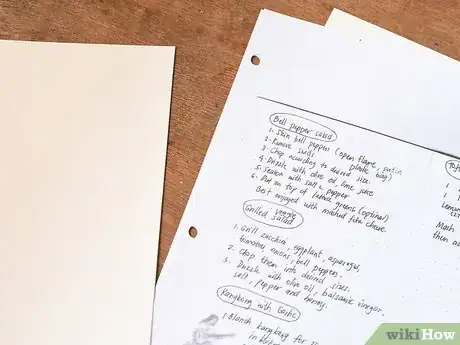
4Use a hole punch to create holes in the covers and pages. You will need two to three holes. The top and bottom hole should be about 1 inch (2.54 centimeters) away from the top and bottom of the covers.
-
5Arrange your binder. Place the back cover down on a table in front of you, then stack the recipe pages on top of it. Place the front cover on top. Align the holes as best you can.
-
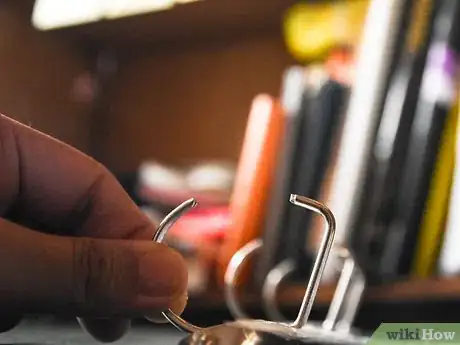
6Open up two to three binder rings and slip them through the holes. Close the binder rings once all the pages, including the covers, are on them. You can buy binder rings from an office supply store or an arts and crafts store.
-
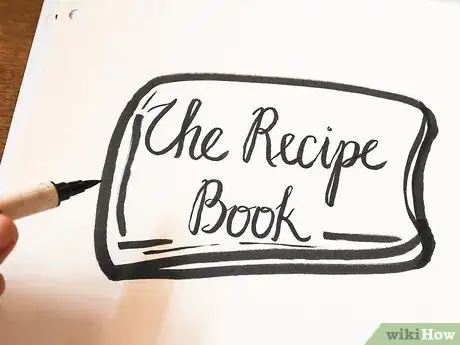
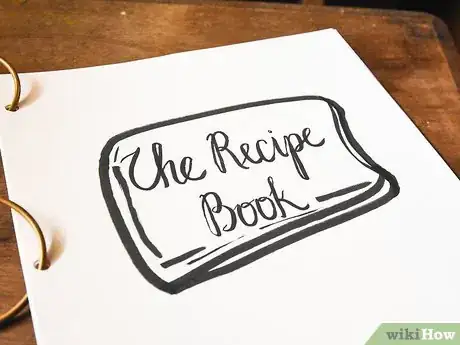
7Decorate the covers. Write a title using marker or letter stickers. You can also draw on a border using markers or glitter paint.
-
8Keep the binder in your kitchen, or give it away as a gift. Because the binder is made from paper, you will have to take extra care of it. If you are worried about it getting dirty, consider keeping it in a box or in a cupboard.
Community Q&A
-
QuestionCan I also write recipes onto another piece of paper neatly? Or do I HAVE to have it printed?
 Community AnswerYou don't have to. It's just an option, mainly for people who don't have the neatest handwriting. It you have great handwriting or just don't want to, do whatever you want.
Warnings
- Be careful when closing the binder so that you don't pinch your fingers.⧼thumbs_response⧽
Things You'll Need
To Make a Recipe Binder
- 3-ring, 2 inch (5.08 centimeter) binder
- Page protectors
- Stick-on tabs
- Printer and paper (recommended)
- Scrapbooking paper and stickers (optional)
- Recipes
To Make a Recipe Binder from Scratch
- 2 sheets thin cardboard or illustration board
- Printer paper
- 2 – 3 binder rings
- Markers or letter stickers
References
- ↑ Simply Kierste, DIY Recipe Binder
- ↑ Clean Mama, Recipe Binder Redo
- ↑ Clean Mama, Recipe Binder Redo
- ↑ Pocketful of Motherhood, DIY Recipe Binder
- ↑ Clean Mama, Recipe Binder Redo
- ↑ Simply Kierste, DIY Recipe Binder
- ↑ Clean Mama, How to Make a Recipe Binder
