X
wikiHow is a “wiki,” similar to Wikipedia, which means that many of our articles are co-written by multiple authors. To create this article, 24 people, some anonymous, worked to edit and improve it over time.
This article has been viewed 190,949 times.
Learn more...
Have you ever found a feather and felt you just had to make it in to a quill pen? If so, this article is for you!
Steps
-
1Find your feather. You can use just any feather that fits comfortably in your hand (i.e. like a pencil), but a long tail feather is best. You'll want a feather with a not too thin shaft, and one that is long.
-
2Shave off the fibers closest to where the fibers end. You may leave them if you prefer, but this makes it easier to work with and easier to hold.Advertisement
-
3Leave your feather in water overnight. This is optional, but makes it soft and more easily bent, you will see why later.
-
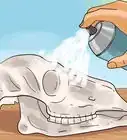
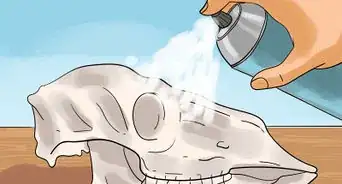
4Heat some sand to 350 °F (177 °C) and leave the feather in the sand, on a heat-proof surface, until cool. This, too, is optional; it hardens the feather so you don't have to resharpen it as often.
-
5Cut your feather at forty-five degrees then make a cut that is opposite the first one at about five degrees (Steepen if necessary).[1] This cut should make two horns. Note: The following prioritizes step three if it isn't done yet!
-
6Bend the two horns together. This should create a cracking sound and a pretty central slit at the horns.
-
7
-
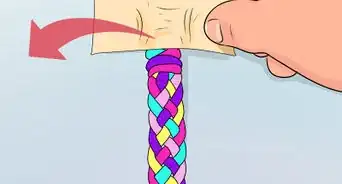
8If you want to, you can dye the feather by mixing a hair dye in a clear plastic tub, repeatedly dipping the end of the feather into the dye and gently working through before washing.[4]
-
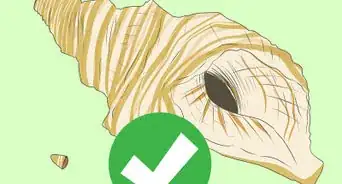
9Finished.
Advertisement
Community Q&A
-
QuestionDo I really have to soak it and sand it?
 Community AnswerAs stated in the tutorial, no, the soaking and sanding is not mandatory. However, the soaking will make the feather supple, and the sand will strengthen the writing tip. This is certainly recommended if you want to have the quill for prolonged use.
 -
QuestionCan I use a feather I found on the roadside?
 Community AnswerYes, but wash it in case it contains parasites.
 -
QuestionCan a peacock feather be used?
 Community AnswerThat depends on what type of feather it is. If it's a tail or wing plume, absolutely. However, other feathers are often too soft.
Advertisement
Warnings
- You will be using sharp and hot objects, adult supervision/help recommended.⧼thumbs_response⧽
- If you live in the United States, most bird feathers you find on the ground are illegal to keep according to the Migratory Bird Treaty Act. Make sure you use feathers from legal birds (chickens, domestic geese, invasive birds, etc.) before you attempt this project. You could get hit with a hefty fine or even jail time!⧼thumbs_response⧽
Advertisement
Things You'll Need
- Good feather
- Sharp pen-knife and/or hobby knife
- Cup
- Sand
- Water
- Oven
- Microwave (optional)
-Step-11.webp)

References
About This Article
Advertisement


-Step-11.webp)