X
wikiHow is a “wiki,” similar to Wikipedia, which means that many of our articles are co-written by multiple authors. To create this article, 14 people, some anonymous, worked to edit and improve it over time.
This article has been viewed 44,639 times.
Learn more...
Commercial pellet traps are readily available but only a few (mainly made by the same company) are suitable for long-term usage. These traps are truly excellent but somewhat expensive. It is possible to make a trap that will last forever, is relatively inexpensive, has no lead debris, and is easy-to-make.
Steps
-
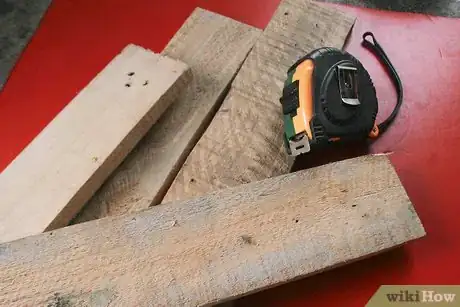
1Decide on the size of your trap. There are several options but basically you want your trap to be slightly larger than the size of the targets you will be using. If you will be using various target sizes, base your trap on the largest size target. For my trap, I used letter-sized targets that I print myself, so 8 1/2" X 11" is the size!
-
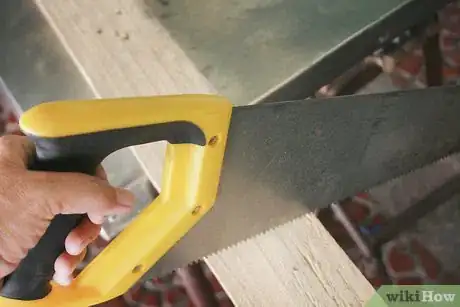
2Cut the wood you choose (Use 1" X 4" strips) to fit. Don't forget to add for the thickness of the wood (1" wood is actually 3/4" thick!). Thus, for the 8 1/2" sides you want to cut two strips to 8 1/2" lengths (assuming using box joints as shown in the diagram).
- For the long dimension -- 11" you need to add 3/4" twice for two strips 12 1/2" long.
Advertisement -
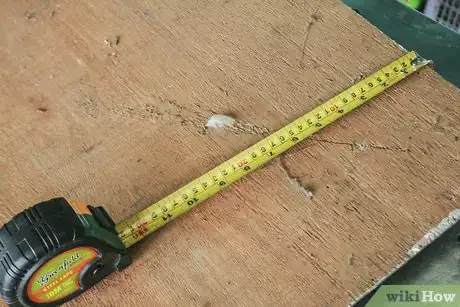
3You will want some sort of backing -- Luan Plywood or something like that is more than sufficient. Cut your backing to 10" (8 1/2" plus two 3/4") by 12 1/2" (this length already accounts for the thickness of the wood). If you want perfection, assemble the sides first and measure for the backing.
-
4Assemble the box. To prevent splitting, either use small wood screws about 1 1/2" in length or drill holes somewhat about the size of the screw shaft. Two screws in each joint are sufficient. Another screw option is deck screws -- they are cheap but will require drilling to prevent splitting.
-
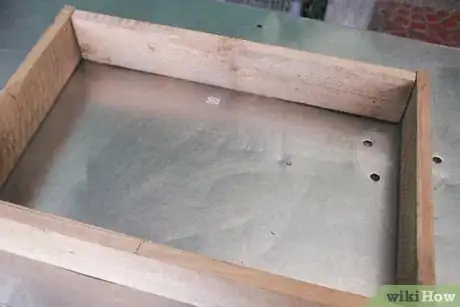
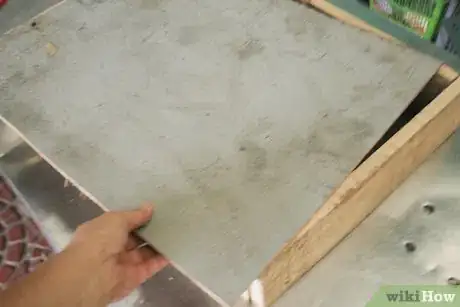
5Once you have all four corners done, you will have an open box. Attach your backing using about two screws per side. Again, no stress is placed on the box -- you just want something that that will hold together.
-
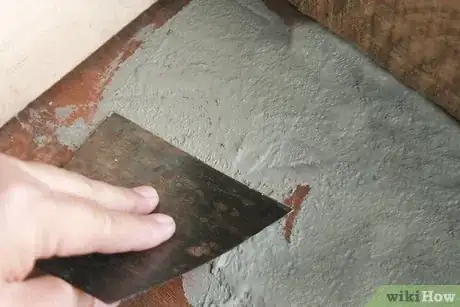
6Fill the box with one layer of duct seal. A thinner layer is sufficient, but duct seal is a bit messy to work with and it is far easier to simply use the entire thickness of the "brick." You will need enough "bricks" to fill in the entire area. I had some left over and cut that into strips to seal between bricks.
-
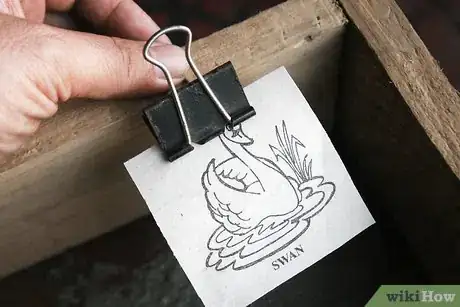
7Mount a clip to hold the targets. A heavy paper clip is perfect. Remove one wire and hot-glue that side to the upper edge of the target box with the remaining wire sticking up.
Advertisement
Warnings
- Gun safety must be observed at all times. Stopping the pellet is only one step in safe shooting!⧼thumbs_response⧽
- While duck seal will stop any airgun pellet up to .25 caliber, make sure you have a good backing behind the target box for stray pellets.⧼thumbs_response⧽
Advertisement
Things You'll Need
- Wood strip(s). For the suggested size, you need 1" X 4" about 4' in length.
- Duct Seal. This can be found at most hardware stores. It may be in the electrical department. You will need about 6 "bricks."
- Sheet of plywood approximately 3/8" thick. You need about 10" X 12 1/2" for the suggested dimensions. A 1/2 or 1/4 sheet should be sufficient.
- 16 wood screws about 1 1/2" in length. #6 deck screws 2" long are inexpensive.
- Drill -- sized for the screw shaft being used.
- Screwdriver (hand or electric). If you use deck screws, make sure you have the bit for whatever they use -- a bit is often included in the box.
References
- YouTube video of making a trap. Interesting idea to add an area at the bottom to collect paper scraps.
About This Article
Advertisement
