This article was co-authored by wikiHow Staff. Our trained team of editors and researchers validate articles for accuracy and comprehensiveness. wikiHow's Content Management Team carefully monitors the work from our editorial staff to ensure that each article is backed by trusted research and meets our high quality standards.
This article has been viewed 81,494 times.
Learn more...
Whether it is for dress-up, a cosplay, or a play, knowing how to make a fake beard can come in handy. Depending on the materials you use, you can create a simple, false beard perfect for dressing up, to a more realistic beard better suited for cosplay and theatre. Once you know how to make a basic beard, you can use similar techniques to create other pieces, such as a mustache!
Steps
Using Wool Roving for Long Beards
-
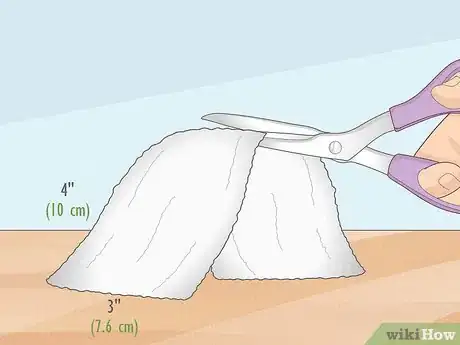
1Cut a 3 by 4-inch (7.6 to 10-cm) piece out of felt for the base of your beard. The exact shape does not matter, but an oval or trapezoid will work the best. You will be attaching the wool roving to this, so choose a color that matches your wool.
- For example, if your wool roving is cream-colored, use white or off-white felt.
- You can use this method for shorter beards, but it works the best on longer, gnome-like beards.
-
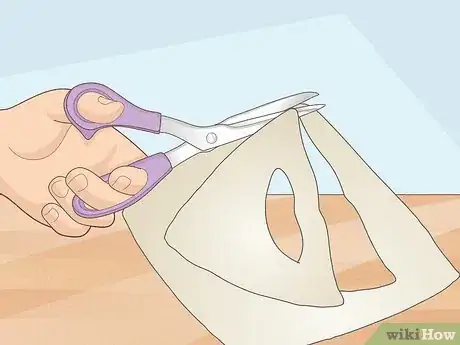
2Cut an almond-shaped hole in the felt for your mouth. Place the felt piece against your face, and feel where your mouth is. If you need to, draw on the felt with a pen. Pull the felt away, then cut an almond-shaped hole out of it. It should be big enough for your lips to fit through.
- Trim the top corners of the shape off so that they follow the curve of your mouth and cheeks better.
Advertisement -
3Pull your wool roving into your desired length. Get some wool roving and unravel it to make a rope. Pull it apart widthwise into thinner ropes, then pull it into 6 to 10-inch (15 to 25-cm) lengths. Make sure that ropes are all equal length.
- Do not cut the wool roving, or you will get sharp ends that won't look natural.
- You can find wool roving in craft stores, fabric stores, and yarn shops. You can also find it online.
- Wool roving is simply wool that has not been twisted into yarn yet.
-
4Place a thin weft of roving against the bottom of the mouth opening. Gather a 1-inch (2.5-cm) wide piece of wool roving, and place the last 1⁄2 inch (1.3 cm) under the almond mouth opening. Make sure that the longer part of the wool is pointing upwards so that it covers the mouth and the last 1⁄2 inch (1.3 cm) is pointing down.
- Repeat this step 1 to 2 more times until the entire bottom edge of the mouth is covered.
- You will be flipping the longer part of the wool down after you sew it. This will hide the seam.
-
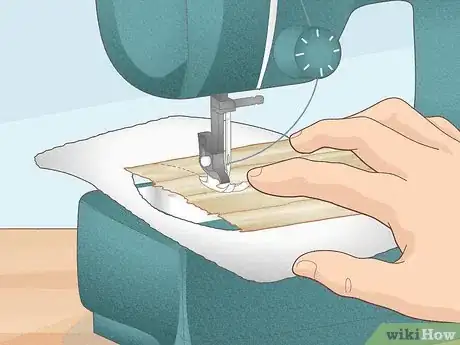
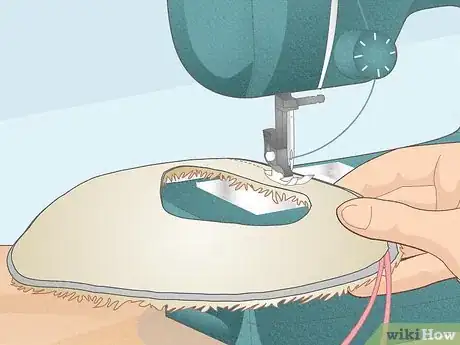
5Sew or glue the wool roving down. Thread your sewing machine with a thread color that matches the wool. Set it to a straight stitch and a short stitch length. Begin sewing at the bottom-left corner of the mouth and finish sewing at the bottom-right corner.
- Backstitch when you start and finish sewing to prevent the thread from unraveling.
- Sew as close as possible to the bottom edge of the mouth. Do not sew across the top edge.
- You can use hot glue, tacky glue, or fabric glue for this step if you don't know how to sew.
-
6Flip the wool roving so that it hangs down and covers the mouth opening. Once you have finished sewing, cut off any loose or hanging threads. Take the longer part of the wool roving that is covering the mouth, and pull it down so that you can see the mouth it again. This should hide the 1/2-inch (1.3-cm) part of the wool roving that you sewed down.
- If you used glue, wait for the glue to dry first. Hot glue sets quickly, but fabric glue will take 15 to 20 minutes. Tacky glue may take several hours.
-
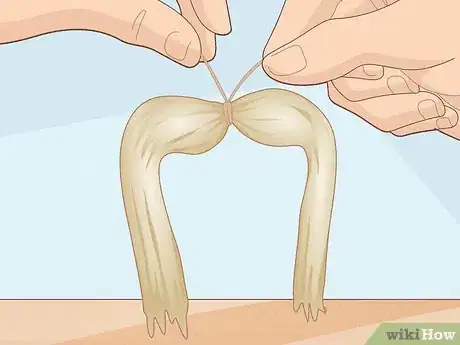
7Tie a piece of string around a length of roving for the mustache. Pull off a length of wool roving for the mustache--it can be as long as you want it to be. Cut a piece of thread the same color as the roving, then wrap it a few times around the middle of the wool roving. Tie the thread into a tight knot.
- This will cause the mustache to cinch in the middle and poof out; it will look more realistic.
-
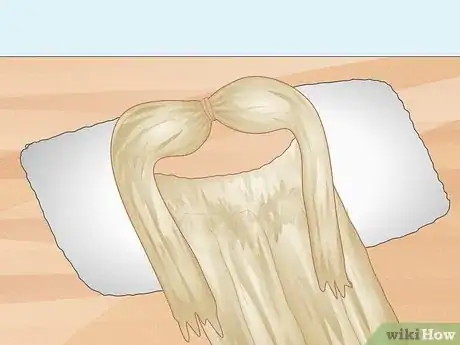
8Glue the mustache to the top of the felt piece. Outline the top edge of the mouth with hot glue, fabric glue, or tacky glue, then press the roving into the glue. Make sure that the part you tied is centered. At this point, you can also glue down the rest of the beard.
-
9Secure a thin elastic to each side of the felt piece. Hold the beard against your face, then measure around the back of your head, from one side of the felt to the other. Cut a thin piece of elastic according to this measurement. Tie a knot in each end, then staple the knots to each side of the felt.
- Alternatively, thread the elastic through a yarn or tapestry needle, then poke it through the felt. Slip the needle off, then tie a knot in the elastic.
Sewing a Faux Fur Beard
-
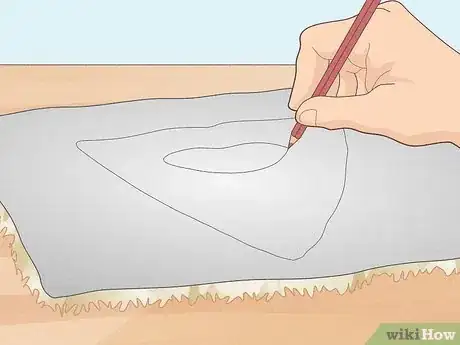
1Trace a beard shape on the back of a piece of faux fur. Take a piece of fake fur and flip it over so that the back (fabric) side is facing you. Draw a beard shape on the fabric with a marker, including the mouth hole.[1]
- You can also use felt instead.[2]
- Your beard can be any color your want, but white, brown, black, gray, or orange will look more natural.
-
2Cut the beard with a craft blade or scissors. Make sure that you cut from the back of the fabric. Slide your scissors through the fur so that you don't cut the fibers. You only want to cut the fabric part of the fur, not the fur part. Be sure to cut the mouth hole out too.[3]
- The mouth hole needs to be big enough to expose your lips.
- If you are making a felt beard, use scissors instead.[4]
-
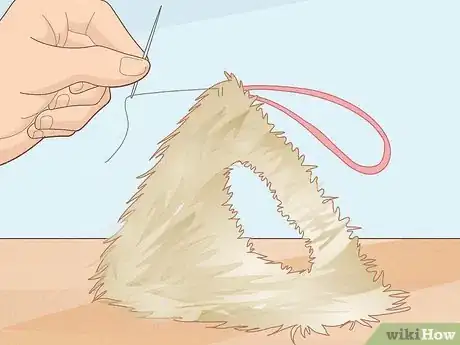
3Add an 8-inch (20-cm) elastic to each side of the beard. Cut an 8-inch (20-cm) long piece of elastic. Fold it in half to make a loop, then sew it to the top-left corner of the beard. Make sure that the beard and elastic overlap each other by about 1⁄2 inch (1.3 cm). Repeat this step for the right side of the beard.[5]
- Make sure that you are sewing the elastic to the back of the beard. If you are working with faux fur, this is the fabric side, not the furry side.
- The elastic needs to be long enough to hook around your ears. You may need to make it longer or shorter depending on the size of your head.
- Alternatively, you can cut a single piece of elastic and sew each end to each side of the beard. This way, you can pull the elastic over the back of your head instead of your ears.
-
4Cut an identical beard out of matching felt. Find a piece of felt that's the same color as your beard. Set your felt or faux fur beard on top of the felt. Trace around the beard with a marker, then set it aside. Cut the felt just inside the lines that you traced.[6]
- If you want to make a simple faux fur beard, you are done.[7]
- You should do this step if you are making a simple felt beard. A double-layer of felt will be much stronger than a single layer.
-
5Pin and sew the second piece of felt to the back of the beard. Flip the beard over so that you can see the back. Place the felt beard on top, covering the elastic. Pin it in place, then sew around the edges using a whipstitch.[8]
- Alternatively, you can glue the 2 pieces together using fabric glue.
- If you used felt for both pieces, consider sewing around it on a sewing machine using a straight stitch and a 1/8 to 1/4-inch (0.32 to 0.64-cm) seam allowance.[9]
Creating a Realistic Beard
-
1Prepare the beard just before you need to wear it. This beard is not reusable. It is very realistic, however, making it ideal for costumes, cosplay, and theatrical productions. Give yourself at least half an hour to prepare the beard.
- You can prepare the beard even earlier, but it wouldn't be a good idea to prepare it the day before. It won't be comfortable to sleep in and it will make a mess.
-
2Unravel 12 inches (30 cm) of crepe wool. You can buy crepe wool in the doll-making section of some craft stores and fabric shops, but you may have better luck in a costume store or online. It is a long piece of wool roving (wool that hasn't been spun into yarn) that's woven into a braid-like rope with string.
- To unravel crepe wool, simply pull on the string and gently unwind the wool.
- for best results, choose a color that closely matches your own. If you can't find the right color, go a shade darker.
-
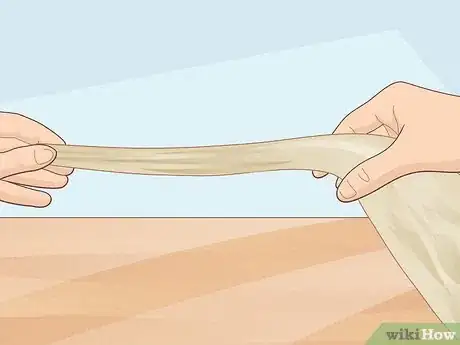
3Untwist the crepe wool and cut it to your desired length. Gently tug the wool apart to create a wide, thin sheet. Gently pull on the fibers to separate a tuft that's close to the length you need. Hold the fibers against your chin, and trim them if needed.
-
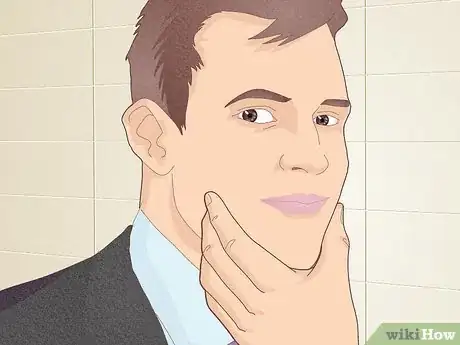
4Apply spirit gum under your chin and wait one minute. Open up a bottle of spirit gum. Use the attached brush to apply a thin layer of spirit gum to just under your chin, right where the bone is. Wait one minute for the spirit gum to get tacky.
- Only apply a small patch of spirit gum, about 1⁄2 inch (1.3 cm) wide and 1 to 2 inches (2.5 to 5.1 cm) long.
- You can find spirit gum in costume stores and online.
-
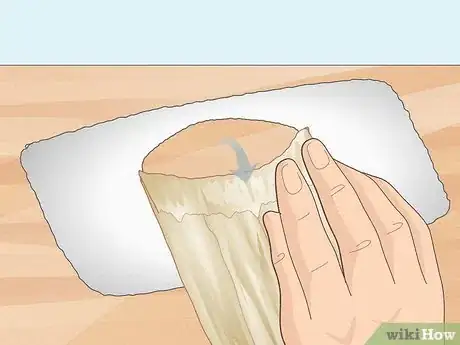
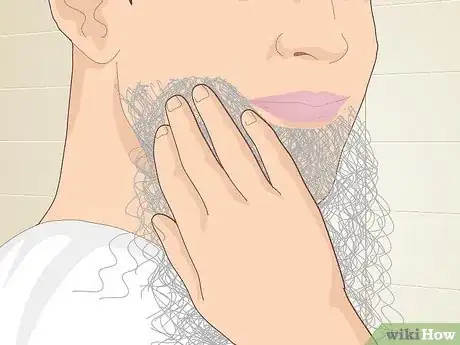
5Press the crepe wool into place. Find the cut ends of the fibers. Spread them out so that they can cover the area you coated with spirit gum. Gently press them against the spirit gum. Push the tuft into place with a wood cuticle pusher or the end of a makeup brush.
-
6Repeat the process to apply more crepe wool. Apply some spirit gum to your jaw, then let it dry for one minute. Measure and cut the crepe wool, then press it into place. Work your way along your jaw first, then work your way up past your chin and jaw bone.
- How far up your face you apply the beard is up to you. You can even apply a little on your upper lip to create a mustache.
- Look at pictures of real beards to get an idea for style and shape.
-
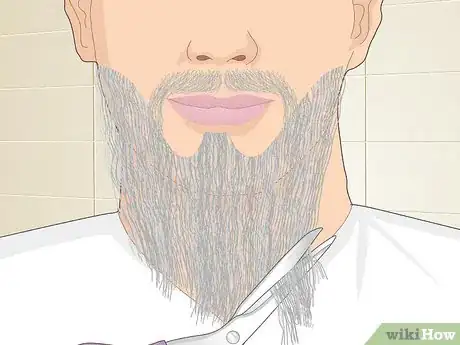
7Trim the beard to your desired length. Chances are, the beard may be uneven in some areas. Use scissors to trim the beard into your desired shape. Again, look at pictures online for ideas on how to cut your beard.
- Do not use a beard trimmer or clipper, or the spirit gum will clog it up. Use small trimming scissors.
-
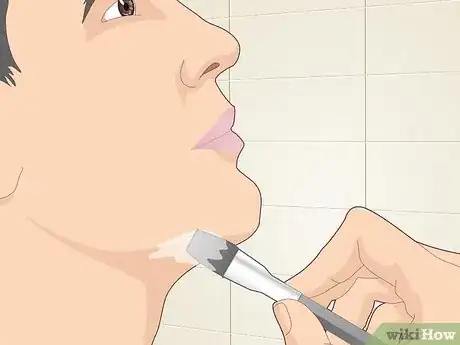
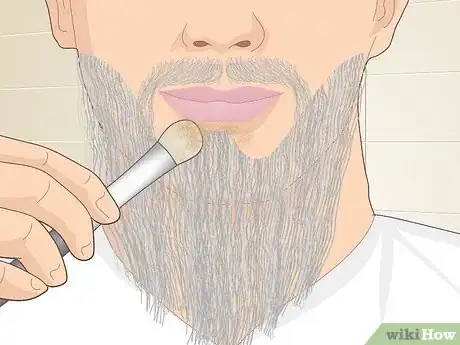
8Apply translucent setting powder over excess spirit gum. This will help dry it out and prevent shine. For best results, use theatrical-grade translucent setting powder and a large, fluffy, makeup brush. It comes in loose-powder form rather than pressed-powder form. You can find it in costume stores and online.
- At this point, you can finish the rest of your makeup, including foundation, contouring, eyeshadow, etc.
-
9Remove the beard with spirit gum remover when you want to take it off. Dip a sponge-tipped makeup brush into spirit gum remover, then dab the top edge of your beard. Wait about 30 seconds for the spirit gum to dissolve, then pull the beard away. Repeat the process for the next layer of beard until you have everything removed.[10]
- Wipe your chin and jaw (wherever you applied the spirit gum) afterwards with a cotton ball dipped in spirit gum remover to get rid of any residue.
- You can buy spirit gum remover online and in costume stores. It is usually sold alongside the spirit gum.
Things You'll Need
Using Wool Roving for Long Beards
- Felt
- Wool roving
- Scissors
- Sewing machine
- Hot glue, fabric glue, or tacky glue
- Thin elastic
Making a Faux Fur Beard
- Faux fur and/or felt
- Thin elastic
- Sewing pins
- Scissors
- Needle
- Thread
Creating a Realistic Beard
- Crepe wool
- Spirit gum
- Spirit gum remover
- Foam-tipped makeup brush
- Scissors
- Powder brush
- Translucent setting powder
References
- ↑ http://museumdiary.com/2013/03/01/museum-craft-corner-diy-viking-beard/
- ↑ https://makezine.com/2009/10/05/how-to_make_a_fake_beard/
- ↑ http://museumdiary.com/2013/03/01/museum-craft-corner-diy-viking-beard/
- ↑ https://makezine.com/2009/10/05/how-to_make_a_fake_beard/
- ↑ https://kerngirl.wordpress.com/k-e-r-n-girls-design-portfolio/diy-project-ideas/costumes/felt-beard-instructions/
- ↑ https://kerngirl.wordpress.com/k-e-r-n-girls-design-portfolio/diy-project-ideas/costumes/felt-beard-instructions/
- ↑ http://museumdiary.com/2013/03/01/museum-craft-corner-diy-viking-beard/
- ↑ https://kerngirl.wordpress.com/k-e-r-n-girls-design-portfolio/diy-project-ideas/costumes/felt-beard-instructions/
- ↑ https://makezine.com/2009/10/05/how-to_make_a_fake_beard/
About This Article
To make a fake beard, start by getting some crepe wool and spirit gum from your local costume shop or online. Then, unravel about 12 inches of the crepe wool by pulling on the string and unwinding the wool. Next, tug the wool apart to create a wide, thin sheet, and pull the fibers to get the length you want. After that, apply a thin layer of spirit gum just under your chin and wait a minute for it to get tacky before you press the wool into place. Repeat the process to add additional layers of wool along your jaw and up past your chin. To learn how to use wool roving or faux fur to make your fake beard, keep reading!
