This article was co-authored by Melissa Muñoz. Melissa Munoz is an Animal Trainer and the Owner of Pawsitive Perspective Animal Training. She has more than 16 years of experience in reward-based animal training, exotic animal management, and wildlife education. Melissa holds degrees in Animal Behavior and Ethology, Wildlife Education, and Animal Management from the Exotic Animal Training and Management Program at Moorpark College.
There are 7 references cited in this article, which can be found at the bottom of the page.
This article has been viewed 115,419 times.
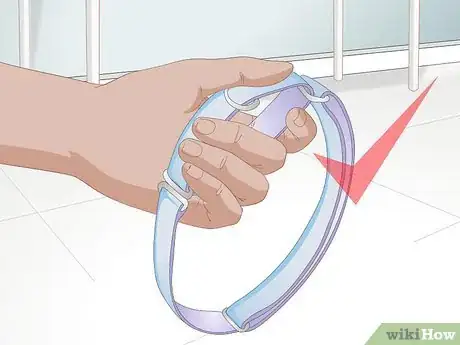
Your dog is your best friend. It makes sense that you want your dog to have everything that he needs, including a great collar. There are several steps that you can take to make effective, inexpensive dog collars at home. You can also get creative to create a fashionable collar wardrobe for your dog. Just remember--your dog's comfort and safety are the most important things to keep in mind as you construct a collar.
Steps
Preparing to Make a Functional Collar
-
1Measure your dog. In order for a dog collar to function effectively, it needs to fit properly. To ensure that you make the right size of collar, your first step is to measure your dog's neck. The best method is to use a cloth tape measure.[1]
- Measure around your dog's neck where the collar should sit. Then add 2 inches to the measurement. This is the size you should make the collar.
- If you do not have a cloth tape measure, you can use a piece of string. Cut the string, and then use a ruler to measure it.
- The width of the collar is also important. Large breeds should wear collars that are 1 inch in width. 3/4 inch is appropriate for medium dogs, and small dog collars should be approximately 1/2 inch in width.
-
2Choose the right type of collar. When making a collar, you should be aware that different dogs have different needs. For example, if you have a large dog who has trouble obeying verbal commands, you will need a very sturdy collar. If you have a small dog, you will have a little more flexibility. Think about what you need this collar to do: is it to control your dog, or is it just to help guide him when you're out walking? Consider the needs of both you and your dog.[2]
- Standard collars are known as "flat" collars. Typically, they will fasten with a buckle or snap. It should fit snugly, but you should be able to fit two fingers between the collar and your dog's neck.
- Dogs with small heads do best with a Martingale collar. For example, if you have a greyhound, you will make a collar that has two metal rings with a length of material between them. The leash will fasten to the rings. This is useful for dogs who try to wiggle out of their collars.
Advertisement -
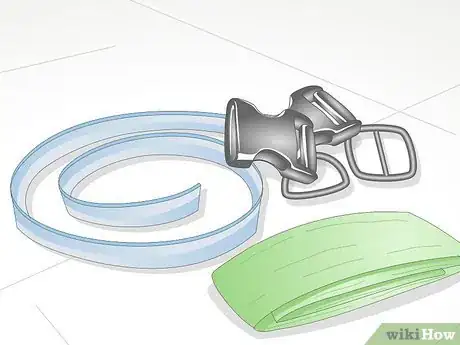
3Gather your supplies. You will need several things in order to make a functional dog collar. You will need a sturdy piece of webbing material. Nylon works well. Purchase about 1 yard--this will be more than enough, but you want extra in case you make an error.[3]
- You will also need to purchase dog collar hardware. You should get a clasp (also called a buckle), a D ring, and an adjuster. You can buy these items online and at many large superstores.
- Purchase fabric to cover the webbing. Cotton works well, as it is easy to cut and clean. You will also need thread.
- A sewing machine is very useful for this type of project. If you don't have one, ask a friend to borrow one. If that's not possible, a needle and strong thread will work fine. You will also need an iron.
Constructing the Collar
-
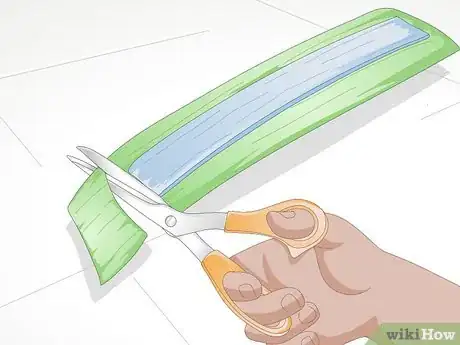
1Cut your materials. You want your fabric and the webbing to be the lengths that you measured. Note: you want to make sure that you cut the fabric one inch longer and one inch wider than the webbing. You need the fabric to be bigger so that you can wrap the webbing around it.
- Another general rule of thumb is that your webbing should be approximately 11 inches (27.9 cm) longer than the circumference of your dog's neck. But either 10 or 12 inches (25.4 or 30.5 cm) will work, too.
- Using a general household lighter, lightly burn the ends of your webbing. This will keep them from fraying.
-
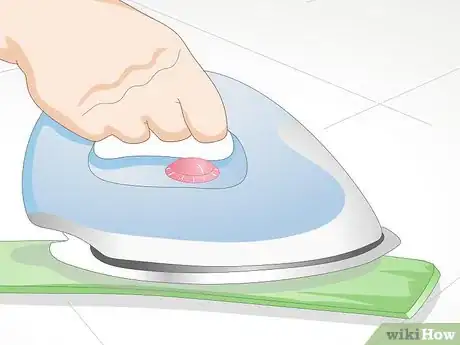
2Attach the webbing. Using a low heat setting on your iron, iron the fabric to the webbing. Then fold the extra fabric over the webbing, creating a nice crease. You have now created the base for your collar. You can go back over this again with the iron to deepen the crease.
-
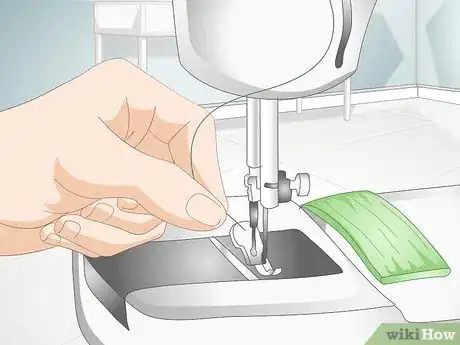
3Load your thread into your sewing machine. Sew your way around the edges of the collar. If you do not have a sewing machine, use a needle and thread for this step. Essentially, you just need to make sure that your fabric is securely attached to the webbing. Use a simple stitch pattern. Just make sure to sew in a straight line. Sew along each side of the collar, making sure the webbing and fabric are firmly attached to one another.[4]
- Using a pair of fabric (or kitchen scissors) snip any stray threads that are lingering.
-
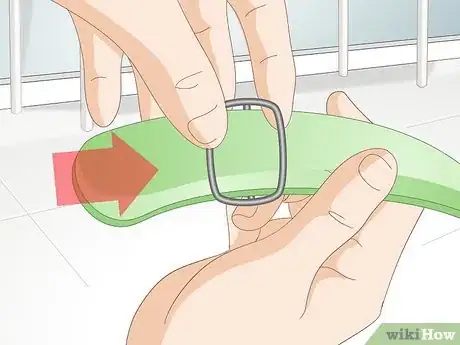
4Attach the hardware. Slide the strap adjuster through one end of the fabric, then pull through about an inch. It does not matter which end you choose. Sew the loose end of the fabric back onto the collar itself. Basically, you are sewing this piece of hardware onto a small loop.
- When you are attaching the end of the fabric onto the main part of the collar, sew in an hourglass shape. Example: stitch in a straight line across the bottom of the "tail" end. Then sew a diagonal line up, then sew a line across the top, then a diagonal line back down to your starting point.[5]
- Clip your stray threads. Now your strap adjuster is neatly attached to the collar.
-
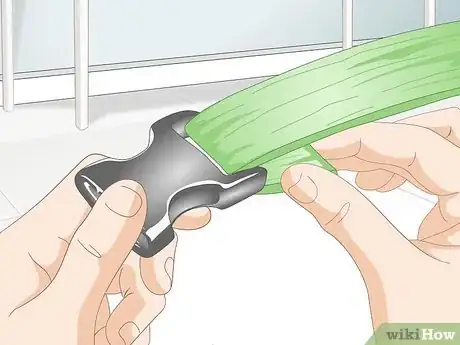
5Attach your buckle. There should be two pieces. Place the curved side of the clasp through the end of the collar. Slide the end up through your strap adjuster, which makes a loop. Secure each side of the clasp to the collar by sewing small, sturdy loops around the clasps. You should have a collar, with a longer tail at the end.
-
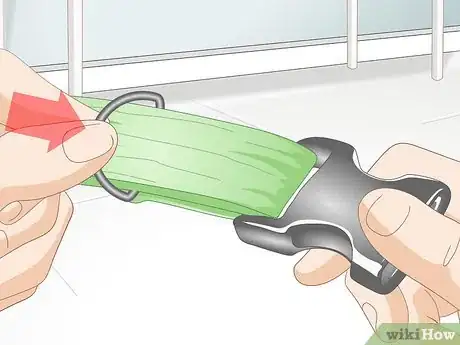
6Slide your D ring onto the collar. Slide on the other piece of your buckle, and pull about 2–3 inches (5–8 cm) of the collar through the buckle. Pull the end of the fabric through the adjuster and then sew the loose end to the back of the collar.
- Use the hour glass stitch one the fabric on each side of your D ring. This will ensure that it does not slide around on your collar. Now your D ring is attached.
- Clip any stray threads.
Creating a Stylish Collar
-
1Have fun. Once you know the basic method of making a functional dog collar, you can let your imagination run wild! You can create a new collar wardrobe for your dog by creating collars in a variety of different collars and prints. If you enjoy sewing, you can also make these as gifts for your friends and family who have dogs.[6]
- Dog collars are a fairly simple sewing project. If you have kids, this would be a fun crafts project for you to do together. This would make a great project to teach someone about the basics of sewing.
-
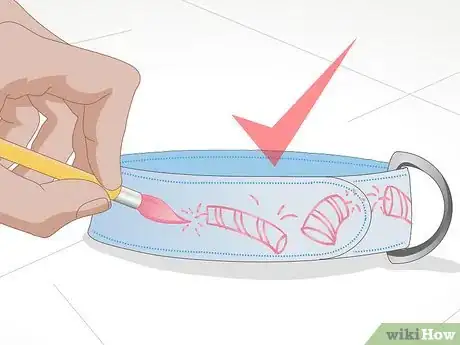
2Be seasonal. We all know that it's fun to dress up for different holidays. Let your dog have a seasonal wardrobe, too. You can create different collars for different seasons. Think firework printed fabric for the Fourth of July and hearts for Valentine's day.
- Look for materials during holiday off seasons. For example, you'll be able to find lower prices on Christmas prints during the early spring and summer.
-
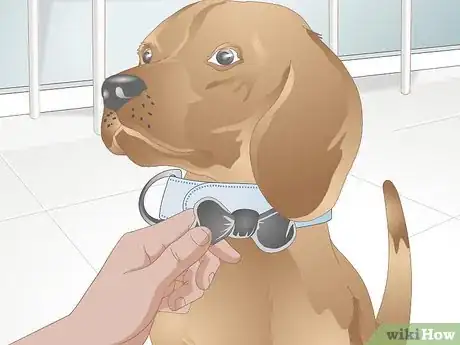
3Try new materials. Some dog collars are intended to be more decorative than functional. If this is the case, you should feel free to experiment with a variety of materials. For example, consider ribbons. There are many specialty stores that sell beautiful colored and printed ribbons. This would work especially well for small dogs.
- Leather is also a great option for dog collars. While it is more expensive, it will also last longer.
-
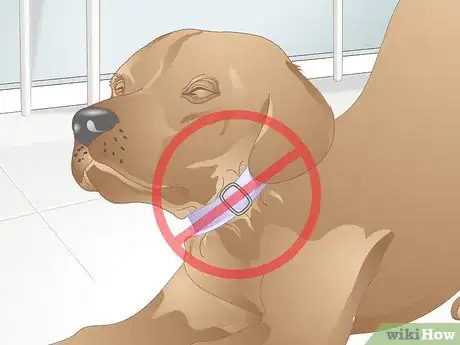
4Be kind to your dog. While it can be fun to make your dog look stylish, make sure that you are considering his comfort. For example, if you have a puppy, make sure that the collar you make is adjustable and allows him room to grow. You never want a collar to be too tight.
- Avoid using twine or any material that will chafe or irritate your dog's coat.
Knowing the Importance of Dog Collars
-
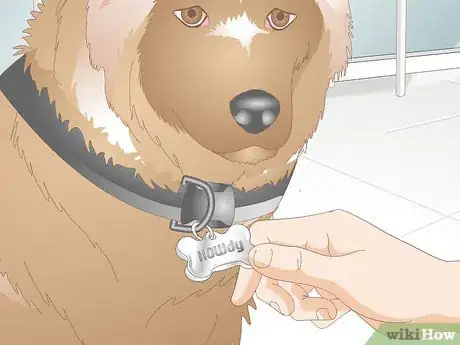
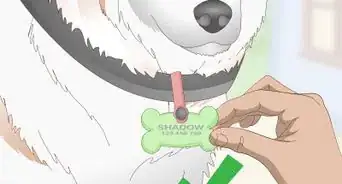
1Consider important information. One of the best reasons for your dog to wear a collar is that you need a collar in order for him to wear identification tags. I.D. tags are essential for your pet's safety. If your pet is lost or becomes separated from you, his tag's will help someone return him to your home.[7]
- Your dog's tags should include his name and a phone number for you or your veterinarian's office.
- Make sure your dog is wearing his collar and tags anytime he leaves the house.
-
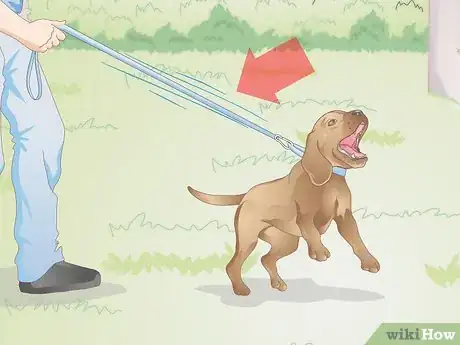
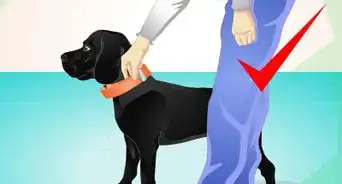
2Learn about safety. Even if your dog is well-behaved, the unexpected can happen when you are out for a walk. For your dog's safety, and the safety of others, you should also walk your dog with a collar and leash. This way you can control your dog. You don't want him to suddenly dash into traffic or get into an argument with another dog.[8]
- If your dog has trouble walking on a leash, you may want to consider a training program. Obedience will make walks more enjoyable for both you and your dog.
-
3Think of your dog's needs. Remember that a collar should be both comfortable and effective. Ask your vet for recommendations about what kind of collar will work best for your dog. Your dog's safety and health are the most important factors to consider when making a collar.
References
- ↑ http://pets.petsmart.com/guides/dog-collars/traditional-collars.shtml
- ↑ http://www.humanesociety.org/animals/dogs/tips/collars.html?referrer=https://www.google.com/
- ↑ http://www.germanshepherds.com/forum/equipment-how-use-where-find/150434-how-make-your-own-fabric-wrapped-flat-collar.html
- ↑ https://www.youtube.com/watch?v=tc6a_7qTXqY
- ↑ https://www.youtube.com/watch?v=tc6a_7qTXqY
- ↑ http://barkpost.com/diy-dog-collars/
- ↑ http://well.blogs.nytimes.com/2011/09/21/the-importance-of-pet-tags/?_r=0
- ↑ http://www.drsfostersmith.com/pic/article.cfm?aid=159
About This Article
To make a dog collar, start by cutting webbing material, such as nylon, into a piece as long as the circumference of your dog’s neck. Then, cut a piece of fabric that’s 1 inch wider and longer than the webbing and use an iron on low heat to attach it to the webbing. Next, fold the extra fabric over and iron it again to crease it. Once the fabric completely covers the webbing, use a sewing machine to sew around the edges of the collar before sliding a strap adjuster onto one end. Finally, fold over the end of the collar and sew it shut, attaching a buckle to each end. For tips on how to make a holiday-themed collar for your dog, read on!

