This article was co-authored by wikiHow Staff. Our trained team of editors and researchers validate articles for accuracy and comprehensiveness. wikiHow's Content Management Team carefully monitors the work from our editorial staff to ensure that each article is backed by trusted research and meets our high quality standards.
There are 9 references cited in this article, which can be found at the bottom of the page.
This article has been viewed 31,606 times.
Learn more...
Because propane torches are inexpensive and easy to use, they are a popular tool of choice for many different applications. Propane torches are often used for tasks like soldering copper pipes and low-temperature welding. Operating a propane torch is a relatively simple process, but use a little bit of caution when lighting it. Put together the torch first, then let out a steady stream of gas. Light up the gas with a small flame, taking care to keep it controlled and away from flammable material. If your torch won’t light, check it for problems like leaks or a dirty nozzle. Once you have your torch lit, you can melt and join metals in many different ways.
Steps
Assembling the Torch
-
1Put on heavy gloves and a face mask before lighting the torch. Prepare yourself to be around propane gas and flames. Pick a pair of heat-resistant welding gloves to guard your hands against gas and heat. Always wear a pair of safety glasses while the torch is lit. If you’re planning on welding or soldering metal, choose a full welder’s face mask instead for additional protection.[1]
- To further protect yourself, wear a long-sleeved shirt, long pants, and enclosed shoes. Leave off jewelry or anything else that could get in the way of the flame.
- If you’re working outdoors, be aware of the wind. It could change the flame’s direction. To avoid this, work indoors in an area with a ventilation fan or open windows.
-
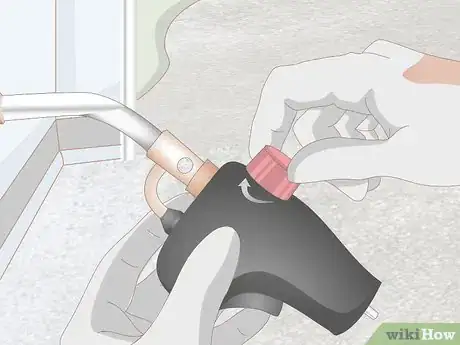
2Turn the gas feed valve on the torch head clockwise to close it. The torch head is the nozzle that vents gas out of the tank. The gas feed valve is typically located on the bottom part of the torch head near where it rests on top of the tank. Before assembling the torch, make sure the nozzle is closed so it doesn’t start emitting gas right away. Turn the valve clockwise as much as you can.[2]
- Most propane torches consist of 2 components, which are the torch head and the gas canister. The torch head is detachable and is left off of the tank for safety reasons.
- If you don’t close the valve, propane may start coming out before you’re ready for it. It could be dangerous if anything causes the torch to ignite unexpectedly.
Advertisement -
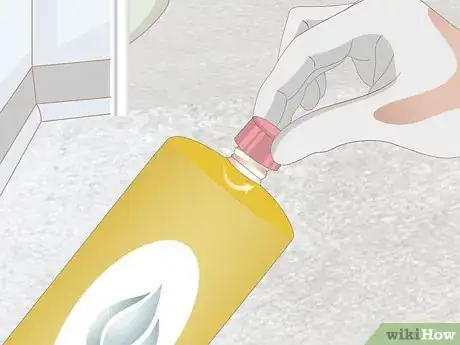
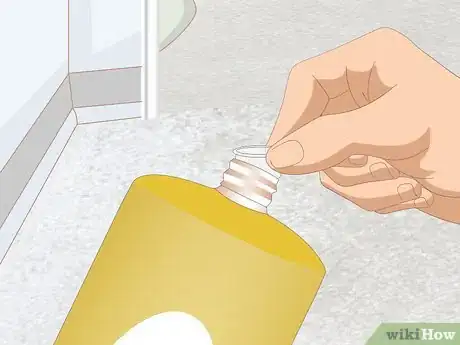
3Remove the lid on the tank. The tank will have a cap on it to keep the propane inside. Twist it counterclockwise to remove it. You will then see an opening to fit the torch head. Since gas comes out of this opening, cover it with the torch head as soon as possible.[3]
- When the lid is in place, gas can’t come out. Save the lid to cap the tank again when you’re done with it.
-
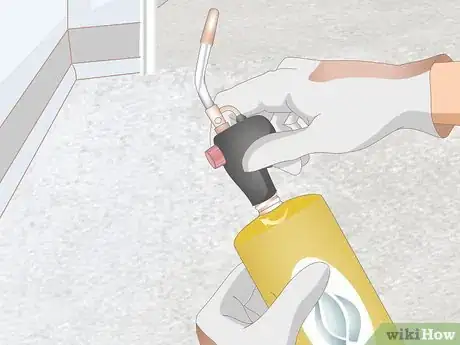
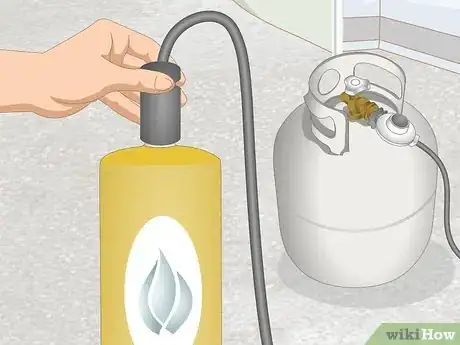
4Fit the torch head on the tank and turn it clockwise. Set the gas tank down on a stable surface. It will have an opening at the top for the torch head. Fit it in place, then turn it clockwise until it locks in place. The torch head screws onto the top part of the tank.[4]
- Make sure the torch head screws on evenly. If it’s lopsided, gas might leak out from under it.
Activating the Flame
-
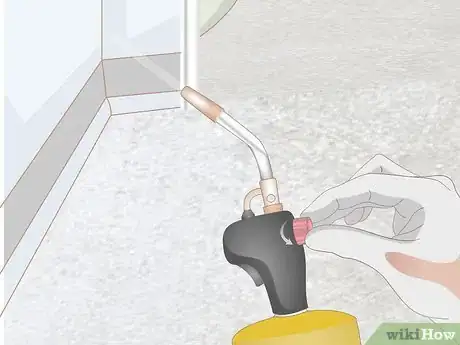
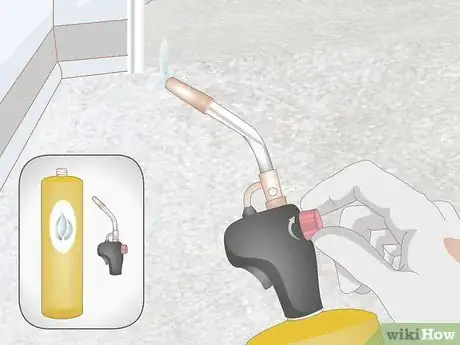
1Turn the gas feed valve counterclockwise to start a stream of gas. Open the valve so that a small but steady stream of gas comes out. Give it a ½ turn to start. Listen closely to detect hissing from the gas coming through the valve. You will also be able to detect the propane by it’s smell since it’s similar to rotten eggs.[5]
- Don’t open the valve all the way just yet. Start with a small stream, then increase the gas flow after the torch is lit. It’s much safer this way.
-
2Place a striker underneath the gas nozzle to light the torch. Propane torches generally come with a lighting device called a striker. It’s a gun-shaped device with a trigger you can pull to spark a flame. Hold the strike up close to the torch head nozzle, almost right up against it. Press the trigger to light the torch.[6]
- Use the striker a couple more times if the torch doesn’t ignite right away. If that still doesn’t work, turn the torch valve counterclockwise a little to let out more gas.
- If you don’t have a striker, you could light the torch using a match or lighter. Hold it underneath the torch valve nozzle so the tip of the flame comes into contact with the gas.
-
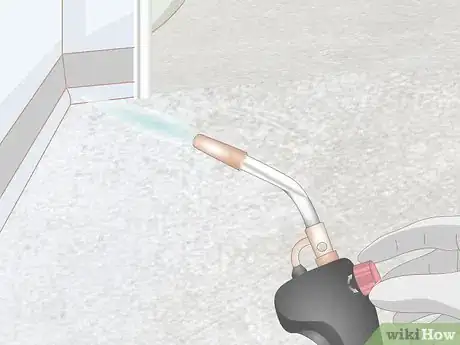
3Adjust the flame using the gas feed valve until it’s the shape you desire. Turn the valve counterclockwise to let out more gas, creating a bigger flame. If you’re welding or soldering, try using a pointed, slightly purple flame. You can use the tip of the torch’s flame to heat the metal to a high temperature. If you’re using a rounded flame, it won’t get as hot as quickly and evenly as you expect.[7]
- Let out more gas gradually to increase the size of the flame and heat. Close the valve again if you need to reduce the flame to keep it under control.
-
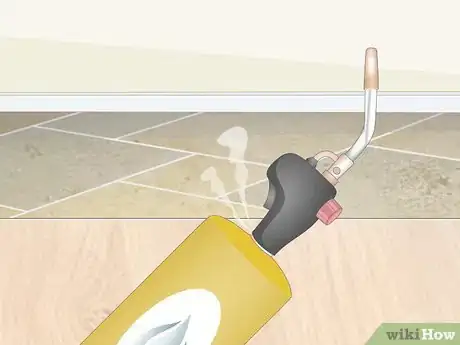
4Shut off the torch using the gas feed valve and take it apart. To extinguish the torch, turn the valve clockwise. Let the tank cool off on a non-flammable surface for about 5 minutes afterward. Once it’s cool to the touch, unscrew the torch head by turning it counterclockwise. Fit the cap back on the tank, then store it until you need it again.[8]
- Listen closely to make sure you don’t hear any gas leaking out of the tank. Also, make sure you don’t feel any heat coming off of it before storing it.
- For safety reasons, always take the torch valve off the gas tank. Without it, no one can accidentally start the gas flow and risk lighting the torch again.
Troubleshooting Your Torch
-
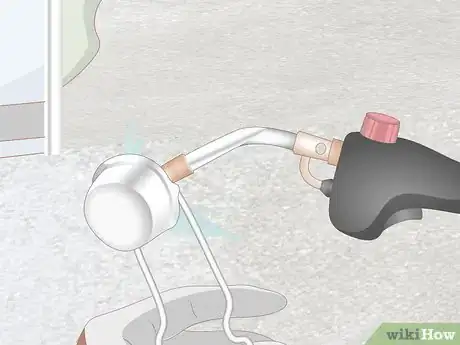
1Listen for hissing to see if gas is escaping from the tank. Place the torch in a quiet, flame-free area and try to detect the sound and smell of leaking gas. If you don’t hear anything, perform a second test by mixing equal parts water and dish soap. Brush a thick coating of the mixture over the tank and torch, then look for bubbles signifying leaks.[9]
- If you notice leaks coming from the torch, make sure the torch head is secure on the tank. Tighten any fittings with a wrench, then perform the leak test again.
- If you’re noticing continual leaks, then you may need to replace the torch components. Take the old parts to a hardware store. The torch head and connecting hose some models use are the most likely parts to fail.
-
2Check the tank to make sure gas is passing through the torch head. If you don’t see any leaks and your torch isn’t lighting up, then make sure all the parts have been connected correctly. Remove the torch head by turning it counterclockwise. See if the gas tank is capped. Once it is uncovered, screw the torch head back onto it.[10]
- If the torch head isn’t centered and screwed firmly onto the tank, the propane may fail to pass through it. The gas feed valve on the torch head could also be the problem, so make sure it is open.
-
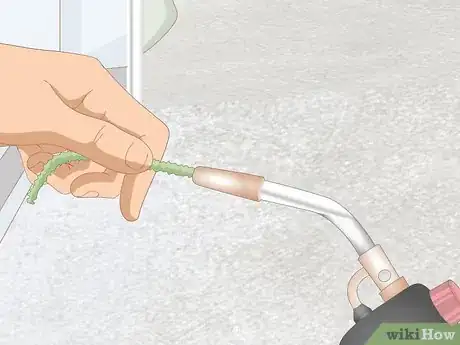
3Clean the torch head nozzle if it looks dirty. Debris could clog the nozzle, preventing gas from getting through it. Shut off the gas flow first with the feeder valve, then remove the nozzle. Choose a soft pipe cleaner and push it all the way through the nozzle. While you have the torch taken apart, scrub away any stubborn debris with a soft cloth dampened in warm water.[11]
- Another option is to submerge the nozzle in a pot of water on your stove and wait for it to boil. Then, reduce the heat to medium and let it simmer for about 15 minutes. After it cools for about 5 minutes, try cleaning it again.
- Use only a soft pipe cleaner on the nozzle. Brushes and other cleaning instruments can be a little harsh and end up damaging it.
-
4Refuel the gas tank if it is empty. If the tank isn’t emitting gas or sparking at all, you may have run out of fuel. One way to figure this out is by pouring warm water down the outside edge of the tank and feeling it. If you notice a cool spot, then the tank still has gas in it. The gas absorbs heat, leaving the tank cool to the touch.
- Another option is to weigh the tank on a scale. Most tanks have a tare weight printed on them, which indicates the tank’s weight when it is empty. You could also use a propane tank gauge to determine the gas level.
Warnings
- Lighting a propane torch can be dangerous if you’re not aware of your surroundings. Make sure the tank is letting out a small but steady stream of gas and isn’t aimed at anything flammable.⧼thumbs_response⧽
- For protection, wear the proper safety gear before using and operating a torch. Always put on heat-resistant gloves and safety glasses or a welding face mask.⧼thumbs_response⧽
Things You’ll Need
Assembling the Torch
- Heat-resistant gloves
- Safety glasses
- Welding mask (optional)
Activating the Flame
- Filled propane tank
- Torch head
- Striker, lighter, or match
Troubleshooting Your Torch
- Warm water
- Dish soap
- Soft cloth
- Soft pipe cleaner
References
- ↑ https://safetyservices.ucdavis.edu/safetynet/portable-torch-safety
- ↑ https://www.youtube.com/watch?v=j5AKq4XDT7U&feature=youtu.be&t=116
- ↑ https://www.youtube.com/watch?v=CBbnWJOcnBk&feature=youtu.be&t=57
- ↑ https://www.youtube.com/watch?v=CBbnWJOcnBk&feature=youtu.be&t=61
- ↑ https://sciencedemonstrations.fas.harvard.edu/presentations/reaction-propane-and-oxygen
- ↑ https://www.youtube.com/watch?v=JQMHwthAlrM&feature=youtu.be&t=60
- ↑ https://sciencedemonstrations.fas.harvard.edu/presentations/reaction-propane-and-oxygen
- ↑ https://www.bobvila.com/articles/propane-torches/
- ↑ https://www.propane101.com/checkingforgasleaks.htm

