This article was co-authored by wikiHow Staff. Our trained team of editors and researchers validate articles for accuracy and comprehensiveness. wikiHow's Content Management Team carefully monitors the work from our editorial staff to ensure that each article is backed by trusted research and meets our high quality standards.
This article has been viewed 42,266 times.
Learn more...
When you're going on a road trip, the last thing you want is to run out of food because it went bad. That's why it's important to know how to prepare food properly for your road trip. Then, you need to pack your cooler the right way to keep your food fresh as long as possible. Make sure to plan out your meals so that you bring the correct amount of food, use a high-quality cooler, and use a separate cooler for beverages to preserve your perishables for the duration of your trip.
Steps
Preparing the Day Before
-
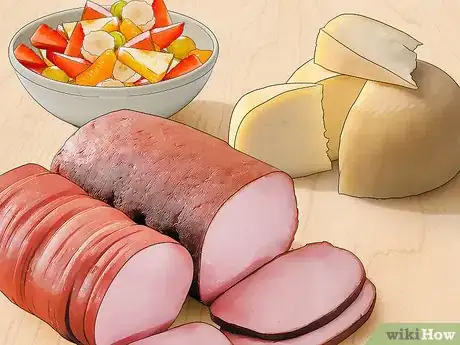
1Pick foods that are easy-to-prepare and will last for your road trip. Things like deli meats, cheeses, pre-cooked hot dogs or sausages, fruits and vegetables, potato salad or pasta salad, and other premade and precooked items are good choices. Plan out easy-to-make breakfast, lunch, and dinner meals for each day of your trip and bring the necessary ingredients.[1]
- Limit the amount of raw meats and other highly-perishable items to just what you plan on making in the first 1-2 days, since these foods will go bad the fastest.
- Things like sandwiches and wraps are easy to throw together on the road, and their ingredients will last a long time in your cooler.
-
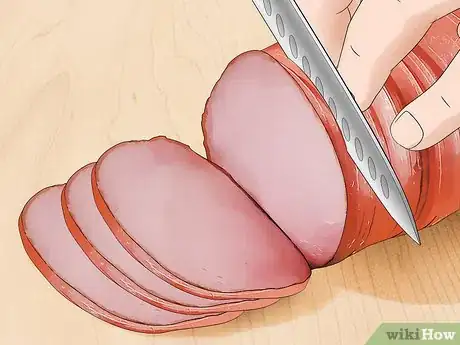
2Prepare and portion out your food to get it ready to pack in your cooler. Chop things like fruits and vegetables so they are ready-to-eat and take up less space. Take things like raw meat out of its store packaging and separate it into portions to repackage in smaller containers or bags.[2]
- You can pre-make things like pasta salad, potato salad, baked beans, and other side dishes. You can also precook some chicken or other meat to use for sandwiches or wraps on the first day or two.
- If you are bringing condiments, put smaller amounts of them into smaller containers rather than bringing the whole bottle or other container.
Tip: In order to keep food fresh on a road trip, you will need a high-quality cooler. Choose one that is at least 2 in (5.1 cm) thick and made of molded plastic. It's also best to use 2 coolers, 1 for food and 1 for drinks.
Advertisement -
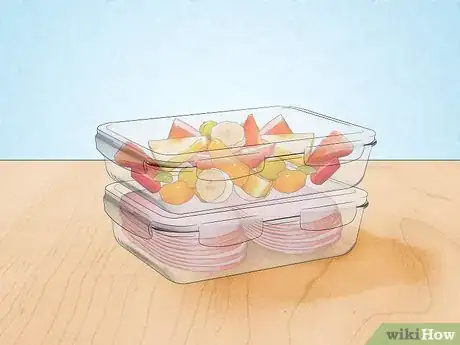
3Put the prepared food into sealable containers and bags. Put food in plastic bags with a zip top or sealable tupperware containers. This will keep food from getting wet or leaking and contaminating other foods in the cooler.[3]
- Try to be as space-conscious as possible and pack things in bags and containers just big enough to hold them. This will save space and let you pack foods more tightly in your cooler to keep them colder.
- Don't put wet raw foods like fruits and vegetables in sealed packaging or they won't stay fresh. Either don't wash them before packing them, or let them air dry completely before you pack them up.
-
4Freeze all perishable food you won't eat on the first day to keep it fresh longer. Put foods that will go bad quickly, especially raw meat, in the freezer the day before your trip and let them freeze overnight. Leave just enough food unfrozen for the first day of meals of your road trip.[4]
- You can also freeze things like fruits and vegetables that you won't eat right away to keep them fresh longer.
- It's ok to leave things like sealed deli meats and dairy products in the fridge instead of the freezer, as these items won't go bad as quickly.
-
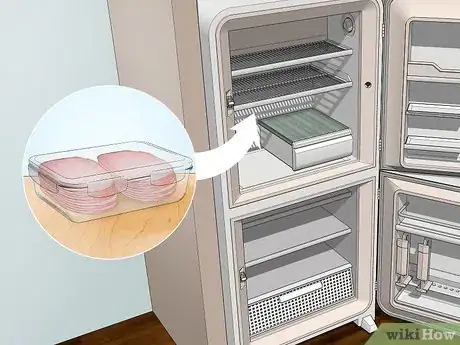
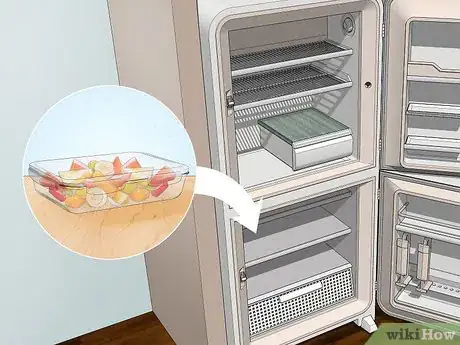
5Refrigerate all the perishable food items that you don't freeze. Put all the rest of your food that could go bad in the fridge the day before you travel to increase their shelf life. This includes items that you would normally put in the fridge, such as dairy products, and items you might typically leave out, life fruits and vegetables.[5]
- You don't need to do this for non-perishable food items, like nuts or other snack-type items that won't go bad.
-
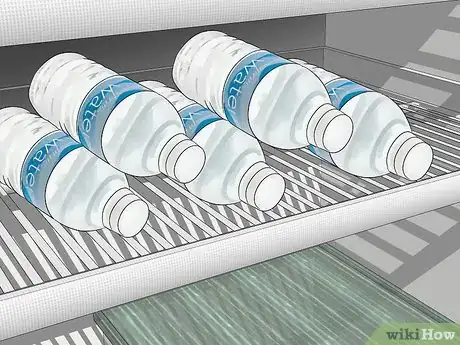
6Freeze enough water bottles to line the bottom of your cooler. Check how many water bottles fit in the bottom of your cooler, then freeze at least this many. These will act as ice blocks to keep your food fresh in your cooler, and then you can drink them later on.[6]
- You can do this with several personal-sized water bottles or fill a couple of larger bottles with water and freeze them to make bigger ice blocks. For example, 2-liter soda bottles or gallon milk jugs work well as ice blocks for large coolers.
- If you don't have or don't want to use water bottles, you can also use commercial ice packs or freeze some water in ziploc bags to make ice blocks.
-
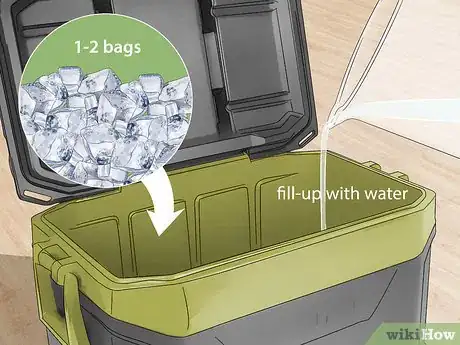
7Fill your cooler with tap water and 1-2 bags of ice the night before to pre-chill it. Bring your cooler inside from wherever you store it to a cool room and dump 1-2 bags of ice into it. Fill it up the rest of the way with tap water, close it, and let it sit overnight.[7]
- This will ensure your cooler is already chilled when you pack food into it so that the food stays colder longer.
- Make sure to dump out the ice and water before you pack your cooler for the road trip.
Packing Your Cooler Correctly
-
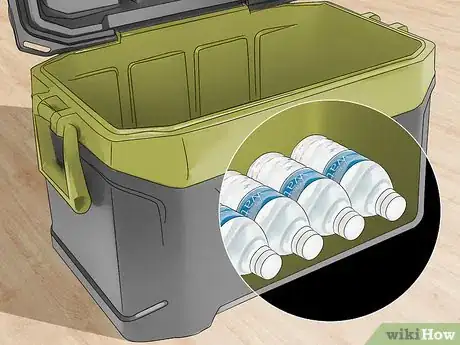
1Line the bottom of your cooler with frozen water bottles. Take the water bottles you pre-froze out from your freezer and put them directly into your cooler. This will form the base layer of ice that will keep your food cold and fresh.[8]
- You want to pack everything into your cooler directly from your fridge and freezer at the last moment before you leave and in the shortest amount of time possible. The less contact the food has with warm air, the longer it will last.
-
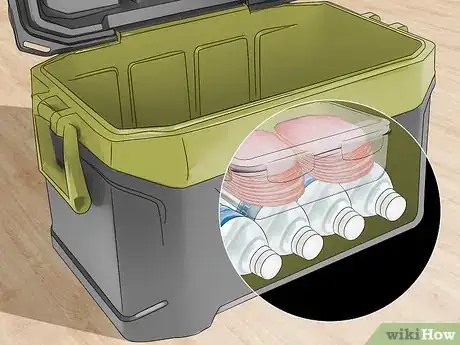
2Put frozen food items on top of the frozen water bottles. These are the items that you will eat last and are the least delicate, so put them at the very bottom. They will also stay frozen longer if they are in direct contact with the ice blocks.[9]
- Double check to make sure that all meat and other frozen items are well-sealed as you pack them into the cooler. You don't want any raw meat juices leaking into your cooler as they thaw out.
- Make sure to place everything right-side-up as you pack to be extra-sure that nothing accidentally opens or leaks in the cooler.
-
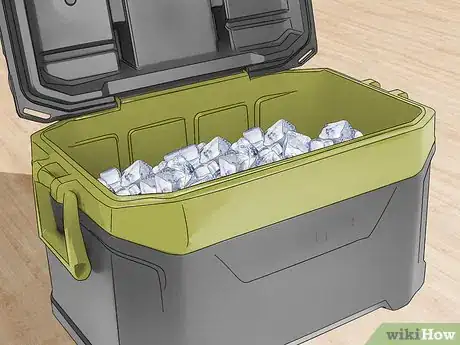
3Add a layer of ice cubes between each layer of food items. Dump a layer of ice cubes from a bag of ice on top of the frozen food items before you pack the next layer. Do this between each layer that you pack to keep your food colder for longer.[10]
- During your road trip, don't dump out any melted ice unless you are going to replace it with fresh ice. Even the melted ice water will help keep your food cold and fresh for longer.
-
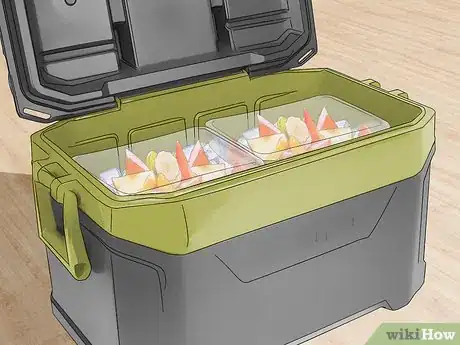
4Put non-delicate refrigerated items in the middle of the cooler. Add all the items that you refrigerated that aren't in danger of being crushed for the next layer. This includes things like condiments, fruit in tupperware, deli meats, cheese, and thawed meat that you plan to eat that day.[11]
- Remember to top this layer off with another layer of ice cubes before you add the top layer of food.
-
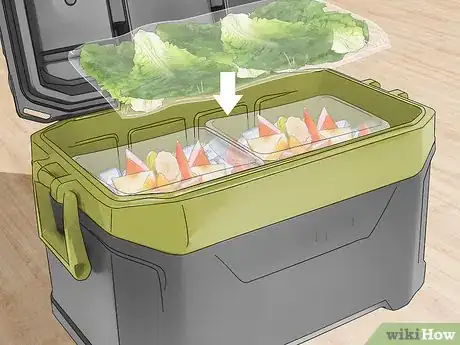
5Place delicate items at the very top so they don't get crushed. Put items that might get crushed, such as eggs and bagged vegetables, at the very top so nothing heavy will be on them. Cover them with a final light layer of ice cubes.[12]
- The fuller your cooler is, the longer things will stay cold and fresh. If you have lots of empty spaces, then fill them up with ice cubes or use frozen or chilled beverages to fill in the gaps.
- You can also pack things that you want to be able to access easily, such as the first day's lunch, at the top.
-
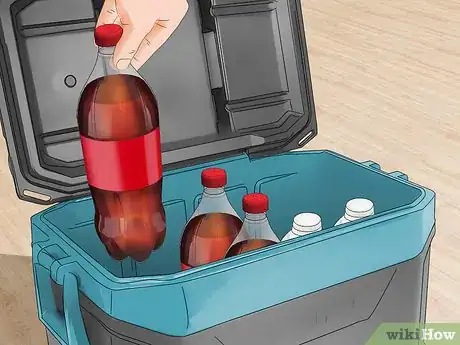
6Use a separate cooler for beverages to keep your food cooler closed more. Pack beverages in a separate cooler so you don't have to open and close your food cooler to access them. The more your cooler's lid is open, the faster the ice will melt and your food will start to warm up.[13]
- If you absolutely can't use a second cooler, then pack a layer of beverages between the frozen food items and the next layer of food items, and leave a few beverages packed around the top of the cooler so you can pull them out quickly.
Tip: When you set off on your road trip, pack your coolers into your car last. Opt to bring them inside the car with you if possible, rather than in the trunk. Keep them closed as much as possible during the trip, and put them in shady spots whenever you remove them from your car.
References
- ↑ https://www.livingonadime.com/packing-food-road-trips/
- ↑ https://www.freshoffthegrid.com/how-to-pack-a-cooler/
- ↑ https://www.cnet.com/how-to/how-to-keep-food-fresh/
- ↑ https://www.freshoffthegrid.com/how-to-pack-a-cooler/
- ↑ https://www.freshoffthegrid.com/how-to-pack-a-cooler/
- ↑ http://dish.allrecipes.com/how-to-pack-a-cooler/
- ↑ https://www.freshoffthegrid.com/how-to-pack-a-cooler/
- ↑ https://www.fsis.usda.gov/shared/PDF/Handling_Food_Safely_on_the_Road.pdf
- ↑ http://dish.allrecipes.com/how-to-pack-a-cooler/
-Step-28-Version-3.webp)



-Step-28-Version-3.webp)


