This article was co-authored by Frank Boss. Frank Boss is an Electrician and the Owner of AArdvark Electric Service. With over 25 years of experience, he specializes in all forms of lighting installation including recessed lighting, under-cabinet lighting, and security and flood lights. He also has experience in all forms of residential and commercial electrical services including troubleshooting, correcting code violations, service upgrades, and ceiling fan installation.
This article has been viewed 178,613 times.
Installing a transfer switch refers to the process of adding the necessary trigger to change your energy to generator power in the event of an electrical outage. This task requires experience with electrical wiring. Follow these steps for how to install a transfer switch.
Steps
-
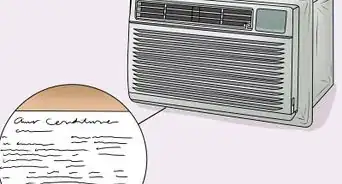
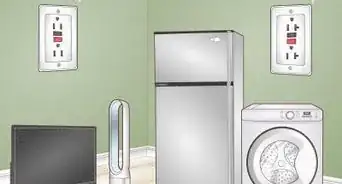
1Decide which home conveniences you'd like to be generator accessible.[1]
- This usually includes the refrigerator, stove and other essential appliances.
-
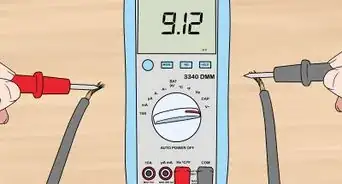
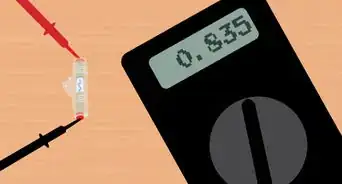
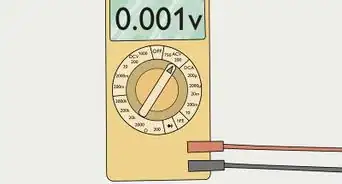
2Access your fuse box and calculate the amount of power that will be demanded of the generator to run each of these devices separately.Advertisement
-
3Confirm that the amperage of needed power does not exceed the generator's capacity.
- The combined amperage may exceed the generator's capacity as long as the instruments aren't running simultaneously.
-
4Assign each appliance a number which coincides with its circuit and label this in the circuit breaker of the switch.
- The sizes of the assigned breakers must be equal in both the transfer switch and the home's load center.
-
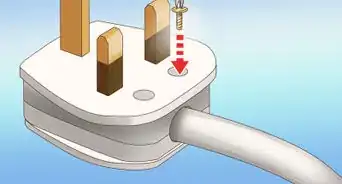
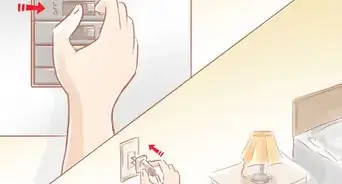
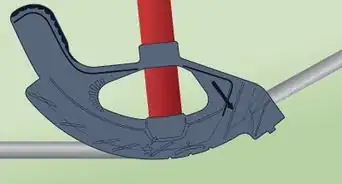
5Cut the main power supply to the circuit breaker.[2]
-
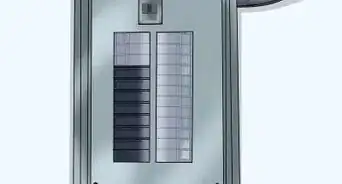
6Take the cover off of the circuit breaker.
-
7Remove the cover of the transfer switch.
- The transfer switch is the device that disconnects the supply power from the local utility company and transfers the supply line to the emergency subpanel.
- Failure to install the transfer switch can result in combining voltages and damaging every electrical device in the house.
- The size of the transfer switch should be according to the power requirements of the sub panel.
-
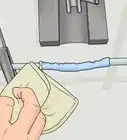
8Trim the unit's insulating tube, which will cover the wires, to a workable length using a utility knife.
-
9Attach the connectors to the wires using PVC cement.
-
10Use the transfer switch's wiring harness to connect the unit to the circuit breaker.
- The wires should be drawn through 1 of 3 knockouts located on the underside of the switch. They should join the circuit breaker through a knockout found at the bottom of the box.
-
11Lift the transfer switch up to the wall where it is to be installed and label the placement of the mounting screws.[3]
- The transfer switch should be placed roughly 1 1/2 feet (45.72 cm) away from the midpoint of the main circuit breaker.
-
12Affix the transfer switch to the wall, using mounting screws.[4]
-
13Pull the bundle of wires through the insulating tube.
-
14Trim 5/8 inch (1.59 cm) from the covering of each individual wire.
-
15Join the wires to the transfer switch referring to the labels created previously.
-
16Label each wire according to the appliance it supplies.
-
17Attach the miscellaneous black wires to the Utility 2-pole breaker in the transfer switch.
-
18Join the white wire to the neutral area located in the middle of the transfer switch.[5]
-
19Join the green wire to the grounding bar on the left side of the lower portion of the switch.[6]
-
20Put the cover back on the transfer switch.
-
21Confirm that the power supply is cut off at the main load center.
-
22Detach the assigned wires for each appliance from the circuit breaker box.[7]
-
23Trim 5/8 inch (1.59 cm) from the covering of each individual wire.
-
24Attach to the transfer switch using wire connectors and again referring to the labels.
-
25Join the miscellaneous black wires to the new 2-pole breaker.
-
26Detach the 2 individual pole breakers from where each assigned appliance wire was removed.
-
27Attach the white wire to the neutral bar.
-
28Join the green wire to the ground bar.[8]
- If a ground bar is not present, join the green wire to the neutral bar.
-
29Put the cover back on the main circuit breaker, and restore the power supply.
-
30Convert to generator power and return to utility power as per manufacturer's instructions.


Community Q&A
-
QuestionThere are two black wires on some of the breakers, so how do I find out which is the positive and which is the negative? My transfer switch kit has red and black wires.
 NschmalCommunity AnswerIf this is a standard circuit breaker, there is no possibility of it having more than one wire of different definitions (any wire directly attached to a circuit breaker terminal is considered "hot"). A single-pole breaker will have one wire, a double-pole breaker is actually two breakers ganged together and will have two wires (one on each terminal). It's possible a double-pole breaker could have two wires of different colors, but they are still "hot" wires at 120 volts each. It's also possible that a single-pole breaker will have two wires in its one terminal - which means someone wired two different circuits to the same breaker.
 -
QuestionCan I wire from an outlet directly to a circuit on the transfer switch? This is a hunting cabin and there is no fuse box currently.
 Community AnswerI don't know where you are, but in Ontario, Canada, not having a fuse panel or circuit breaker panel wouldn't be allowed. So here, an outlet cannot be attached to a transfer switch.
 -
QuestionCould I hook up more than one wire on a transfer switch pole breaker?
 Community AnswerI live in Ontario, Canada. Here, you are only allowed one hot wire attached to the screw on a circuit breaker. You can run that one hot wire to a utility box and then make a connection that goes in two directions.


References
- ↑ https://electrical-engineering-portal.com/install-manual-transfer-switch
- ↑ https://electrical-engineering-portal.com/install-manual-transfer-switch
- ↑ https://www.northerntool.com/images/downloads/manuals/37850.pdf
- ↑ https://www.northerntool.com/images/downloads/manuals/37850.pdf
- ↑ https://www.electricgeneratorsdirect.com/manuals/rts_inst_man_2013.pdf
- ↑ https://www.diy-experts.net/easily-wire-transfer-switch-home/
- ↑ https://www.thisoldhouse.com/how-to/how-to-install-manual-transfer-switch-portable-generator
- ↑ https://www.diy-experts.net/easily-wire-transfer-switch-home/
About This Article