This article was co-authored by Michael Van den Abbeel. Michael Van den Abbeel is a Professional Hair Stylist and the Owner of Mosaic Hair Studio and Blowout Bar in Orlando, Florida. He has been cutting, styling, and coloring hair for over 17 years. Michael loves showing his clients how to wash and wear their hair easily and effortlessly. Mosaic Hair Studio and Blowout Bar is recognized as a Diamond Top Tier level Wella salon.
wikiHow marks an article as reader-approved once it receives enough positive feedback. In this case, 86% of readers who voted found the article helpful, earning it our reader-approved status.
This article has been viewed 857,351 times.
Highlights add dimension to hair, making it look fuller and more vibrant. They can also play up your features, making you look more youthful and radiant. Getting this treatment done at a salon can get quite expensive, but luckily, doing it at home is easier and cheaper than ever. Read this article to learn how to highlight your own hair like a pro using boxed highlighting kits as well as DIY methods.
Steps
Getting It Right
-
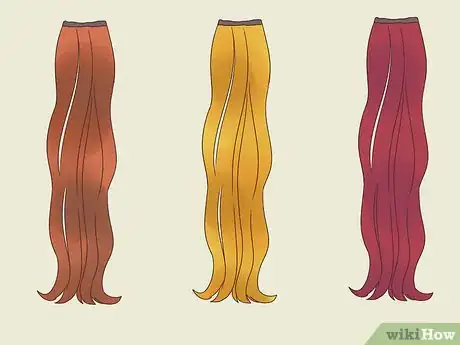
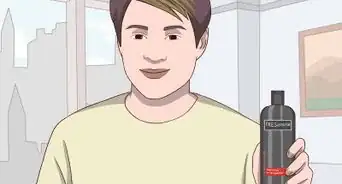
1Choose the right color. For highlights, you’ll either need to use bleach or a dye that’s lighter than your hair color, depending on your hair’s color and condition. It's best to aim for a color that is one to two shades lighter than your base color. Going too light can create an unnatural, stripy effect. If you have the option, go for a box that comes with a toner. That's the stuff that can take care of harsh tones, making them appear more natural.
- It's best if you find a dye that is conditioning and drip-free (it'll say on the box if it is). Dyeing your hair is bad for it -- so if you can retain any moisture at all, you'll be much better off.
- If you have dark hair, make sure you match your natural shade with the shade on the box. That'll be how your hair takes color.
- If you’ve dyed your hair before, your hair will only lighten with bleach. If your hair has been colored with henna or vegetable dyes, it won't lighten at all.
-
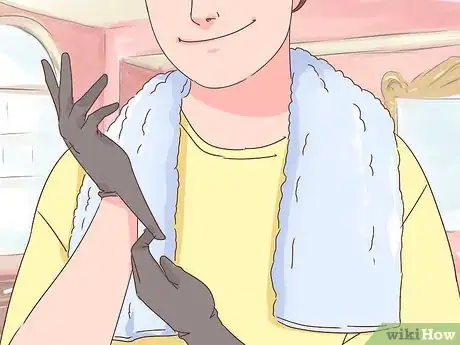
2Protect your skin and clothes. Wrap a towel around your shoulders or cut a hole in a plastic garbage bag and pull it over your head. Wear the gloves that come with your kit to protect your hands from the bleach. The last thing you want is a bathroom covered in dye.
- As for your hairline, cover it with vaseline if you'd like. You'll then be able to skip the step of getting the dye off your ears and neck. Just make sure not to get any in your roots!
Advertisement -
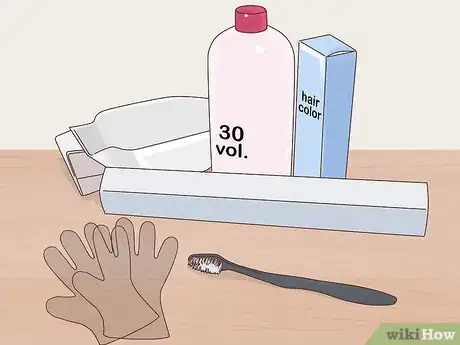
3Get familiar with your tools. Most highlighting kits come with an applicator tool that can be a bit cumbersome if you're new to the dyeing club. If you have the time, use it with your normal conditioner for practice. You'll see how it can sometimes be a bit splotchy or gloopy if you don't get it just so.
- If it's too big (which often it is), buy a baby toothbrush and use that instead. Sometimes the brush is so big it creates chunky streaks that are less than desirable.
-
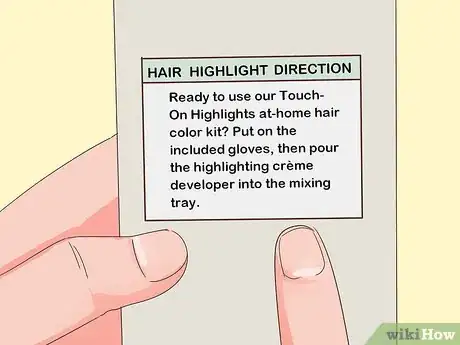
4Read the box. What it all comes down to is that you should follow the directions on the box. These things (and often companies) have been around for years and the process has been refined and can be trusted. So read the directions. Then read them again. Just to be sure!
- The only thing you should consider not doing is using the cap. If you have really long or thick hair, the cap can be more of a nuisance than not. If you're worried about getting the dye places you don't want it, you can put cotton balls/wipes or paper towels underneath the sections when you're finished with them.
-
5Perform a strand test. Before coloring your entire head, test the dye out on one strand of your hair to ensure that you’ll like the finished results. Choose a strand that’s on the underside of hair and process for the full recommended time in order to accurately assess the result.
Dyeing Your Hair
-
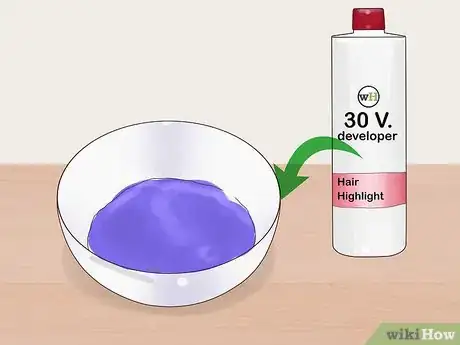
1Prepare the color. Follow the instructions that come with your box kit to determine how the color should be mixed. Don't freak out if it's white, blue, or purple -- that's totally normal.
- If you’ve never dyed your hair, omit bleach and use a permanent dye instead.This will damage your hair less and can lift your hair color up to three shades.
- Don’t use bleach if you’re going for a more natural look.
- If you’re using bleach, pour it into a small bowl so that you can easily dip the brush into it.
-
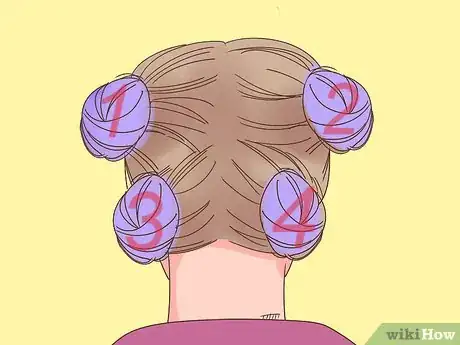
2Divide your hair into four sections. At least. If you'd like to divide into 12, that wouldn't be a terrible idea. Use hair clips or rubber hair ties to keep your hair in place. You don't want your post-dyed sections to mesh with the sections you haven't done yet.
- If you have time, do a strand test to make sure you have chosen the right shade and to determine how long to leave the bleach in. It could save you from a hair disaster. A disast-hair? Nah.
-
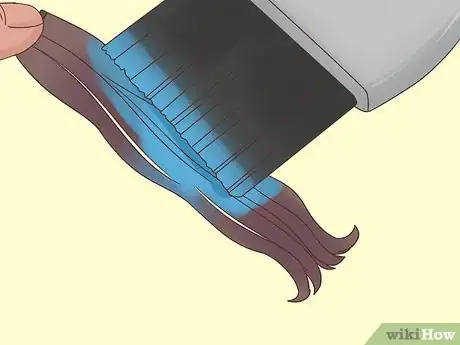
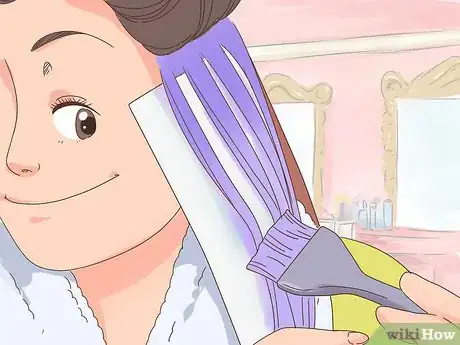
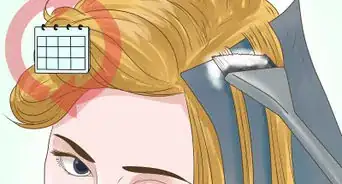
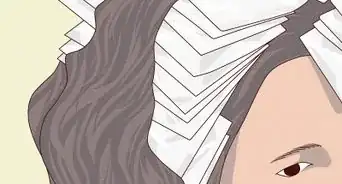
3Apply the highlights. Start a couple of inches away from your roots and apply the bleach from that point to the ends in very thin stripes. The thinner the highlights, the more natural the color will look, whereas thick highlights will create a zebra-stripe effect.When the brush is almost dry and contains very little color, feather up towards the root. This will produce a softer, more natural effect and prevent any spots or splotches.
- Don't start applying at your root. You risk getting it on hair you don't want to get it on and starting out with a big glob and too much dye -- definitely not a good thing.
-
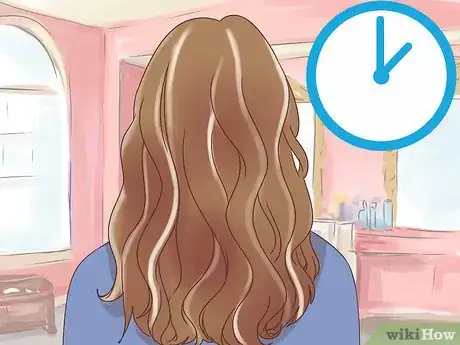
4Leave color or bleach on for the proper amount of time. If you’re using dye to create highlights, keep the color on your hair for as long as the box instructions recommend. Leaving it on for more time won't get you a richer color. If you’re using bleach, keep an eye on your hair to make sure that the highlights don't get too light.
- If you use bleach, rinse it out the moment you see that it has lifted your highlight color to your preferred lightness. When bleach is left on too long, it can cause severe damage to your hair.
- If you are not sure how long to leave the dye on, always go with a conservative estimate. If the highlights aren't light enough, you can always go back and redo them.
- Remember that highlights continue to get lighter with sun exposure and continued washing.
-
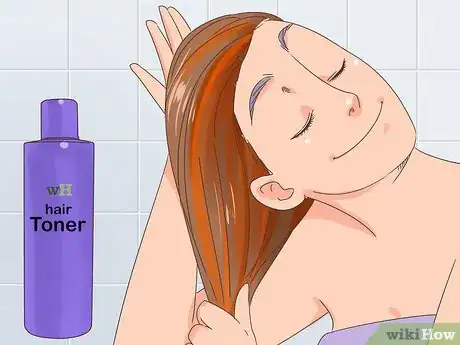
5Apply the toner (optional). Some at-home highlighting kits include a toning solution, which will help blend the highlights in with the rest of your hair. This is a very good idea. It can give you a more natural, shinier tone. In fact, if yours didn't come with one, you can buy one separately.
- As with everything else, just follow the directions. They'll be fairly straightforward.
-
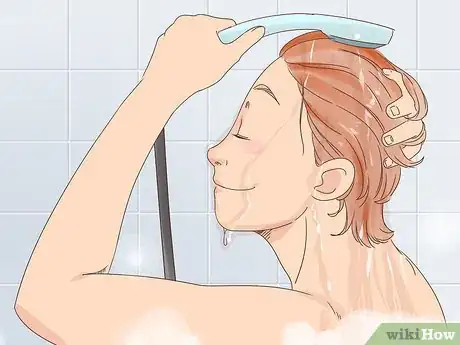
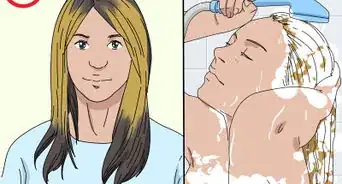
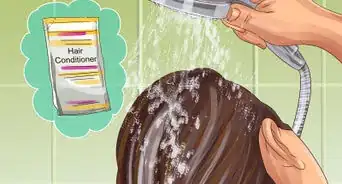
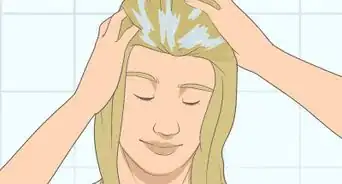
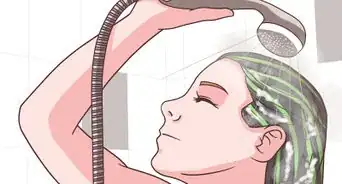
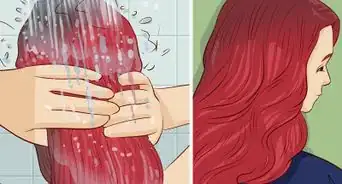
6Wash out the dye. Shampoo your hair twice and then condition your hair in the shower, using the special conditioner that comes with your box, if there is one.[1] Rinse it thoroughly, making sure all the dye has come out.
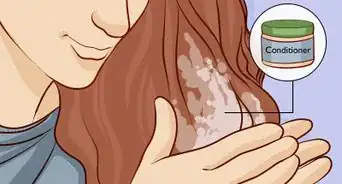
- Bleach can dry out hair (if you're dyeing your hair a lighter shade, it's bleach), so leave the conditioner in for 2-3 minutes before rinsing to help restore moisture. Hydration is key right now.
-
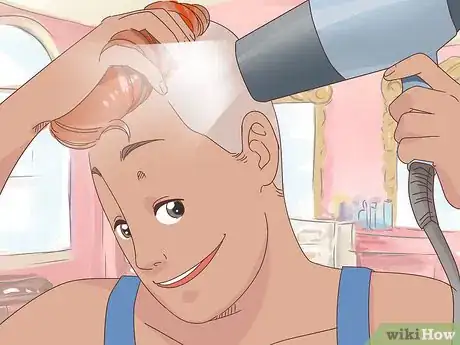
7Dry your hair with a blow dryer or allow it to air dry.[2] Check the final result in a mirror using natural light. And don't freak out! If it's a little off, give it a couple days. That initial wash or two could tone it down.
- If you really, really don't like it, consider going to a professional. You don't want to damage your hair any more than you need to. The process can be done twice, but if you can avoid it, do so.
Using Natural Methods
-
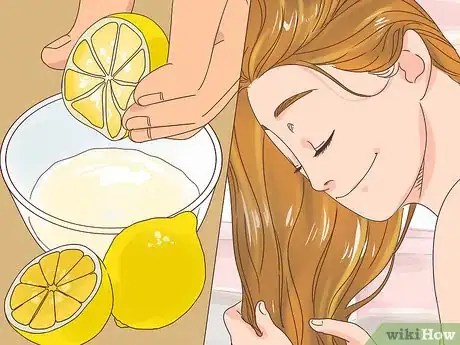
1Use lemons. Lemon juice has natural bleaching properties that can add subtle highlights to hair without the damaging effects of bleach. It's like the sun in fruit form.
- Squeeze the juice of several lemons into a small bowl. Apply the juice to the strands of your hair from root to ends using a paintbrush, your fingers, or by dipping your strands into the bowl. Sit out in the sun for 20-30 minutes to activate the bleaching effect.
- This method works best on light hair, as darker hair may turn orange or brassy.
-
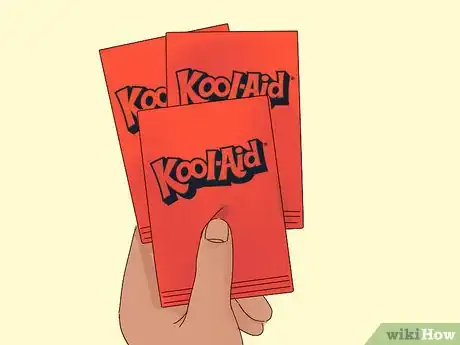
2Use Kool-Aid. If you want to add some colored streaks to your hair, you need look no further than your kitchen pantry! Kool-aid can be used to achieve purple, red, pink, and green highlights.
- Boil water in a medium-sized pot. Add 4-5 packets of sugar free Kool-Aid and mix until the powder dissolves. Apply the Kool-Aid to your hair in streaks using either a paintbrush, your fingers, or by dipping your hair into the pot.
- Leave the color in for 10-15 minutes before rinsing.
-
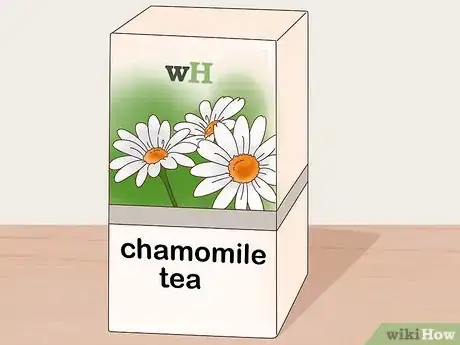
3Use chamomile tea. If you're brunette and just looking for a some lighter tones for dimension, consider rinsing your hair in chamomile tea until you see the desired effect. Just brew a pot, leave it to cool, and use it to rinse your normal conditioner out of your hair. Then go relax in the sun!
- This won't drastically change the color of your hair -- it'll just add some natural, sun-kissed tones. It should take about a week.
-
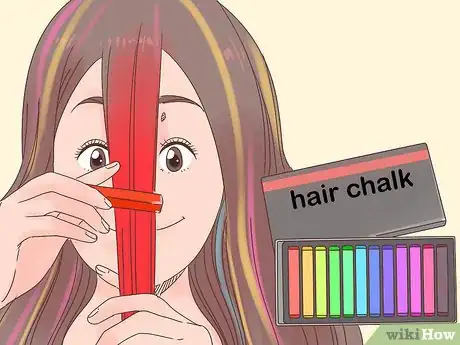
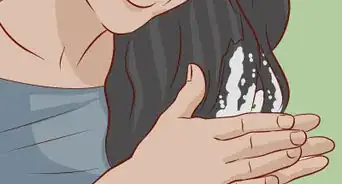
4Highlight your hair with chalk. If you're looking for a temporary, fun color, you can "dye" your hair with chalk. It's easier with lighter hair, but darker hair can take on a more subtle, is-it-or-isn't-it-look that's fun, too. It's super temporary, of course!
- If you have very light hair, the tint can last through a wash or two. If it doesn't come out completely immediately, it will come out within the next few washes.
Expert Q&A
Did you know you can get expert answers for this article?
Unlock expert answers by supporting wikiHow
-
QuestionHow can I protect my hair after getting highlights?
 Michael Van den AbbeelMichael Van den Abbeel is a Professional Hair Stylist and the Owner of Mosaic Hair Studio and Blowout Bar in Orlando, Florida. He has been cutting, styling, and coloring hair for over 17 years. Michael loves showing his clients how to wash and wear their hair easily and effortlessly. Mosaic Hair Studio and Blowout Bar is recognized as a Diamond Top Tier level Wella salon.
Professional Hair Stylist
-
QuestionHow do I highlight blonde hair?
 Laura MartinLaura Martin is a Licensed Cosmetologist in Georgia. She has been a hair stylist since 2007 and a cosmetology teacher since 2013.
Licensed Cosmetologist
-
QuestionCan I apply relaxer before applying highlights?
 Laura MartinLaura Martin is a Licensed Cosmetologist in Georgia. She has been a hair stylist since 2007 and a cosmetology teacher since 2013.
Licensed Cosmetologist
Things You'll Need
- Highlighting kit
- Paintbrush (if not included in kit)
- Gloves (if not included in kit)
- Small bowl
- Towel
- Vaseline (optional)
- Lemons, Kool-Aid, chamomile tea, or chalk (for DIY methods)
References
- ↑ Michael Van den Abbeel. Professional Hair Stylist. Expert Interview. 7 January 2019.
- ↑ Michael Van den Abbeel. Professional Hair Stylist. Expert Interview. 7 January 2019.
- http://www.kidzworld.com/article/5859-how-to-get-sun-streaked-hair
- http://www.beautylish.com/a/vmsxq/natural-highlights
- http://www.totalbeauty.com/content/gallery/p_at_home_highlights/p34892/page3
About This Article
To highlight your hair, start by dividing your hair into 4 sections, using hair ties to keep them separated. Next, working one section at a time, use a brush to apply bleach or permanent dye to thin sections of hair, starting a couple inches from the roots. Then, brush the bleach to the tips and repeat with the other sections. Finally, let the color sit for the amount of time specified on the box before washing it out. For tips from our Beauty reviewer on how to highlight your hair using natural ingredients like lemon or chamomile tea, read on!
