This article was co-authored by April Ferri and by wikiHow staff writer, Amber Crain. April Ferri is a Professional Hair Stylist and the Co-Owner of Widows Peak Salon, a hair salon based in Los Angeles, California. With over ten years of experience, April specializes in hair coloring and enhancing and transforming natural tones into vibrant shades for beautiful and low maintenance hair. Her work has been featured in Voyage LA Magazine, and she has worked as a stylist for LA Fashion Week.
There are 14 references cited in this article, which can be found at the bottom of the page.
This article has been viewed 151,615 times.
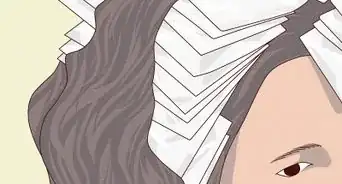
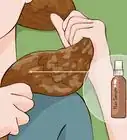
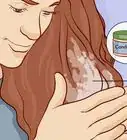
If you love blonde highlights, you can easily do your own at home using a frosting cap. The frosting cap, which you can buy at any beauty supply store, has perforated holes that allow you to pull out and bleach small sections of hair in a strategic way. Frosting caps are great for beginners who’ve never highlighted their hair before, since the perforated holes ensure that you get even results.
Steps
Putting on a Frosting Cap
-
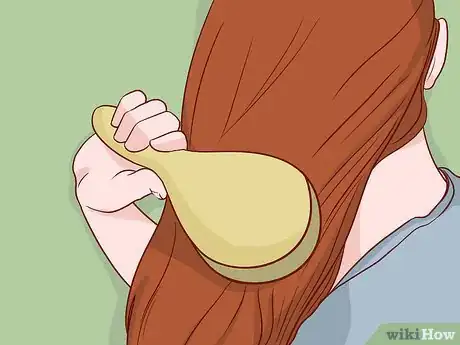
1Brush dry hair straight back to smooth it down. Use a paddle brush or wide-toothed comb to get rid of any tangles and knots in your hair, starting at your ends and working up to the roots. Then, instead of parting your hair like your normally would, brush it straight back.[1]
- Tangled hair can get snagged on the frosting cap as you try to pull the hair through the cap’s holes, so it’s important to detangle it thoroughly before you begin.
- If you’re dealing with a lot of tangles, consider spraying a light layer of detangling product all over your hair before you brush it out.
- Frosting caps work best on short to medium length hair. If your hair is long enough to pull through the cap, you can frost it. It's possible to use a frosting cap on long hair, but pulling long hair through the cap can be tedious. Longer hair is also more prone to tangling during the process.
-
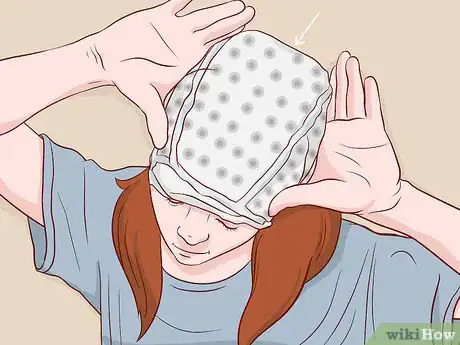
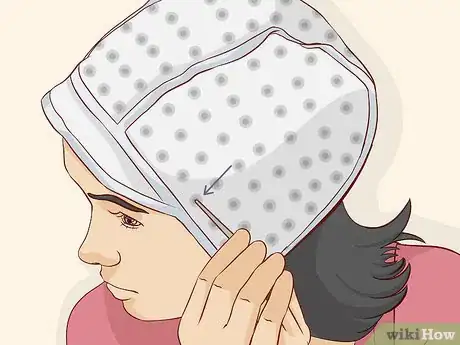
2Pull the frosting cap onto your head so that it fits snugly. Hold the cap with both hands and, starting at the hairline, pull it over the front of your head and tug the rest of the cap down over the crown of your head. Keep pulling down until the cap is snug against your skull.[2]
- Your hair should be falling loosely over your shoulders and sticking out of the bottom of the cap. You don’t need to pull the lengths of your hair up into the cap.
- A snug fit is crucial so that the bleach will reach the root of the hair after you pull it through the cap. If there’s a gap between the cap and your skull, you won’t be able to access the roots.[3]
Advertisement -
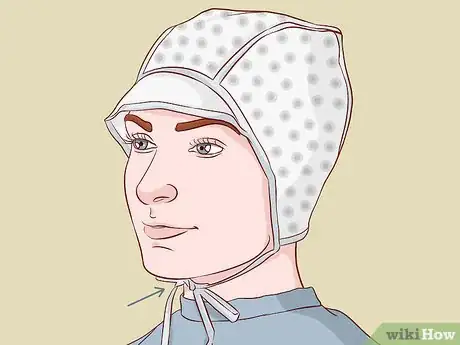
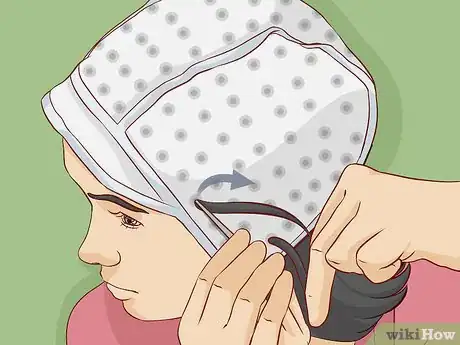
3Tie the straps under your chin to secure the frosting cap in place. Frosting caps have straps on each side so that you can fasten it snugly. Grab the strings and tie them into a bow under your chin. Be sure to tie the strings snugly, but don’t tie them so tight that it hurts.[4]
- If the front part of the frosting cap is hanging over your eyes after you tie it, simply fold or cut that part away. You want the cap to cling to your head right in front of the hairline.
Pulling Hair through a Frosting Cap
-
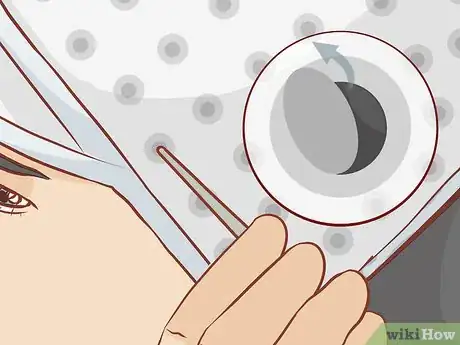
1Insert the highlighting needle into the first hole ½ inch behind the hairline. Locate the row of holes on the frosting cap right behind the hairline and select a hole as your starting point. Hold the highlighting needle at an angle and keep the hook pointed upward as you insert it into the perforated hole. Gently push the highlighting needle until the hooked end is resting against the scalp.[5]
- It’s important to work from front to back so that you get even results, but if you start right at the hairline, your hair will look stripy when you wear it up.
- Be careful inserting the needle. Use a light touch and don’t go in vertically. Always hold the needle at an angle.
-
2Hook a small amount of your hair with the end of the needle. Once the hooked end of the needle is resting against the scalp, angle it slightly to one side to pick up a tiny section of hair. This will happen easily, so you don’t need to dig down into the hair.[6]
- The amount of hair your hook is up to you. The more hair you hook and pull out, the more dramatic the frosted highlights will be.
-
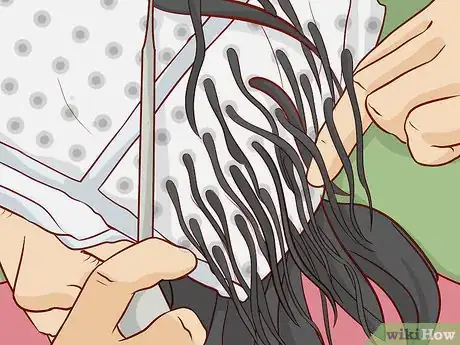
3Pull the hooked section of hair out through the hole in the cap. Once you’ve hooked the hair, pull the highlighting needle away from your head to bring the hair through the perforation onto the outside of the cap. Be sure to pull the entire section of hair out of the hole so that it is neatly hanging outside of the cap. The hair should be exposed from root to tip.[7]
- Take your time as you pull hair through the frosting cap to prevent tangles and snags.
-
4Continue pulling hair through the holes in a strategic way. If you pull hair out of every hole, you’ll achieve very dramatic highlights. If you want more subtle highlights, follow a particular pattern, like skipping every other hole. Work systematically from the hairline back to the crown. Then, move to a new section at the hairline and keep pulling hair out using the same pattern.[8]
- Most frosting caps have circles or numbers close to the holes to make strategic placement easy. Use the guides to help you remain consistent.
- The amount of hair you pull out of each hole can vary, depending on the results you want. For example, if you want dramatic highlights around the face, pull larger sections of hair out around the hairline.
-
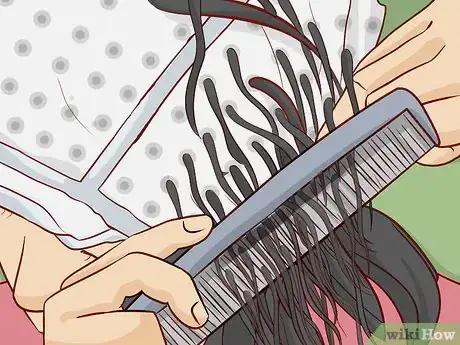
5Comb through the pulled-out strands of hair to get rid of any tangles. After pulling the hair through the perforated holes, you will probably have a few tangles and snags. Before you start the bleaching process, comb through the sections of hair with a fine-toothed comb. Comb thoroughly from root to tip and work systematically so that you comb through each section of hair.[9]
- If you don’t get rid of tangles and snags, you may end up with uneven or blotchy results.
Applying the Bleach Solution
-
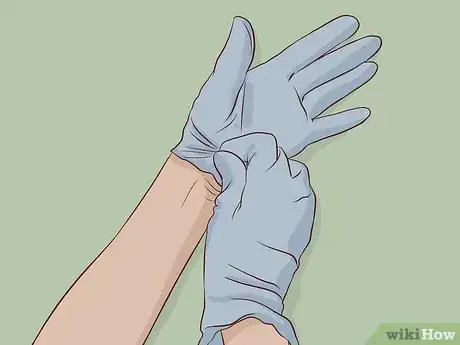
1Put on latex gloves and protect your shoulders with an old towel. The bleach solution can irritate your skin, so don’t forget to put on latex gloves before you start mixing and applying the bleach.[10] An old towel around your shoulders will protect your clothes from stains and damage caused by dripping bleach.[11]
- Be sure to wear old clothes during this process.
- You may want to apply a thin layer of petroleum jelly to the skin around your hairline to prevent the bleach solution from irritating it.
- Test the bleach on a small patch of your skin to see if it causes you any irritation.[12]
-
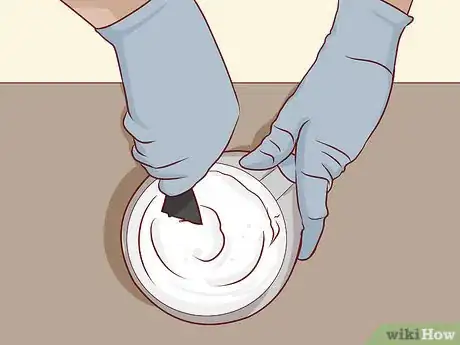
2Mix the bleach powder and developer according to the package directions. Frosting products will vary, but usually this process involves combining bleach powder and developer in a bowl. Stir the powder and developer together with a plastic spoon or spatula until they’re evenly combined. Make sure your final solution is thick, not runny.[13]
- Runny bleach solution will seep into the perforated holes in the frosting cap and stain the hair underneath, creating blotchy results.
-
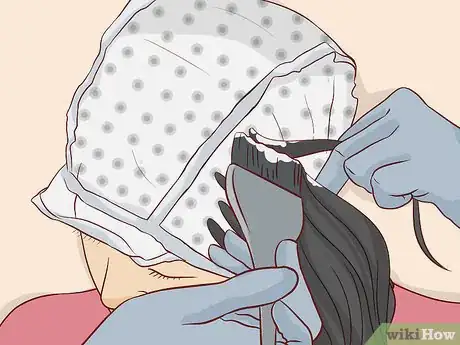
3Paint the bleach mixture onto the strands of hair with a tint brush. Dip your tint brush into the bowl and pick up a small amount of the bleach mixture. Then, paint the bleach mixture onto each strand of hair, starting at the roots and working your way to the ends. Work quickly and saturate every strand evenly from root to tip.[14]
- You can press the tint brush right against the cap, since the cap is protecting your scalp.
- Your bleach kit may come with a tint brush. If it doesn't, you can pick one up at any beauty supply store.
-
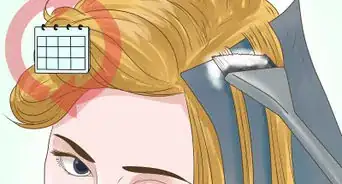
4Allow the bleach to process the hair according to the directions. How long you let the bleach mixture to sit on your hair depends on the product you’re using and results you’re going for. Standard processing time is usually around 20-30 minutes. Use a timer on your phone to help you keep track of the time.
- If you’re worried about dripping, put a plastic shower cap over your head while the bleach processes your hair.
- Never leave bleach mixture on your hair for longer than 1 hour, since it can cause serious damage and breakage.
-
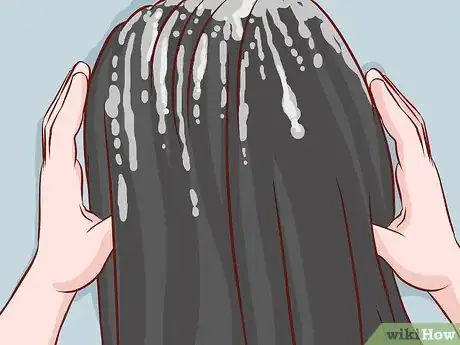
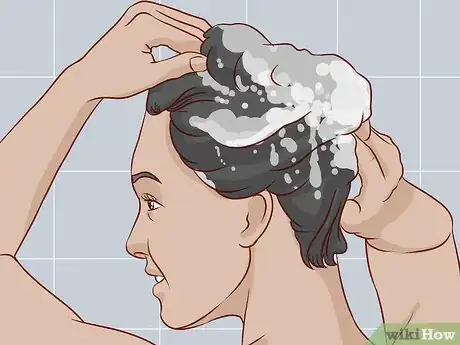
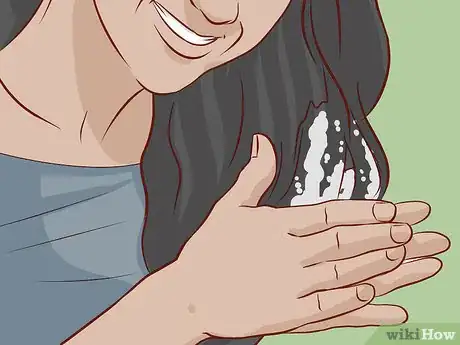
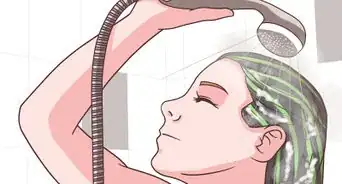
5Shampoo the hair and rinse it thoroughly with cool water. Be sure to leave the frosting cap on for this part! Shampoo the hair to remove the bleach mixture. Then, rinse each strand of hair with water until all of the bleach is gone.[15]
- Do not use hot water to rinse the mixture out. Hot water will be too rough on your hair, which is already delicate because of the bleach chemicals.
-
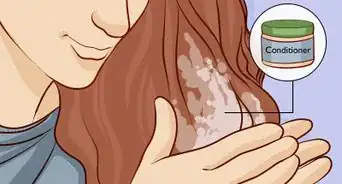
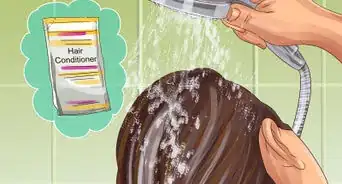
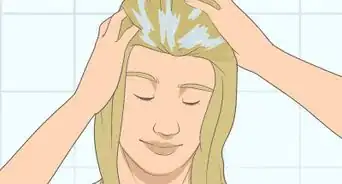
6Take off the frosting cap and apply a deep conditioner. Untie the cap strings under your chin and remove the frosting cap. Then, wet all of your hair and apply a deep conditioner. Let the deep conditioner sit for 3-5 minutes before rinsing it out with cool water.[16]
- Bleach chemicals can make hair brittle and dry, so deep conditioning right after bleaching will provide a dose of much-needed moisture.[17]
Community Q&A
-
QuestionHow long should I leave the dye in?
 Community AnswerYou are supposed to leave the dye in for approximately forty-five minutes.
 -
QuestionHow much does it cost to frost my hair?
 Community AnswerIt can range from $80 to $200, depending on the length and color (how dark it is) of your hair.
 -
QuestionDoes my hair need to be washed before it is frosted?
 Community AnswerYes, for good results you should wash your hair to remove any dirt or bacteria.
Warnings
- Do not leave the solution on longer than the time suggested on the box. Leaving it on too long can damage your hair.⧼thumbs_response⧽
Things You’ll Need
- Brush or wide-toothed comb
- Frosting cap
- Highlighting needle
- Fine-toothed comb
- Bleach powder
- Developer
- Bowl
- Tint brush
- Shampoo
- Deep conditioner
Resources
- ↑ https://www.youtube.com/watch?v=LhXRgIayjis&feature=youtu.be&t=44
- ↑ https://www.youtube.com/watch?v=LhXRgIayjis&feature=youtu.be&t=172
- ↑ http://missysue.com/2012/10/8-tips-for-highlighting-your-hair-at/
- ↑ https://www.youtube.com/watch?v=LhXRgIayjis&feature=youtu.be&t=242
- ↑ https://www.youtube.com/watch?v=LhXRgIayjis&feature=youtu.be&t=273
- ↑ https://www.youtube.com/watch?v=LhXRgIayjis&feature=youtu.be&t=370
- ↑ https://www.youtube.com/watch?v=LhXRgIayjis&feature=youtu.be&t=382
- ↑ https://www.youtube.com/watch?v=LhXRgIayjis&feature=youtu.be&t=399
- ↑ https://www.youtube.com/watch?v=LhXRgIayjis&feature=youtu.be&t=509
- ↑ April Ferri. Professional Hair Stylist. Expert Interview. 8 December 2020.
- ↑ http://missysue.com/2012/10/8-tips-for-highlighting-your-hair-at/
- ↑ April Ferri. Professional Hair Stylist. Expert Interview. 8 December 2020.
- ↑ https://www.youtube.com/watch?v=LhXRgIayjis&feature=youtu.be&t=539
- ↑ https://www.youtube.com/watch?v=LhXRgIayjis&feature=youtu.be&t=563
- ↑ https://www.youtube.com/watch?v=LhXRgIayjis&feature=youtu.be&t=742
- ↑ https://www.hairfinder.com/tips/highlighting-cap.htm
- ↑ April Ferri. Professional Hair Stylist. Expert Interview. 8 December 2020.
About This Article
Frosted hair has beautiful blonde highlights, and you can frost your own hair right at home using a frosting cap. A frosting cap is a plastic head cap with perforated holes in it. You'll pull small sections of your hair out through the holes using a highlighting needle and then bleach them to give yourself highlights. Besides a frosting cap and highlighting needle, you'll need bleach powder and developer, as well as standard hair-dyeing tools, like latex gloves and a plastic bowl to mix everything in. Once you've applied the bleach to your hair and let it sit, you'll just wash your hair out, remove the cap, and you're done! For more tips, including how to mix your bleach and developer, read on!
