This article was co-authored by Scott Johnson. Scott Johnson is the Owner and Lead Design Consultant for Concrete Creations, Inc., an award-winning landscape and design company based in the San Diego, California metro area. He has over 30 years of experience in the pool and landscape construction industry and specializes in large estate outdoor environment construction projects. His work has been featured in San Diego Home & Garden Magazine and on Pool Kings TV Show. He earned a BS degree in Construction Management with an emphasis in Architecture and CAD design from Northern Arizona University.
There are 10 references cited in this article, which can be found at the bottom of the page.
This article has been viewed 29,019 times.
Watercress, or Nasturtium officinale, is a leafy green you may have eaten with dinner before. What many people don’t realize is that it’s also a great pond cleaner. Watercress grows naturally in shallow, slow-moving streams, and you can easily line your pond with it. If you place seeds in the right potting mix and keep the growing medium wet, they will sprout. Fresh cuttings also sprout new roots in water. You can then transfer the growing plants to your pond to add a touch of greenery and keep the water clear.
Steps
Sprouting Watercress Seeds
-
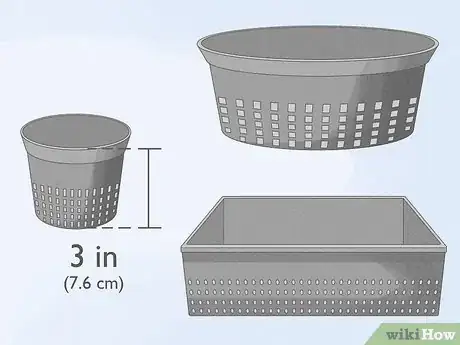
1Select an aquatic gardening pot to grow the seeds in. Aquatic pots are fabric pots that have lots of small holes in them. They are great for plants like watercress since they let in plenty of water without letting the potting medium out. The starting size of the pot doesn’t matter too much, but make sure it’s big enough for the number of seeds you intend on growing. Plan on spreading them 3 to 4 in (7.6 to 10.2 cm) apart.[1]
- Try using 3 in (7.6 cm) pots. If you plant a single seed in each one, you won't have to repot the watercress before putting it in your pond.
- If you plant watercress in an aquatic pot, you can just move the pot into the pond once the seed has sprouted. It saves you from having to do a ton of replanting.
- If you don’t have an aquatic pot, you could use a regular pot with drainage holes. Aquatic pots are good when you’re transferring watercress to your pond, but they aren’t a strict necessity when you’re sprouting seeds.
-
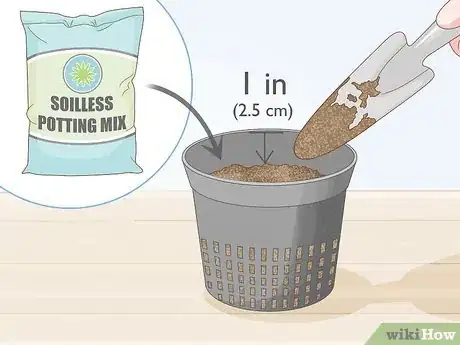
2Fill the pot 1 in (2.5 cm) from the top with a soilless potting mix. Choose a potting mix containing peat moss mixed with either perlite or vermiculite. Make sure it has a pH level between 6.5 and 7.5. Add it to the pot, then smooth it out to create a bed for the seeds.[2]
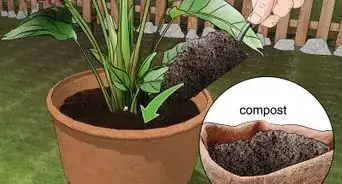
- Watercress gets its nutrients from water and organic material, not from dirt. You don’t have to add any compost to it.
Advertisement -
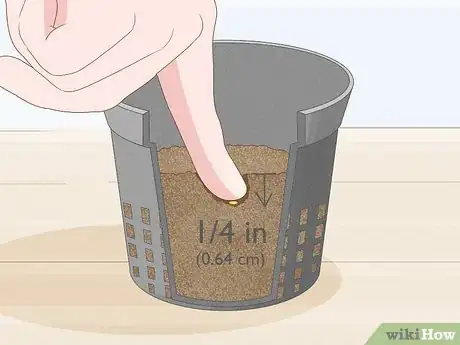
3Sow the seeds about 1⁄4 in (0.64 cm) deep in the potting mix. Space the seeds about 3 in (7.6 cm) apart, if possible. Spread them out across the growing medium’s surface, then push more of the mix over them. You could also sprinkle more of the potting mix over them or push them into the growing medium by hand. Keep them covered lightly with the potting mix.[3]
- For the best result, start growing watercress indoors 3 weeks before you intend on putting it in your pond. That way, you will avoid the risk of frost and have watercress sprouts with solid roots.
- Try planting each seed in a separate pot. They will grow well enough when they are in the same pot, but you would have to repot them when they start growing.
- If you’re having trouble getting the seeds to stay where you want them, use a trowel to dig small, shallow holes, then put the seeds in them.
-
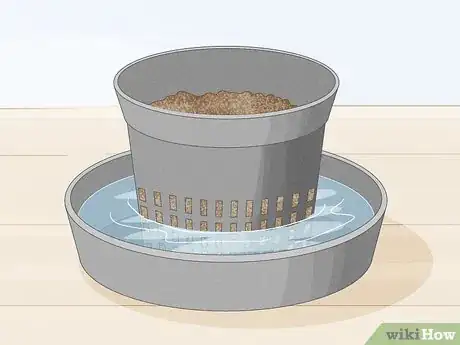
4Place the pot on top of a water-filled saucer to keep the mix moist. Watercress grows well in moisture, but you shouldn’t submerge the seeds yet. Instead, get a plant saucer that is big enough to hold the pot and fill it with water. Keep it filled while the seeds are growing so that the growing medium never dries out. Replace the water every 2 to 3 days as well.[4]
- If you don’t have a saucer, place the pot inside a water-filled tray or bucket. Make sure the pot isn’t fully submerged, or else the potting mix and seeds may get washed out.
- To help keep the growing medium moist, you can cover the pot with plastic wrap. The plastic prevents moisture from evaporating out through the top.
-
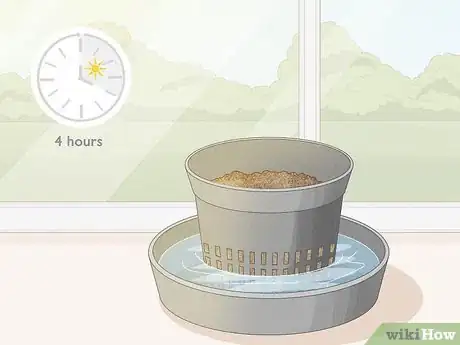
5Place the pot in a spot that receives at least 4 hours of sunlight a day. The best spot is one that receives most of its sunlight in the morning, before noon. After that, the sunlight is much stronger and dries out the growing medium quicker. Watercress is one of those plants that loves sunlight, so more is usually better if you’re able to keep them well-watered.[5]
- For instance, place the pot near the sunniest window in your home. If it has a little bit of shade during the middle part of the day, then it’s an even better choice.
-
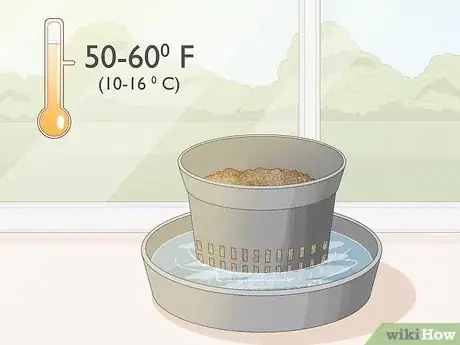
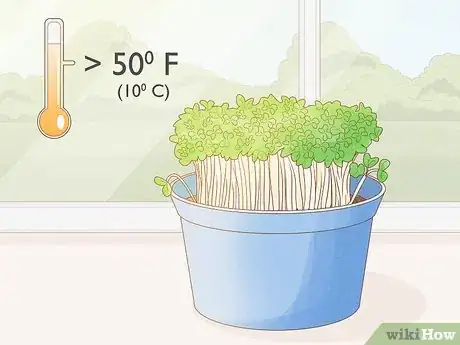
6Maintain a steady temperature that doesn’t drop below 50 °F (10 °C). Watercress can be grown both indoors and outdoors. The ideal temperature range is between 50 and 60 °F (10 and 16 °C), but the seeds will usually be okay in warmer weather too. Try to pick a spot where the temperature is well-controlled and consistent, like on a shelf in your home.[6]
- Be careful about frost, since watercress doesn’t survive well in the cold. If you live in an area where the temperature falls below 32 °F (0 °C), keep watercress indoors.
- Move watercress away from air conditioners and other sources of cold.
-
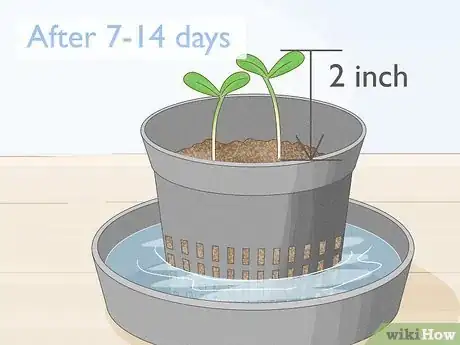
7Wait about 7 days for the watercress to sprout its second set of leaves. It’s a quick-growing plant, so you will see small stems coming out of the growing medium within a few days. However, wait until the watercress sprouts start growing leaves. Ignore the first set of leaves, since they will be small and weak. When the second set of leaves, called true leaves, show up, then you can begin transferring the plants to your pond.[7]
- Watercress seeds can take as long as 14 days to sprout. If yours don’t grow up right away, don’t worry. Just keep maintaining them for another week.
- True leaves look like smaller versions of regular watercress leaves. They look somewhat small and oval-shaped but are smooth and a little shiny.
- The watercress seeds will sprout small roots during this time that will keep them settled in pond water.
Rooting Watercress Cuttings
-
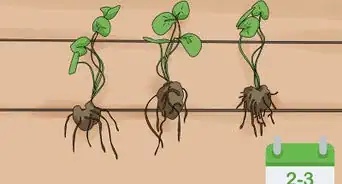
1Purchase a cutting from a fully-grown watercress plant. One of the easiest ways to get fresh watercress cuttings is from a grocery store. Whether you buy them fresh from a display or get bagged ones, those little plants are still alive and they are more than capable of regrowing. Look for ones that already have roots growing. You will be able to put them in your pond sooner than cuttings that haven't sprouted roots.[8]
- The best time to grow watercress is about 3 weeks before you plan on putting it in your pond. If you’re in the northern hemisphere, buy cuttings in April or May, for instance.
- Select watercress that has a deep green color with a bright, full leaf at the top. Ones with longer stems are a little easier to plant if you’re going to be potting them.
- You could also go to a local gardening center or nursery. If they don’t have fresh cuttings, get a grown watercress plant or seeds instead. You can transplant them to your pond without taking cuttings.
- Another option is to take a cutting from an existing watercress plant. For example, trim a leafy branch from the plant’s main stem.
-
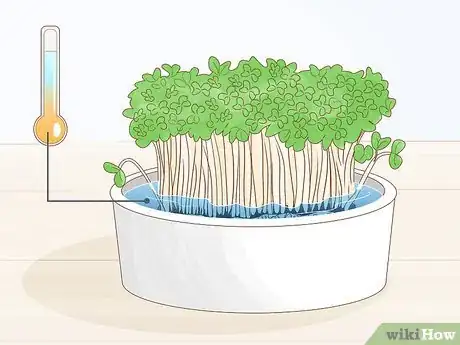
2Submerge the watercress in a container of lukewarm water. Fill a cup, for instance, then drop the entire cutting in it. It will float on the water’s surface, and you can leave it there. If you’re growing a few cuttings, spread them out so they aren’t on top of one another. Place each cutting in an individual cup to let it grow on its own. Otherwise, you could put several cuttings in a larger container, like a plastic bucket, without a problem.[9]
- To ensure the watercress continues to grow, keep the bucket in a climate-controlled area with plenty of sunlight. It does best in temperatures above 50 °F (10 °C).
- The water can get stagnant over time, so consider placing the cuttings in a 3 in (7.6 cm) pot or tray filled with a soilless potting mix. Then, place that in a water-filled container. Keep the water level right underneath its rim.
- If the weather is warm enough, you could also drop the cuttings directly into your pond. They will usually sprout new roots and settle in on their own.
-
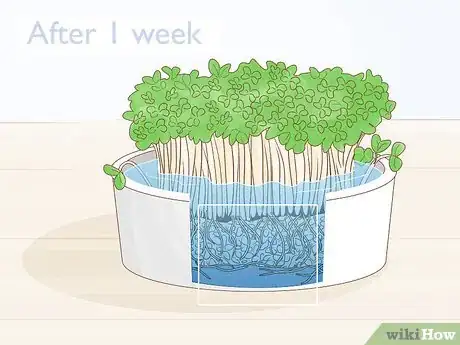
3Wait about 1 week for new roots to start forming. Inspect the cutting for some wispy, silver-colored strands forming near the bottom of the stem. They come out from where the plant was cut off from the main stem. You will probably notice them after a few days. Once they form, the cutting will be ready for planting.[10]
- If you don’t see any roots forming, wait a little longer. Try replacing the water every 2 to 3 days to keep it fresh. If that still doesn’t work, then start over with a new cutting.
-
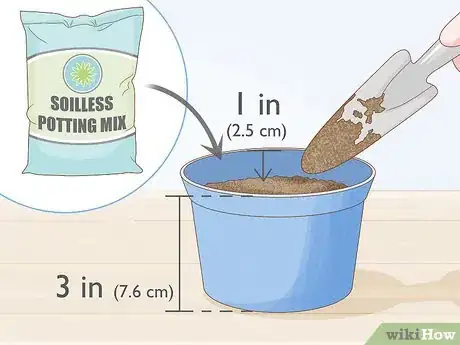
4Set up 3 in (7.6 cm) pots with soilless potting mix. Use aquatic gardening pots, since you can place them directly into your pond later. Get a separate pot for each watercress plant you’re growing. Also, get a potting mix containing peat moss mixed with either vermiculite or perlite. Fill each pot until the growing medium is about 1 in (2.5 cm) from the top.[11]
- You can also use plastic pots with good drainage holes in the bottom. They are more prone to cracking in a pond, however.
- The easiest thing to do is to use the pots you plan on keeping the watercress in long-term. #*You can also put watercress directly into your pond if it has rich, loamy soil at the bottom. If the weather is warm enough and they stay in the shallow part of the pond, they will eventually take root on their own.
-
5Stick the watercress into holes dug into the pots. Shift aside some of the growing medium in the center of each pot. Dig a hole that’s deep enough to bury the plant’s roots. Make sure that the leaves are right above the growing medium but not touching it, or else they will rot. Then, move the pots back into buckets full of water to keep the medium moist.[12]
- The pots should be submerged up to their rims in order to keep the soil moist. Make sure the water doesn’t overflow the pot, or else it could wash out the watercress.
- The watercress likely won’t be able to stay upright at this point. Gently lay it down, keeping the roots in the growing medium. They will eventually get strong enough for you to raise the plant up.
-
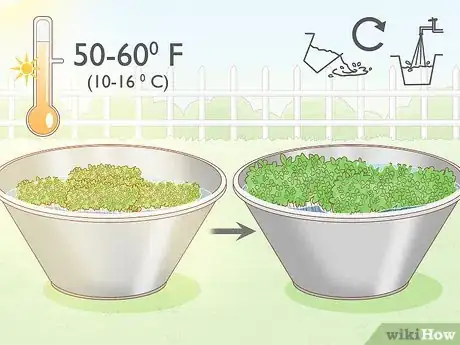
6Place the plants in a sunny area over 50 °F (10 °C). The ideal temperature for watercress is between 50 and 60 °F (10 and 16 °C). They also prefer full sunlight. Try leaving the buckets outdoors or in a very sunny windowsill, for instance. Make sure the growing medium stays moist, and replace the water every 2 to 3 days so it doesn’t stagnate.[13]
- If you’re keeping them in a very warm area, pay special attention to the growing medium. Watercress grows in soggy conditions, and high heat and bright sunlight can dry out plants.
-
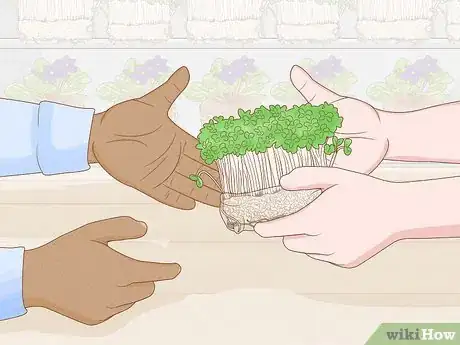
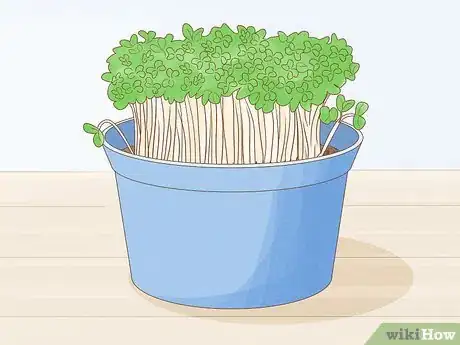
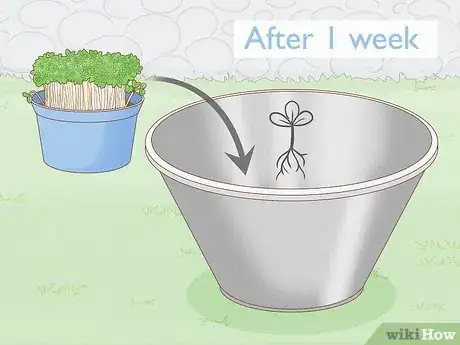
7Move the watercress into your pond after 1 week. Watch for the roots to grow even bigger. They should be strong enough to keep the plant upright so it won’t be submerged when you put it in your pond. You will notice new leaves forming as well. They will look small, oval-shaped, but smooth and shiny like fully-grown watercress leaves.
-
8Wait 1 week for the cuttings to grow before moving them. Keep the pots in a sunny spot that is around 50 to 60 °F (10 to 16 °C) for maximum growth. Also, make sure that the growing medium stays moist. Replace the water every 2 to 3 days so it doesn’t become stagnant. The watercress’ roots will grow even bigger, and you will also notice some new leaves beginning to form.[14]
- If you used aquatic planters, you can just move the pots into your pond. Otherwise, you could bury the plant so its roots are in loamy soil at the bottom of your pond.
Moving Seedlings or Cuttings into the Pond
-
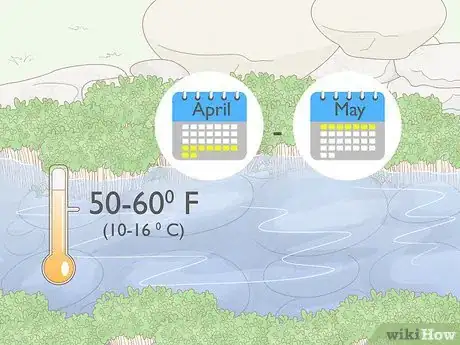
1Plant watercress in the spring after the danger of frost has passed. The best time is at the end of April or in early May. Wait until the temperature is consistently 50 to 60 °F (10 to 16 °C). If it falls below 32 °F (0 °C), frost could kill watercress before it has a chance to settle into your pond. If you’re in the southern hemisphere, the ideal growing season is from late September to October.[15]
- Watercress survives well during the winter in most locations. The top of the plant may freeze off, but the roots stay safe underwater. You will notice the rest of the plant growing back in spring.
-
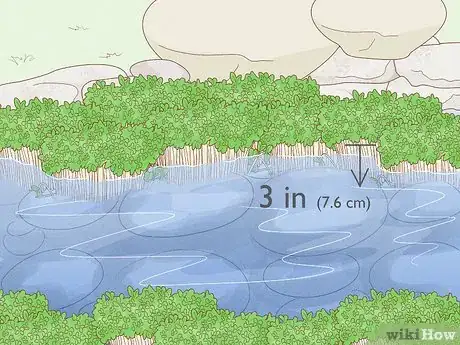
2Position watercress in shallow spots around the edges of your pond. Choose spots where you can bury the plant’s roots without submerging its leaves. Watercress will grow well along the pond’s banks. It will also grow well near any areas you have made shallow, such as by laying down rocks to make a stream or waterfall. Pick spots no more than 3 in (7.6 cm) deep to ensure the plants grow well.[16]
- Remember to avoid submerging any of the watercress’ leaves, since that will cause them to rot. The leafy part of the plant, along with most of the stem, should be above the water.
-
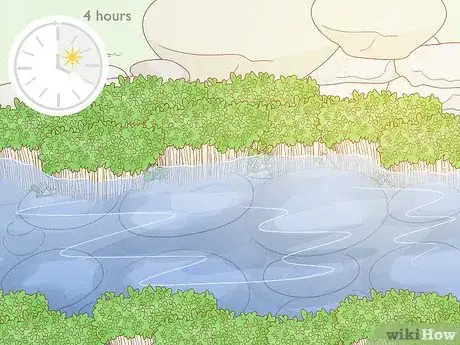
3Select sunny spots so that the watercress continues to grow. Pick spots that are out in the open, away from any large trees or bushes. Watercress needs at least 4 hours of sunlight per day. It doesn’t need any sort of shade, but it can benefit from having some in the afternoon when the weather is hottest. As long as its roots are in water, it isn’t likely to dry out even during strong summers.[17]
- Watercress can survive in partial shade, but it really does best in full sunlight. Try to limit the amount of shade around the watercress-filled parts of your pond.
-
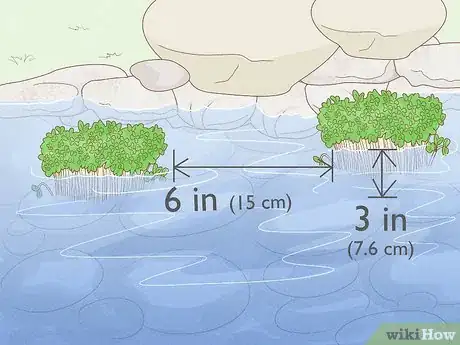
4Plant watercress about 6 in (15 cm) apart and 3 in (7.6 cm) deep. If you’re putting in multiple plants at once, give them enough room to spread out without getting entangled. Set them in the water so most of the stem and all of the leaves are above the surface. The roots should stay submerged. If you’re using aquatic pots, the pots will be completely submerged too.[18]
- Lower watercress into the pond gently. If you’re using pots, make sure they won’t tip over. They have to be on a flat, stable surface away from strong currents.
-
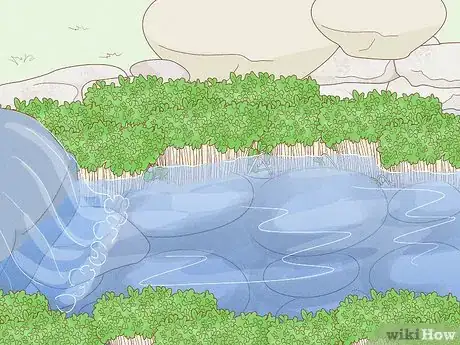
5Place watercress near streams and waterfalls for better growth. Watercress grows best along running water. Find some flat portions of ground along the edge of your pond, then check their slope. Ones that slope slightly away from the source of the water will work best. The water will rush past the plants without knocking them over.[19]
- In the wild, watercress grows along stream bends. It can also grow in still parts of your pond, especially if your pond is very small.
- Keep them away from any areas where the water moves rapidly or with a lot of force. They won’t grow well directly underneath a waterfall, for instance. They are better downstream or at the top of a waterfall where the water moves slower.
-
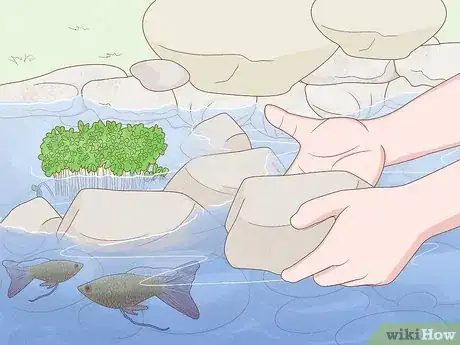
6Set pond rocks in front of watercress to protect it from fish. If your pond has fish in it, such as koi, they will use your new greenery as a snack. Stack a few stones in front of the plant’s stem so that it isn’t accessible. Since watercress grows in the shallows, the opposite side will be blocked off by the pond’s banks. Place a few more rocks along the plant’s sides to fully protect it.
- If you have fish, keep your watercress potted for additional protection. The pot covers the roots, but the rest of the plant grows above the water, making it inaccessible to fish.
- Try placing watercress strategically around shallow but rocky parts of your pond. For instance, you could grow some behind rocks blocking off the front part of a stream, since fish can’t get there normally.
-
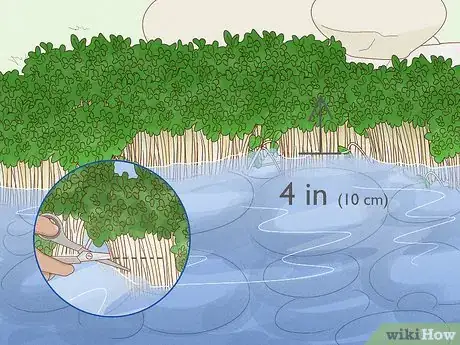
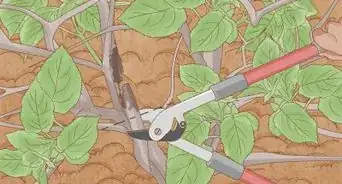
7Harvest watercress when it's over 4 in (10 cm) tall with dark leaves. Cut away the leaves and side stems with a sharp pair of scissors. Leave the main stem and the strongest side stems at least 4 in (10 cm) tall so they grow back the following year. Watercress can be harvested throughout the year, but it’s best early on in the spring before it starts flowering. Try to get it before temperatures surpass 85 °F (29 °C), since the hot weather weakens its flavor.[20]
- Leave the roots intact. Handle the watercress with caution while pruning to avoid yanking the roots up from the growing medium.
- Fresh watercress can be stored in your refrigerator for about a week. Remember to wash and cook it thoroughly before eating it.
- If you’re planning on letting watercress spread naturally, let at least one plant flower. You can tell it’s working when you see small, white flowers appear on your plants.
Expert Q&A
-
QuestionHow can I improve the overall look of my pond?
 Scott JohnsonScott Johnson is the Owner and Lead Design Consultant for Concrete Creations, Inc., an award-winning landscape and design company based in the San Diego, California metro area. He has over 30 years of experience in the pool and landscape construction industry and specializes in large estate outdoor environment construction projects. His work has been featured in San Diego Home & Garden Magazine and on Pool Kings TV Show. He earned a BS degree in Construction Management with an emphasis in Architecture and CAD design from Northern Arizona University.
Landscape & Design Consultant Some rocky material tends to do really well with a pond. Pick up boulders in multiple sizes to add some variety. Depending on the size of the pond, start with six-inch boulders and work your way up. I'd say with a 10-foot pond, you'd start with an 18 inch boulder and work your way down from there. Plants look really good around a pond as well. So if you can mound up dirt in between the boulders and add plantings in between, then that will usually look really good. It looks like you're walking in a mountain stream, so to speak, with that type of look.
Warnings
- Pond-grown watercress can attract bacteria and toxic parasites called liver fluke. If you pick watercress from a pond, always wash and cook it thoroughly before eating it.[23]⧼thumbs_response⧽
Things You’ll Need
Sprouting Watercress Seeds
- Watercress seeds
- 3 in (7.6 cm) aquatic pot or alternative container
- Plant saucer or bucket
- Soilless potting mix
- Small rake
- Watering can or hose
Rooting Watercress Cuttings
- Watercress cutting
- Cup or bucket
- 3 in (7.6 cm) aquatic pot or alternative container
Moving Watercress Into a Pond
- Aquatic pot
- Pond stones
References
- ↑ https://www.gardenersworld.com/plants/nasturtium-officinale/
- ↑ https://extension.usu.edu/yardandgarden/vegetables/watercress
- ↑ https://www.uaex.edu/publications/PDF/FSA-6084.pdf
- ↑ https://www.gardenersworld.com/plants/nasturtium-officinale/
- ↑ https://depts.washington.edu/oldenlab/wordpress/wp-content/uploads/2013/03/Nasturtium-officinale_Barker.pdf
- ↑ https://extension.usu.edu/yardandgarden/vegetables/watercress
- ↑ https://www.theguardian.com/lifeandstyle/2013/jan/26/gardening-alys-fowler-grow-watercress
- ↑ https://www.theguardian.com/lifeandstyle/2013/jan/26/gardening-alys-fowler-grow-watercress
- ↑ https://digitalcommons.usu.edu/cgi/viewcontent.cgi?article=1285&context=extension_curall
- ↑ https://digitalcommons.usu.edu/cgi/viewcontent.cgi?article=1285&context=extension_curall
- ↑ https://digitalcommons.usu.edu/cgi/viewcontent.cgi?article=1285&context=extension_curall
- ↑ https://digitalcommons.usu.edu/cgi/viewcontent.cgi?article=1285&context=extension_curall
- ↑ https://edis.ifas.ufl.edu/pdffiles/MV/MV15100.pdf
- ↑ https://edis.ifas.ufl.edu/pdffiles/MV/MV15100.pdf
- ↑ https://digitalcommons.usu.edu/cgi/viewcontent.cgi?article=1285&context=extension_curall
- ↑ http://www.bbc.co.uk/gardening/plants/plant_finder/plant_pages/13068.shtml
- ↑ https://digitalcommons.usu.edu/cgi/viewcontent.cgi?article=1285&context=extension_curall
- ↑ https://edis.ifas.ufl.edu/hs184
- ↑ http://www.bbc.co.uk/gardening/plants/plant_finder/plant_pages/13068.shtml
- ↑ https://extension.usu.edu/yardandgarden/vegetables/watercress
- ↑ https://depts.washington.edu/oldenlab/wordpress/wp-content/uploads/2013/03/Nasturtium-officinale_Barker.pdf
- ↑ http://www.bbc.co.uk/gardening/plants/plant_finder/plant_pages/13068.shtml
- ↑ https://www.ncbi.nlm.nih.gov/pmc/articles/PMC2870496/




-Oven-Step-15.webp)
