This article was co-authored by Katie Gohmann. Katherine Gohmann is a Professional Gardener in Texas. She has been a home gardener and professional gardener since 2008.
There are 9 references cited in this article, which can be found at the bottom of the page.
wikiHow marks an article as reader-approved once it receives enough positive feedback. In this case, several readers have written to tell us that this article was helpful to them, earning it our reader-approved status.
This article has been viewed 111,232 times.
Beans are a very popular item to grow in the garden, and most varieties are great for backyard gardens, because they can be grown in a very small space. Pole beans are one such variety, as the plants grow up instead of out. These beans are also great to have in the garden because they're nutritious and are a good source of fiber, calcium, iron, and vitamins A and C. Pole beans also have advantages over bush beans – each plant will yield more beans than a bush bean plant, the beans have better flavor, and the plants are more disease-resistant.[1]
Steps
Getting the Garden Plot Ready
-
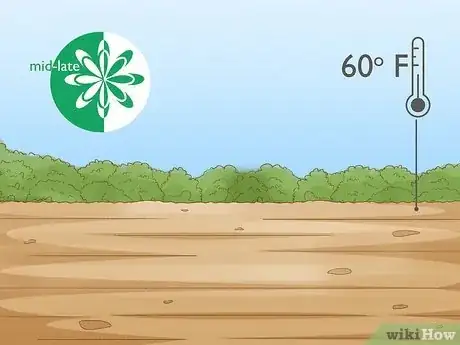
1Determine the right time to plant. Like most beans, pole beans get planted directly outside in spring when there's no longer a risk of frost. For many areas, this will be in mid- to late-spring. Pole beans can be planted when the soil temperature reaches 60 F (16 C).[2]
- Most beans are sensitive to cold and cannot tolerate frost, which is why it’s important to plant later on in spring.
-
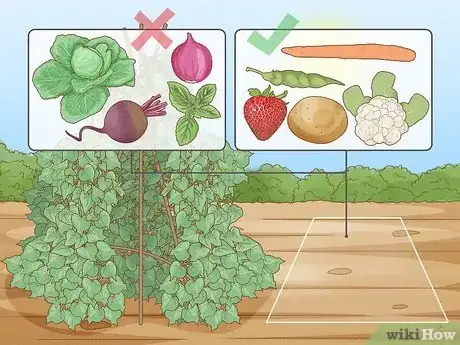
2Select the ideal location. Pole beans need full sun to grow properly and produce the highest yields, so choose a garden bed that gets lots of exposure throughout the day. Don’t choose a garden that’s near fennel, onions, basil, beets, or cabbage. Good companion plants for pole beans include:[3]
- Carrots
- Strawberries
- Cauliflower
- Eggplant
- Potatoes
- Peas
Advertisement -
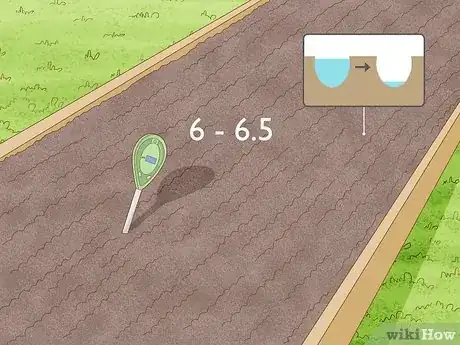
3Prepare the seedbed. The ideal soil pH for pole beans is between 6 and 6.5. They also need well-draining soil that’s been enriched with organic matter. To prepare the seed bed for these beans:[4]
- Combine a well-draining soil, such as silt or loam, with aged compost
- Amend a compact soil like clay with peat moss, manure, or shredded bark to help it drain better
-
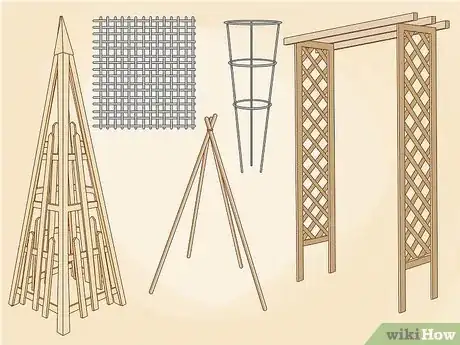
4Build a support. Because pole beans grow tall, they need a support to grow on. It’s easiest to build the support before planting, and this will prevent damage to the beans and roots. The best supports for pole beans include trellises, teepees or pyramids, poles, chicken wire, or large tomato cages.
- Tomato cages can be purchased from most home and garden stores
- You can also find garden fence panels and pyramid trellises at many garden supply stores
- You can also make your own teepee or pyramid trellis by lashing bamboo stakes together[5]
Planting and Growing the Beans
-
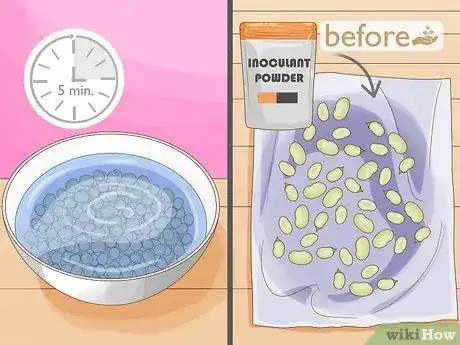
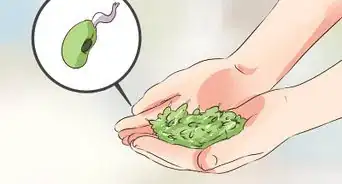
1Inoculate the beans. Pole beans are a type of legume, and like most legumes they require plenty of nitrogen in the soil to thrive. The easiest way to make sure they have this is by inoculating the beans with nitrogen-fixing bacteria before planting.
- Be aware that inoculation is an optional step for growing pole beans – it’s not absolutely necessary.
- To do it, soak the beans in warm water for five minutes. Drain the water and place the beans on a damp towel. Sprinkle them with the inoculant powder just before planting.[6]
- One common inoculant for legumes is Rhizobium leguminosarum, which can be purchased at many home and garden stores.
-
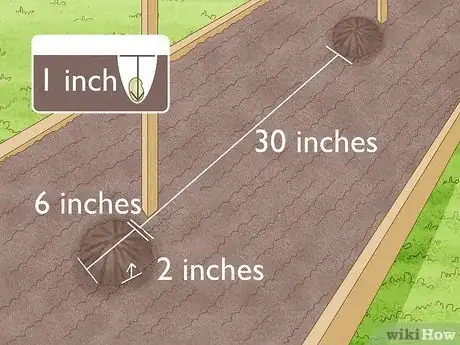
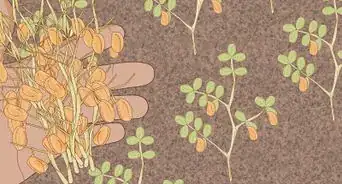
2Plant the beans. You can plant and grow pole beans in either hills or rows. The method you choose will depend largely on the layout of your garden, the type of support you created, and personal preference. Hills typically work better with poles and teepees, while rows are better suited for trellises.[7]
- To plant in hills, use gloved hands or a spade to make small mounds of soil around the base of the teepees or poles. Make each mound about 6 inches (15 cm) around and at least 2 inches (5 cm) high. Space the hills 30 inches (76 cm) apart. Poke four 1-inch (2.5-cm) deep holes in each hill, and place one bean in each hole. Cover the beans loosely with soil.
- To plant in rows, use your hands or a spade to build up the soil into long rows that are 30 inches (76 cm) apart. Poke a 1-inch (2.5-cm) deep hole for each bean, and space the beans 4 inches (10 cm) apart. Place a bean in each hole and cover it loosely with soil.
-
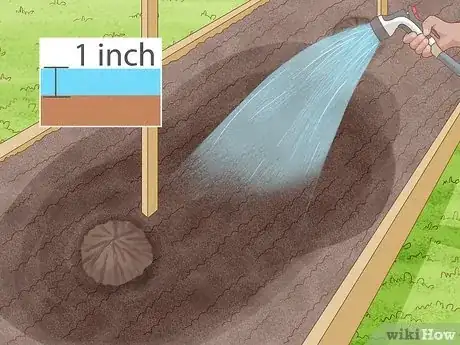
3Water regularly. During active growing periods like sprouting and producing pods, the beans will need sufficient water to grow. Keep the soil evenly moist when you first plant the beans and when they start developing pods. Make sure they get about an inch (2.5 cm) of water per week.[8]
- When the beans have sprouted but aren't yet developing pods, you can let the soil dry out between waterings.
-
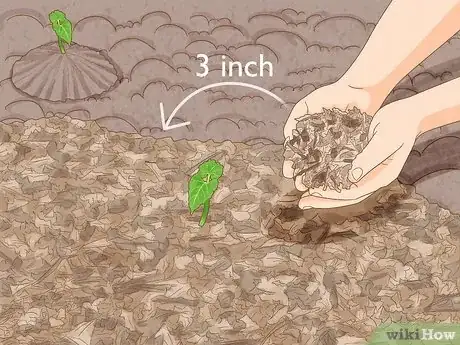
4Mulch when the seedlings grow leaves. Adding a layer of mulch to the top of the soil will help the soil retain moisture, regulate temperature, and protect the seedlings. When the seedlings develop their second set of leaves, add a 3-inch (8-cm) layer of mulch to the top of the garden bed.[9]
- Mulch will also help prevent weeds from growing in the garden. This is important because pole beans have shallow roots, and don’t do well when competing with weeds.
-
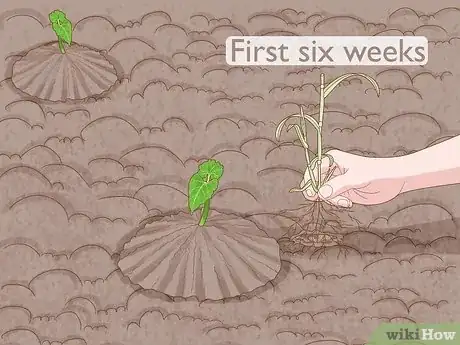
5Weed the garden bed regularly. When weeds do start growing in the same garden as the beans, remove them immediately. To prevent damage to the bean roots, pull out weeds by hand.
- Weeding the garden bed is especially important in the first six weeks after planting.[10]
-
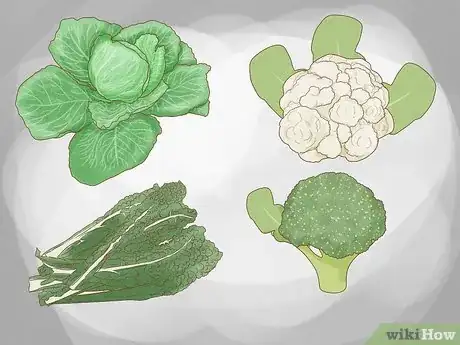
6Rotate your crops. If you plant pole beans year after year, you should definitely use crop rotation. Beans should not be planted in the same place (or a place where any legume was planted) 2 years in a row, because they deplete the soil of certain nutrients. Diseases can also linger.[11]
- Beans deplete certain nutrients but also add nitrogen to the soil as they grow. Following beans with a plant that thrives in nitrogen-rich soil, like a member of the cabbage family (cabbage, broccoli, cauliflower, kale, and others), is a good idea.
Harvesting and Storing
-
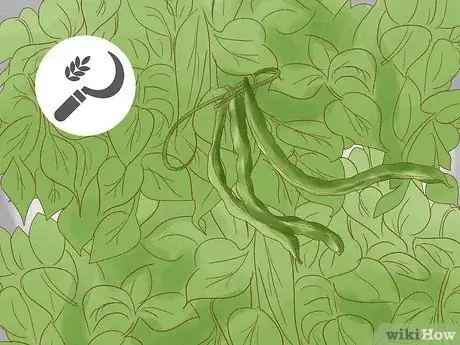
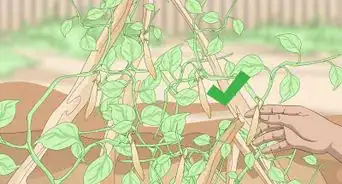
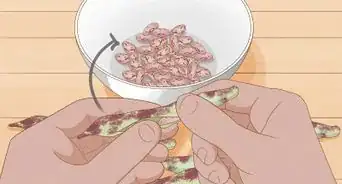
1Harvest the beans. The first bean pods should be ready for harvest within 50 to 70 days of planting. If you harvest the pods every couple days as they mature, the plants will continue producing pods for several days or even weeks.
- Pods are ready for harvest when they are long, crisp, and firm. However, harvest the pods before the beans inside become plump and developed.
- Harvest beans from dry plants to prevent the spread of bacteria. If necessary, wait until the late morning or early afternoon so morning dew has dried.[12]
-
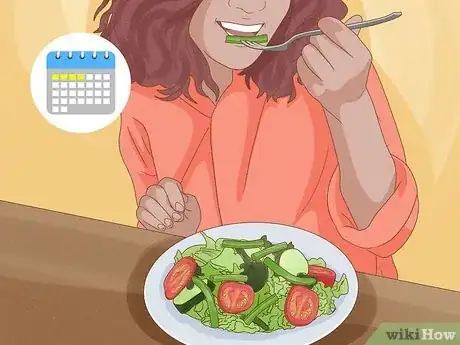
2Consume fresh beans within four days. To eat your beans fresh, eat them the day you pick them, or store them in the fridge for a few days. Any beans that aren't going to be eaten within this time should be prepared for storage.[13]
- Fresh beans can be eaten raw in salads, sandwiches, and other dishes, or they can be cooked.
-
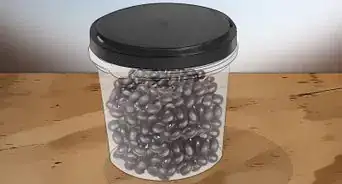
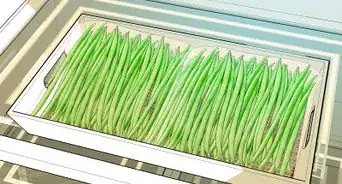
3Store excess beans for later. Freezing and canning are the best options for beans that aren't going to be eaten right away. For the best results, prepare your beans for storage within a few hours of picking them.
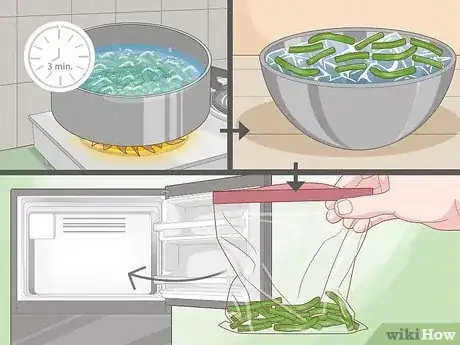
- To freeze the beans, first boil them in water for three minutes. Then plunge them into ice water for another three minutes. Dry the beans completely and transfer them to sealable bags before moving to the freezer.[14]
Expert Q&A
-
QuestionHow tall do pole beans grow?
 Katie GohmannKatherine Gohmann is a Professional Gardener in Texas. She has been a home gardener and professional gardener since 2008.
Professional Gardener It depends on what type you get. Usually, though, they'll grow as tall as you let them. Give them a trellis or cage that is 5 feet tall and you should be good.
 -
QuestionWhat do pole beans taste like?
 Community AnswerPole beans are a type of legume, and they taste similar to other beans in the same family. Pole beans are slightly sweet with a mildly starchy taste. They taste similar to a green bean, and become even more tender when cooked.
 -
QuestionWhat would cause my pole bean plants to grow very tall but not grow beans?
 Ian FeebackCommunity AnswerOver-application of high nitrogen fertilizers or otherwise high levels of nitrogen in the soil, especially if the extra vegetative growth was especially dark green. The symbiotic bacteria that colonize legume roots fix atmospheric nitrogen into easy to utilize compounds for said roots. Therefore, adding additional high nitrogen fertilizer will result in too much nitrogen for healthy plant development. Symptoms include failure to set fruit, as well as large plant and leaf growth. New leaves are often dark green, and leaves set in greater numbers than is normal.
References
- ↑ http://www.johnnyseeds.com/growers-library/vegetables/about-pole-beans.html
- ↑ http://www.gardening.cornell.edu/homegardening/scene8f63.html
- ↑ http://commonsensehome.com/grow-pole-beans/
- ↑ http://www.veggiegardener.com/how-to-plant-pole-beans/
- ↑ http://www.gardening.cornell.edu/homegardening/scene8f63.html
- ↑ http://www.johnnyseeds.com/growers-library/vegetables/about-pole-beans.html
- ↑ http://www.gertens.com/learn/Vegetables/grow-use-beans.htm
- ↑ http://commonsensehome.com/grow-pole-beans/
- ↑ http://www.gardening.cornell.edu/homegardening/scene8f63.html
- ↑ http://www.clemson.edu/extension/hgic/plants/vegetables/crops/hgic1302.html
- ↑ https://bonnieplants.com/library/rotating-vegetable-crops-for-garden-success/
- ↑ http://www.gertens.com/learn/Vegetables/grow-use-beans.htm
- ↑ http://www.almanac.com/plant/beans
- ↑ http://commonsensehome.com/grow-pole-beans/
