This article was co-authored by Andrew Carberry, MPH. Andrew Carberry is a Food Systems Expert and the Senior Program Associate at the Wallace Centere at Winrock International in Little Rock, Arkansas. He has worked in food systems since 2008 and has experience working on farm-to-school projects, food safety programs, and working with local and state coalitions in Arkansas. He is a graduate of the College of William and Mary and holds a Masters degree in public health and nutrition from the University of Tennessee.
wikiHow marks an article as reader-approved once it receives enough positive feedback. In this case, 94% of readers who voted found the article helpful, earning it our reader-approved status.
This article has been viewed 42,369 times.
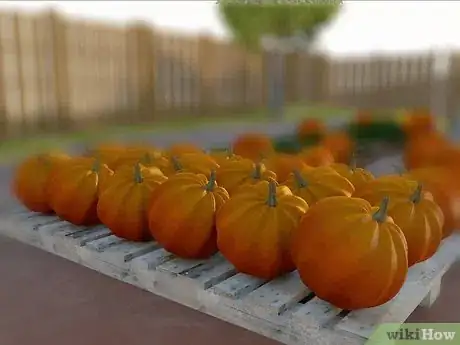
If you haven't heard the story of the Great Pumpkin, it goes like this: The Great Pumpkin will rise from the garden and bring presents to all the good little children. Well now you can grow your own great pumpkin, and maybe win a blue ribbon prize to boot. Follow these steps to grow pumpkins so large that, you, your loved ones and (hopefully) the judges will stare at them with wonder.
Steps
Picking the Right Soil
-
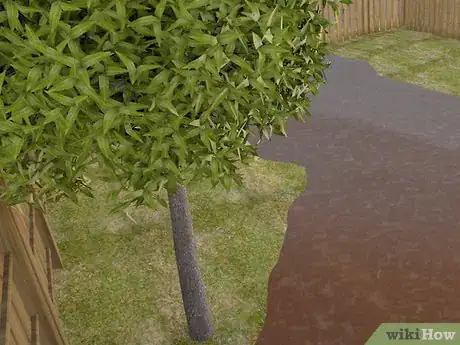
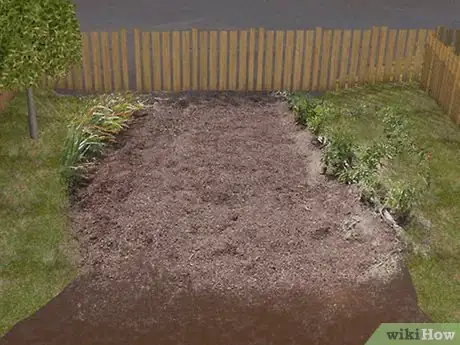
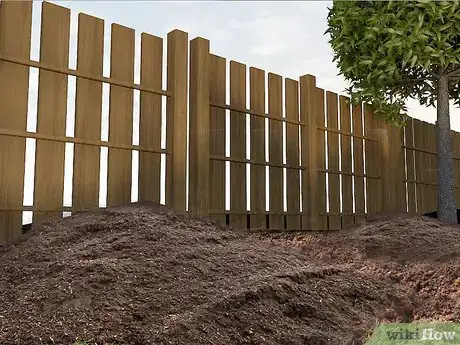
1Choose or prepare the soil for growing giant pumpkins. Collect some of the soil where you intend to plant your pumpkins.Take the soil to your local agricultural or conservation agency for testing. The test will let you know exactly what nutrients are in the soil. You can then determine what needs to be added. Having the right kind of soil will create vigorous, healthy vines. You can prepare the soil in early spring when the ground begins to warm, but it is best to start preparations in fall. This will allow any amendments you add to break down and work their way into the soil.
- You will need to prepare a 25 x 25 x 25 triangular area for each giant pumpkin vine to grow.
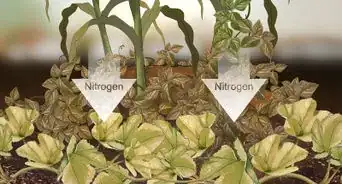
- Giant pumpkins generally need 2 pounds nitrogen (N), 3 pounds phosphorous (P2O2) and 6 pounds potash (K2O) per 1,000 square feet of growing space. Your soil should fall between 6.5 and 6.8 on the pH scale.
- Pumpkins need good, well-drained soil, not wet, dense soil.
-
2Choose a fertilizer to enhance your soil. If your soil doesn’t have the proper amount of nutrients, fertilizers can help to create the perfect environment in which to grow your pumpkins.
- Even if your soil is nutrient rich, adding a granular fertilizer, composted manure, or mature garden compost will fertilize the soil while improving the structure of the soil. Incorporate this fertilizer into the soil several days before you intend to transplant your pumpkins.
Advertisement -
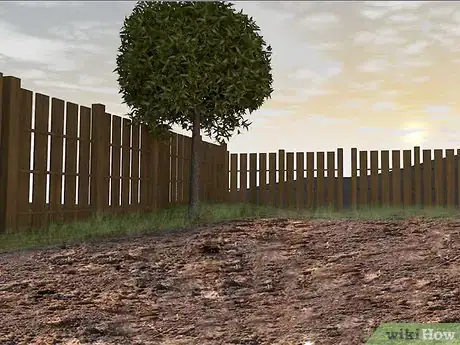
3Your plot should be located in the sun. Pumpkins need a fair amount of sunshine to grow up healthy and large. Keep in mind that pumpkins are sensitive and will need shelter from any intense wind.
-
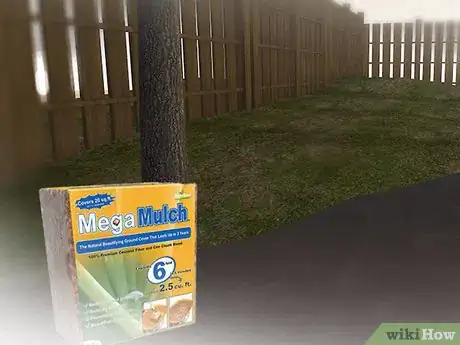
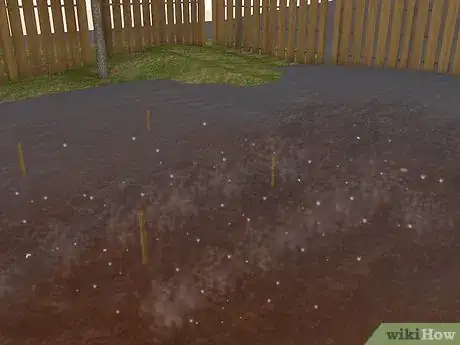
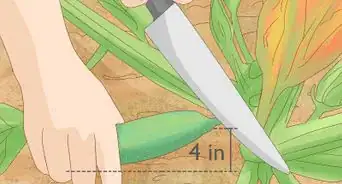
4Add organic matter to your soil. Organic matters like manure will help your pumpkins grow up strong, healthy (and large!) You should use four inches of manure. Work the manure into the top few inches of soil.
Selecting and Germinating Your Seeds
-
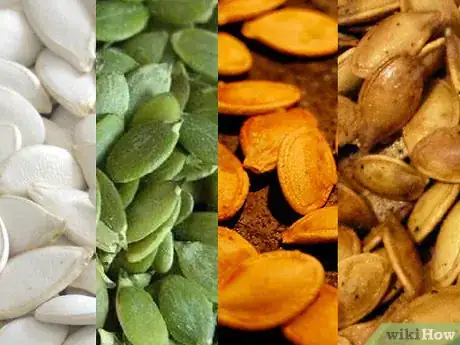
1Select proper seeds for planting. The genetics of the seeds you choose is important. They should come from a background of large-to-giant-size pumpkins. You can either:
- Contact a pumpkin growing association for seeds. Pumpkin associations can be found on the internet.
- Purchase seeds from a farmer that raises giant competition pumpkins. Top quality pumpkin seeds with good genetics can actually cost up to $50 each.
-
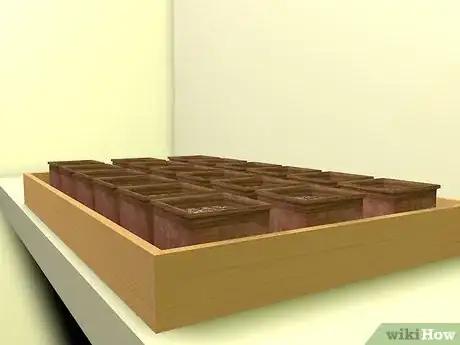
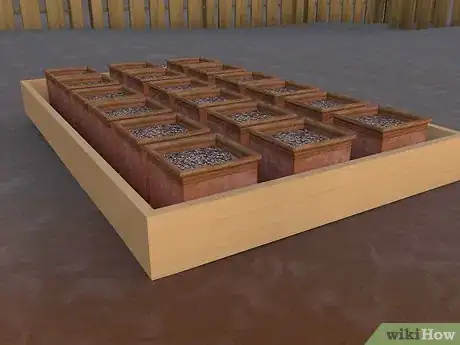
2Plant your seeds. If you live in a place that could potentially get frost in late April or May, you should start by planting your seeds in pots and keeping them indoors. If you think your pumpkins will be safe from frost, plant your seeds outside. Keep in mind that the seeds that sprout the fastest will generally grow the strongest pumpkins.
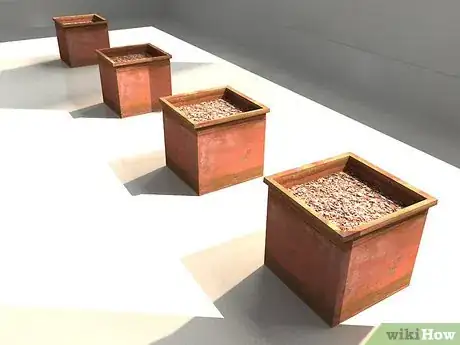
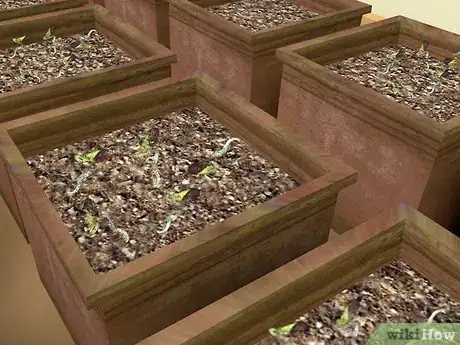
- Germinating your seeds inside: Plant your seeds in peat pots that have four to six inches of soil in each pot. Plant the seeds one inch deep in the soil that is moist and keep the pots at around 80 degrees Fahrenheit (26 degrees Celsius). Some people use a greenhouse effect while others find setting them on top of the refrigerator works well. You should begin to see sprouts within three to five days.
- Germinating seeds outdoors: Before planting the seeds, soak them in warm water for four hours. Create a two-foot circle in the soil and remove the top inch of soil. Plant five seeds in the circle and cover them back up with the one inch of dirt. If possible, you can create a greenhouse over where you intend to plants the seeds and begin warming the soil several weeks in advance and several weeks after the sprouts have come up.
-
3Transplant your sprouts. Only do this if you have chosen to germinate your seeds inside. Transplant your sprouts when you see the first true leaves appear (they will be green and full looking.)[1]
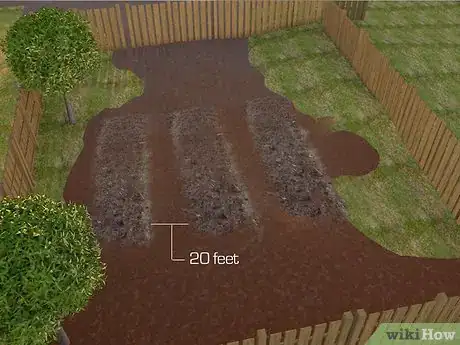
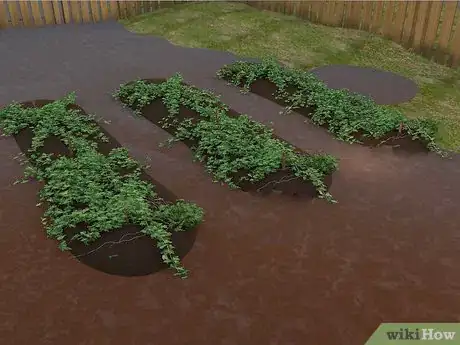
- Build up mounds of soil that are roughly two-foot circles (they should be about the size of a pitcher’s mound.) Plant one sprout in each mound. Keep each mound approximately 20 feet (6.1 m) apart. If possible, place a small greenhouse on top of each mound. Doing this will keep your sprouts warm and healthy.
- Remove the tent or mini greenhouse on hot days so that the plants do not overheat.
-
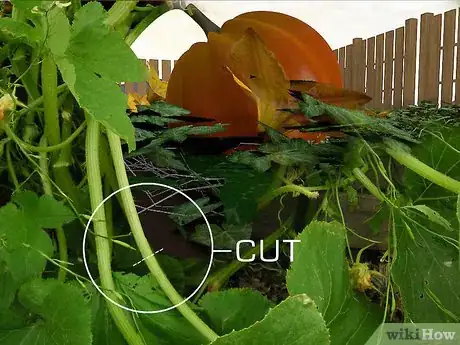
4Cut off weak vines. After a few weeks of growth, examine the pumpkin plant. Select the strongest looking vine in the group. Remove all others by clipping off the vines.
Pollinating Your Pumpkins
-
1Pick your vine. The strongest and thickest vines often produce the largest pumpkins. Monitor your vines and see which one seems to be growing the fastest and thickest.
-
2Pollinate the pumpkin blossoms by hand. Pollinating by hand is the preferred method but if you don’t have the time or the energy, it is a pretty safe bet that the bees will do most of the pollination for you. The flowers generally show up in late July.
-
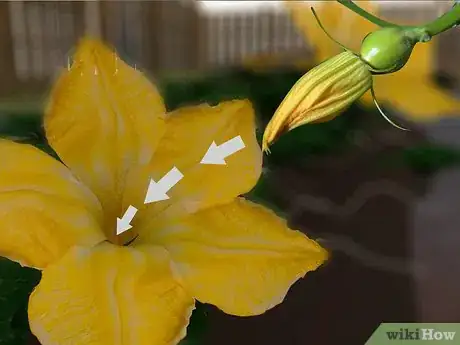
3Identify the male and female plants to pollinate by hand. As in every form of reproduction, there is a male and female pumpkin counterpart. Do not begin pollinating until you the plant has roughly 200 leaves.[2]
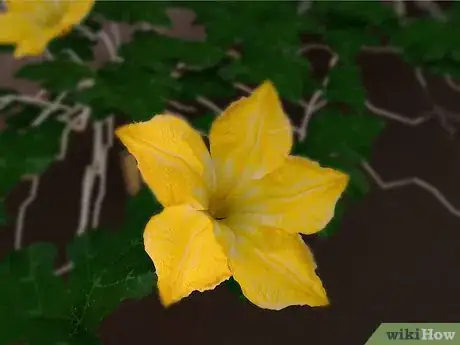
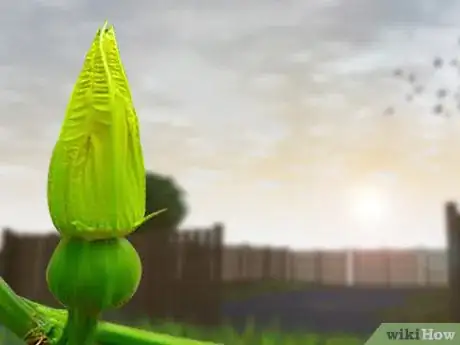
- The female has a small pumpkin at the base and no pollen inside the flower. To achieve the strongest female plant, you can break off the first female flower and wait for the second or third to grow (the strongest females grow when the vines are roughly 10 feet long, or longer.)
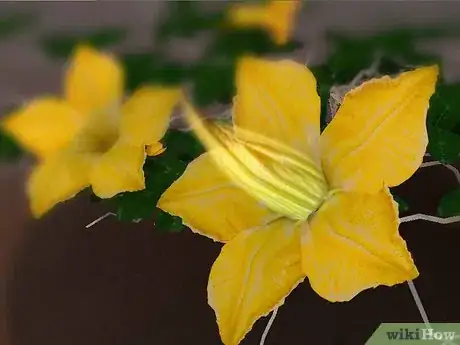
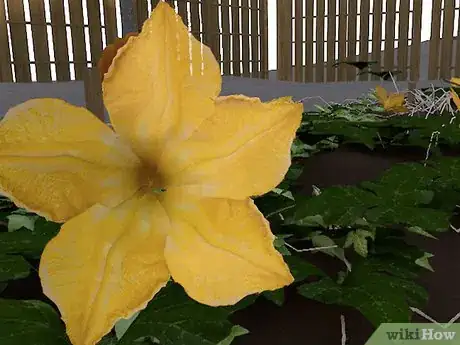
- The male will have a stamen inside the flower. The stamen will be covered in pollen. These male flowers generally show up before the female flowers do.
-
4Pull the petal from the male blossom. Only do this when a female flower grows from the largest and healthiest vine. Pulling the petal will help to expose the pollen needed for pollination. Rub the pollen stamen on the blossom of the female flower. This step is most successful if completed before the middle of July. This will ensure that the pumpkin has ample time for growth.
Growing Your Gigantic Pumpkin
-
1Pick your prize pumpkin. The largest pumpkins balloon out from the vine. Vines generally have two to three pumpkins. Once your pumpkins have reached the size of a softball, select the one on a vine that looks the most promising. You will have to cut out the others as they will steal nutrients from the prize pumpkin.[3]
-
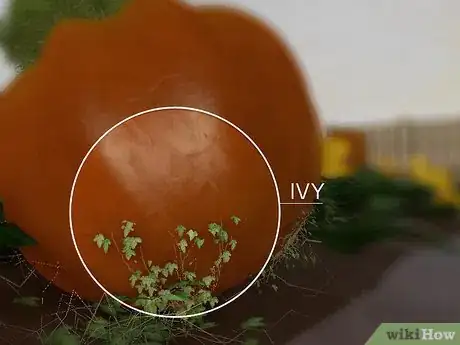
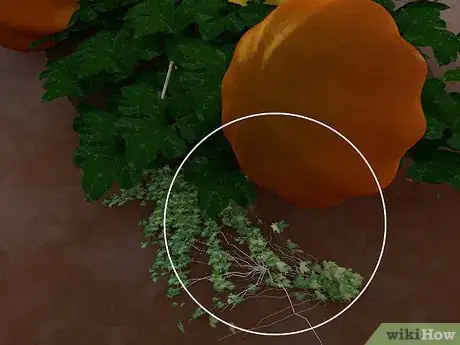
2Tear out the roots that are close to the pumpkin. Pumpkin vines grow roots at every leaf. Tearing out the roots nearest to the pumpkin will allow the pumpkin a bit of wiggle room. If the vine is held down by the roots near the pumpkin, the pumpkin might accidentally tear itself away from the vine as it grows massive. This would effectively end any more growth.
- Train vines away from the pumpkin. While growing, the pumpkin could accidentally crush the vines near it.
- Make sure to weed the area completely as your pumpkin vine grows. Once it reaches twenty feet and has covered the garden with leaves, you shouldn't have to weed anymore.
-
3Pinch off the ends and side shoots. Only do this when the primary vine has reached 20 feet (6.1 m) in length. Pinching off the ends and side shoots will guarantee that the vine’s nutrients will go to your pumpkin.
- To increase the chance of a prize-winning pumpkin, shape the vine into a triangle. Treat the base of the vine as the bottom of the pyramid. You can cut the secondary side shoots shorter and shorter as they grow farther away from the base. For example, the shoots growing closest to the base might be twelve feet long; the next set of shoots might be ten feet long, then eight feet and so on.
-
4Give the pumpkin shade. You can either drape a sheet over it or build a small structure to hold a tarp up over the pumpkin. That said, try not shade too many of the leaves. These need sunlight to grow the pumpkin.
-
5Give each plant 15 to 20 gallons (56.8 to 75.7 L) of water twice a week. Only do this if it is a dry season. Pumpkins do most of their growing at night. Water in the early evening so that the leaves and soil are not wet overnight. Try to avoid getting water on the leaves because wet leaves are more susceptible to disease.[4]
-
6Keep pests away. If you notice insects or other pests in your garden, research what they are, and take appropriate measures to control them. Growing flowers and herbs near your pumpkin patch can attract predator insects that naturally keep pests down.
- Common pumpkin pests include squash bugs, striped and spotted cucumber beetles, aphids, vine borers, wireworms, and six spotted leafhoppers.[5]
-
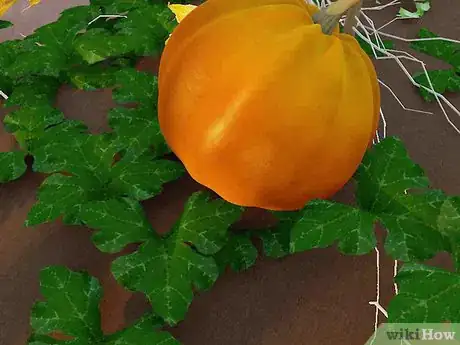
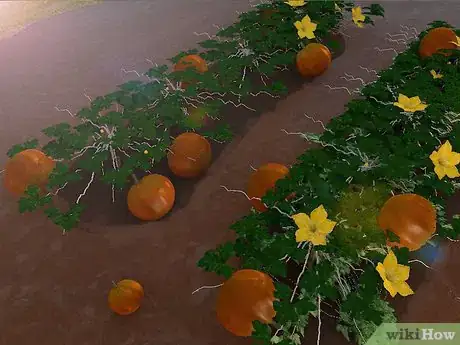
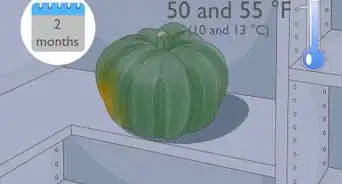
7Harvest your pumpkins. Your pumpkins will be ready to harvest when they are a solid, deep color (and they are gigantic!) The rind should be hard. The vines will usually be dying back at this time.
Things You'll Need
- Fertilizer
- Quality pumpkin seeds
- Method for germination
- Clear tent
- Pruning shears
- Compost
- Peat pots (optional)
References
- ↑ http://www.burpee.com/vegetables/pumpkins/how-to-grow-huge-pumpkins-article10276.html
- ↑ http://www.missouribotanicalgarden.org/gardens-gardening/your-garden/help-for-the-home-gardener/advice-tips-resources/visual-guides/pollination-of-squash-and-pumpkins.aspx
- ↑ http://www.burpee.com/vegetables/pumpkins/how-to-grow-huge-pumpkins-article10276.html
- ↑ http://www.burpee.com/vegetables/pumpkins/how-to-grow-huge-pumpkins-article10276.html
- ↑ https://www.cropscience.bayer.us/news/blog/2014/october/103114-pumpkin-pests-halloweens-tiniest-terrors
About This Article
To grow giant pumpkins, start by preparing a 25 x 25 x 25 inch triangular area for each pumpkin to grow in nutrient-rich, dense soil. After you plot your soil, add 4 inches of manure to help your pumpkins grow strong and healthy. Next, plant seeds with a genetically large pumpkin background in the spring after the last frost to protect them from cold weather. After a few weeks of growth, select the strongest looking vine and remove all others by clipping off the vines. For more advice from our Gardener reviewer, including how to maintain your pumpkins while they’re growing, read on!
