This article was co-authored by wikiHow Staff. Our trained team of editors and researchers validate articles for accuracy and comprehensiveness. wikiHow's Content Management Team carefully monitors the work from our editorial staff to ensure that each article is backed by trusted research and meets our high quality standards.
The wikiHow Video Team also followed the article's instructions and verified that they work.
This article has been viewed 477,538 times.
Learn more...
When most people think of the word "bacon", images of crisp, flavorful, strips of meat hot from the frying pan spring to mind. In fact, stove top cooking is only one of many ways to cook bacon. For instance, you may want to consider cooking bacon on the grill for outdoor events like barbecues. Not only is this cooking style just as effective as stove top frying — it's also virtually free of clean-up!
- Prep time (Charcoal Grill): 20-25 minutes
- Cook time: 10-20 minutes
- Total time: 30-45 minutes
Steps
Using a Charcoal Grill
-
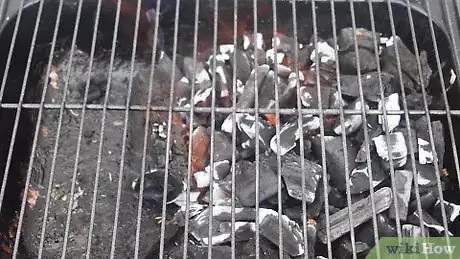
1Light the grill. As with any sort of charcoal grilling, before you get started grilling your bacon, you'll need to get your charcoal to just the right heat for grilling. Before lighting them, however, make sure to offset the coals by piling them in one side of the grill, leaving the other coal-free. This will create a hot side of the grill and a cool side when the coals are lit. When you're ready, light the grill.
- Note that if you aren't using match-light charcoal, this may require lighter fluid.
- After lighting, leave the lid off and wait for the coals to burn to perfection. Coals are typically ready for grilling after they develop a grey, ashy exterior and emit a warm orange glow. This can take 20 minutes or longer.
-
2Oil the grill grate. When you're ready to cook your bacon, quickly paint the grill with a small amount of neutral vegetable oil. There are several ways to do this, but the easiest way is usually either by using a grill brush or by grabbing a bunched-up paper towel in a pair of tongs, dipping it in the oil, and quickly rubbing it across the grate. Because bacon is naturally quite fatty, you don't need much oil to prevent it from sticking to the grill during cooking.
- If you don't have oil, you can probably get away with either quickly rubbing one fatty piece of bacon across the grate or else just ignoring this step entirely. Note, however, that some sticking may occur in this case.
Advertisement -
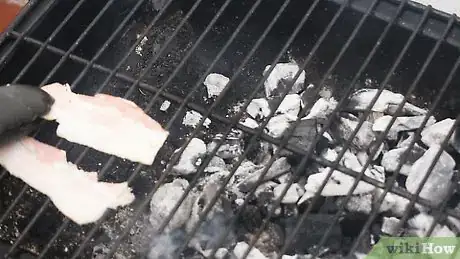
3Place the bacon onto the cool side. Using a pair of tongs to protect your hands, place the strips of bacon on the cool side of the grill (the side with no coals underneath). As the bacon cooks, the fat will naturally render and drip down into the grill. If you cook the bacon over the coals, this can lead to massive flare-ups as the bacon fat ignites.[1] To avoid the danger of burns, fire, or burnt bacon, cook using only indirect heat. The bacon fat will still drip down into the grill, but since there are no coals underneath, flare-ups will be minimal.
- Try to lay most or all of your bacon strips across the bars of the grate, rather than parallel to the bars. This makes it less likely for the thin bacon to slip through the cracks of the grill into the ashy area underneath.
-
4Turn the bacon during cooking. As the bacon cooks, it will naturally begin to shrink, darken, and toughen up. To ensure booth sides get thoroughly cooked, be sure to turn the bacon as it cooks, beginning about when these effects of cooking become visible on the bottom side of the bacon. Aim to turn the bacon at least every 5 minutes or so, replacing the lid of the grill between each turn.
- Cooking times will vary widely depending on the temperature of the grill, the thickness of the bacon strips, and your preference for crispiness, so be sure to check the bacon often. The total cooking time should be no more than 20 minutes or so. If you prefer "softer" bacon, yours may be ready in as little as 7-10 minutes.
- For other cuts of meat, there is a long-raging debate in the culinary community about whether excessive turning ruins the meat. This is a non-issue for bacon, which most agree benefits from a fair amount of turning.[2]
-
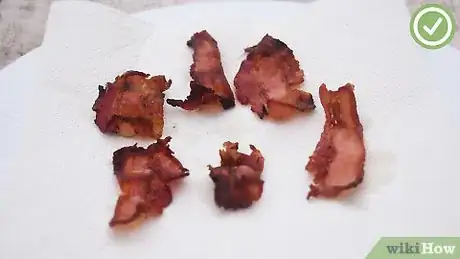
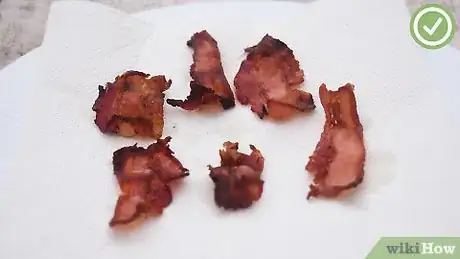
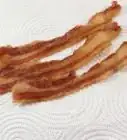
5Remove the bacon to a paper towel-lined plate. When the bacon is done, it should have an appearance ranging from red to dark brown (depending on how crispy you like it) and a delicious aroma. Remove the bacon from the grill strip-by-strip and place it onto a plate lined with several layers of paper towels. Allow the paper towels to absorb some of the excess fat, then serve the bacon as desired!
- As with turning during cooking, bacon proves the exception to other meats in terms of allowing it to rest before serving. While many other cuts of meat are noticeably moister and more flavorful after resting for 10-15 minutes following cooking, bacon is ready to eat as soon as it's cool enough not to burn your mouth!
Using a Gas Grill
-
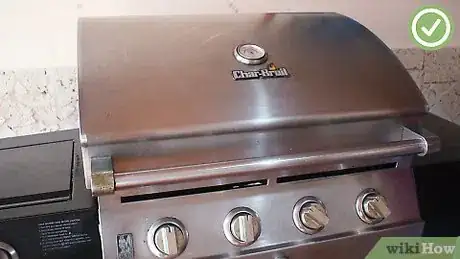
1Set the burners to "low". Your goal when cooking bacon on a gas grill isn't to cook the bacon directly on the grill grate — if you do this, the fat, which renders and liquefies as the bacon cooks, can drip down onto the burners. This is even more of a problem here than it is for a charcoal grill because, in addition to causing flare-ups, dripping grease can get the burners or bottom of a gas grill dirty. To avoid this, we'll use a modified indirect cooking method that uses all of the burners (as opposed to the offset coal method above).
- Begin by lighting most or all of the grill's burner's and closing the lid. Let the grill heat up for several minutes before beginning cooking.
-
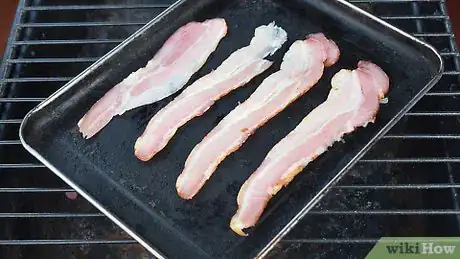
2Place the bacon in a roasting pan. While you're waiting for the grill to warm up, lay your bacon strips over the grate in a roasting pan. This pan should consist of a metal grate that fits into a lower "grease catcher" with no holes in it. This allows the bacon to safely cook from the heat of the grill without dripping grease onto the bottom of the grill or burners.
- As an added bonus, roasting pans make for easy cleanup — just pour the grease out of the lower pan, wash the pan and the grate, and you're done!
-
3Cook the bacon with the lid closed. Add your roasting pan full of bacon to the grill and shut the lid. This keeps the heat from the burners inside the grill, cooking the bacon from both above and below in a fashion similar to baking it. To keep your cooking time low, keep the lid shut during cooking except for when you check on the bacon's progress.
- Don't forget to turn doing the cooking process — though it's not as essential here because the heat is coming from all sides, rather than just from below, it's still necessary for even cooking. You'll want to turn at least as it cooks — more is fine, but may lengthen the cooking time by allowing the grill's heat to escape. Keep a close eye on your bacon as it cooks — if it's cooking too quickly, flip it immediately and reduce the heat.
-
4Serve as normal. Once the bacon is cooked on both sides to your liking, use a pair of tongs to remove it from the grill to a paper towel-lined plate. At this point, you're more or less done! Shut off your grill and, once it's cool enough to handle, carefully remove your roasting pan.
Grilling the Best Bacon Possible
-
1Use a sheet of aluminum foil for safety and ease of cleanup. No matter whether you're using a gas or charcoal grill, aluminum foil is your friend in a pinch. It's easy to improvise a grilling pan from a single large sheet of aluminum foil — simply fold the sheet in half over itself (to give it added thickness), then fold the edges up an inch or so so that they'll hold in grease from the bacon's fat. Lay the bacon strips directly into this "pan" and turn as normal during the cooking process. When the bacon is done, remove it from the pan and into a paper towel-lined plate. Carefully remove and dispose of the foil once the grill has cooled.
- Note that using an aluminum foil "dish" makes it less necessary to offset your coal pile in a charcoal grill. Since the rendered fat isn't falling directly into the grill unless the aluminum tears, you have the option to cook directly over the coals. Note, though, that this can give faster cooking times.
-
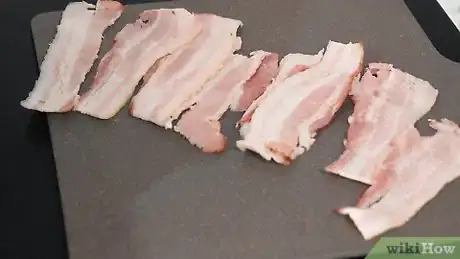
2Purchase thick-cut bacon. When buying bacon specifically for grilling, look for the thickest cut you can find. Thick slices of bacon are easier to handle on the grill, as thinner slices pose a risk of breaking in half, falling through the grates, or burning onto them. This quality is especially important because grill cooking usually requires using a pair of tongs for handling the meat, which can make it difficult to keep a hold on to slippery pieces of uncooked bacon.
-
3Season the bacon during cooking. Bacon is unique among meats in that it tastes perfectly delicious without any seasoning at all (beyond the ingredients used to cure it, of course). However, this doesn't mean you can't spice it up! By seasoning your bacon before cooking with your favorite ingredients or spices, you can give it delicious new flavor and increase its versatility in a huge variety of dishes. Here are just a few examples of seasonings that work well with bacon — simply sprinkle these directly on the bacon right before cooking:
- Rosemary[3]
- Red pepper flakes
- Minced garlic
- Cajun seasoning
- Black pepper
- Steak seasoning
- Brown sugar
-
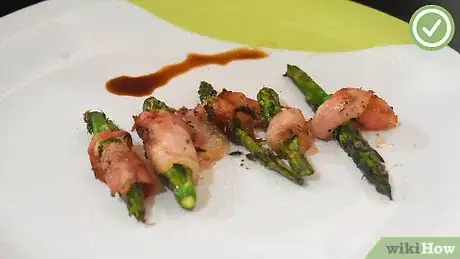
4Consider other barbecue recipes that use bacon. Grilling bacon on its own is fine and dandy, but why stop there? Below are just a few basic barbecue dishes that use bacon or can easily be made to accommodate it — feel free to add bacon to any other dishes you know as well:
- Bacon-wrapped asparagus stalks
- Bacon-wrapped chicken
- Bacon cheeseburgers
- Barbecue beans
- Chili
- Roasts (pork, beef, venison, turkey, etc.)
Things You'll Need
- Thick-cut bacon
- Charcoal grill
- Charcoal
- Lighter fluid
- Brush
- Matches
- Tongs
- Towel
- Vegetable oil
- Plate
- Paper towels
- Drip tray (optional)
References
About This Article
To grill bacon, begin by starting a fire with briquettes if you’re using a charcoal grill, or by turning a gas grill on low heat. While the grill is warming up for 5 minutes, arrange the bacon on a rack over a baking sheet or grease catcher. Next, place the pan on the grill and shut the lid so that the bacon is heated from all sides. Then, cook the bacon until it’s as crispy as you like it, turning it once or twice as it cooks. Finally, remove the bacon from the tray and place it on a plate lined with paper towels so it can drain. For tips on using grilled bacon in recipes, read on!
