This article was co-authored by Lydia Shedlofsky, DO. Dr. Lydia Shedlofsky is a Resident Dermatologist who joined Affiliated Dermatology in July of 2019 after completing a traditional rotating internship at Larkin Community Hospital in Miami, Florida. She earned a Bachelor of Science in Biology at Guilford College in Greensboro, North Carolina. After graduation, she moved to Beira, Mozambique, and worked as a research assistant and intern at a free clinic. She completed a Post-Baccalaureate program and subsequently earned a Master's Degree in Medical Education and a Doctorate of Osteopathic Medicine (DO) from the Lake Erie College of Osteopathic Medicine.
There are 15 references cited in this article, which can be found at the bottom of the page.
This article has been viewed 51,292 times.
Skin tags, or acrochordons, are flesh-colored skin growths. Often found in the folds of your skin, they are usually small in size. Skin tags don’t have any symptoms and are generally harmless. However, a skin tag might bother you for reasons such its appearance or because it catches on clothing or jewelry.[1] In these cases, schedule an appointment with your doctor to remove your skin tag(s) in the safest and most effective manner.
Steps
Undergoing a Removal Procedure
-
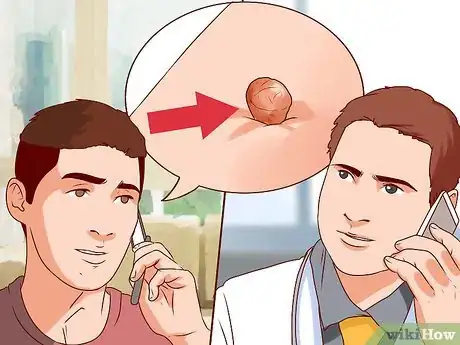
1Schedule an appointment with your doctor. Skin tags are removed in a doctor’s office under a local anesthetic. If you have bothersome skin tags or one that appears abnormal, make an appointment with your doctor for a consultation and removal. Let the doctor’s receptionist know the reason for your appointment so that your doctor can adequately prepare for your procedure.[2]
- Show your doctor the skin tag or tags you want removed. Explain your reason for wanting the tag removed. For example, you could say, “This skin tag on my neck keeps getting caught on my necklace and I’d like to prevent this from happening again.”
- Ask your doctor any questions about skin tags or the removal procedure that you may have.
- Discuss your removal options with your doctor to figure out the best choice for your skin tags. Your doctor may use one of the following methods to remove your skin tag(s): cryotherapy, surgical excision, electrotherapy, or ligation.[3]
-
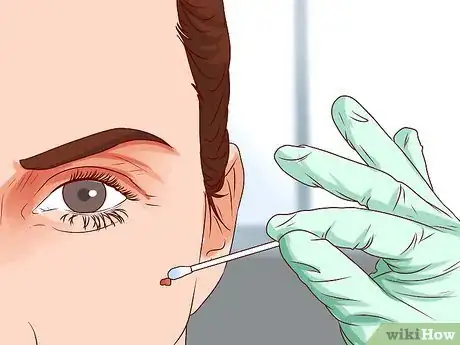
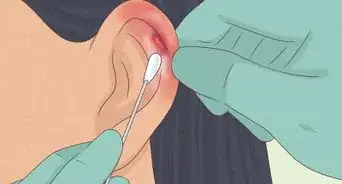
2Prepare the area for removal. Before your doctor can remove your skin tag, he or she will need to sterilize the skin surrounding it. This can prevent any bacteria from entering the removal site and causing infection.[4]
- Allow your doctor to wipe the area with an alcohol swab or another disinfectant. It may feel cool on your skin, but will not cause you any pain.
Advertisement -
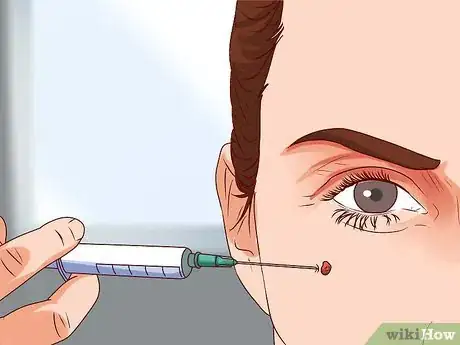
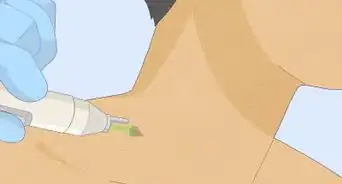
3Receive an anesthetic. In order to minimize or prevent any pain at the removal site, your doctor will inject or apply a local anesthetic such as lidocaine. The injection may cause slight discomfort, similar to a bee sting. However, any burning sensation will quickly go away and you should be ready to undergo the removal procedure.[5]
- Be aware that a small bubble may develop around the injection site. This is completely normal and will disappear.
- Allow your doctor to probe the injection site to ensure that your skin is numb and ready for the procedure. Your doctor may use the tip of the injection needle to check for numbness at the injection site and surrounding skin. You should feel no pain or sharp sensations. You may feel a bit of pressure, which is normal, but there should be no pain. Make sure to let your doctor know if you feel any pain or discomfort when he or she probes for numbness.
-
4Undergo a removal procedure. There are four general outpatient, in-office procedures your doctor may use to remove your skin tag(s). Talk to your doctor about the best option for your specific case and then undergo the procedure. Your doctor may use:[6]
- Cryotherapy, which involves freezing the skin tag with a chemical agent such as liquid nitrogen. When your doctor applies the agent to your skin, it may sting and be painful. You may also have immediate swelling and redness. A few hours after treatment, see if a blister develops at the site. If it does, leave it alone and allow the blister to form a scab, which causes the blister to dry up. At this point, you will notice that your skin tag is gone.[7]
- Excision, which involves cutting out your skin tag. Your doctor may choose this option if the skin tag appears abnormal, if it is larger than normal, or is in a fold of skin. Let your doctor mark the incision site with a surgical marker that won’t stain your skin. Your doctor will cut around and under the skin tag with a scalpel and/ or sharp scissors. You may experience slight discomfort, but the anesthetic should control any pain. Your doctor may take care of any bleeding with cautery, which may hiss and smell like burning, but will not hurt you. If necessary, your doctor will suture the incision site with stitches.
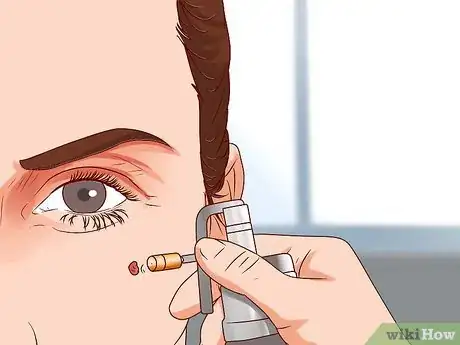
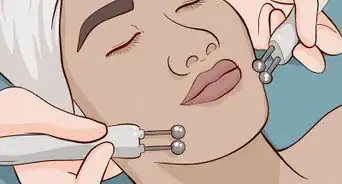
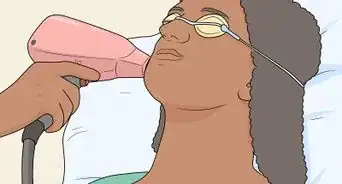
- Electrosurgery, which uses a high-frequency, alternating electric current to generate heat that will cauterize and remove your skin tag. Let your doctor use the electrosurgical probe to dehydrate or cut off the skin tag unless you have a pacemaker or cardiac-implanted device. Electrosurgery can cause these devices to malfunction. You shouldn’t feel any pain with this procedure, though you may have some mild discomfort. Be aware that you may see sparks if you have electrosurgery. There is also a risk of electric shock if your doctor doesn’t use the electrosurgical device properly.[8]
- Ligation, which involves tying string around the skin tag to cut off its blood supply. Allow your doctor to tie a piece of sterile string or even dental floss around the neck, or base, of your skin tag. Leave on the ligature for as long as your doctor specifies or until the skin tag falls off.[9]
-
5Bandage the site. In most cases, your doctor will bandage the site on which your skin tag was removed. This protects the area from debris or bacteria and can soak up any bleeding. Leave on the bandage for the time specified by your doctor to ensure optimal healing results.[10]
-
6Receive care instructions. Following your skin tag removal procedure, your doctor will give you instructions about caring for the removal site. It’s important to follow these instructions to prevent infection and promote optimal healing of the site.
- Make sure you understand your doctor’s instructions. Ask any questions you may have and don’t hesitate to call the doctor if you are unsure of something.
- If you have excess bleeding or an infection of the removal site, then make sure that you contact a doctor. Your doctor maybe able to give you an antibiotic for infection.
Caring for the Removal Site
-
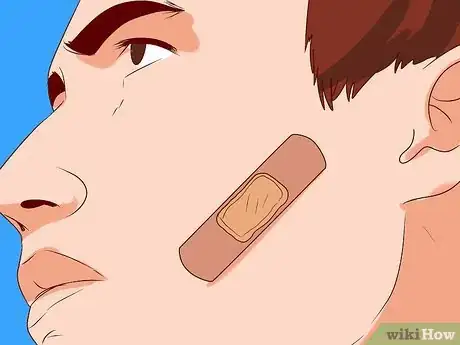
1Cover the site. Your doctor may instruct you to cover your removal site with a bandage for a day or more after your procedure. Covering the site with a bandage protects it from infection and can absorb any fluid leakage or bleeding.[11]
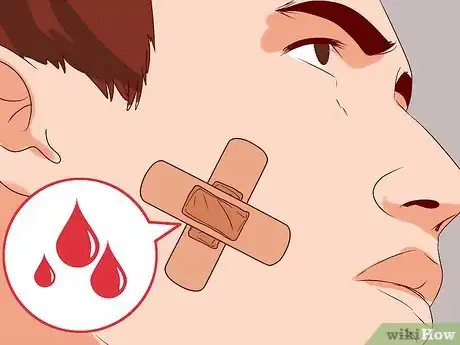
- Apply a new bandage with some light pressure if the site bleeds. If you have excessive or prolonged bleeding, contact your doctor.
- Leave on the bandage for at least one day after your doctor removes the skin tag.
- Keep the site as dry as possible to promote healing and inhibit bacteria from entering the wound. This includes not showering for at least a day after the procedure.
-
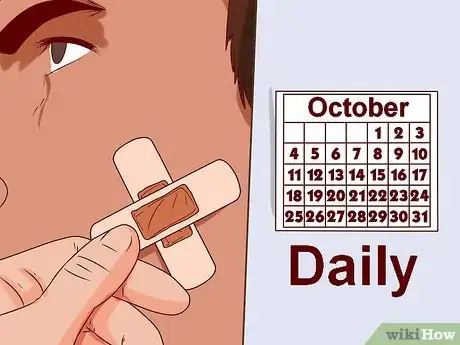
2Change the bandages daily. A day after your removal procedure, change the bandages protecting the site. This keeps the area clean and dry and can help prevent infection or serious scarring.[12]
- Choose a bandage that allows the removal site to breathe. Sufficient air flow can help heal the wound. You can get breathable bandages at most drug stores and at many grocery stores. Your doctor may also provide you with dressings for the wound.
- Continue changing the dressing for as long as your doctor instructs or until you see no open wounds. Depending on your removal procedure, your doctor may tell you to discontinue covering the site with a bandage after the first day.
-
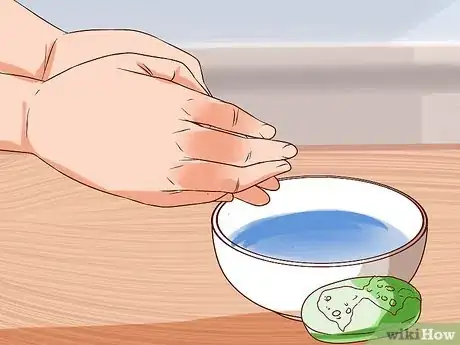
3Wash your hands. It’s important to wash your hands with soap and water any time your hands come in contact with the removal site or change the bandages. This can help minimize the risk of infection at the removal site.[13]
- Use warm water and any soap you have to disinfect your hands. Rub your hands with the soap and water for at least twenty seconds.[14]
-
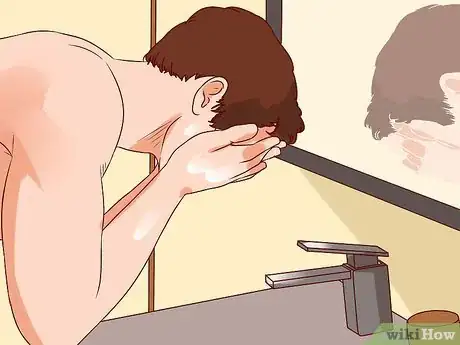
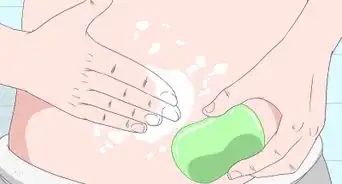
4Clean the removal site. Keep the removal site clean promotes healing and prevents infection. Washing the site every day with a mild cleanser or soap can kill any lingering bacteria.[15]
- Use soap and water to clean the site, just as you would to wash your hands. Most soaps or cleansers can disinfect the site, though you may want to avoid scented products to avoid irritation. Rinse the site thoroughly with warm water to remove soap residue.
- Apply hydrogen peroxide to the site if your doctor instructs you to do so or if you notice any redness that might indicate an infection. If the site seems fine, you may find that changing the bandages and washing it every day is enough to keep it clean.[16]
- You may want to use an antimicrobial ointment to help with the healing process.
- Pat the site gently dry before you cover it with a bandage.[17]
-
5Take a pain reliever. You may have mild pain or tenderness at the removal site after the procedure. Taking an over-the-counter pain reliever can alleviate pain and may reduce any swelling. Options such as ibuprofen, naproxen sodium or acetaminophen can effectively reduce any pain or discomfort you may have. In addition, ibuprofen can reduce swelling at the removal site.[18]
- Ask your doctor give you a prescription for a pain reliever if you are experiencing severe pain.
- Pain is generally mild and does not require narcotics, but you can take an over-the-counter NSAID for pain, such as ibuprofen or naproxen.
-
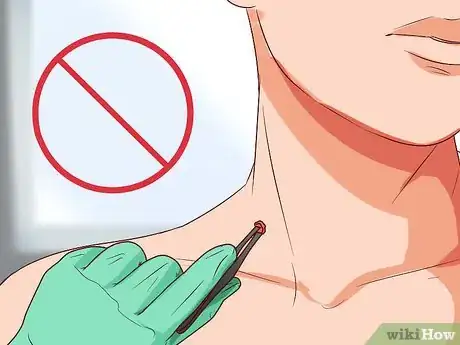
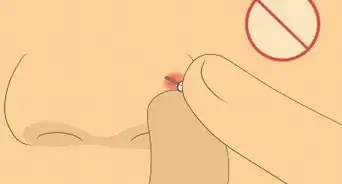
6Avoid picking at the removal site. Depending on what type of removal procedure you have, the site may have a blister or form a scab. In either case, don’t pick the site. Not only can this prevent infection, but also helps the site heal properly.[19]
- Be aware that picking at the site can cause an infection or even make your skin form a larger scar than it otherwise would have.[20]
-
7Rest for a few days. Give yourself and your skin a chance to rest after a skin tag removal. Avoid strenuous activities such as heavy lifting or that promote heavy sweating. Vigorous activities can cause bleeding and irritate your skin as well as enlarging the scar that may develop.[21]
- Avoid bumping the removal site or doing any activity, such as yoga, that may stretch your skin. These can cause bleeding and stretching of your skin and may cause your skin to scar more profusely.
-
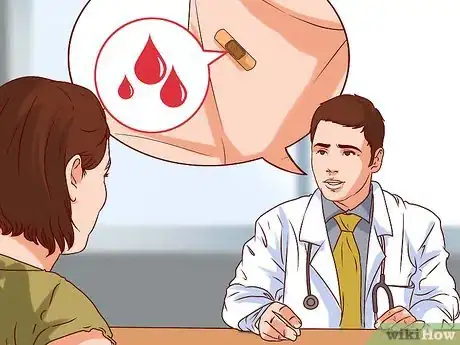
8Seek medical attention for possible infection. If you have excessive bleeding, pus, or other signs of an infection at the removal site, seek medical attention immediately. A doctor can diagnose and treat an infection quickly, which in turn may prevent more serious complications.[22]
- Remember that some bleeding or draining pink fluid is normal for a couple of days after the procedure. If the site is soaking bandages with blood, then you should seek medical attention. Other signs of infection that require immediate medical attention include: redness, heat around the site, swelling, discoloration of the skin around the site, abnormal smell coming from the site, or a red line originating from the wound towards your lymph glands.[23]
- If you are concerned about a possible infection after following these guidelines, then talk with your doctor. He/she may be able to give you an antibiotic to help alleviate any redness, swelling, and pus.
References
- ↑ https://my.clevelandclinic.org/health/diseases/21528-skin-tags-acrochordons
- ↑ https://www.mountsinai.org/health-library/diseases-conditions/cutaneous-skin-tag
- ↑ http://www.dermnetnz.org/lesions/skin-tags.html
- ↑ https://www.ncbi.nlm.nih.gov/books/NBK547724/
- ↑ https://www.ncbi.nlm.nih.gov/books/NBK547724/
- ↑ https://www.health.harvard.edu/blog/skin-tag-removal-optional-but-effective-2020032319079
- ↑ https://www.aafp.org/pubs/afp/issues/2004/0515/p2365.html
- ↑ https://www.aafp.org/pubs/afp/issues/2002/1001/p1259.html
- ↑ http://www.mountsinai.org/patient-care/health-library/diseases-and-conditions/acrochordons
- ↑ https://myhealth.alberta.ca/health/AfterCareInformation/pages/conditions.aspx?hwid=zc1281&
- ↑ https://myhealth.alberta.ca/health/AfterCareInformation/pages/conditions.aspx?hwid=zc1281&
- ↑ https://www.mountsinai.org/health-library/selfcare-instructions/skin-lesion-removal-aftercare
- ↑ https://www.mountsinai.org/health-library/selfcare-instructions/skin-lesion-removal-aftercare
- ↑ https://www.cdc.gov/handwashing/faqs.html
- ↑ https://myhealth.alberta.ca/health/AfterCareInformation/pages/conditions.aspx?hwid=zc1281&
- ↑ http://www.hopkinsmedicine.org/neurology_neurosurgery/centers_clinics/cutaneous_nerve_lab/physicians/patient_instructions_biopsy_site_care.html
- ↑ https://www.mountsinai.org/health-library/selfcare-instructions/skin-lesion-removal-aftercare
- ↑ https://www.mountsinai.org/health-library/selfcare-instructions/skin-lesion-removal-aftercare
- ↑ https://kidshealth.org/en/parents/wound-care.html
- ↑ https://kidshealth.org/en/parents/wound-care.html
- ↑ https://www.stjoes.ca/patients-visitors/patient-education/u-z/PD%206225%20Wound%20Care%20After%20Surgery.pdf
- ↑ https://myhealth.alberta.ca/health/AfterCareInformation/pages/conditions.aspx?hwid=zc1281&
- ↑ http://www.dermnetnz.org/bacterial/wound-infection.html






-Electric-Shock-Step-9.webp)






Medical Disclaimer
The content of this article is not intended to be a substitute for professional medical advice, examination, diagnosis, or treatment. You should always contact your doctor or other qualified healthcare professional before starting, changing, or stopping any kind of health treatment.
Read More...