This article was co-authored by Brianna Bowling and by wikiHow staff writer, Amber Crain. Brianna Bowling is a Hair Stylist and the Co-Owner of The CRAFT Salon in Glendora, California. With more than 11 years of experience, she specializes in balayage, blonding, and vivid colors. Brianna has received years of in-depth training on advanced color techniques.
This article has been viewed 40,829 times.
Grey blue hair is extremely fashionable right now. The results can look awesome, and you may want to try it out for yourself. If so, it's a three-part process – you will need to bleach your hair (possibly more than once), tone it and lastly, use the blue-grey dye. If you've never done any bleaching at home, you may want to consider having a professional create this look for you, at least for the first time. If you feel comfortable doing it yourself, go for it!
Steps
Bleaching Your Hair
-
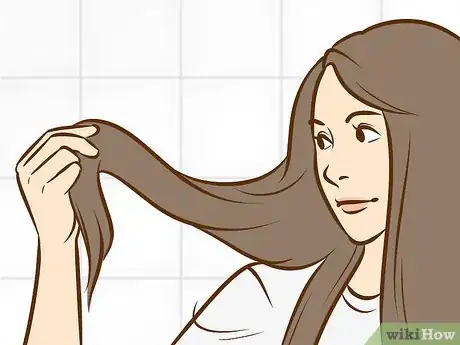
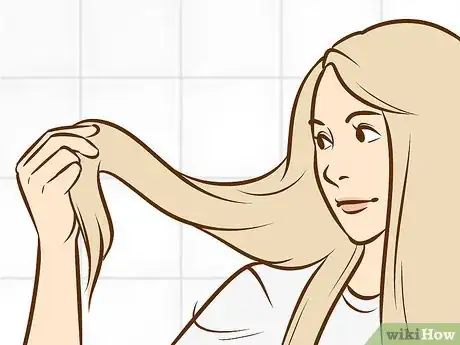
1Evaluate your current shade. If your hair is medium brown or darker, this look can be difficult to achieve. You'll have to bleach your hair two or three times to get it light enough to apply the grey-blue tones.[1] Bleach is very damaging to the hair, so waiting 3 to 6 weeks between bleaching sessions is recommended. If you still want to go for it, just know that you'll have to invest quite a bit of time and energy into getting there, and you may significantly damage your hair in the process.[2]
- For medium brown hair or darker, you'll probably need to bleach 2-3 times.
- For light brown hair, you'll probably need to bleach 1-2 times.
- For dark blonde to blonde hair, you'll probably only need to bleach once.
-
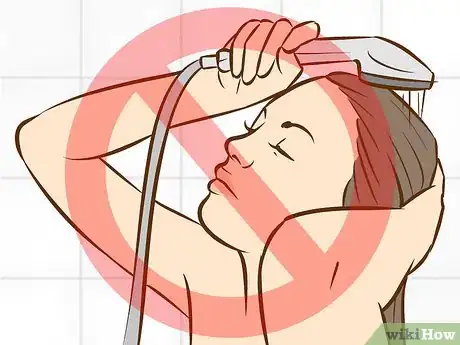
2Avoid washing your hair for several days before you bleach. Bleach can irritate and even burn your skin. The natural oils that build up on your hair and scalp when you don't wash it will protect your scalp from irritation. At minimum, give your hair a 48-hour break from washing before you begin the bleaching process.
- Focus on deep-conditioning your hair several times in the weeks leading up to bleaching. This can help minimize damage and breakage.
Advertisement -
3Choose a developer strength. Unless you currently have very light blonde hair, you have to bleach it to the lightest possible shade to achieve this look. Developer is the chemical that lifts the color from your hair, and the strength you need depends on how many shades you have to lift. There are 10 levels, or shades, ranging from black (1) to the lightest blonde (10). Light brown/dark blonde is considered level 5.[3]
- Volume 40 is the strongest developer. It will lift four levels, or shades, from your hair. It's not recommended when dyeing all of your hair because it's too strong to use near the scalp. Vol 40 is mostly used for highlights.[4]
- Volume 30 will lift two to three levels. If this doesn't get you to level 10 blonde, you will have to repeat the bleaching procedure in 2 weeks.
- Volume 20 will lift one to two levels. When in doubt, go for a volume 20. You can always repeat the process in a few weeks.
-
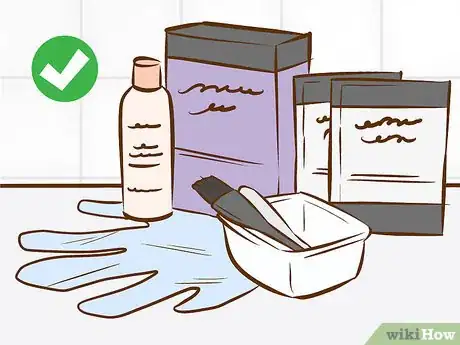
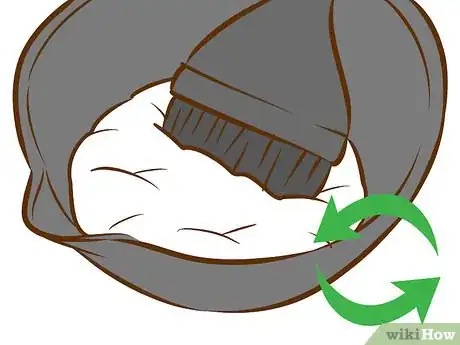
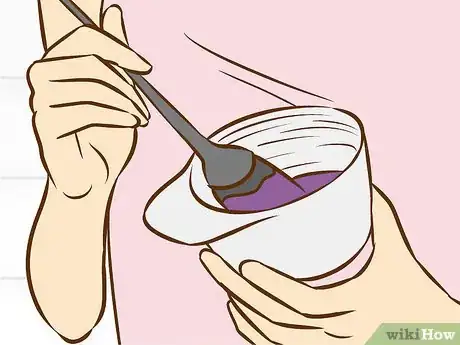
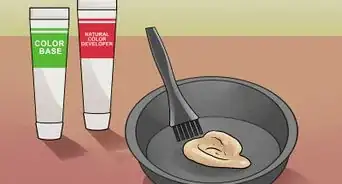
4Mix the volume developer and bleach powder together. When combined, these two chemicals lift the color from your hair. Both can be purchased at beauty supply stores, along with an applicator and pair of plastic gloves. Put on the gloves before you open any packaging to protect your skin from burning. Mix the bleach powder and volume developer, using the ratio suggested on the packaging, until fully incorporated.[5]
- If your product suggests a ratio that's not 1:1, follow those directions.
- Once mixed, you need to proceed with the bleaching process immediately. The chemicals will lose their effectiveness if left sitting out.
-
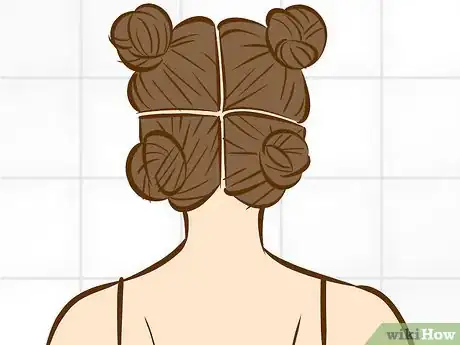
5Divide your hair into four sections. Dividing your hair into four manageable sections will help ensure you get even results. Part your hair down the center, vertically, from the crown to the nape of your neck. Then divide those sections in half, horizontally, from ear to ear. Use plastic clips to clip each section in place on top of your head.[6]
- At this point, drape a towel around your shoulders to protect your skin during the process.
-
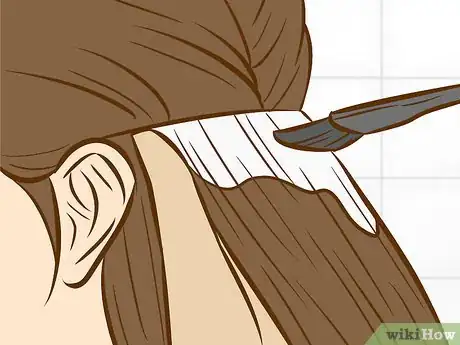
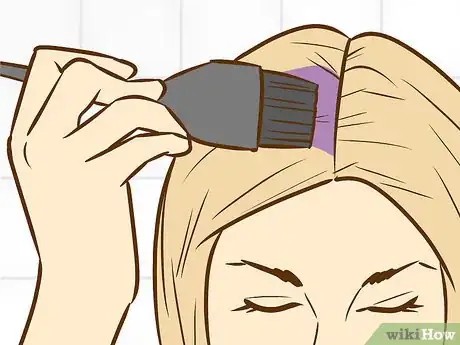
6Use the applicator to apply the bleach to the first section. Start with the bottom sections before moving on to the top ones. Remove the clip to release the section of hair. Use the applicator brush to apply the bleach mixture from root to tip. Work as quickly as you can and try to get as close to the roots as possible without touching your scalp.
- Once the section is saturated with the mixture, clip it out of the way.
- You need to work quickly, but also carefully – bleach can burn your skin. Have a friend help you if this is your first time bleaching your hair.
- Some people save the root areas for last because they can process faster than the rest of your hair.
-
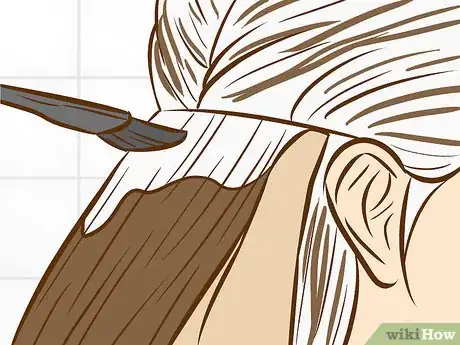
7Saturate the remaining three sections of hair. Repeat the same process of unclipping the section, applying the bleach mixture from root to tip, and clipping the section back up until you've completed all four sections. As you work through each section of hair, try to apply the bleach in thin layers to small areas of about 1/4 to 1/2 an inch (about 62 to 120 mm) wide to ensure saturation.
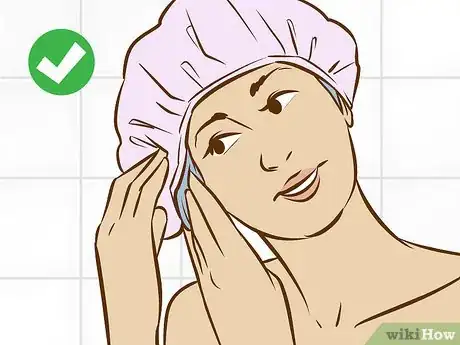
- At this point you can wrap your hair in saran wrap or place a shower cap over it, which can help with dripping and prevent the mixture from drying out. However, it's not required.[7]
-
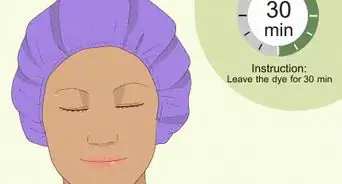
8Set a timer for 30 minutes. The exact timing will depend on the current color of your hair and the particular product you're using, but 30-45 minutes is typical. The goal is to strip essentially all of the pigment out of your hair, until it resembles the color of the inside of a banana peel. This is level 10, or the lightest blonde possible. Remember, depending on what shade you started from, you may not be able to reach that level in one session.[8]
- You should check your hair often during this 30 minute interval to avoid over-processing.
- Never leave bleach on your hair longer than one hour.[9]
-
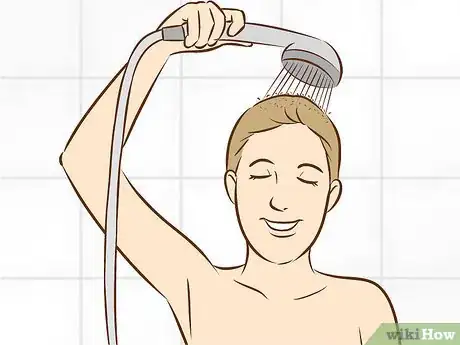
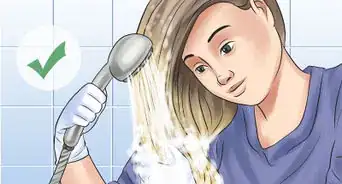
9Rinse out the bleach with cold water. The cold water will stop the bleach from processing. Rinse it out thoroughly. Once you've rinsed, then shampoo twice to make sure you've removed any remaining residue.
-
10Assess your results. Depending on what shade you started with, your hair is now somewhere between orange and very light yellow. Unless you've reached the pale yellow shade, you will need to bleach your hair again to if you want to achieve the grey-blue look. If you try to proceed otherwise, the blue-grey tones will not show up, and your hair may come out yellow.[10]
- If your hair hasn't reached level 10, slather your hair in a good conditioner and then rinse after about 10 minutes. Wait at least 2 weeks before attempting to bleach again.
- If you have reached level 10, do not condition your hair at this point. Move on to toning first; you'll condition your hair after that.[11]
Toning Your Hair
-
1Select a permanent purple-based toner. Using purple toner at this stage is necessary to achieve the blue-grey look. The purple counteracts and removes any yellow tones left in your hair. If you want the silvery blue hue, the yellow tones have to go. You can purchase purple toner at beauty supply stores.[12]
-
2Mix the toner with 20 volume developer. Read the instructions with your product, which will most likely tell you to mix the toner with a 20 volume developer. Use large bowl to mix the ingredients, similar to when you mixed the bleach. Continue wearing gloves to protect your skin. Follow the directions that came with your products for exact measurements to mix the solution.[13]
-
3Divide your hair into four sections and apply the toner. Your hair should be damp for this. Repeat the same process you used for bleaching – divide your hair into sections and clip them up. Release them one at a time and use an applicator to saturate your hair with the mixture. Clip the section back up, and do the same thing for the remaining three sections.[14]
-
4Wait 20 to 30 minutes and then rinse. Set a timer in case you lose track of time. Check on it often; you'll be able to see your hair losing the yellow tones as it processes. Once the timer goes off, use cold water to rinse the toner thoroughly from your hair.[15]
-
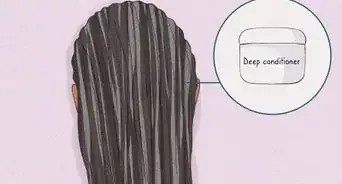
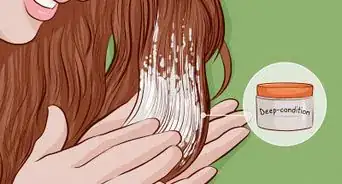
5Condition your hair well. At this point, your hair is probably feeling very brittle. This is normal and is a result of the bleach and developer. Before completing the final stage of this process (actually dyeing your hair blue/silver), you need to condition your hair. Apply a strong deep-conditioner to your damp hair, put on a shower cap, and let the treatment soak in for about 10 minutes. Rinse as you normally would.[16]
Dyeing Your Hair
-
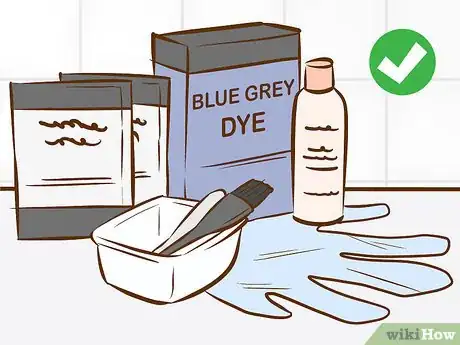
1Select a blue-grey dye in your chosen shade. The shades range from a pastel blue-grey to a darker grey steel-like hue. Select and purchase your chosen shade from a beauty supply store. You can dye your hair immediately after toning or, if you're exhausted at this point (this is a lengthy process!) you can wait until the next day.[17]
-
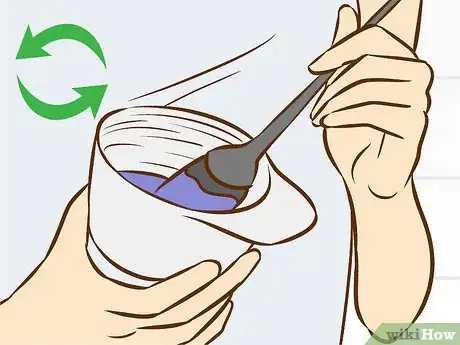
2Mix the dye according to the instructions. Each product will be different. Locate the instructions and follow them. The process will be very similar to what you've been doing. Make sure you are wearing protective gloves and your shoulders are protected by a towel.[18]
-
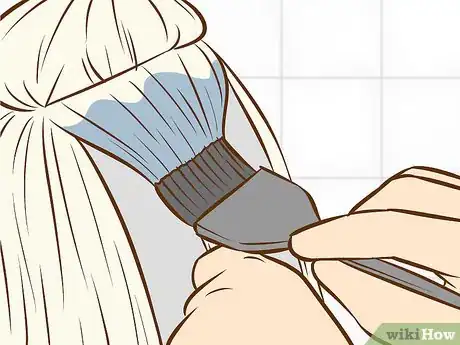
3Section your hair and apply the dye. Divide your hair into four sections, then use an applicator to apply the dye to the sections one at a time. Clip each one out of the way after you've saturated the hair with the mixture before moving on to the next.[19]
-
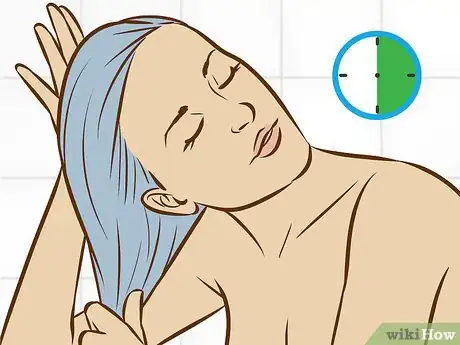
4Rinse out the dye after 30 minutes. Your product may direct you to rinse after a different amount of time. If so, follow those directions. However, it's typically about a 30-minute set time. Use a timer in case you lose track of time. Once it goes off, rinse the dye from your hair thoroughly.[20]
Maintaining the Look
-
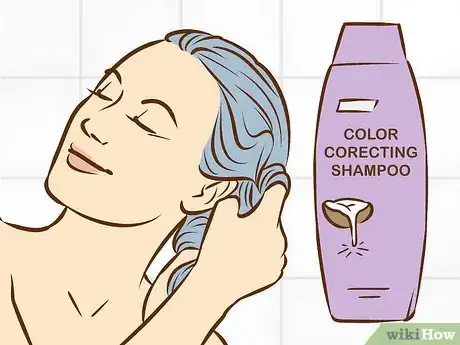
1Use a purple based color-correcting shampoo. Purple shampoos can be purchased at beauty supply stores. They will help keep the yellow tones from returning to your hair. Those yellow tones will negatively affect the blue-grey hue you want, so actively work to keep them at bay. This is key to maintaining this look.[21]
- You can use purple shampoo every time you wash your hair, or you can use it intermittently. If you choose to use regular shampoo sometimes, make sure it's sulfate-free and formulated for use on color-treated hair.
- If you shampoo your hair on a daily basis, using a purple shampoo every day may give your hair a purple tint.
-
2Keep shampooing to a minimum. No matter what products you use to combat fading, you'll start to notice it happening after a few weeks go by. The more you wash your hair, the faster it will fade. Try to go a few days in between washings. If your hair gets oily fast, try using a dry shampoo on off days.[22]
-
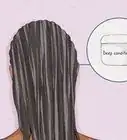
3Deep-condition your hair weekly. As you've now discovered, this process can be hard on your hair. After bleaching, you will experience damage and breakage – this is normal. The best way to combat these issues is to use deep-conditioners and hair masks at least once per week. These will help to restore nutrients and hydration.[23]
-
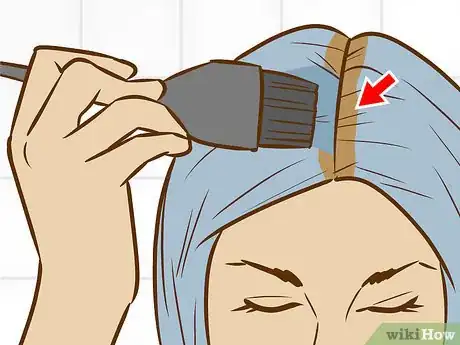
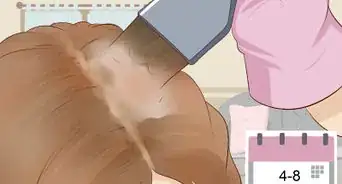
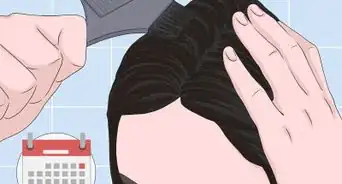
4Address roots before they get longer than one centimeter. To keep maintenance as hassle-free as possible, address your roots before they grow too long. When the time comes, you will need to bleach, tone and dye your roots again. You do not need to do your entire head of hair. Concentrate only on the regrowth at the roots.[24]
Things You'll Need
- Developer
- Bleach powder
- Mixing bowl
- Gloves
- Towels
- Hair clips
- Applicators
- Purple toner
- Blue grey dye
- Deep-conditioner
References
- ↑ http://lifestyle.one/grazia/hair-beauty/hair/grey-hair-trend/
- ↑ http://www.thewonderforest.com/2015/06/my-guide-to-at-home-hair-dye-and-bleach.html
- ↑ http://www.thewonderforest.com/2015/06/my-guide-to-at-home-hair-dye-and-bleach.html
- ↑ https://bellatory.com/hair/How-to-bleach-hair
- ↑ https://bellatory.com/hair/How-to-bleach-hair
- ↑ http://www.thewonderforest.com/2015/06/my-guide-to-at-home-hair-dye-and-bleach.html
- ↑ http://www.thewonderforest.com/2015/06/my-guide-to-at-home-hair-dye-and-bleach.html
- ↑ http://www.thewonderforest.com/2015/06/my-guide-to-at-home-hair-dye-and-bleach.html
- ↑ https://bellatory.com/hair/How-to-bleach-hair
- ↑ http://www.thewonderforest.com/2015/06/my-guide-to-at-home-hair-dye-and-bleach.html
- ↑ https://bellatory.com/hair/How-to-bleach-hair
- ↑ http://www.thewonderforest.com/2016/03/silver-grey-hair-dye-at-home.html
- ↑ http://www.thewonderforest.com/2015/06/my-guide-to-at-home-hair-dye-and-bleach.html
- ↑ https://bellatory.com/hair/tone-blonde-hair
- ↑ http://www.thewonderforest.com/2016/03/silver-grey-hair-dye-at-home.html
- ↑ http://www.thewonderforest.com/2015/06/my-guide-to-at-home-hair-dye-and-bleach.html
- ↑ http://www.thewonderforest.com/2016/03/silver-grey-hair-dye-at-home.html
- ↑ http://www.thewonderforest.com/2016/03/silver-grey-hair-dye-at-home.html
- ↑ http://www.thewonderforest.com/2016/03/silver-grey-hair-dye-at-home.html
- ↑ http://www.thewonderforest.com/2016/03/silver-grey-hair-dye-at-home.html
- ↑ http://www.thewonderforest.com/2016/03/silver-grey-hair-dye-at-home.html
- ↑ http://www.thewonderforest.com/2016/03/silver-grey-hair-dye-at-home.html
- ↑ http://www.thewonderforest.com/2016/03/silver-grey-hair-dye-at-home.html
- ↑ http://www.thewonderforest.com/2016/03/silver-grey-hair-dye-at-home.html
