This article was co-authored by wikiHow Staff. Our trained team of editors and researchers validate articles for accuracy and comprehensiveness. wikiHow's Content Management Team carefully monitors the work from our editorial staff to ensure that each article is backed by trusted research and meets our high quality standards.
There are 8 references cited in this article, which can be found at the bottom of the page.
This article has been viewed 64,012 times.
Learn more...
Razor scooters are a fun tool for anyone who wants to zip around their neighborhood in style. When you’re done riding one, you can fold it up through a simple process thanks to a couple of release levers. Both the regular and Jr. Razor scooters have these levers you push to collapse your ride. If you’re having a hard time doing this, check the components to ensure they’re clean and in working order. Razor’s electric scooters aren’t meant to be folded, but you can also take them apart by removing the fasteners where the levers normally are. Once you have your scooter folded, store it until you’re ready to ride again.
Steps
Releasing the Locking Levers
-
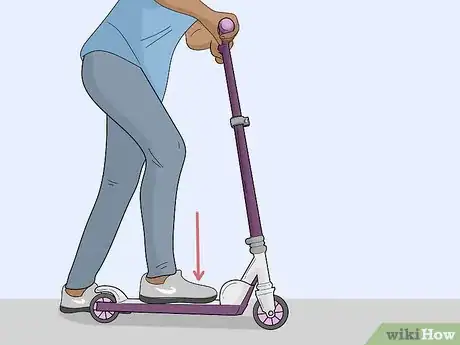
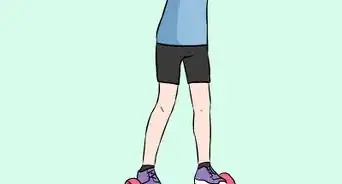
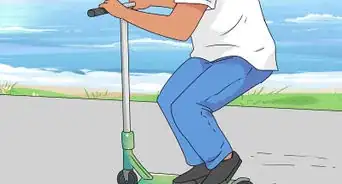
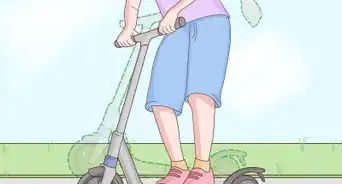
1Place the scooter on the ground and step on it with one foot. Put it down to keep it stable as you release the locking mechanisms. Then, plant your foot between the wheels on the foot stand. Press your foot down firmly and hold onto the handlebars to keep the scooter from moving.[1]
- Although Razor scooters are easy to fold, they have to be folded in a certain way. If you don’t steady the scooter and unlock the release levers at the right time, the scooter could come unfolded.
- Be mindful of your fingers as you fold the scooter. There isn’t much risk of getting caught by the moving components, but you should still keep your fingers clear for safety.
-
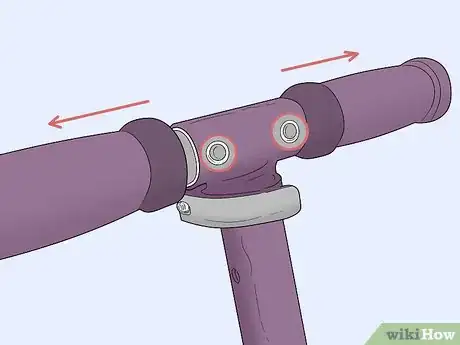
2Push the release buttons on the handles to slide out the grips. The scooter has a small button on the backside of each handlebar. When you’re standing behind the handlebars, the buttons will be right ahead of you. Push one of the buttons, then pull the closest grip away from the rest of the scooter. Repeat this with the opposite grip.
- Most Razor scooters can be folded without removing the grips. Simply unlatch the other levers. If you experience any problems, try pulling out the grips first.
- The Razor Jr. type of scooter is much simpler since it’s meant for younger children. It doesn’t have the handlebar buttons or the steering column clasp, so you only have to take care of the last release lever.
Advertisement -
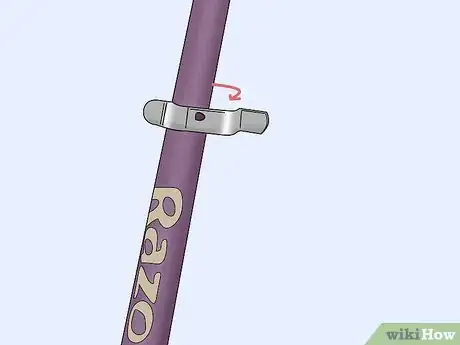
3Pull open the clasp on the side of the steering column. The front piece of the scooter, which contains the handlebars and connects to the footpad, is adjustable. Look for a circular piece of metal about halfway down from the handlebars. One side of the lever is a clasp you can pull away from the scooter.[2]
- If you assembled the scooter yourself, this quick-release lever is what you may have used to raise the steering column so the handlebars are at a comfortable height.
-
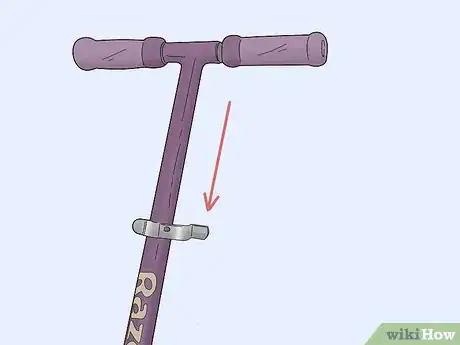
4Push the steering column down as far as it will go. Releasing the clasp allows you to adjust the steering column. To begin folding the scooter, lower the handlebars. Push the handlebars down with one hand as you hold onto the steering column with your other hand. The steering column will lower and disappear into the main part of the scooter. Flip the clasp closed again to hold the steering column in place.[3]
- The tube is the component that controls the height of the handlebars. When you’re ready to ride the scooter, release the clasp again and raise the handlebars back up.
-
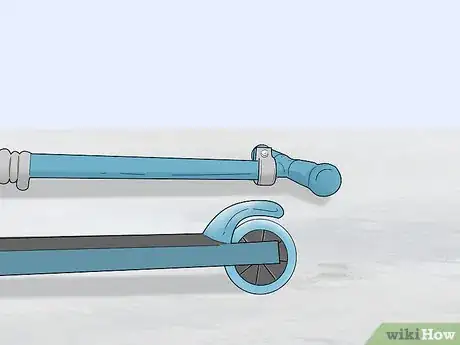
5Turn the scooter upside down while holding the steering column. Step off the scooter, then flip it over. The steering column is loose, so keep a firm grip on the handlebars so it doesn’t slide back out. You could hold the handlebars against the ground or your body to ensure the steering column doesn’t pop back out from the scooter again.[4]
- If the steering column comes back out, the scooter won’t fold up properly. Turn the scooter back over and push the handlebars down again.
-
6Push the joint-release lever on the bottom of the scooter. While holding the steering column still, reach for the joint-release lever with your free hand. It’s near the front wheel, close to where the steering column connects to the footpad. Flip the lever to the side to release the locking mechanism. Once you flip it, the scooter will almost automatically fold up into a shape that is easy to carry around.[5]
- As long as you have the scooter upside-down, gravity takes care of most of the folding. If you need to, push the steering column component down to the footpad to compact the scooter.
- If you’re trying to fold a Razor Jr., this is the only lever you need to deal with. It’s on the back side of the steering column, directly in front of the footpad.
-
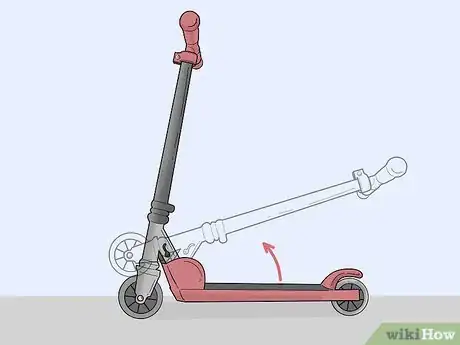
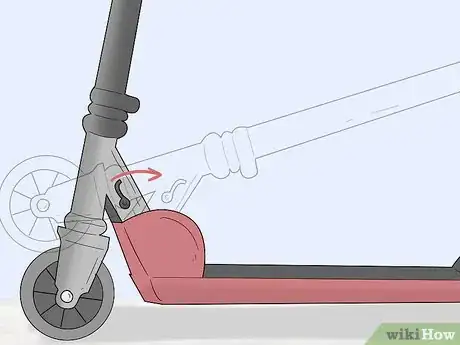
7Unfold the scooter by pressing the release lever. Hold the scooter in your hands, then push the quick-release lever toward the footpad. After pushing it, pull the handlebar in the opposite direction to pop open the scooter. Afterward, you can open the clasp and pull the steering column up to set it at the height you desire. Close the clasp to lock it in place.[6]
- Unfolding the scooter is meant to be as easy as folding it is. If you’re having trouble with it, check the release lever first for debris and other signs of damage.
Troubleshooting a Stuck Scooter
-
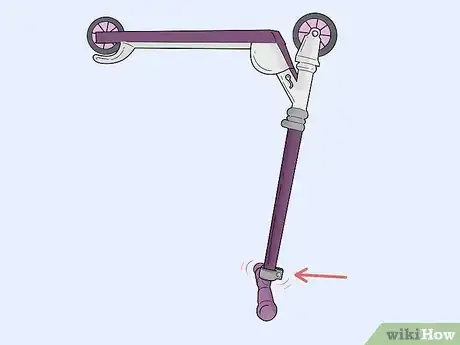
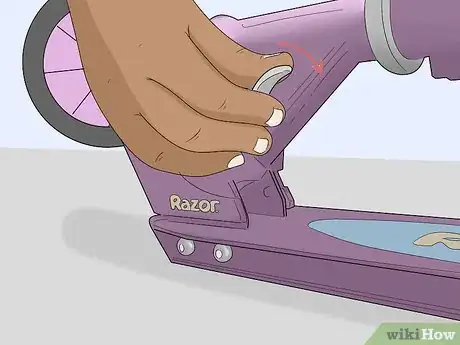
1Pull the joint-release lever all the way open to free the steering column. Make sure the latch didn’t get stuck. When it is closed, it points down toward the front wheel. Pull it up so it points toward the handlebars. If it doesn’t open all the way, then it will prevent you from folding up the scooter.[7]
- The lever allows you to fold the scooter in half. It can also prevent you from opening the scooter back up if it's in the locked position.
-
2Move the handlebars if they prevent the scooter from folding. Check that you pulled the handlebars off the steering column as far as you can. If you have a scooter that requires you to move them, they can get in the way of the footpad. Press down hard on the release buttons on the handlebars, then move them away from the steering column as far as possible.[8]
- Keep in mind that the handlebars need lay flat against the footpad. If they’re facing the footpad when you start folding the scooter, open up the steering column’s clasp to turn them around.
-
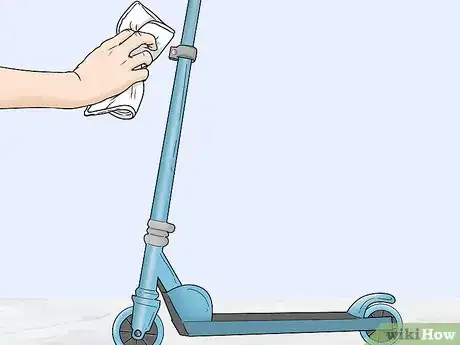
3Wipe stuck levers with a damp rag to remove debris. If you aren’t able to fully open the quick-release lever and steering column clasp, you won’t be able to fold up the scooter effectively. Dampen a cloth or paper towel in a little bit of lukewarm water, then remove as much debris as you can. Try the levers afterward to see if they work.[9]
- Cleaning products aren’t recommended by the manufacturer, so you don’t need to use anything special to make your scooter look brand new. Alcohol and ammonia-based products could actually damage plastic and decals.
-
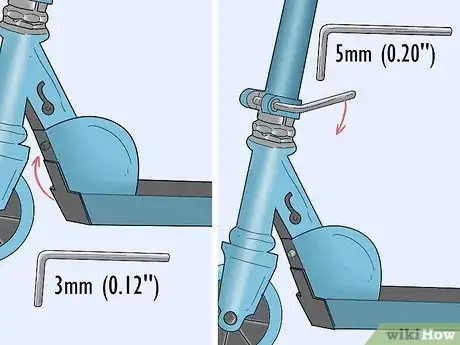
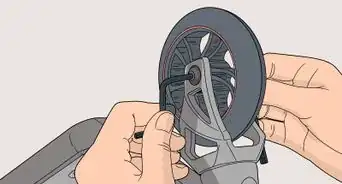
4Take apart the scooter to clean it if you still can’t fold it. It may have accumulated a significant amount of debris preventing the parts from moving. You will need a 5 mm (0.20 in) allen wrench to remove the steering column. Turn the screw in the clasp counterclockwise to release it. Then, use a 3 mm (0.12 in) allen wrench to remove the screw in the quick-release lever between the footpad and steering column.
- Keep in mind that you will need to put the parts back together when you’re done. If it seems too complicated to do on your own, contact Razor or take the scooter to a repair shop.
-
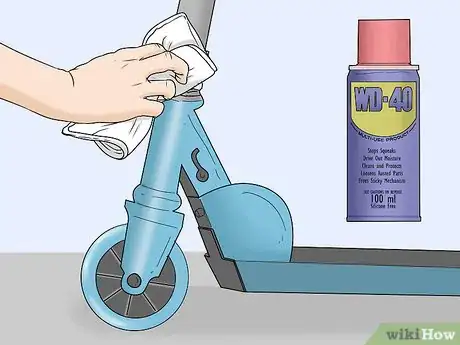
5Clean the metal components off with an oil-based lubricant. Spray some WD-40 or another cleaner on the levers to get them working again. Use an old rag to wipe away any grime you notice on the metal. When they look clean, reassemble the scooter and test it out again. If the levers still don’t work, contact Razor’s support line.[10]
- Use oil only on metal parts. It could damage plastic or decals, so it’s not worth risking on the rest of the scooter. Clear off those components with clean water.
- You may be able to lubricate the levers before removing them. Try spraying some of the oil behind the stuck lever. Let it soak in for 2 or 3 minutes, and then try operating the lever again.
Things You’ll Need
Troubleshooting a Stuck Scooter
- Cloth or paper towel
- Water
- Oil-based lubricant
- 5 mm (0.20 in) allen wrench
- 3 mm (0.12 in) allen wrench
References
- ↑ https://www.razor.com/blog/3-simple-steps-to-fold-and-go-anywhere-with-your-razor-scooter/
- ↑ https://global.razor.com/pa/wp-content/uploads/sites/21/2011/11/KickScooters_MAN_US_140416.pdf
- ↑ https://www.razor.com/blog/3-simple-steps-to-fold-and-go-anywhere-with-your-razor-scooter/
- ↑ https://www.razor.com/blog/3-simple-steps-to-fold-and-go-anywhere-with-your-razor-scooter/
- ↑ https://www.razor.com/blog/3-simple-steps-to-fold-and-go-anywhere-with-your-razor-scooter/
- ↑ https://global.razor.com/nz/wp-content/uploads/sites/31/2017/09/A5DLX_MAN_US_161207.pdf
- ↑ https://www.youtube.com/watch?v=brvrzBIhTtM&feature=youtu.be&t=48
- ↑ https://www.youtube.com/watch?v=brvrzBIhTtM&feature=youtu.be&t=60
- ↑ https://www.razor.com/wp-content/uploads/2018/03/a6_man_us_161110.pdf
