This article was co-authored by wikiHow staff writer, Eric McClure. Eric McClure is an editing fellow at wikiHow where he has been editing, researching, and creating content since 2019. A former educator and poet, his work has appeared in Carcinogenic Poetry, Shot Glass Journal, Prairie Margins, and The Rusty Nail. His digital chapbook, The Internet, was also published in TL;DR Magazine. He was the winner of the Paul Carroll award for outstanding achievement in creative writing in 2014, and he was a featured reader at the Poetry Foundation’s Open Door Reading Series in 2015. Eric holds a BA in English from the University of Illinois at Chicago, and an MEd in secondary education from DePaul University.
wikiHow marks an article as reader-approved once it receives enough positive feedback. In this case, 84% of readers who voted found the article helpful, earning it our reader-approved status.
This article has been viewed 215,415 times.
Learn more...
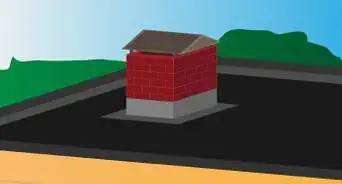
If you see or feel leaks around your chimney, or notice that your ceiling has water stains, you may need to replace the flashing on your chimney. You should reinstall chimney flashing before reshingling your roof, or when you notice that the existing chimney flashing is damaged or completely rusted. You can buy all the parts you need to secure the flashing on your chimney at a home improvement or hardware store. You also can have a sheet metal shop shape and pre-cut your flashing to fit your chimney. Use these tips to flash a chimney.
Steps
-
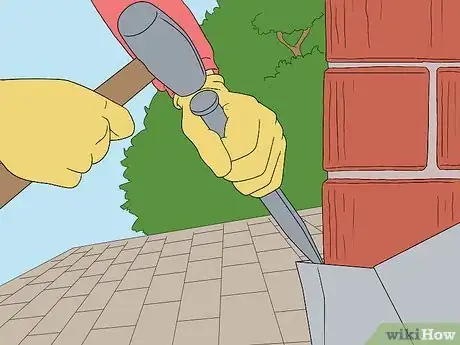
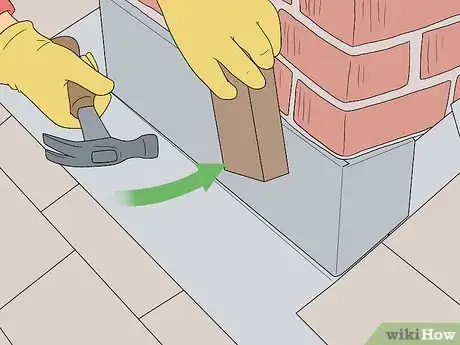
1Take off the old flashing. Scrape away old flashing and cement with a hammer and chisel.[1]
-
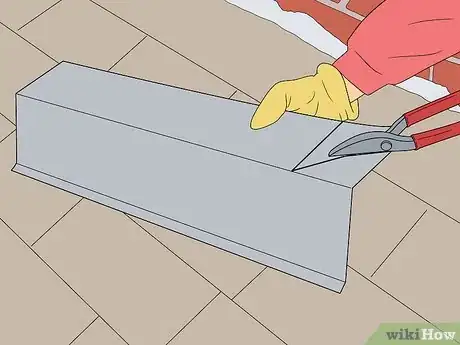
2Cut the base flashing.
- Use tin snips to cut the bent base flashing that you ordered from the sheet metal shop. Cut the flashing to fit along the chimney's front.
- Bend 1 side of the flashing around 1 edge of the chimney.
Advertisement -
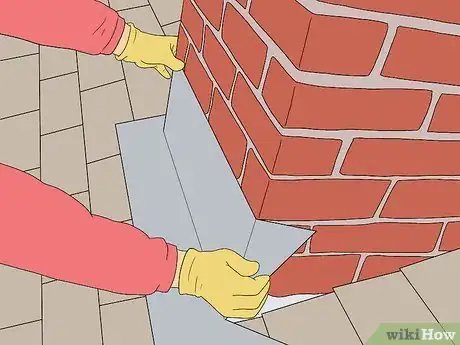
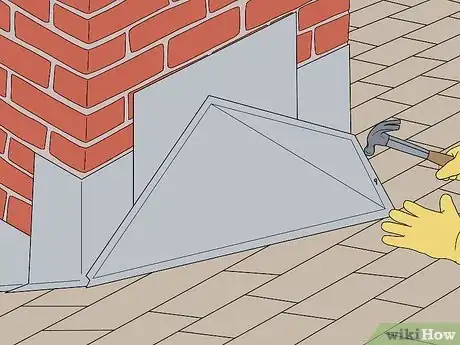
3Secure the base flashing.[2]
- Fit the flashing up against the front of the chimney. The part of the flashing that lies flush with the roof should overlap the roofing shingles. The bent edge should fit around 1 corner of the chimney.
- Use tin snips to clip the flashing at the point where the other side of the chimney lies against the flashing.
- Bend the clipped flashing around the chimney.
- Hammer 4 galvanized roofing nails into the part of the flashing lying against the roof. Ensure that the nails are spaced evenly.
-
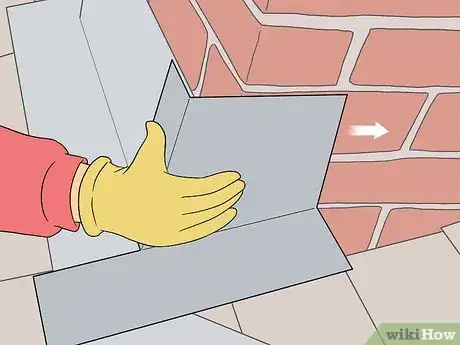
4Attach the corner and step flashing.
- Fit an 8-inch (20.3-cm) piece of square step flashing over the chimney's front corner.
- Set the flashing aside.
- Place a small drop of caulk where the roof and chimney meet at the chimney corner.
- Place the step flashing over the caulk and onto the chimney.
- Hammer 2 roofing nails into the flashing and roof.
- Secure a shingle over the corner flashing using a hammer and roofing nail.
- Place a second piece of 8-inch (20.3-cm) flashing against the chimney. The flashing should partially overlap the shingle that covers the first piece of flashing.
- Secure a shingle over the second piece of flashing with a nail.
- Repeat the process until you have gone all the way around the chimney.
-
5Secure the chimney saddle.
- Fit the chimney saddle around the back of the chimney.
- Use a hammer and roofing nails to attach the saddle to the roof. Insert roofing nails into the saddle and roof every 6 inches (15.2 cm).
- Place shingles over the flat part of the saddle.
- Nail the shingles and saddle into the roof.
-
6Install the cap flashing.[3]
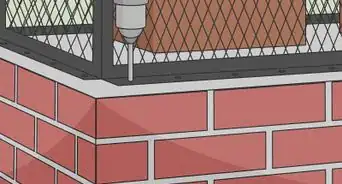
- Use a circular saw to saw grooves into the mortar joints. The grooves should be 1 inch (2.5 cm) deep. Saw as high as the height of the cap flashing.
- Fit the front cap flashing around the front of the chimney.
- Bend the cap flashing around the front of the chimney.
- Secure the cap flashing by inserting the flashing's flange all the way into the mortar.
- Drill a hole on each side of the chimney front.
- Hammer the plastic anchors into the holes.
- Repeat the procedure around each side of the chimney. Ensure that each new piece of cap flashing overlaps the previous one.
- Place caulking along the mortar joints to seal the flashing.
Community Q&A
-
QuestionCan you measure and cut the sheet metal yourself or does it have to be ordered?
 Community AnswerYou can cut it yourself.
 -
QuestionWhat side does the bigger piece of flashing metal go on?
 Community AnswerFor a chimney or skylight saddle, the larger piece goes at the top. It goes beneath the upper courses of roofing material, and overlaps the side or step-flashings.
 -
QuestionHow many inches of flashing should there be at the bottom, lying against the roof, on all four sides?
 Community AnswerFor a skylight or chimney on a composition roof, there should be 6 inches on bottom and sides, 9 to 12 inches on top.
Things You'll Need
- Hammer
- Chisel
- Pre-ordered chimney flashing and saddle
- Tin snips
- Galvanized roofing nails
- Shingles
- Caulking
- Circular saw
- Drill
- Plastic anchors
References
- ↑ https://www.familyhandyman.com/roof/installing-chimney-flashing/
- ↑ https://www.iko.com/na/learning-center/roofing-101/what-is-roof-flashing-how-to-install-it/
- ↑ https://www.familyhandyman.com/roof/installing-chimney-flashing/
- https://www.todayshomeowner.com/video/how-to-repair-leaking-chimney-roof-flashing/
- http://www.thisoldhouse.com/toh/article/0,,194076,00.html
- https://www.youtube.com/watch?v=5KiPyR3nsTA
