This article was co-authored by wikiHow Staff. Our trained team of editors and researchers validate articles for accuracy and comprehensiveness. wikiHow's Content Management Team carefully monitors the work from our editorial staff to ensure that each article is backed by trusted research and meets our high quality standards.
This article has been viewed 79,796 times.
Learn more...
When you’re camping, your tent is your protection from the wildlife that surrounds you. A broken zipper can be annoying and potentially dangerous, so you should always carry a zipper repair kit with you when camping. However, if you don’t have a repair kit with you, there are DIY methods that will make sure your tent lasts through the trip.
Steps
Mending the Zipper with a Repair Kit
-
1Select the best repair kit for your tent. There are a few different options for zipper repair kits. Look for one that has multiple different sized sliders, a needle and thread, and a seam ripper. They’re normally inexpensive and small enough to fit in the side pocket of a regular camping backpack.[1]
- Most kits won’t come with pliers, which are useful for many aspects of camping. Pack a pair of adjustable pliers to help with your zipper repair.
- If your zipper is separating at one or both ends, has openings even after sealing, or comes undone after closing, it’s likely that the problem is the slider and not the track. You can use your repair kit to solve this.[2]
- If the zipper is getting stuck while closing or won’t close past a certain point, the problem is likely the track and won’t be solved by replacing the zipper.
-
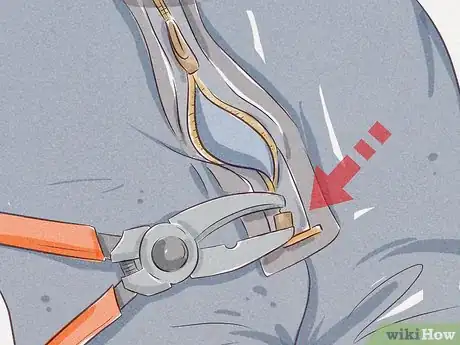
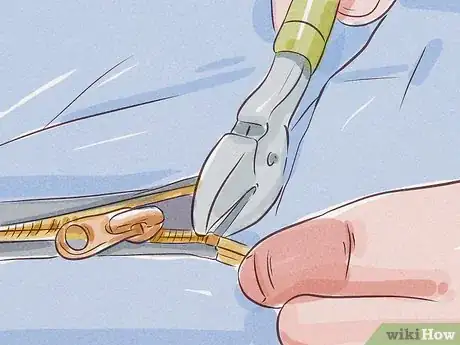
2Remove the seam if your zipper stops at the end of the track. Most tent zippers have a sewn-in stop to keep the zipper from opening at the end. Use your pliers to gently remove the seam before you begin working.[3]Advertisement
-
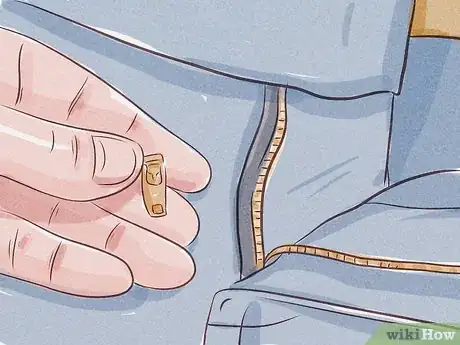
3Pull the slider off of the track. Once you remove the stop, you can pull the slider off of the track and set it aside. You might need to use your pliers to bend and pull the slider gently if it’s jammed or won’t budge from the fabric of the zipper hem.[4]
-
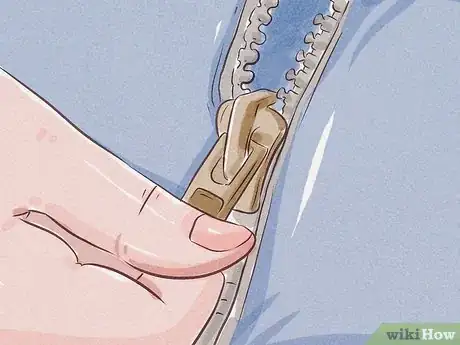
4Slide the new slider onto the grooves of the track. Make sure the zipper pull is facing the inside of the tent as you replace it on the track. You might have to push the fabric of the hem through the slide with a pin until you reach the grooves and have the slider all the way on the track.[5]
- You should only install the slider with the “nose” or the pointed part of the zipper first. Otherwise, your zipper won’t work.
-
5Pull the slider until you can see 2 to 3 inches (5.1 to 7.6 cm) of locked zipper. This will make sure that your zipper is functioning correctly and give you room to resew the stop at the end of the zipper. If you notice there’s a problem with the fastener of the zipper, unzip the zipper and reinstall the slider.[6]
- If your kit comes with more than one slider of different sizes, try reinstalling a different one from the kit. You can tell that a slider is the right size because it will fit comfortably around the teeth and track of the zipper with little friction when closing
- Most tent zippers use a medium-sized zipper. If you have a few sliders of similar size, try sliding them on the track to test which one works best.
-
6Resew the seam at the end of the track. Using the needle and thread in the kit, carefully resew the stopper seam where the track meets the fabric of the tent. This will secure the bottom of the zipper from the tent and keep the slider from coming off of the track.[7]
- Normally, 15-20 stitches across a 1 inch (2.5 cm) zipper will securely hold the track in place
- The sewing doesn’t have to be perfect, but be careful not to get any thread in the track or the slider. Make sure the track is secured to the tent by giving a gentle tug to the zipper once it’s sewn.
Repairing the Zipper without a Kit
-
1Slide a zip tie through the opening to act as a DIY pull. This is a quick and easy solution if you don’t have a zipper repair kit with you on your trip. Simply slide the pointed end of the zip tie through the eye of the zipper, place the fastener over the cord, and pull to tighten until you have a 1 inch (2.5 cm) loop.[8]
-
2Use a pair of adjustable pliers to bend the slider into place if the track is separating. Start by unzipping the opening to place the slider at the very end of the zipper. Place your pliers around the left side of the zipper so that the nose is parallel to the track of the zipper, and squeeze to apply pressure to flatten the slider on that side. Then, do the same on the right side.[9]
- Make sure the zipper is open, not secured. You’ll need to be able to access the slider from both sides.
- Don’t squeeze too hard or you can jam or break the slider.
-
3Run a pencil along the outside of the teeth to make your zipper run smoothly. A lagging zipper is a minor problem, but can be extremely annoying if you’re moving in and out of the tent. Running the tip of the pencil along the track will deposit graphite to make the slider run more quickly along the teeth.[10]
-
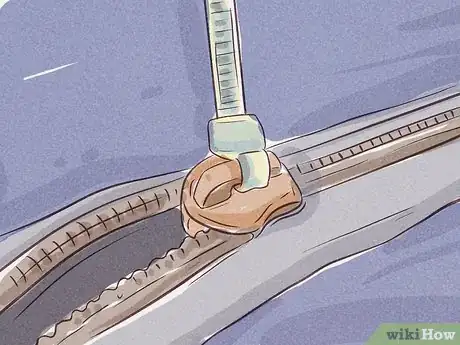
4Use liquid or wet bar soap to remove stuck clothing or fabric from the zipper. If your zipper is stuck, check along the track and in the teeth to make sure you don’t have a piece of fabric from the tent in the zipper or slider. You can use soap to remove the fabric by applying the soap liberally and pulling on the fabric gently until it comes out.[11]
- Be patient and pull slowly and firmly to remove the fabric. A needle might also help you to push the fabric through the teeth or slider.
- If the fabric won’t budge, make a small cut under the area that is stuck in the track. This will separate the stuck piece from the rest of the tent fabric and allow you to slide the zipper over the track.
-
5Have the zipper professionally repaired if the track has missing or broken teeth. Most of the time, there’s no way to fix a zipper with damaged teeth, unless you’re a professional tailor with teeth replacements. Take the zipper to a tailor to see if they have the tools to fix or replace it for you.[12]
- Fixing or repairing the zipper is normally less expensive than replacing the tent. Ask the tailor how much it will be and compare the cost to that of a new tent.
Things You’ll Need
- Zipper repair kit
- Zip ties
- Adjustable pliers
- Needle and thread
- Pencil
- Soap
References
- ↑ https://www.sewingpartsonline.com/blog/understanding-zippers/
- ↑ http://specialtyoutdoors.com/common-zipper-problems/
- ↑ https://www.mec.ca/en/explore/how-to-fix-a-zipper
- ↑ https://www.gearaid.com/blogs/learn/how-to-replace-a-zipper-slider
- ↑ https://www.gearaid.com/blogs/learn/how-to-replace-a-zipper-slider
- ↑ https://www.gearaid.com/blogs/learn/how-to-replace-a-zipper-slider
- ↑ https://www.gearaid.com/blogs/learn/how-to-replace-a-zipper-slider
- ↑ http://engineeringathome.org/adaptations/cable-ties
- ↑ https://www.mec.ca/en/explore/how-to-fix-a-zipper
About This Article
To fix a tent zipper, start by selecting a repair kit with multiple different-sized sliders, a needle and thread, and a seam ripper. If your tent zipper has a sewn-in stop to keep it from opening at the end, use pliers to remove the seam and pull the jammed slider off the track. Next, attach the replacement slider by using a pin to push the fabric of the hem through the slider until it can reach the track. Once the slider is on the track, pull it until you can see 2-3 inches of locked zipper to ensure that it's working and give you room to sew. Then, use your needle and thread to resew the stopper seam at the end of the track, so the slider won't come off the track. For more advice, including how to repair a tent zipper without a kit, scroll down!
