X
wikiHow is a “wiki,” similar to Wikipedia, which means that many of our articles are co-written by multiple authors. To create this article, volunteer authors worked to edit and improve it over time.
This article has been viewed 56,251 times.
Learn more...
Sometimes, you just don't get the right perspective on a shot. There are ways that you can fix that using various software. This article will show you how to do it with Gimp.
Steps
-
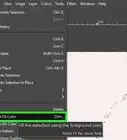
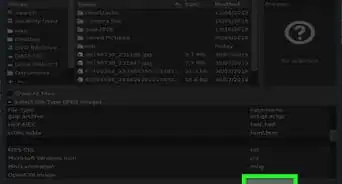
1Open your file in Gimp. Make and save a copy as *.xcf.
-
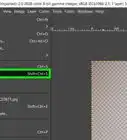
2Put in the guide lines. On the top and the right of your image, you will see small black arrows. Click near them and drag down two sets of guidelines; two vertical, two horizontal.Advertisement
-
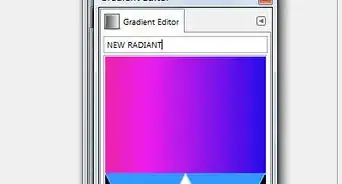
3
-
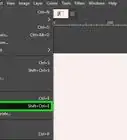
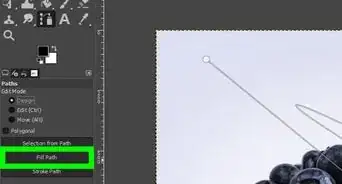
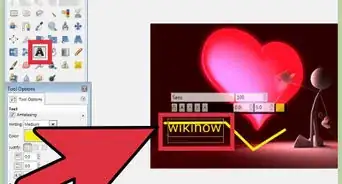
4Using the corners on the image, start moving the image around.
- You don't have to make it go to all of the guides. The guides are just that, guides.
-
5Once you have it the way you want it, click on Transform.


Advertisement
Community Q&A
-
QuestionIs it possible to see the before and after? It's still unclear what this guide will allow me to do with GIMP.
 Anonymous WikiHowerCommunity AnswerA fullish before and after is already here. Just scroll to the first step, and then go to step five.
Advertisement


References
- Information found at About.com
About This Article
Advertisement