This article was co-authored by Kevin Turner. Kevin Turner is a handyman and the owner of Red Gator Maintenance, a handyman business based in Fresno, California. Working on handyman-related projects since the age of 12, Kevin specializes in a wide variety of home improvement projects such as (but not limited to) lighting/electrical, plumbing, deck staining, drywall repairs, cabinet installation, air conditioning, trash removal, and window, roof, and appliance repairs.
There are 13 references cited in this article, which can be found at the bottom of the page.
This article has been viewed 66,784 times.
Over the course of a year, your floorboards will shrink and expand because of fluctuations in temperature and humidity. These shifts often lead to gaps appearing in your wood floor.[1] If you have wide gaps in a wide-plank wood floor, using natural rope as a filler is a relatively easy and inexpensive option. If the gaps in your wood floor are smaller and more cosmetic, a prefabricated wood filler or a wood dust and wood flour cement mix would be good options.
Steps
Filling Gaps with Wood Filler
-
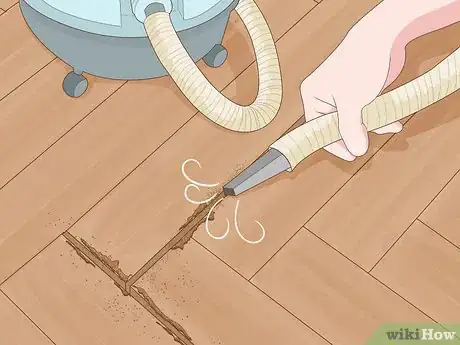
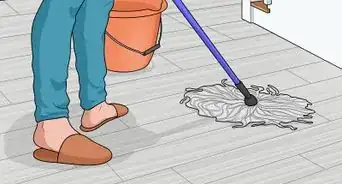
1Clean and vacuum the floor to ensure that the wood filler will adhere. If there’s a lot of dirt, dust, and other debris on your floor, the wood filler won’t adhere well to the floor. Use a hose attachment to vacuum inside the gaps where you’ll be applying the filler.[2]
-
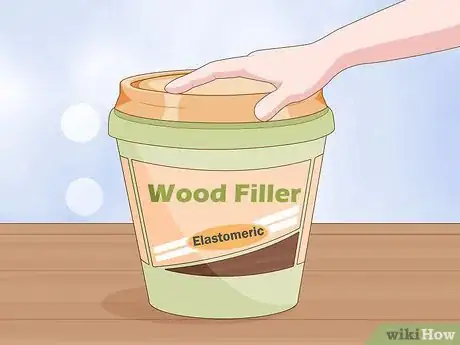
2Find a wood filler that will shrink and expand with your floorboards. Your floorboards will shrink and expand with changes in temperature and humidity over the year, so gaps between the floorboards will also change in size. To account for these shifts, find a wood filler that is elastomeric, or one that can shrink and expand.[3]
- Use a solvent-based filler if your wood floor is subjected to large swings in humidity and temperature, as solvent-based fillers are more durable than water-based fillers.
- Look for a wood filler with a label that indicates that it won’t shrink or crack.
- Choose a wood filler with a thick, putty-like consistency if you’ll be filling larger gaps.
Advertisement -
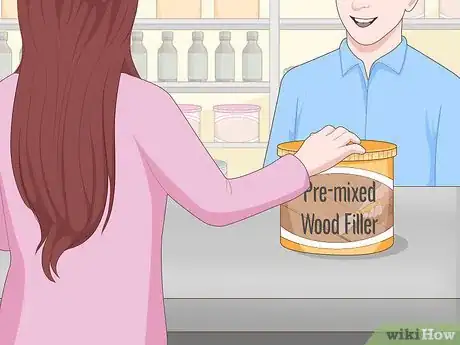
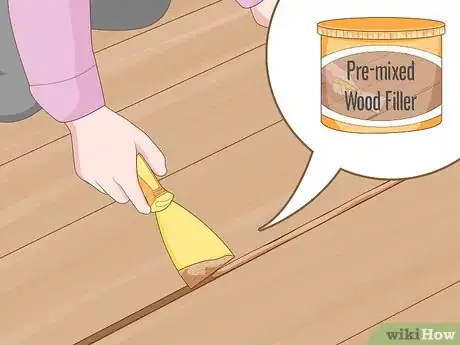
3Buy a pre-mixed wood filler that matches the color of your floor.[4] Pre-mixed wood fillers come in a variety of colors. While no wood filler will be a perfect match for your floor’s color, try to find one that is the closest match.[5]
- Many water-based and solvent-based fillers are stainable. Look for fillers with labels that specify that they are “stainable” or “paintable.”[6]
- If you’ll be staining your floor after applying the wood filler, choose a filler that is white or a lighter shade than the wood stain you’ll be using.
-
4Test the wood filler on an area out of sight to see if it will match. If you’re nervous about whether the color of the wood filler will match the color of your floor, test it out in an area that will be underneath a piece of furniture or in a closet. Let it sit for a day and then see how it looks.[7]
-
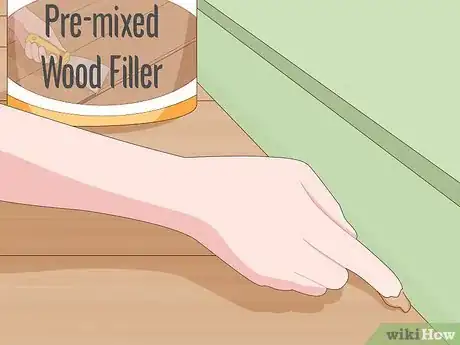
5Use a plastic putty knife to apply the filler into the gaps.[8] Put wood filler onto your putty knife and then push the filler into the gap. Then, move the putty knife across the gap as if you were painting it with a paintbrush to spread the filler evenly in the gap.[9]
- Apply enough filler so that the filled in gap is flush with the top of the wood floor.
- Scrape any excess filler off the floor once you finish filling the gap.
-
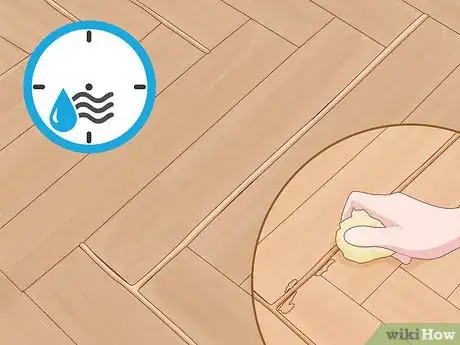
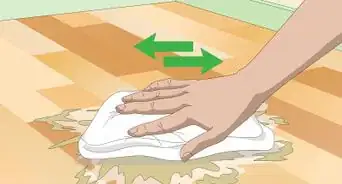
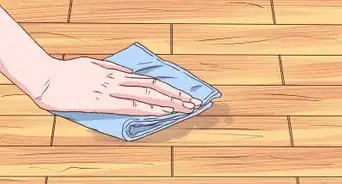
6Allow the wood filler to dry for a couple of hours and then wipe off any excess. Different types of wood filler have different drying times, so follow the directions printed on the specific container of wood filler you’re using. Once the wood filler is dry, use a damp, lint-free cloth to wipe excess wood filler off the floor.[10]
- Try not to walk on the floor while the filler is drying.
Using Rope to Fill in Gaps
-
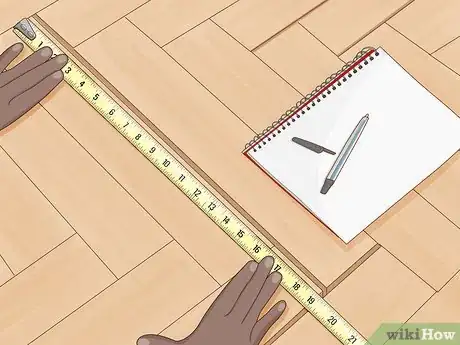
1Measure the width and length of the gaps in your floor. Before beginning your project of filling in the gaps in your wood floor, take accurate measurements so you know how much rope to buy at the store. Also, be sure to take note of variations in the width of the gaps in your floor.[11]
-
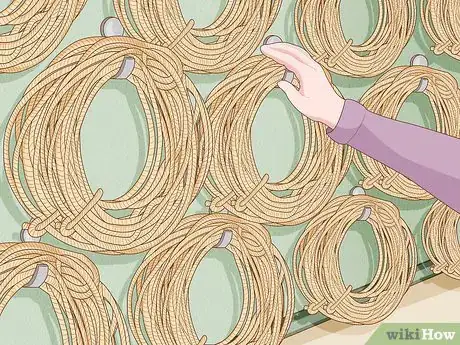
2Buy non-synthetic rope from your local home improvement store. Buy rope of a size that will fit in the gaps in your wooden floor. Since the gaps in your floor will likely vary in width, you’ll probably need to buy ropes of different diameters. Refer to the measurements of the gaps you took in the first step.[12]
- If you want to stain the rope to match the color of your floor, buy non-synthetic rope, because synthetic rope won’t take a stain.
- Look specifically for rope that is made of jute, cotton, or other natural fibers.[13]
-
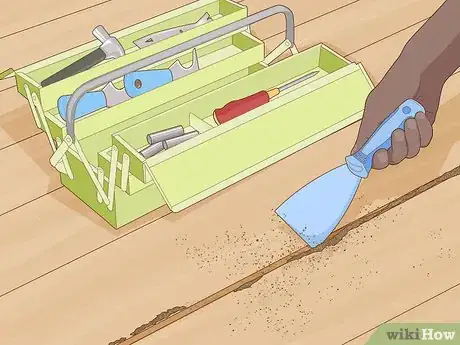
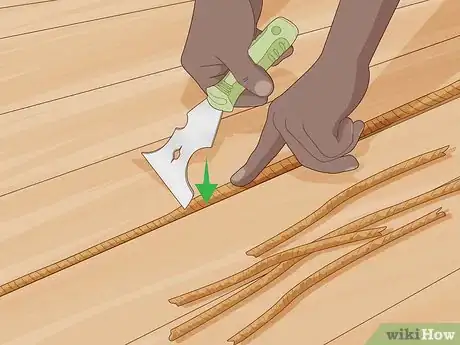
3Use a plastic spackling knife to scrape debris out of the gap. You can use any tool in your toolbox that fits in the gap to try to clean out debris. A plastic putty knife will fit in wide gaps, but a 5-in-1 painter’s tool or other tool may work just as well. Try to get as much loose debris out of the gaps as possible.[14]
- Be careful not to scrape or scratch the edges of the floorboards when you’re cleaning out the debris.
-
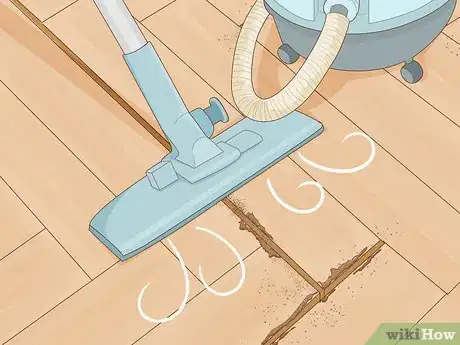
4Vacuum the debris you removed from the gaps. After scraping cleaning out of the gaps, your wood floor will likely be covered in loose debris. Vacuum this debris up before continuing with your project so you’ll have a clean area in which to work.[15]
-
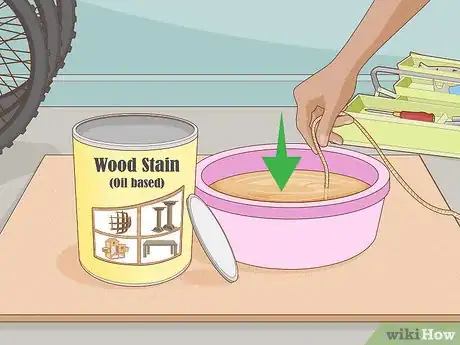
5Dip your rope in wood stain that matches the color of your floor. You’ll want to do this staining work outside or in your garage to prevent the stain from spilling on your indoor floors. First, lay out a large piece of plywood or other surface that you don’t mind getting covered in wood stain to be your work station. Then, put on latex gloves and soak the rope in a bucket full of wood stain for a few seconds.[16]
- Use an oil-based wood stain to stain your rope.
- This can be a messy job, so be sure to wear old clothes that you don’t mind getting permanently covered in wood stain.
-
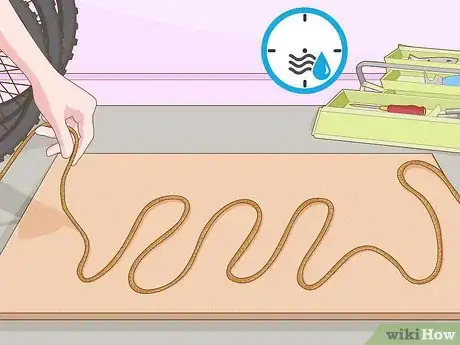
6Pull the rope out and lay it somewhere where it can dry for a few hours. Make sure the surface on which you leave the rope to dry is something that you don’t mind being stained permanently. A large piece of plywood, for example, would be a good place to dry out the rope.[17]
-
7Push the rope gently into the gap. Now that your rope is stained and dry, use a utility knife to cut it into segments equal to the length of the gaps you want to fill. Then, place a section of rope on top of the gap, and use your fingers, a 5-in-1 painter’s tool, a plastic spackling knife, or a similar tool to gently press the rope into the gap. Repeat for each gap.[18]
- Push the rope in so that the top of the rope is just below the top of the floorboards.
Making a Wood Dust Filler
-
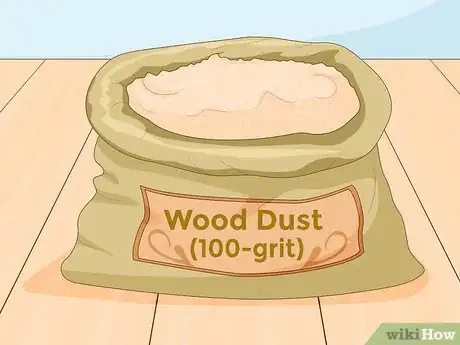
1Collect fine dust from wood that is the same type as your floor. If you don’t have a piece of wood left over from the initial installation of your floor, try to find sanding dust from a piece of wood that is the same kind and color. Use 100-grit dust or finer.[19]
- The amount of sanding dust you’ll need will depend on the size of your project. Start with a small amount so you can experiment with the process.
- Filling gaps with a sanding dust mixture works best with gaps that are less than 5 millimetres (0.20 in) in width.
-
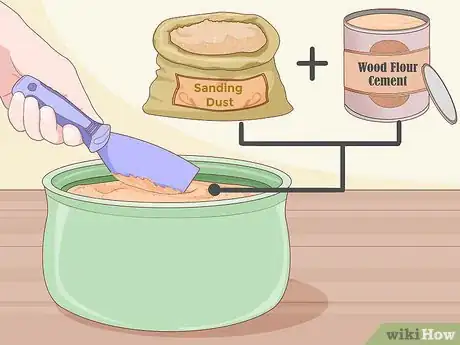
2Mix the sanding dust and wood flour cement in a container. Put the dust in the container first, and then gradually add wood flour cement in stages. Stir the mixture with a putty knife or smooth-edge finishing trowel after each time you add cement. Keep adding cement until you get moderately thick paste.[20]
- Look for a consistency somewhere between Greek yogurt and creamy peanut butter.
- You can also use wood glue or epoxy instead of wood flour cement as the binding agent.
-
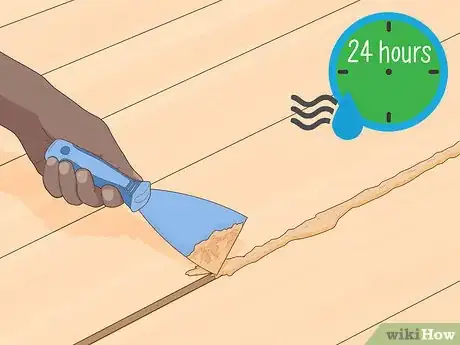
3Use a putty knife or smooth-edge finishing trowel to fill your gaps. Spread the filler over the gap from several angles so that the layer is even with the floor. Let the filler dry for 24 hours.[21]
-
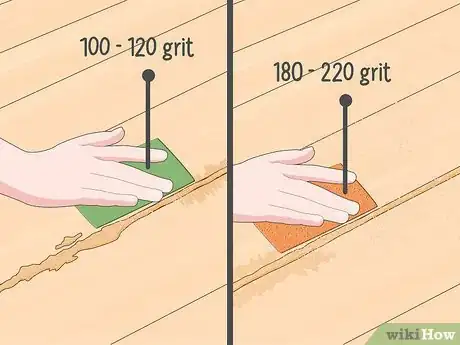
4Sand the excess filler off of your floor. Start by using 100- to 120-grit sandpaper. Then switch to finer 180- to 220-grit sandpaper to finish the job. Sand in a single direction to remove excess filler and make the gaps blend in with the rest of thew floor.[22]
- Vacuum the area thoroughly after finishing your sanding.
-
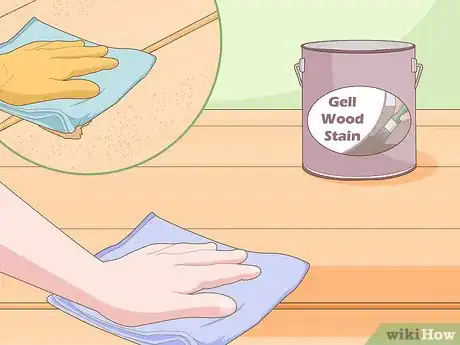
5Stain the filler. Wipe away any excess wood dust. Then, dip a clean rag in gel wood stain and wipe it over the filler. Remove any excess with a dry lint-free cloth. Repeat for each gap and allow the stain to dry completely before walking on the floor.
Expert Q&A
Did you know you can get expert answers for this article?
Unlock expert answers by supporting wikiHow
-
QuestionHow do you fill a wood gap?
 Kevin TurnerKevin Turner is a handyman and the owner of Red Gator Maintenance, a handyman business based in Fresno, California. Working on handyman-related projects since the age of 12, Kevin specializes in a wide variety of home improvement projects such as (but not limited to) lighting/electrical, plumbing, deck staining, drywall repairs, cabinet installation, air conditioning, trash removal, and window, roof, and appliance repairs.
Commercial Handyman
Things You’ll Need
Using Rope to Fill in Gaps
- Natural rope of different diameters
- Wood stain that matches the color of your floor
- Wet/dry vacuum
- Latex gloves
- Bucket
- Utility knife
- 5-in-1 painter’s tool or plastic spackling knife
Filling Gaps with Wood Filler
- Wood filler
- Putty knife
- Damp cloth
Making a Wood Dust Filler
- 100-grit sandpaper
- 180- to 220-grit sandpaper
- Putty knife or smooth-edge finishing trowel
- A container for mixing
- Gel wood stain
References
- ↑ Kevin Turner. Commercial Handyman. Expert Interview. 15 July 2020.
- ↑ https://youtu.be/7focJeab0pM?t=10
- ↑ https://www.bobvila.com/articles/best-wood-filler/
- ↑ Kevin Turner. Commercial Handyman. Expert Interview. 15 July 2020.
- ↑ https://www.bobvila.com/articles/best-wood-filler/
- ↑ https://youtu.be/MHQCqnoTBXM?t=85
- ↑ https://www.bobvila.com/articles/best-wood-filler/
- ↑ Kevin Turner. Commercial Handyman. Expert Interview. 15 July 2020.
- ↑ https://youtu.be/as4W4GwfEN0?t=51
- ↑ https://www.youtube.com/watch?v=as4W4GwfEN0
- ↑ https://youtu.be/7focJeab0pM?t=35
- ↑ https://youtu.be/7focJeab0pM?t=35
- ↑ http://www.madehow.com/Volume-2/Rope.html
- ↑ https://youtu.be/7focJeab0pM?t=10
- ↑ https://youtu.be/7focJeab0pM?t=34
- ↑ https://youtu.be/7focJeab0pM?t=73
- ↑ https://youtu.be/7focJeab0pM?t=82
- ↑ https://youtu.be/7focJeab0pM?t=43
- ↑ https://living.thebump.com/make-sanding-dust-filler-paste-oak-floor-11058.html
- ↑ https://living.thebump.com/make-sanding-dust-filler-paste-oak-floor-11058.html
- ↑ https://living.thebump.com/make-sanding-dust-filler-paste-oak-floor-11058.html
- ↑ https://living.thebump.com/make-sanding-dust-filler-paste-oak-floor-11058.html
- ↑ Kevin Turner. Commercial Handyman. Expert Interview. 15 July 2020.

