This article was co-authored by wikiHow staff writer, Travis Boylls. Travis Boylls is a Technology Writer and Editor for wikiHow. Travis has experience writing technology-related articles, providing software customer service, and in graphic design. He specializes in Windows, macOS, Android, iOS, and Linux platforms. He studied graphic design at Pikes Peak Community College.
This article has been viewed 37,218 times.
Learn more...
This wikiHow teaches you how to edit slide masters in PowerPoint. Slide masters are used to apply the same layout, fonts, styles, images, and placeholders to multiple slides in a PowerPoint presentation. A slide master can have multiple layouts.[1]
Steps
Accessing Slide Master View
-
1Open PowerPoint. Power Point has a red circular icon with a "P" to the left. Click the icon in the Windows Start menu, or the Applications folder in the Finder on Mac.
-
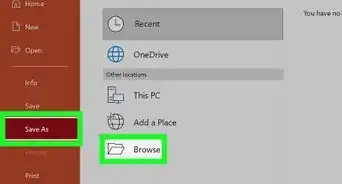
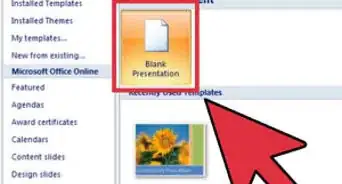
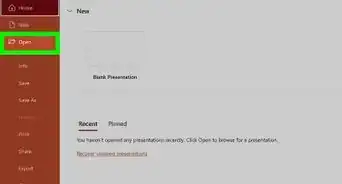
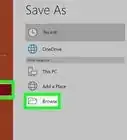
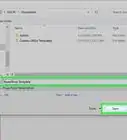
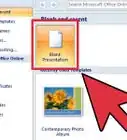
2Open or create a new PowerPoint presentation. To open a new PowerPoint presentation, click New in the panel to the left, and then the "Blank Presentation" tile. To open an existing PowerPoint presentation file, click Open in the sidebar to the left, and then click a recent PowerPoint presentation, or click Browse to browse and navigate to a PowerPoint presentation on your computer and click Open.
- If you have PowerPoint presentations saved on your OneDrive, click OneDrive and then click a PowerPoint presentation you wish to open.
Advertisement -
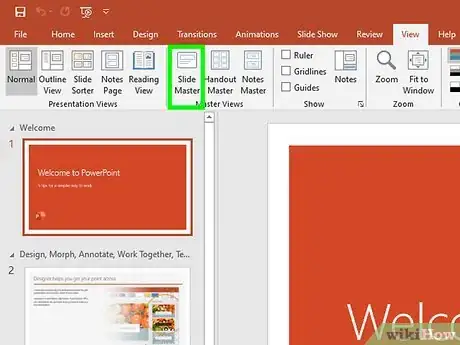
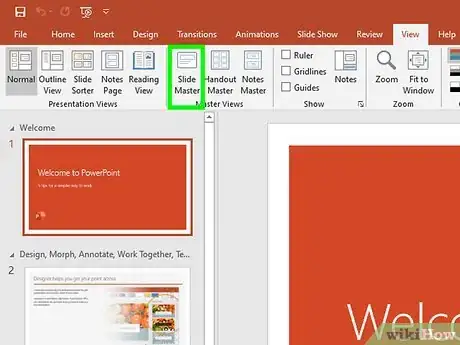
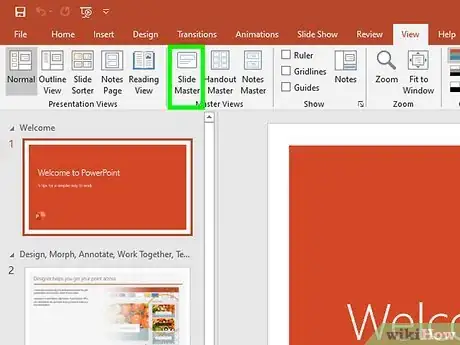
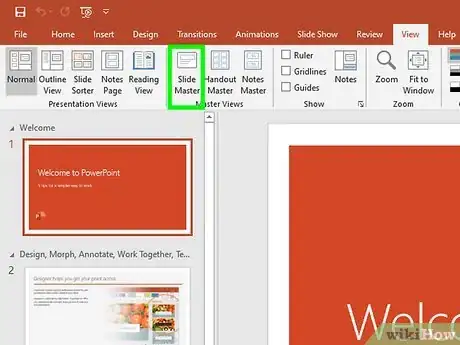
3Click View. It's in the menu bar at the top of the page. This displays the "View" panel at the top of PowerPoint.
-
4Click Slide Master. It's in the "View Master" section in the view panel at the top of PowerPoint. It has an icon that resembles a slide with two sections in it. This switches to the Master View mode where you can edit the slide masters and layouts. The slide masters and layouts are listed to the left of the slide view in the center.[2]
-
5Click a slide master or layout. The slide masters and layouts are displayed to the left of the main view in the center. Clicking a slide master or layout selects it and displays the contents of the slide master or layout in the main view screen in the center. From there you can edit the slide master or layout.
-
6Click Close Master View. It's the button on the far right of the panel at the top of PowerPoint in the "Close" section. It's below an icon with a red "x". When you are finished editing the slide masters and layouts, click this icon to return to the normal slide edit mode.
Adding and Deleting Slide Masters and Layouts
-
1Open the slide master view mode. To access slide master view mode, click View and then the Slide Master icon.
-
2Click Insert Slide Master. It's in the "Edit Master" section in the panel in the upper-left corner. This adds a new Slide Master to the PowerPoint layout.
-
3Select a slide master and click Insert Layout. The slide masters and layouts are listed to the left of the view screen in the center. Click a slide master to select it. Then click Insert Layout in the panel at the top in the upper-left corner. It's to the right of the "Insert Slide Master" icon. This inserts a new layout slide below the slide master.
-
4Right-click a slide master or layout. Right-clicking a slide master or layout in the list on the left side displays a menu to the right of the slide master or layout.
-
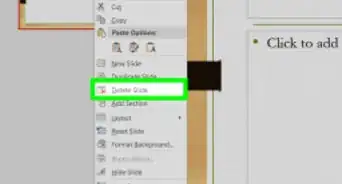
5Click Delete Slide Master or Delete Layout. This deletes the slide master or layout. When you add a new slide master, it has a number of default layouts. You can delete all the ones you don't plan on using.
- There must be at least one slide master in the list on the left.
- You can also use the right-click menu to rename or duplicate slide masters and layouts.
Editing Backgrounds and Themes
-
1Open the slide master view mode. To access slide master view mode, click View and then the Slide Master icon.
-
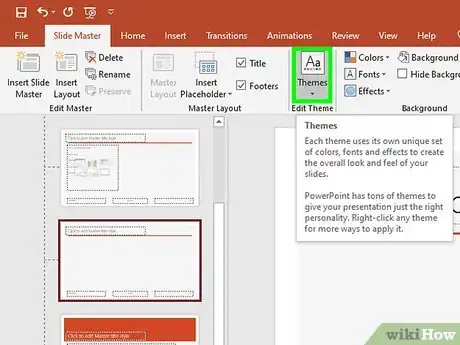
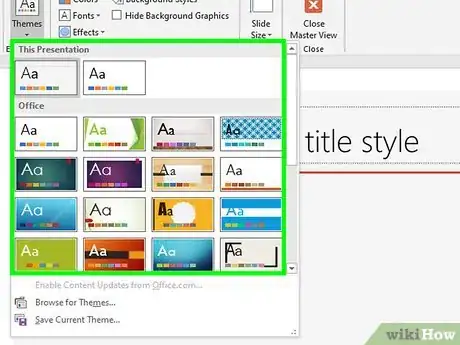
2Click Themes. It's in the "Edit Themes" box at the top. It's below an icon that resembles a slide with "Aa" in the middle. This displays a menu with slides.
-
3Click a theme. Look for a theme that has a color and look that you like and click it This creates a new slide master and layouts based on that theme.
-
4Click Colors. It's in the "Background" panel at the top of the page. This displays a drop-down menu with different color schemes.
-
5Click a color scheme. This applies the color scheme to the slide master and all the layouts below the slide master.
- If you want to create layouts with different themes, color schemes, or fonts, you need to create a new slide master.
-
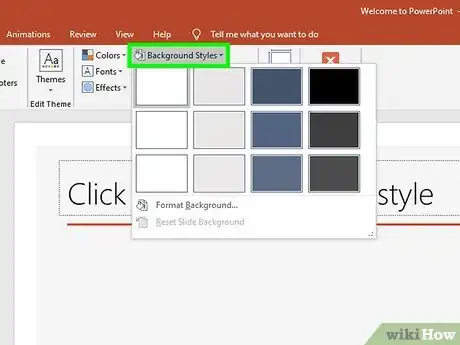
6Click Background Styles. It's in the "Background" panel at the top of the page. This displays a list of different background colors that match your color scheme.
-
7Click a background color. This applies the background layer to the slide master or layout.
- Applying a background style to a slide master affects all the layouts below the slide master. Applying a background style to a layout only affects that layout.
-
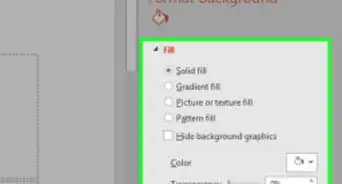
8Click Format Background (optional). It's in the "Background Styles" menu. This displays a sidebar menu to the right that gives you more options to edit the background.
-
9Click a background type. The background types are listed below "Fill" in the "Format Background" menu on the right. The background types are as follows.
- Solid fill: This applies a single color to the background. Use the "Color" drop-down menu to select a color.
- Gradient:. This applies a fade with two or more colors as a background. To change the gradient colors, click a stop below "Color stops" and then use the "Color" drop-down menu to select a color. Select the gradient type using the "Type" drop-down menu.
- Picture or texture fill: This option allows you to use an image as your background. Click File to select an image file from your computer or use the "Texture" drop-down menu to select one of the texture images.
- Pattern fill: This option allows you to use a pattern as your background. Select a pattern in the menu below "Pattern" and then use the "Foreground" and "Background" drop-down menus to select colors for the pattern.
-
10Click Apply to all (optional). It's at the bottom of the "Format background" menu on the right. This applies your background settings to slide master and all the layout slides.
- If you do not click Apply to all, it will only apply your background settings to a single layout.
-
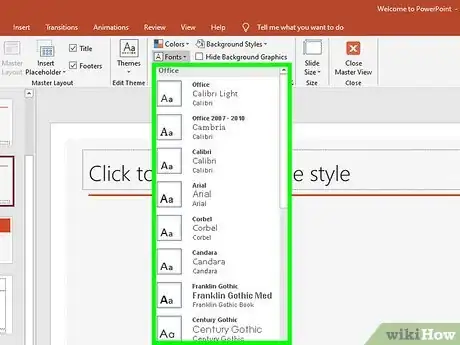
11Click Font. It's in the "Background" panel at the top of the page. This displays a list of fonts.
-
12Select a font. Click a font in the list to select it. Each font has a preview of what the font looks like. Selecting a font applies the font to the slide master and all layouts below the slide master.
Editing Placeholders
-
1Open the slide master view mode. To access slide master view mode, click View and then the Slide Master icon.
-
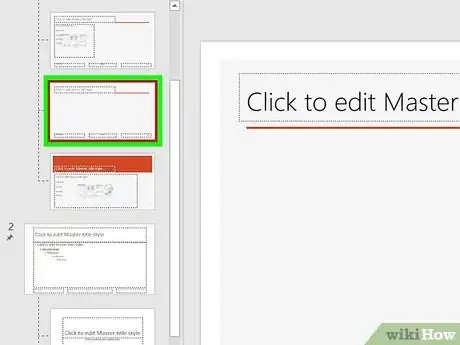
2Click a slide master or layout you want to edit. The slide masters and layouts are listed to the left of the main view screen in the middle. Click a layout or slide master displays the slide in the main view screen.
-
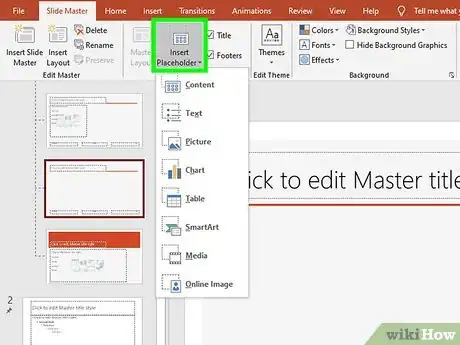
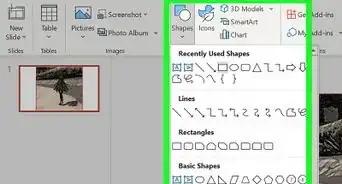
3Click Insert Placeholder. It's in the "Master Layout" section in the panel at the top. It's below an icon that resembles a slide with an image in it. This displays a drop-down menu with placeholder types. Placeholders are temporary boxes that indicate where content will eventually be placed in a slide.
-
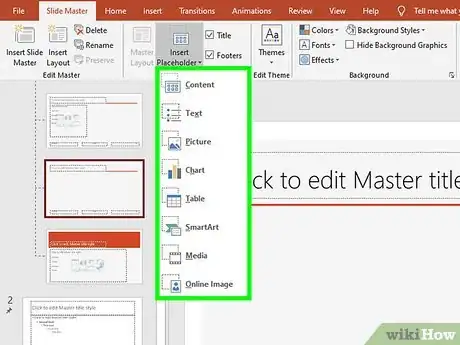
4Select a placeholder type. There are 8 different places holder types you can choose from. The placeholder types are as follows:
- Content: Content placeholders can be filled with any type of content, such as text, images, tables, charts, videos.
- Text: Text placeholders are used to indicate where text will go. You can use a text placeholder to format your text before you even know what the text will say.
- Image: Image placeholders will eventually be filled with an image files, such as a JPEG.
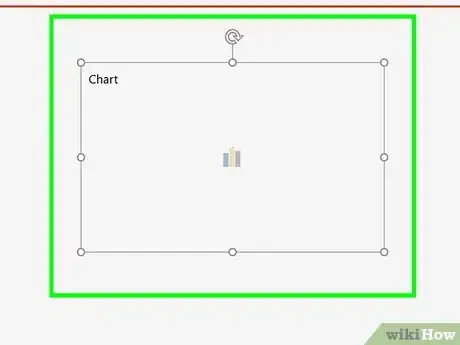
- Chart: Chart placeholders are used to indicate where a chart or graph will be placed.
- Table: Table placeholders are used to indicate where a table, such as those created in Excel will be placed.
- SmartArt: SmartArt is Microsoft's editable graphics. A smartArt placeholder indicates where smartArt will eventually be placed.[3]
- Media: Media placeholders indicate where media, such as a video file will eventually be placed.
- Online Image: An online image placeholder indicates where you can choose an image from online
-
5Click and drag within the slide. This places the placeholder within the slide master or layout.
- To edit the position of a placeholder, click and hold a blank spot inside the placeholder bounding box. Then drag the placeholder to where you want to go.
- To rotate a placeholder, click the circular arrow icon above the placeholder bounding box and drag left or right to rotate the bounding box.
- To adjust the size of the placeholder, click and drag the small circles in the corners and sides of the placeholder bounding box.
- To Delete a placeholder, click the place holder and press Delete.
-
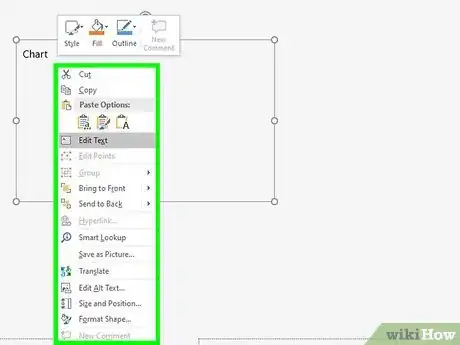
6Right-click placeholder text. When you right-click text within a placeholder, a menu appears that allows you to format the placeholder text.
-
7Format the placeholder text. Use the box at the top of the menu that appears when you right-click on the text to format the text. You can use this box to select a font, font size, add bold, italic, or underline the text, align the text, or change the text or highlight color. The actual text within a placeholder will not apply to the rest of the slides in a PowerPoint presentation. Only the text style in the placeholder will apply to the slides in a PowerPoint presentation.
- You can also use the options in the menu to add other text effects such as bullets or a numbered list, or text effects such as shadow, glow, or 3D.
Applying a Slide Master or Layout to PowerPoint Slides
-
1Exit Master View mode. If you haven't already done so, click Close Master View in the panel at the top to leave master view mode and return to normal view mode.
-
2Right-click a slide. The slides are listed to the left in PowerPoint. Right-click a slide to display a menu to the right of the slide.
- You can also insert a new slide by click Insert in the menu bar at the top and clicking New Slide
-
3Hover over Layout. This displays a menu with your slide master and layouts to the right.
-
4Click a slide layout. This applies the layout to the slide.
-
5Click the icon inside a placeholder. Depending on the placeholder type, a window will pop-up that allows you to add content to the placeholder. Use the following steps to add content to the placeholder.
- Text: Click the placeholder text to edit it. Highlight the text and press Delete to remove the placeholder text. Then type your own text.
- Image: Click the image icon to open a file browser. Select an image on your computer and click Open.
- Chart: Click the chart icon in the placeholder. Then select a chart type in the menu to the left of the window and click a chart style at the top and click Ok. Use the table to edit the labels and numbers for the chart.
- Table: Click the table icon in the placeholder and then type the number of columns and rows for the table and click Ok. Then click each cell and add your own text to the cell.
- SmartArt: Click the SmartArt icon in the middle of the placeholder. Then select the type or art in the menu on the left. Then select a style in the center and click Ok. Use the pop-up window to add text to the graphic or click the text boxes in the graphic and type your own text.
- Media: Click the media icon in the center of the placeholder and then use the file browser to navigate to an audio or video file on your computer. Click the audio or video file and click Insert.
- Online Image: Click the online image icon in the center of the placeholder. Then use the search bar to search for an image. Click an image you like to select it.
wikiHow Video: How to Edit a PowerPoint Master Slide
References
- ↑ https://support.office.com/en-us/article/what-is-a-slide-master-b9abb2a0-7aef-4257-a14e-4329c904da54
- ↑ https://support.office.com/en-us/article/customize-a-slide-master-036d317b-3251-4237-8ddc-22f4668e2b56
- ↑ https://support.office.com/en-us/article/video-create-and-change-smartart-393bd987-c33a-4821-aaea-fd9ea71916cd
About This Article
If you want to change the layout or style of all slides in your PowerPoint presentation, you can edit your Slide Master. First, open your PowerPoint presentation and click the "View" tab. Next, click "Slide Master" on the toolbar to open the Slide Master tab. You'll see the Slide Master for your theme at the top of the left panel. The Slide Master contains formatting for elements like headers, footers, and title placeholders. The smaller slides under the Slide Master are Slide Layouts, which inherit the basics of the Slide Master but feature alternative layouts for different types of presentations. You can edit these separately in addition to making changes to your Slide Master. To resize an element, such as the body or title area on a Slide Master or Layout, click it once and then drag its sizing handle. To move an element, click its border and then drag it to the desired location. You can also customize fonts by selecting the text in an element, such as the title, and then making changes using the font options on the Home tab. To add a placeholder for a certain type of object, such as a picture or a chart, click the "Insert Placeholder" button in the toolbar and select your desired option. You can also use the "Background" panel on the toolbar to change the theme's colors and style elements. Just make sure the Slide Master is selected in the left panel and not just one of the Layouts first. Click "Colors" on the toolbar to choose a new color scheme, and then "Background Styles" to choose a new background color from the palette. Click "Fonts" to change the font throughout, and "Effects" to add effects to objects, such as drop-shadows. To add a new layout to a Slide Master, click "Insert Layout" in the toolbar. To delete any part of your Slide Master or Layout, click it once and press the "Delete" key on your keyboard. When you're finished editing your Slide Master, click "Close Master View" in the toolbar to return to regular editing mode—your changes will be applied to all slides in your presentation automatically.


