This article was co-authored by wikiHow Staff. Our trained team of editors and researchers validate articles for accuracy and comprehensiveness. wikiHow's Content Management Team carefully monitors the work from our editorial staff to ensure that each article is backed by trusted research and meets our high quality standards.
The wikiHow Video Team also followed the article's instructions and verified that they work.
This article has been viewed 82,164 times.
Learn more...
A log roll is a technique used to move yourself or someone else after a back, spinal, or abdominal injury. Log rolling limits the movement of your torso area, so as not to further injure the area. It can be extremely difficult and painful to move around, specifically getting in and out of bed, if you've suffered an injury to your back, spine, or abdomen. The log roll technique will help you get on (or off) your feet with much less pain or chance of re-injury.
Things You Should Know
- Enlist 3 or 4 people to help, with a leader positioned at the injured person’s head, other helpers kneeling to one side, and one in charge of sliding the stretcher under the person.
- Roll the injured person onto their side, keeping the head and neck aligned with the body, and place the injured person on the stretcher.
- To log roll into bed, sit on your bed before lowering yourself onto your side, moving slowly as you pull your legs up and roll onto your back.
- To log roll out of bed, bend your knees while lying flat on your back before rolling onto your side, and then rise into a sitting position.
Steps
Log Rolling an Injured Person
-
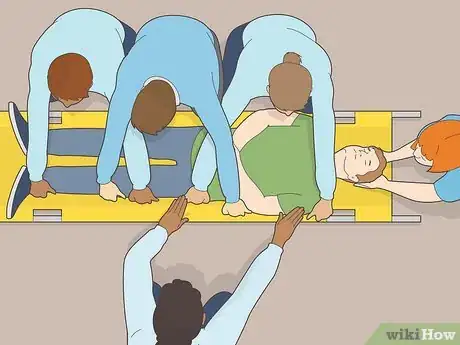
1Help move an injured individual by logrolling them. This method is used when a person is injured and needs to be moved or transported by other people. Find detailed step by step instructions in Logroll an Injured Person During First Aid.
-
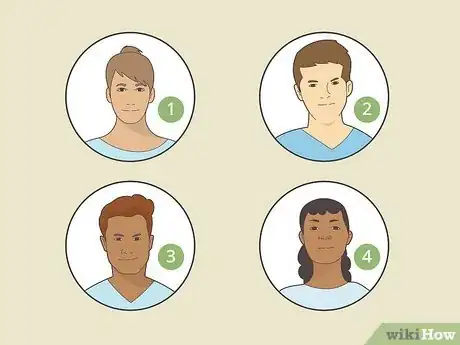
2Find 3-4 other people to help. Keeping the spine stabilized and maintaining consistent motion is vital to a successful log roll, and a minimum of 4 people is needed to do that.Advertisement
-
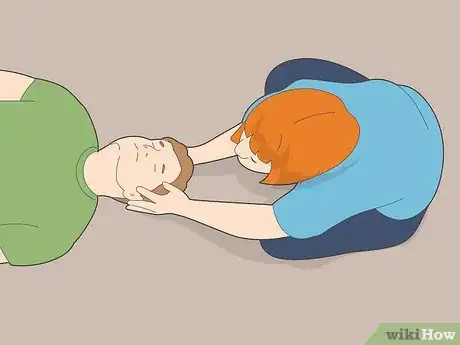
3Appoint a leader. The leader will be in charge of coordinating movement and maintaining the patient’s head and neck alignment.
- The other helpers will take orders from the leader and perform tasks such as rolling the injured person onto their side, inserting a stretcher underneath them, or performing bandaging if necessary.
-
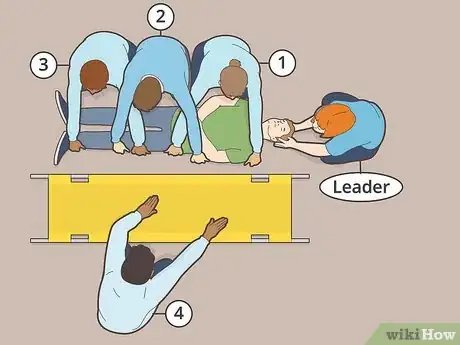
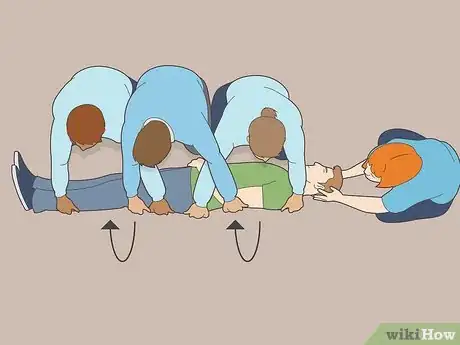
4Get in your positions to move the injured person. The leader will be positioned at the head. The leader will place their hands on each side of the injured persons head, making sure their head is facing straight ahead. It is very important to keep their neck and head stable.
- The other 3-4 helpers should be kneeling on one side of the injured person. Each helper will be in control of moving a different portion of the injured person's body, and the helpers should be spread out evenly.
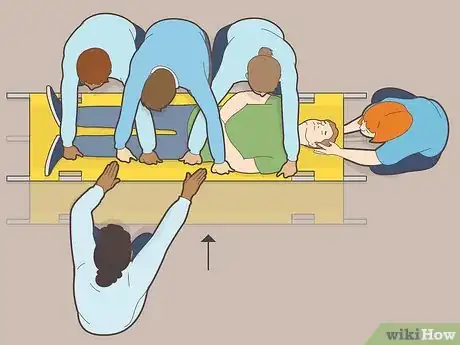
- One helper should be designated to slide a stretcher under the injured person as the rest of the helpers roll them on their side. This helper should be kneeling on the opposite side of the injured person's body.
-
5Roll the injured person onto their side. On the leaders command, the helpers will roll the injured person onto their side. Each helper must place one hand under the injured person's back, and reach their other arm across the top of the injured person's body to grab the side opposite side of them. The helpers will then roll the injured person toward them, so that the injured person ends up on their side.
- As the helpers move the injured person, the leader must keep the head and neck aligned with the body. As the body turns, so should the head.
-
6Place the injured person on stretcher. Once the injured person has been rolled onto their side, the designated helper will slide the stretcher underneath them. The rest of the helpers will then roll the body back down onto the stretcher.
Log Rolling Into Bed
-
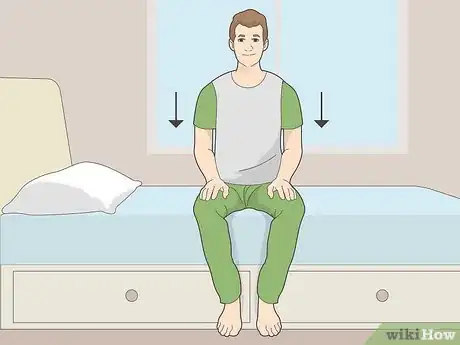
1Sit on your bed when you're ready to lay down. Place yourself closer to the head of the bed than to the foot of the bed so that you'll be in the proper position when you lay down. Scoot back as far as you can so that you are not sitting on the edge of the bed.
- To determine where you should sit, picture your bed divided into thirds. You should sit within the top 1/3 section of your bed.[1]
-
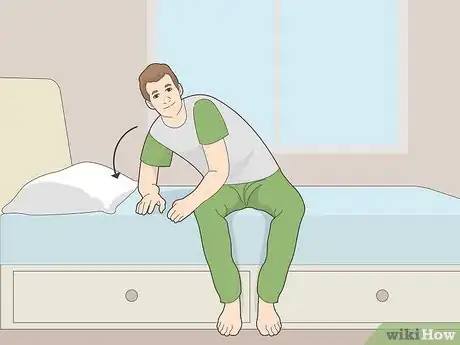
2Lower yourself onto your side. Move very slowly and keep your body as steady as possible. It is important to keep your spine straight, so use your arms to help guide and control your body.
- As you start to lean your body sideways, place your bottom elbow onto the bed underneath your shoulder. Then, place your top hand onto the bed in front of your chest.
- As your body reaches the bed, lie on top of your bottom arm, and place your top arm at your side.
-
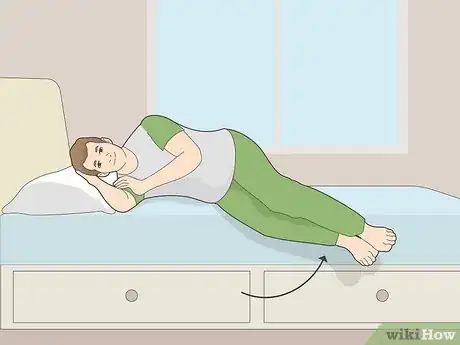
3Pull your legs onto the bed. As you're lowering your body onto the bed, bend your knees and pull your legs onto the bed. Keep your knees bent and your legs together as you pull them onto the bed.
-
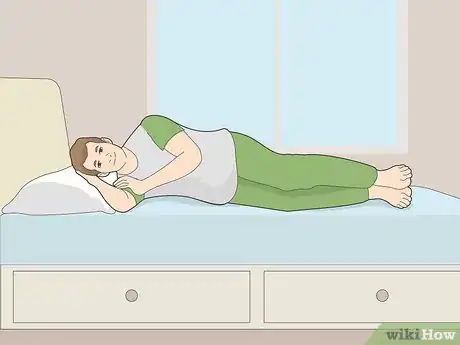
4Lie on your side. After you've pulled your legs onto the bed, you should end up lying on your side, facing the outside of the bed. Your knees should remain bent, one lying on top of the other.
-
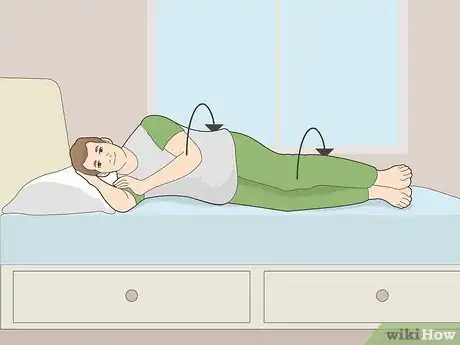
5Roll onto your back. Keep you knees bent as you very slowly roll onto your back. Use your bottom arm to push your body onto your back. Be sure to keep your shoulders and hips together as a unit as you roll, so as not to twist your spine or torso. Picture your body as a rolling log.
- Your shoulders, hips, and knees should stay aligned at all times. To be sure you're doing this, keep your knees and shoulders pointed in the same direction.
-
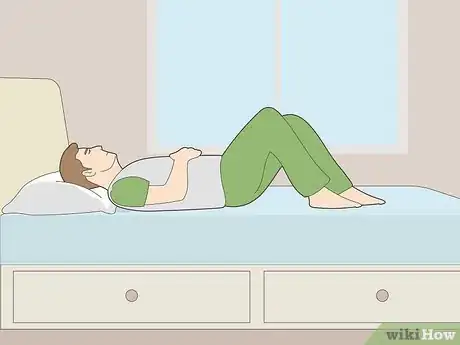
6Lie on your back. At this point, you should be lying on your back with your knees bent and pointed toward the ceiling. Your shoulders and hips should be aligned.[2]
-
7Lower your legs onto the bed. Slowly slide your legs down so that you are lying completely flat. Avoid any twisting or excessive movement one laying down.
Log Rolling Out of Bed
-
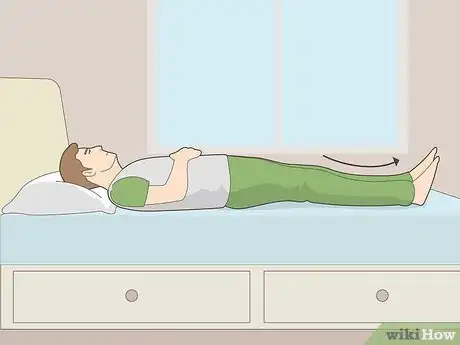
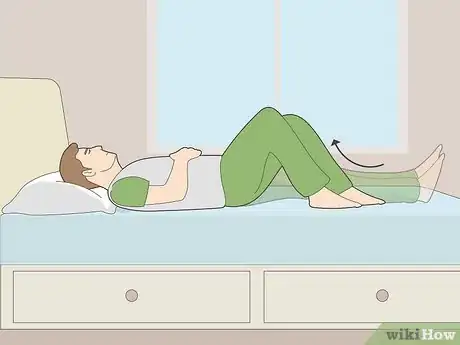
1Bend your knees while lying on your back. You should always lie flat on your back if you have an injury that requires stabilization, as keeping your back flat presents the smallest risk of re-injury. To get out of bed, you will start by bending your knees so that they are pointing toward the ceiling.
- As you move, keep your knees and shoulders pointing in the same direction.
-
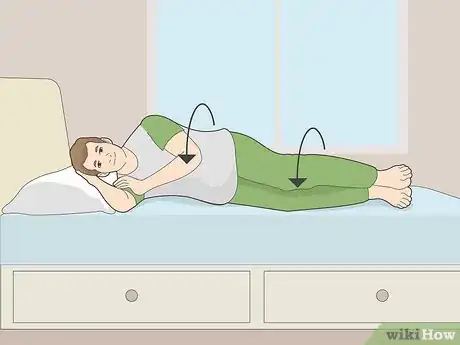
2Roll onto your side. Move slowly and be very careful as you do this to avoid further injury. Roll onto your side by turning toward the outside of your bed. Let your knees slowly fall to the side and use that momentum to turn your body. Be sure to keep your shoulders, hips, and knees facing the same direction. Keep your knees bent as you roll onto your side.
- It is sometimes helpful to visualize your body as an actual log. This technique is called a log roll because your torso is supposed to move as one solid unit - just like a log would move.
-
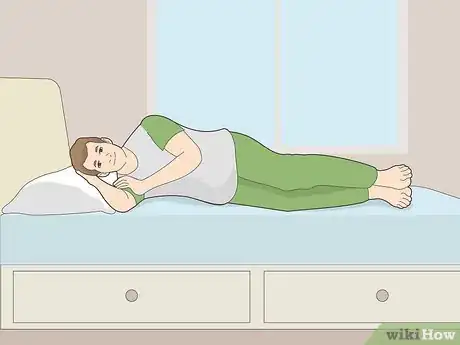
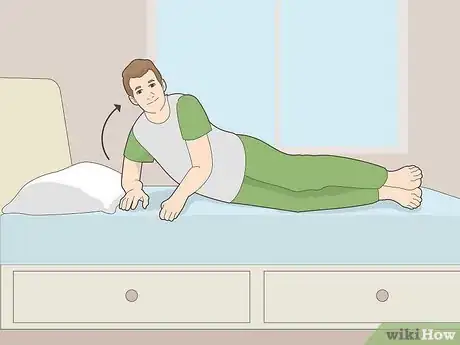
3Lie on your side. You should now be laying on your side, facing outward, with your knees bent. Your bottom arm should be underneath you, and your top arm should be at your side.
-
4Lift your body to sitting position. Use your arms for support and move very slowly. Take your top hand and place it flatly on the bed in front of you at chest level. Begin to push your body up while keeping your back straight.
-
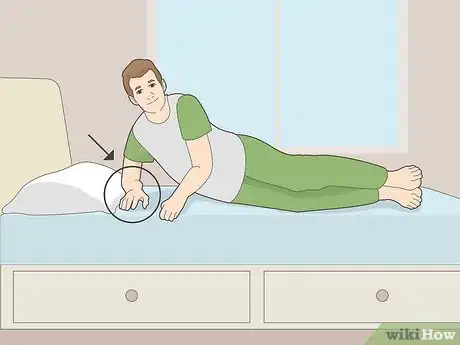
5Use your bottom arm for support. As your body lifts from the bed, take your bottom hand and place it on the bed underneath your shoulder. You'll use this arm to push up for additional support.
-
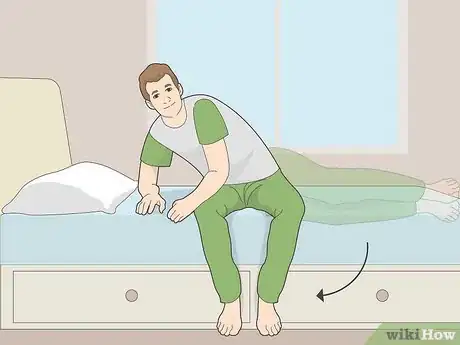
6Lower your legs. As you slowly raise your body to a sitting position, move your legs off of the bed, lower them toward the ground, and set your feet on the floor. You should now be in a natural sitting position.[3]
-
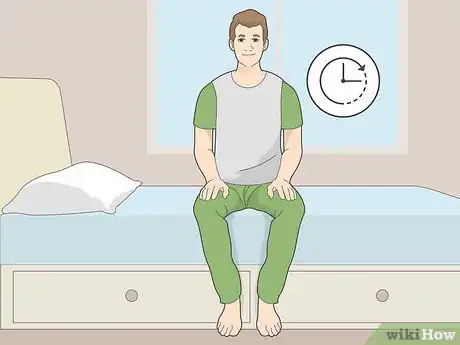
7Sit in place for a few minutes before standing up. If you've been laying down for a long period of time, standing up too quickly may make you feel dizzy or disoriented.
References
- ↑ https://healthonline.washington.edu/document/health_online/pdf/Activities-Daily-Living-After-Abdominal-Surgery.pdf
- ↑ http://www.upmc.com/patients-visitors/education/rehab/Pages/bed-transfer-log-roll-method.aspx
- ↑ http://www.upmc.com/patients-visitors/education/rehab/Pages/bed-transfer-log-roll-method.aspx

-Step-14-Version-2.webp)








Medical Disclaimer
The content of this article is not intended to be a substitute for professional medical advice, examination, diagnosis, or treatment. You should always contact your doctor or other qualified healthcare professional before starting, changing, or stopping any kind of health treatment.
Read More...