This article was co-authored by Nick Arrojo. Nick Arrojo is a Master Hair Stylist and the Owner and Founder of Arrojo NYC, an independent hairdressing brand. With over 35 years of experience, he specializes in cutting and styling hair using precision-based hairdressing and educating hair professionals through Arrojo Education. Nick has become a well-known icon in the hair industry with his internationally recognized razor-cutting technique, work with fashion designers, and seven years as TLC’s ‘What Not to Wear’ hairdressing host.
This article has been viewed 415,731 times.
The chignon, which is pretty much a fancy word for bun, is making a fashion comeback with a vengeance. Chignons can be spotted on the heads of the hottest celebs and red carpet walkers. To be as hip as these ladies, try out these three simple ways to create a chignon.
Steps
The Classic Chignon
-
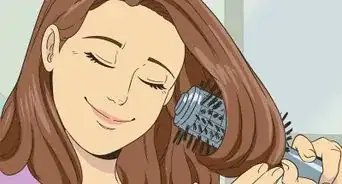
1Run a brush through to make sure that your hair is as snag-free as possible. Smooth, tangle-free hair is easier to work with when creating chignons. Pull your hair back into a tight, low ponytail. Make sure it's centered. Secure it with a good hair tie.
- Try doing a chignon when your hair is unwashed! It'll give your hair a natural texture that works better for holding your twist in place. It's totally fine if you need to wash your hair, though—just make sure to blow-dry in some product, like a holding spray, to create the texture you need.[1]
-
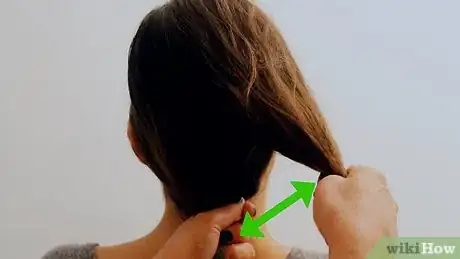
2Pull the hair apart so that you form two equally-sized ponytails. Hold one ponytail in each hand. [2]
- You can also offset your part slightly, making one section bigger than the other.[3]
Advertisement -
3Tie the two ponytails together. You want the ponytails to form a loose knot. Smooth down any hairs that may have gotten ruffled when creating your knot.[4]
-
4Secure the ends of the knot. Take one end and wrap it around the right side of the knot you have formed. Tuck it under or against the knot (that not looks more like a bun) and secure it with a hair pin. Do the same thing with the other end, only wrap it around the left side of the knot/bun.
- If you have particularly long hair, you should try to secure the ends of your hair under the knot.
-
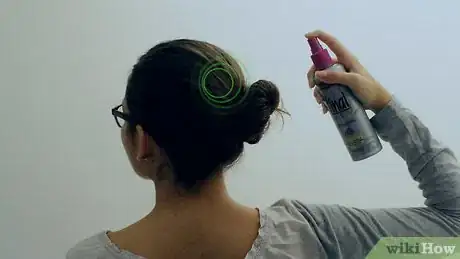
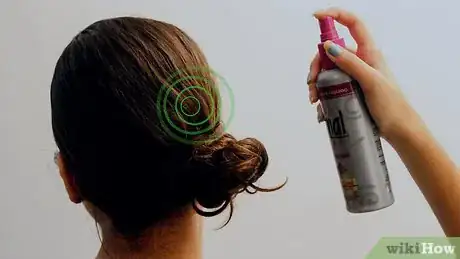
5Use hairspray to keep the bun in place. A medium-hold hairspray should do the trick, but if you have very long or thick hair, you may consider using extra-strength hairspray.[5] You may also need to use several hair pins, particularly if you have very thick hair.
The Parted Chignon
-
1
-
2Gather the hair into a ponytail. Make the ponytail low at the nape of your neck, and use a hair band to secure the ponytail. Split your ponytail in half so that two smaller ponytails are formed and you are holding one in each had.
-
3Twist it and wrap the right ponytail under the left ponytail and then up over the top of the original, large ponytail. Secure it with a hair pin (or several if your hair is especially thick.)[7]
-
4Take the left ponytail. Wrap it up and over the right so that it forms a twist. Secure it with a hair pin or wrap another hair tie around the whole bun to hold it in place.[8]
-
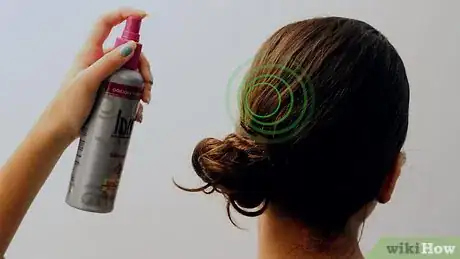
5Keep the bun in place with hair spray.[9] You can also use pomade, or smoothing serum.
- You can also use a small comb or toothbrush to smooth down any stray hairs.
-
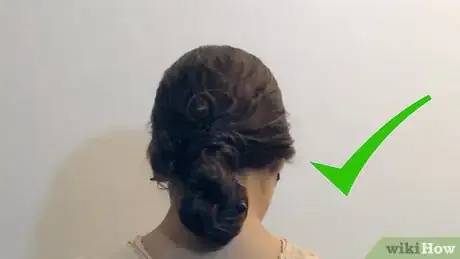
6Done!
The Side Chignon
-
1Pull your hair to the side you want your chignon to be on. The side you choose is up to you.[10]
-
2Twirl your ponytail. You will want to twirl it into a tight coil with as few hairs escaping from the spiral as possible. Twist the spiraled hair around the base of your ponytail. Make sure to tuck in any loose ends.[11]
-
3Place a hairpin in the edge of the bun. It doesn’t matter which side you pin first--you will be placing four pins in the top left, top right, bottom left, and bottom right sections of your bun. Insert the hairpin as if you were going to stab your scalp with the ends, making sure it catches the hair at the edge of the bun. Just before the pin hits your scalp, however, turn the pin so it goes toward the center of the bun, and push it all the way in. This will keep your bun secured because it catches bun hair, then scalp hair, then bun hair.
- You will want to use a hairpin rather than a bobby pin for this hairstyle. Hairpins are stronger and will keep your bun in place even if you find yourself in the middle of a major dance party. You can buy these at hair supply stores or dance stores (as they are favored by ballerinas who definitely have to keep their hair in place.)
-
4Place four pins in your hair. As listed above, you will want to place four hairpins into your bun--one on the top left, top right, bottom left, and bottom right. Doing this will guarantee that your hair stays where its supposed to.
-
5Use hairspray to keep your hair in place. Even when using very sturdy hairpins, chignons have a tendency to get a little while after a couple of hours.[12] By spraying your chignon with hairspray, your hairstyle will last a good while longer. Use a strong formula for the best effects.
Community Q&A
-
QuestionWhere do I place the four bobby pins?
 Community AnswerPlace them were your stray hairs are and use them to secure the rest of the bun. You can also use a hairband to secure the bun, but be careful so your hair doesn't fall apart!
 -
QuestionIs there a chignon that's low and would go all around the back of my head?
 Community AnswerYes, you can do a chignon like that. Try using a headband or a bun roller to make it easier to do.
 -
QuestionHow do I take it out?
 Community AnswerUndo your bands first, and then gently remove the hair pieces. Be careful not to damage your hair!
Things You'll Need
- Covered hair band (covered hair elastic)
- Hairspray
- Long hair pins or grips to match your hair color
- A brush
- Pin-tail comb (a metal tail comb is great but a plastic tail will do)
References
- ↑ Nick Arrojo. Master Hair Stylist. Expert Interview. 9 September 2021.
- ↑ http://www.dailymakeover.com/trends/slideshow/date-night-hairstyle-four-step-perfect-chignon/
- ↑ Nick Arrojo. Master Hair Stylist. Expert Interview. 9 September 2021.
- ↑ https://stylecaster.com/beauty/date-night-hairstyle-four-step-perfect-chignon/slide1
- ↑ Nick Arrojo. Master Hair Stylist. Expert Interview. 9 September 2021.
- ↑ Nick Arrojo. Master Hair Stylist. Expert Interview. 9 September 2021.
- ↑ https://www.elle.com/beauty/hair/tips/g8557/chignon-how-to/?slide=3
- ↑ Nick Arrojo. Master Hair Stylist. Expert Interview. 9 September 2021.
- ↑ Nick Arrojo. Master Hair Stylist. Expert Interview. 9 September 2021.
- ↑ http://www.dailymakeover.com/trends/slideshow/date-night-hairstyle-four-step-perfect-chignon/
- ↑ http://www.oprah.com/style/How-to-Make-a-Perfect-Bun/2
- ↑ Nick Arrojo. Master Hair Stylist. Expert Interview. 9 September 2021.
About This Article
A chignon hairstyle, also known as a bun, can be done in a few different ways. To do the classic chignon, you’ll need to separate your hair into 2 sections and tie the 2 ponytails together in a loose knot at the nape of your neck. Then, take 1 end at a time and wrap it around the knot and secure the end underneath with a hairpin. To do the side chignon, first, tie your hair into a low ponytail on one side of your head. Twirl your ponytail until it curls up into a bun. Then, place a hairpin at the edge of the bun to hold it in place. Once you’ve finished your chignon hairstyle, make sure to secure it with a hairspray. To learn how to make the parted chignon hairstyle, read on!

