This article was co-authored by wikiHow staff writer, Hannah Madden. Hannah Madden is a writer, editor, and artist currently living in Portland, Oregon. In 2018, she graduated from Portland State University with a B.S. in Environmental Studies. Hannah enjoys writing articles about conservation, sustainability, and eco-friendly products. When she isn’t writing, you can find Hannah working on hand embroidery projects and listening to music.
There are 15 references cited in this article, which can be found at the bottom of the page.
This article has been viewed 37,371 times.
Learn more...
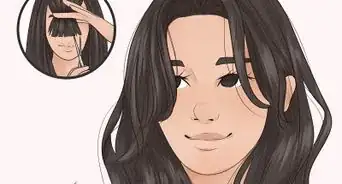
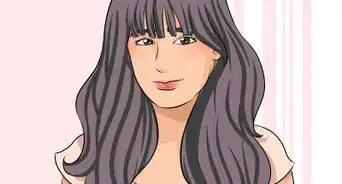
Long bangs styled in a middle part, also called feathered bangs or curtain bangs, have made a comeback in fashion and the media. They add a simple face-framing element to your haircut while looking grown out and cool, even when you first cut them. You can give yourself these long bangs at home by following your natural face shape and cutting at an angle for a perfectly layered and chic look.
Steps
Sectioning Your Hair
-
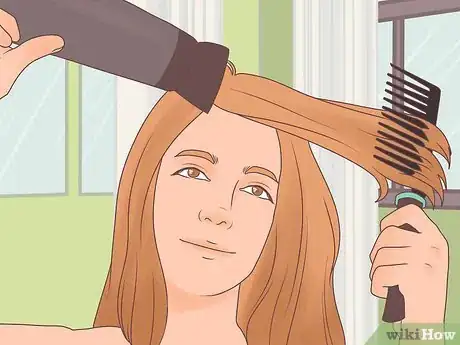
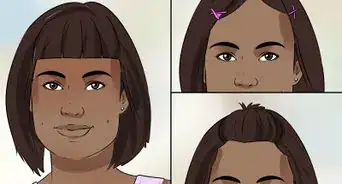
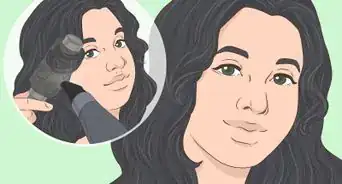
1Dry your hair fully so that it hangs naturally. Wash your hair and then use a blow dryer or allow your hair to air dry fully before you start cutting your hair. If you do blow dry your hair, pull the front pieces of your hair forward so they fall on your face.[1]
Tip: If you have curly hair and you usually wear it naturally, don’t blow dry your hair. Instead, let your hair air dry so your curls hang like they normally would.
-
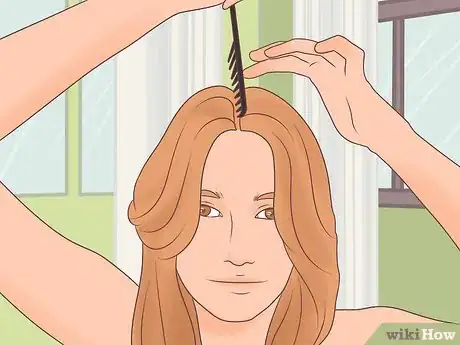
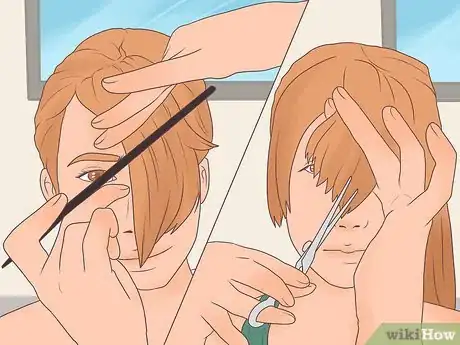
2Part your hair down the middle with a rattail comb. Drag the tip of a rattail comb from the center of your hairline back to the crown. Part your hair in the middle using the bridge of your nose as a guide. Look in the mirror to make sure your part is straight all the way back.[2]
- It is important to make sure your part is straight so that your bangs look even.
Advertisement -
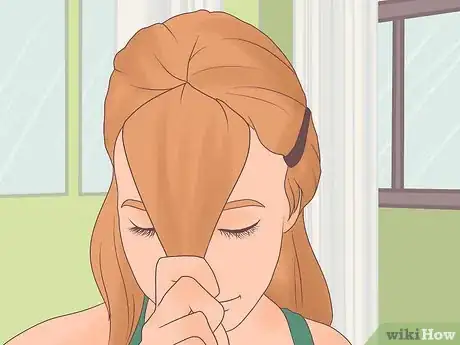
3Section off your bangs in a triangle on top of your forehead. Start with hair above your forehead that is about 2 inches (5.1 cm) away from your hairline. Section out a triangle from your part down to the ends of your eyebrow. Pull the rest of your hair back with a clip.[3]
- It is best to start with less hair than you think you want to cut. You can always add more hair to your bangs, but you can't take any away.
-
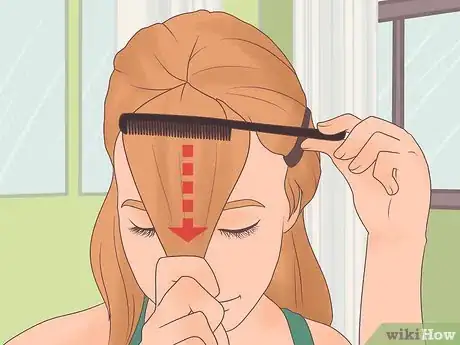
4Comb your bangs downward toward your lips. Use your comb to brush through your bangs from your forehead down to keep them together. Make sure they are laying flat on your forehead and are brushed all the way down with no knots or tangles.[4]
- If you have curly hair, don't comb your bangs. Instead, leave the curls intact and gently pull the sides of your hair together so that they meet in the middle on top of your forehead.
Cutting Your Bangs at an Angle
-
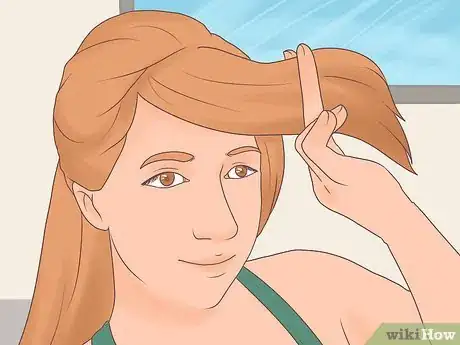
1Hold your hair between 2 fingers near your mouth. Grab your hair near the bottom and grip it between your pointer finger and middle finger. Pull your hair all the way taut so that it lays flat on your forehead.[5]
Tip: Hold your hair near your mouth to start cutting even if you want your bangs shorter. You can always cut more hair off later, but you can’t go back once you’ve cut your hair too short.
-
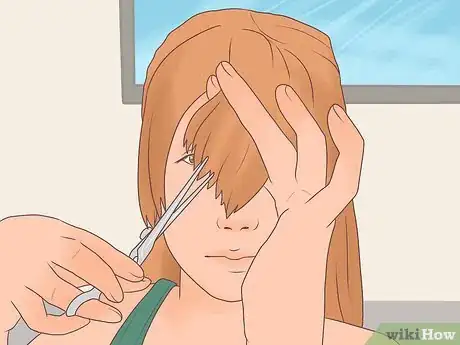
2Hold your cutting shears at an angle. Point your shears upwards and slightly to the right at a 45 degree angle. Keep your shears pointed at an angle the entire time that you cut your hair to ensure a more textured and blended cut.[6]
- Always use cutting shears made specifically for cutting hair. You can purchase these at most beauty supply stores.
-
3Cut across your bangs in a straight line. Start on the right side of your bangs and cut across to the left side. Make your first cut just below your fingers and keep holding your shears at an angle. Cut across all of your hair with your shears in the same position.[7]
-
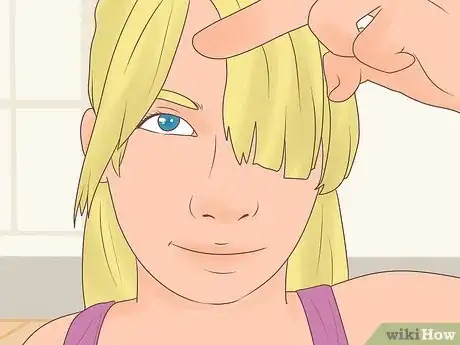
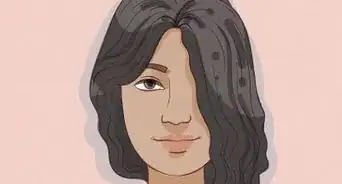
4Part your bangs down the middle and see how they fall. Use your comb to brush your bangs into place on either side of your face. If you like how they look, you don't have to cut anything else.[8]
- Bangs at this length are great for a super subtle cut and a seamless blend. They may look more like layers than bangs.
-
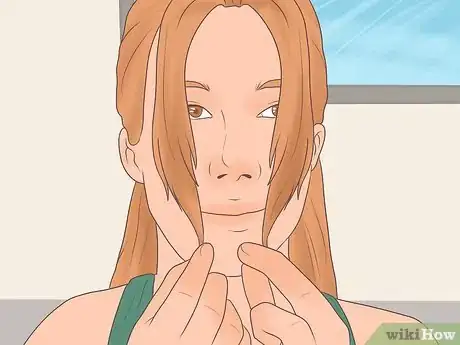
5Grab one side of your bangs at an angle. Comb down one side of your bangs where it would hang naturally on your face. Grab the bangs in between 2 of your fingers and hold them at an angle that follows the natural slope of your face.[9]
- You can also use your comb to hold your bangs in place if you want a straight line to follow.
- Trim your bangs at an angle to make them shorter and more textured. Hold your shears up and point them down toward your hair at a slight angle next to your eyebrow. Make small cuts all the way down your hair in a diagonal line that ends at the bottom of your ear.[10]
-
6Match the other side of your bangs by comparing the lengths. Grab the side of your bangs that you just cut and pull the short piece toward the longer side. Make a cut on the longer side to match the length of your short bangs. Continue making cuts at a downward angle until you reach the end of your bangs.[11]
- Don't worry if your bangs aren't perfectly the same length. The wispiness of the bangs in your hair will hide any imperfections.
-
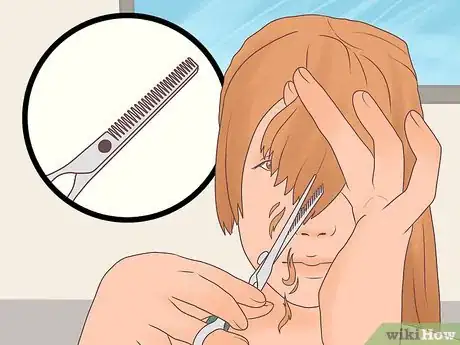
7Use texture shears to make your bangs lighter. Grab one side of your bangs and hold them in between 2 fingers. Hold your textured shears at an angle and make small cuts at the ends of your hair across the length of your bangs. Do this to both sides of your bangs to make them even.[12]
- Textured shears have a small comb attached to one side and make jagged cuts, so they will add some nice layers and lightness to your bangs.
- You can find texture shears at most beauty supply stores.
Twisting Your Bangs to Cut Them
-
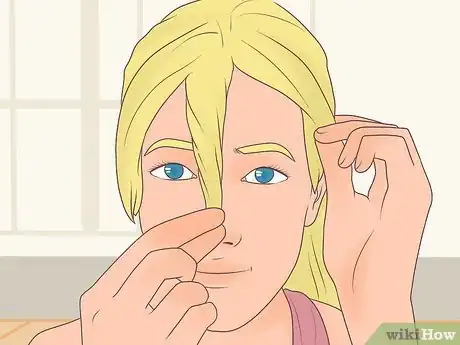
1Grab your bangs between 2 fingers near your eyebrows. Secure your bangs between your pointer and middle finger near your eyebrows, just above your nose. Make sure the top part of your hair looks smooth and doesn't have any lumps.[13]
Tip: You may need to comb your bangs a few times until they lay perfectly flat.
-
2Twist your hair over itself once. Use your fingers to twist your hair to the right or left one time. Hold your hair tightly so that the twist stays in place.[14]
- Adding a twist to your hair makes the angles look more blended and gives you a few more layers in your hair.
-
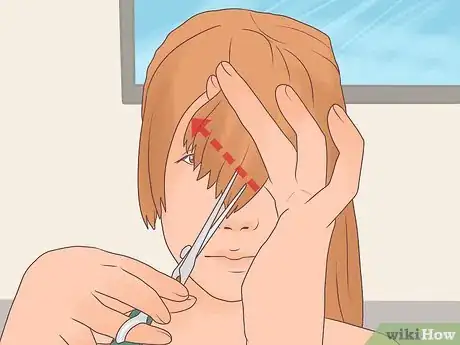
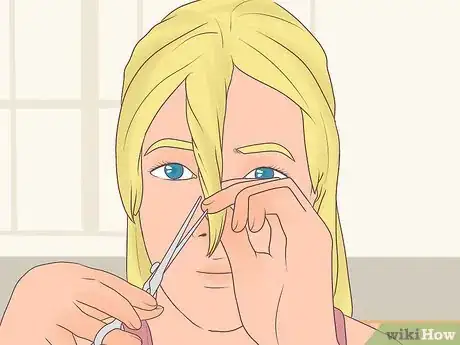
3Position your shears at an angle pointing upwards under the twist. Hold your shears pointed upwards toward your forehead about 1 in (2.5 cm) below the twist. Hold your shears at a 45 degree angle to make more blended cuts.[15]
- If you don't hold your shears at an angle, your cuts will look more choppy and blunt.
-
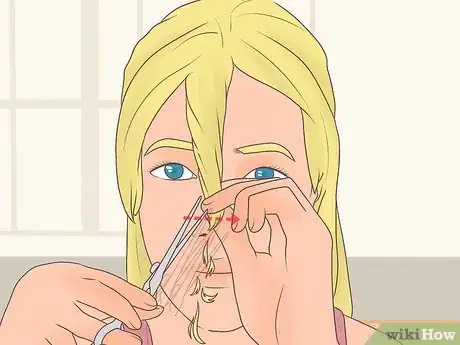
4Cut along your bangs in a straight line. Keep holding your shears at a slight angle as you make your cuts. Cut in a straight line from right to left across your hair to give yourself bangs.[16]
- Try to make your line mostly straight, but don't worry if it looks a little jagged. This just means your bangs have more texture in them.
-
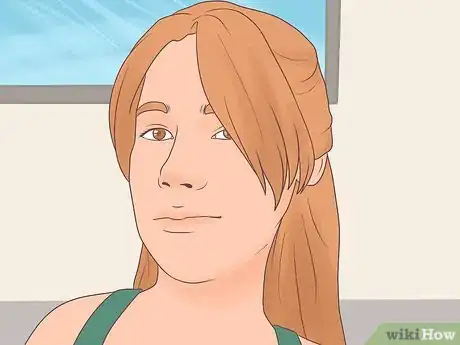
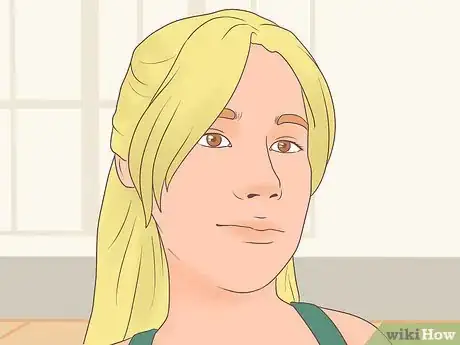
5Let your hair down to see how your bangs fit in. Unclip your hair from the back of your head and brush your bangs into your hair. If your hair doesn't have any texture in it, try adding some layers to make your bangs blend seamlessly with the rest of your hair.[17]
- You don't have to add layers to your hair if you like the more blunt look of your bangs.
Things You’ll Need
- Cutting shears
- Texture shears (optional)
- Comb
References
- ↑ https://hairstylecamp.com/middle-part-bangs/
- ↑ https://www.youtube.com/watch?v=UWSXHrh1aZA&feature=youtu.be&t=51
- ↑ https://www.youtube.com/watch?v=UWSXHrh1aZA&feature=youtu.be&t=61
- ↑ https://www.youtube.com/watch?v=UWSXHrh1aZA&feature=youtu.be&t=89
- ↑ https://www.youtube.com/watch?v=dGp5mKnLT0U&feature=youtu.be&t=141
- ↑ https://www.youtube.com/watch?v=UWSXHrh1aZA&feature=youtu.be&t=110
- ↑ https://www.youtube.com/watch?v=UWSXHrh1aZA&feature=youtu.be&t=110
- ↑ https://www.youtube.com/watch?v=UWSXHrh1aZA&feature=youtu.be&t=122
- ↑ https://www.youtube.com/watch?v=dGp5mKnLT0U&feature=youtu.be&t=311
- ↑ https://www.youtube.com/watch?v=dGp5mKnLT0U&feature=youtu.be&t=311
- ↑ https://www.youtube.com/watch?v=2xw3a5jjJnw&feature=youtu.be&t=209
- ↑ https://www.youtube.com/watch?v=2xw3a5jjJnw&feature=youtu.be&t=216
- ↑ https://www.youtube.com/watch?v=8dOxqskmHL0&feature=youtu.be&t=182
- ↑ https://www.youtube.com/watch?v=8dOxqskmHL0&feature=youtu.be&t=186
- ↑ https://www.youtube.com/watch?v=8dOxqskmHL0&feature=youtu.be&t=221
- ↑ https://www.youtube.com/watch?v=8dOxqskmHL0&feature=youtu.be&t=228
- ↑ https://www.youtube.com/watch?v=2xw3a5jjJnw&feature=youtu.be&t=305
