This article was co-authored by Courtney Foster. Courtney Foster is a Licensed Cosmetologist, Certified Hair Loss Practitioner, and Cosmetology Educator based out of New York City. Courtney runs Courtney Foster Beauty, LLC and her work has been featured on The Wendy Williams Show, Good Morning America, The Today Show, The Late Show with David Letterman, and in East/West Magazine. She received her Cosmetology License from the State of New York after training at the Empire Beauty School - Manhattan.
There are 8 references cited in this article, which can be found at the bottom of the page.
This article has been viewed 622,511 times.
Sometimes it seems as though your child’s hair grows alarmingly fast, and you feel like you’re always visiting the salon. Those haircuts can add up and get expensive, so you might have thought about taking care of the cut yourself. This might seem like a tricky process, and without serious practice, you may think you’ll have a hard time giving your child a salon-quality cut. Nonetheless, it’s possible to cut your child’s hair yourself. Very short cuts are easiest, but you can also learn how to cut short, medium and long hair.
Steps
Preparing for the Haircut
-
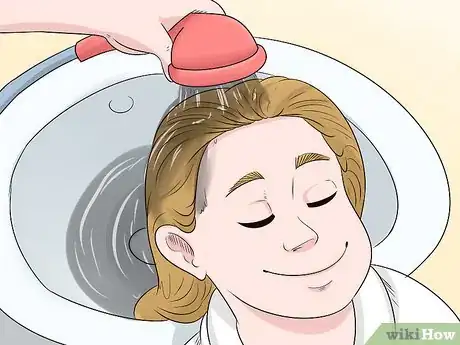
1Wash the child’s hair thoroughly. Using your child’s regular shampoo, wash their hair over the sink or bathtub. Make sure to scrub the scalp well, and wash the entire length of the hair. Dry their hair until it is damp, not completely dry.
- If your child already washed their hair that day, spray their hair with water rather than shampooing it again.
-
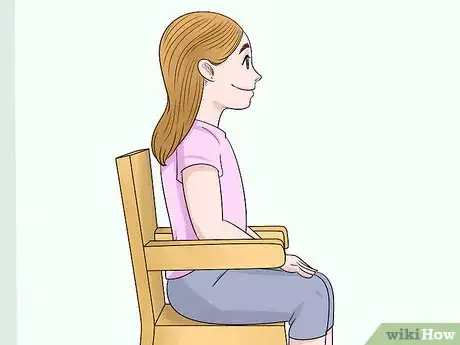
2Sit your child in a high chair with their head straight. The chair should be high enough that you don’t need to bend over constantly as you move around your child. Keeping their head straight ensures you cut the hair evenly.
- It can helpful to play a movie in front of your child; they’ll be less likely to look around and squirm.
Advertisement -
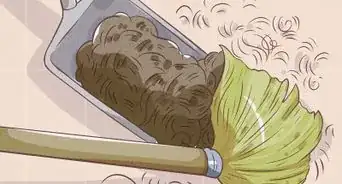
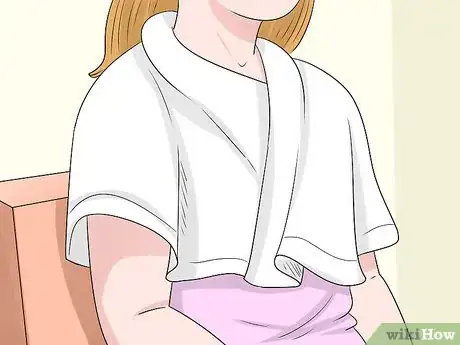
3Wrap a towel around their shoulders. Hair can be very itchy, and your child might start squirming if hair gets under their clothes. By catching it in a towel, it makes cleanup much simpler. If hair still gets on their clothes, use a blow dryer to blow off as much as you can.
Buzzing Hair Very Short
-
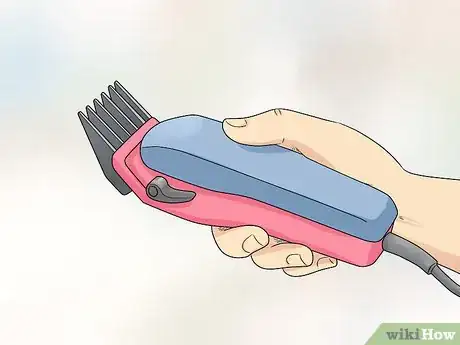
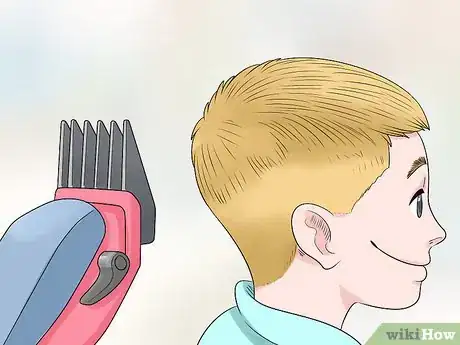
1Grab a clipper and attach the desired guard. Make sure to have a conversation with your child before starting the haircut. You need to agree with them as to how short they’d like their hair. This is important to avoid grumpy children after the haircut. You can use Google to find images with the corresponding guard number (such as number 3) to show your child what to expect.
- The smaller the guard number, the more hair you’ll take off.
- If the child’s hair is particularly long, you may want to start by trimming their hair with scissors before using a clipper.
-
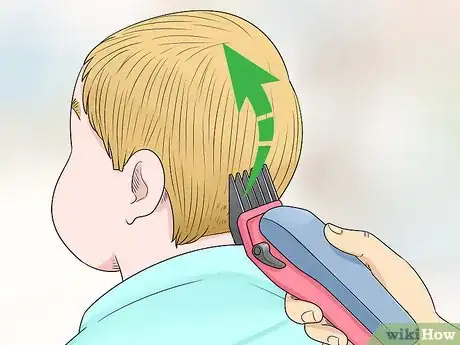
2Run the clipper along the child’s head, starting at the back. Make sure to keep your strokes slow and smooth. Work your way up towards the crown, and finish by cutting the sides.[1]
- With this method, your child’s hair will be one uniform length. If you’d like their hair to be longer on top, you can give them a fade.
-
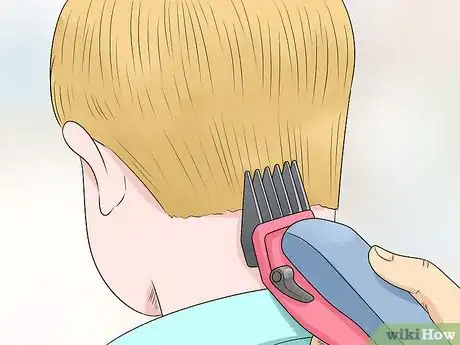
3Use a longer guard length to give your child a fade. A fade refers to a haircut where the hair is longer on top of the head than the sides and back. For instance, if you used a number 3 guard for the top of the head, you might use a number 2 guard for the sides. Start from the nape of the neck, bringing the clipper up towards the bottom of the crown. As you do, bring the clipper towards you in an arc to blend the different lengths together.[2]
-
4Clean up the neckline. Take the guard off the clipper, so it will cut hair to the skin. At the neckline, trim until the hair forms a straight line across the neck at your desired height. Then, turn the clippers over to clean up the fuzz below this line.[3]
-
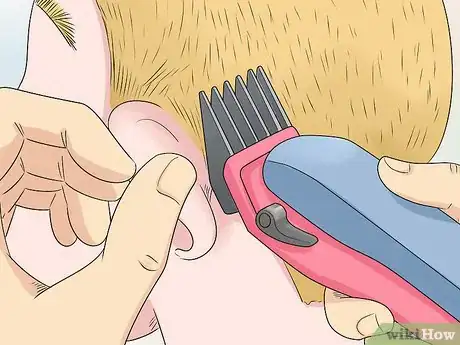
5Finish by trimming around the ear. Leave the guard off the clipper. Gently fold down your child’s ear, then cut the hair, following the ear with your clipper as if you were tracing an ear pattern in their hair.[4] Don’t cut too high: you’re just cleaning up the hair around the ear.
- For the sideburns, just place the clipper straight across the sideburn at the desired length and cut. Look at your child from the front to make sure the sideburns are even.
Cutting Hair Short
-
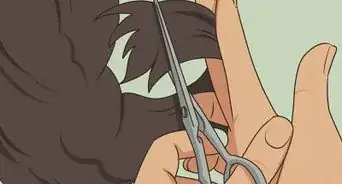
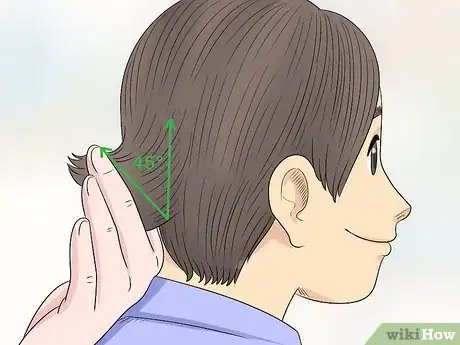
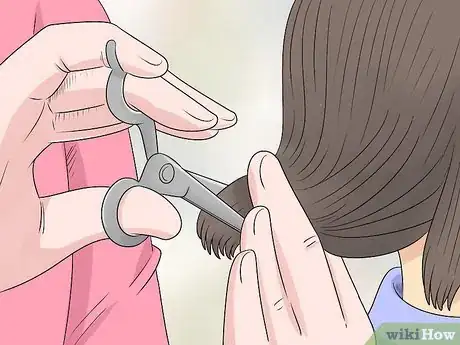
1Take a tuft of hair at the neckline between your index and middle finger at a 45 degree angle. You can use a comb to straighten the hair out as you grab it. The 45 degree angle is important to ensure the hair blends well at the back and sides; the slant should go down towards the neckline. Your fingers will serve as a guide; all the hair beyond will be cut.[5]
- You want to hold the hair firmly, so that it is taut, but not so much that it hurts your child.
-
2Use hair shears to cut the hair along your fingers. Be sure to maintain your grip on your child’s hair, so it doesn’t slip out as you cut.
- These scissors are very sharp, be careful not to cut yourself.
-
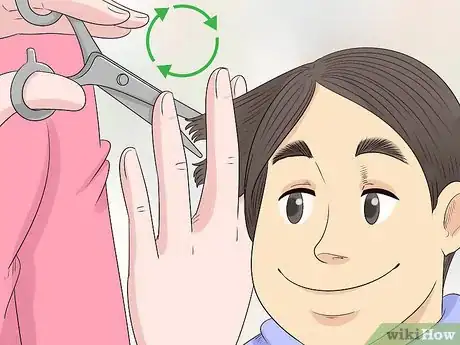
3Move to the opposite side of the neckline and repeat this process. Again make sure the 45 degree angle is slanted towards the neckline. Cutting this way will ensure the hair will have a soft V shape as it tapers towards the neck. Bend down to eye level to ensure the neckline is even.
-
4Repeat this same cutting process for the back and sides. Always start by taking the hair between your index and middle finger at a 45 degree angle, holding it taut, then cutting along your fingers. Each section of hair that you cut should be used as a guide to measure up against the next section of hair that you cut. To keep the length uniform, ensure that each new tuft of hair you grab includes some of the hair you’ve already cut.[6]
- Cut hair this way until you reach the bottom of the crown of the head.
-
5Cut the hair around the ears. Gently fold each ear down, and use your scissors to cut the hair around it. Cut as if you were tracing the pattern of an ear.[7]
-
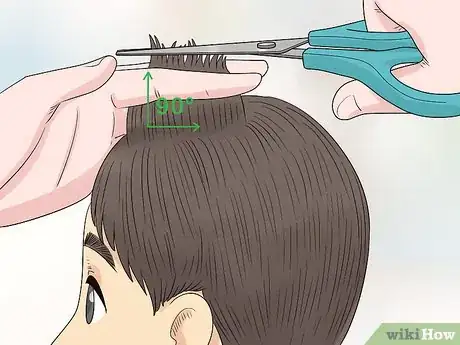
6Cut the hair at the top of the head at a 90 degree angle. The process for cutting here is similar to the sides, save for the angle. Pull the hair straight out of the head at a 90 degree angle rather than 45.[8] Hold the hair between index and middle fingers, and cut along your fingers.
- As with the sides and back, each new cut should have a few hairs from the previous cut to serve as a guide.
- If you want to add texture to the hair, you can point-cut it (angling the scissors upwards and cutting at the hairs to vary lengths).
-
7Check the haircut’s uniformity. Do this by running your fingers through different sections of the hair, pulling up. While the hair should angle as it transitions from the top to the sides and back, there should be no long hairs sticking out[9]
- If there are any long hairs that shouldn't be there, measure them against their neighboring section and trim them accordingly.
Trimming Medium or Long Hair
-
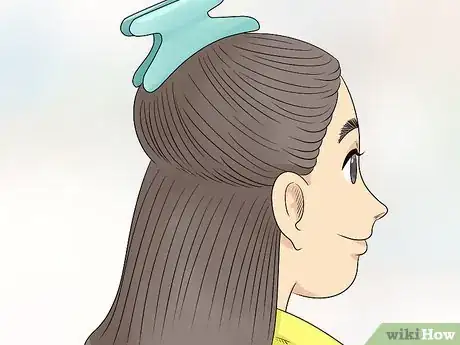
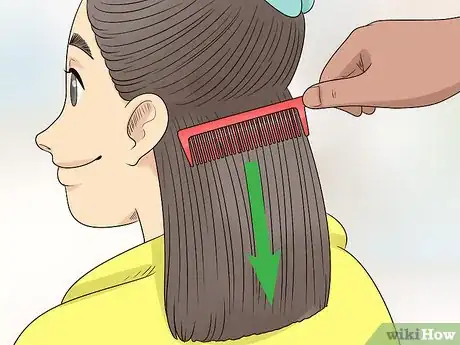
1Divide the hair into top and back sections, clipping the top to the head. Use a fine comb to brush the hair out to its full length. Start just behind one ear, combing towards the other. Treat all hair above this line as the top section. Comb it up and use hair clips to clip this section up.[10]
-
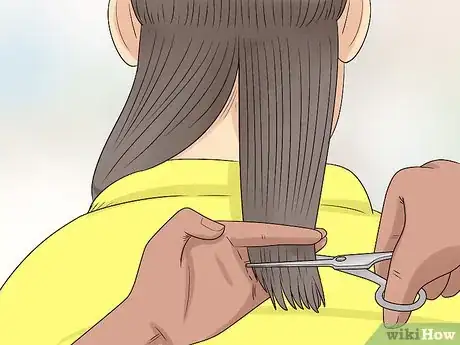
2Comb the back section to its full length. This will give you a more accurate cut. Split the hair here into a left and right section, and hold the right section tautly between your index and middle finger.
- If the child has thicker hair, separate the right section into about 1–2 inch (3–5 cm) partings before cutting. Hold one of these smaller sections tautly between your index and middle finger in preparation for cutting.
-
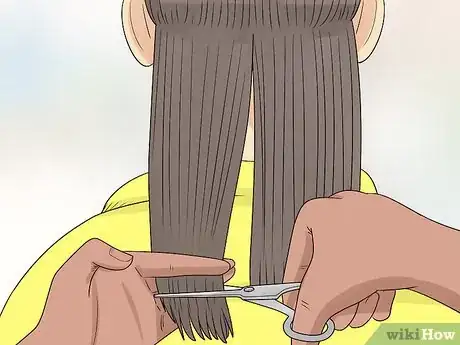
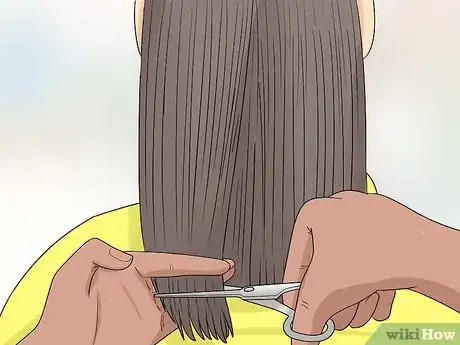
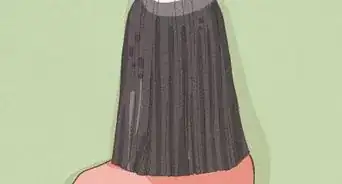
3Cut to desired length. Use hair shears to cut the hair along your fingers at a zero degree angle. Remember that hair tends to shorten when it dries. For every one inch of hair you want to take off, cut half an inch.
- You can cut the entire right section in one cut if the child has thin hair.
- Note that curly hair is much longer when straight and wet. For every inch you want to take off, cut no more than a quarter inch.[11]
-
4Hold the left section between your index and middle finger and cut. Make sure to hold some hair from the right section to serve as a guide. Follow the length of the right section as you cut the left.
- Split the section into smaller sections if the child has thicker hair.
-
5Unclip the top section, and part the hair into side sections. Start these side sections along a line about an inch above the ear, going around your child’s hair. This should include the back sections you’ve already cut. Use hair clips to secure the rest of the hair to the top of your child’s head.[12]
-
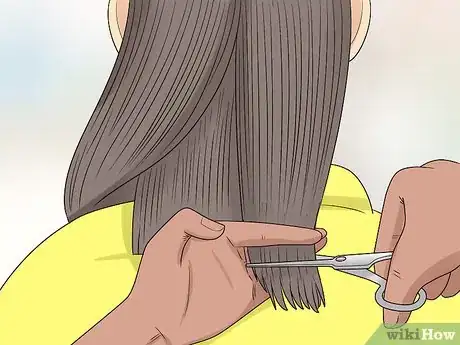
6Cut the right section, using the back section as a guide. Hold the right section between your index and middle fingers. Make sure to include hair from the back section in your grip. Hold the hair tautly and continue to cut at a zero degree angle along your fingers.
-
7Repeat this process with the left section. Your child’s hair should then have the same length all around. You can check the length by running your fingers through the child’s hair at various sections, pulling lightly on the hair. If any long hairs stick out, trim them to match the rest of the hair.
-
8Let down hair from the clipped sections in half inch sections and cut. While cutting in smaller sections takes more time, it will make for a better, more accurate cut. Holding the released sections between your index and middle finger, cut to match the length of the side sections.[13]
-
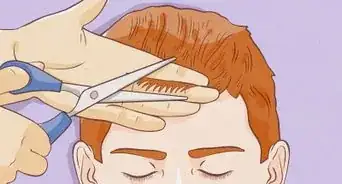
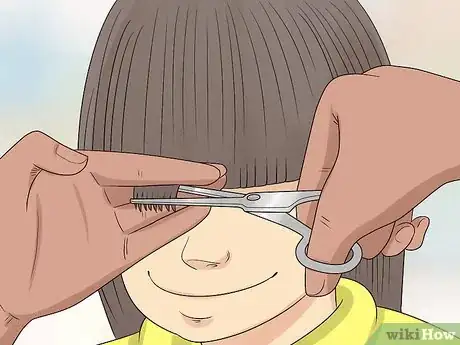
9Comb wet hair towards the eyes and cut bangs. How you do this depends on the kind of bangs you want to give your child.
- For straight bangs, part the hair horizontally, starting about an inch back from the child’s forehead. The part should end at the outside corner of each eye. Clip the remaining hair back, and cut the bangs across the middle of the eyes.[14]
- For triangular shaped bangs, choose a point on top of the head, depending on how wide you want the bangs. Comb from this point to the outside of the eyebrows, and clip remaining hair back. Again, cut across the bangs so they fall at the middle of the eyes.[15]
Community Q&A
-
QuestionHow do I give myself a buzz cut?
 Community AnswerSet your clippers to the desired guard (8 being the longest, no guard will cut your hair close to bald). If you have longer hair, tie it into a ponytail and cut it off. Hold the clippers in your dominant hand. Push back your bangs (if you have them) with the other hand. Hold the clippers to the middle of your forehead and make a pass down the back of your head. Shake off the shaved hair. Repeat, overlapping the most recently shaved part, until you're done. Finally, put the clippers at the base of your neck and clean up the back and sides.
 -
QuestionIs it okay for a girl to shave her head?
 Community AnswerIt is okay as long as she has the permission of her parents and it doesn't cause any major issues elsewhere in her life (for example, some schools might not allow it).
 -
QuestionIn step 21, in the picture, the girl's hair is shaved at the back. How do I do this?
 Community AnswerHold the hair up using a hair clip, then shave underneath, then take off the hair clip.
Warnings
- Hair shears are very sharp. Be very careful.⧼thumbs_response⧽
References
- ↑ http://www.parents.com/kids/hygiene/how-to-cut-your-kids-hair/?slideId=47481
- ↑ http://www.parents.com/kids/hygiene/how-to-cut-your-kids-hair/?slideId=47482
- ↑ https://www.youtube.com/watch?v=lF18tvofTC4
- ↑ http://heavenlyhomemakers.com/how-to-cut-boys-hair-like-a-pro
- ↑ http://heavenlyhomemakers.com/how-to-cut-boys-hair-like-a-pro
- ↑ http://heavenlyhomemakers.com/how-to-cut-boys-hair-like-a-pro
- ↑ http://heavenlyhomemakers.com/how-to-cut-boys-hair-like-a-pro
- ↑ http://heavenlyhomemakers.com/how-to-cut-boys-hair-like-a-pro
- ↑ http://heavenlyhomemakers.com/how-to-cut-boys-hair-like-a-pro
- ↑ http://www.parents.com/kids/hygiene/how-to-cut-your-kids-hair/?slideId=47474
- ↑ http://www.parents.com/kids/hygiene/how-to-cut-your-kids-hair/?slideId=47474
- ↑ http://www.parents.com/kids/hygiene/how-to-cut-your-kids-hair/?slideId=47475
- ↑ http://www.parents.com/kids/hygiene/how-to-cut-your-kids-hair/?slideId=47475
- ↑ http://www.parents.com/kids/hygiene/how-to-cut-your-kids-hair/?slideId=47486
- ↑ http://www.parents.com/kids/hygiene/how-to-cut-your-kids-hair/?slideId=47485
About This Article
If you want to cut a kid’s hair, start by washing their hair thoroughly with shampoo. Dry their hair until it’s damp, then have the child sit in a tall chair and drape a towel over their shoulders. If you’re buzzing their hair very short, grab a clipper and attach the desired guard. Run the clipper along the child’s head, starting at the back, and make sure to keep your strokes slow and smooth. Work your way up toward the crown, and finish by cutting the sides. Keep reading for tips from our cosmetology reviewer on how to trim longer hair!







-Step-18-Version-2.webp)
