X
This article was co-authored by Ashley Adams. Ashley Adams is a Licensed Cosmetologist and Hair Stylist in Illinois. She completed her Cosmetology education at John Amico School of Hair Design in 2016.
This article has been viewed 22,976 times.
If your weave is straight, it can be fun to experiment with adding waves. If you prefer not to use heat on your weave, use flexi rods to create beautiful curls. Alternatively, use a curling iron or a hair straightener to quickly achieve a similar look. Both of these techniques create pretty curls that will last up to a couple of days.
Steps
Method 1
Method 1 of 2:
Using Flexi Rods
-
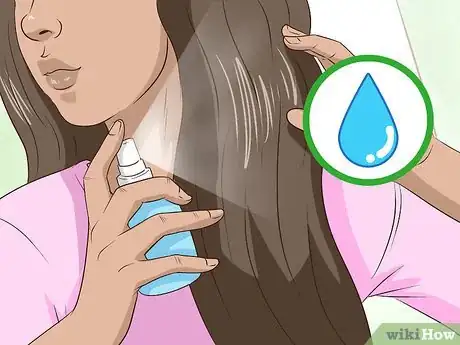
1Spray your weave with water to dampen it. Fill a spray bottle with water and lightly dampen the entire weave. Lift up the top layer of hair and dampen the hair underneath to ensure that all the strands are exposed to the water. This helps the weave to hold the curls for longer.
- Flexi rods can be used on weaves of any length.
- Avoid saturating the hair. Instead, lightly mist the surface of the strands.
-
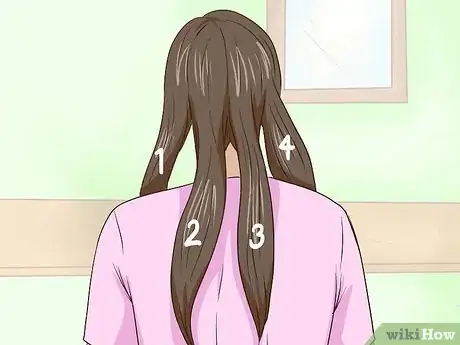
2Divide your weave into 4 equal sections. This makes it easier to wrap up your hair in the flexi rods. Use a comb to section your weave into 4 parts and clip each section back. To do this, divide your weave in half and then split each section in half again.
- If you want an extra curly weave, divide your hair into 8 or more sections. The more sections you create, the more flexi rods you can use to create more curls.
Advertisement -
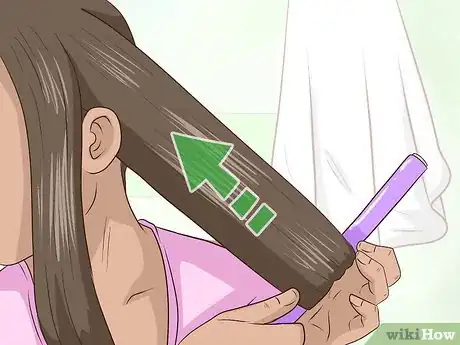
3Wrap each section around a flexi rod. Place the flexi rod on top of the first section of hair horizontally. Then, wrap the hair up in the flexi rod all the way to your roots. Repeat this process for each section of your weave.
- Use thin flexi rods for really tight curls or use thick flexi rods for looser curls.
- Purchase flexi rods online, from a hair supply store, or from a hair salon.
-
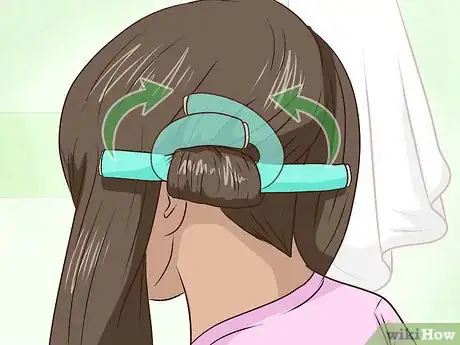
4Bend the ends of the flexi rods to keep the hair secure. Take the ends of the flexi rods and bend them downward. This will create a horseshoe shape. Bending the rods helps to keep the hair in place while you sleep and stops it from unravelling.
- You can also mist your hair with water before putting it into flexi rods to help keep the hair in place.
- If the flexi rods unravel, simply wrap them up again and bend them a little tighter.
-
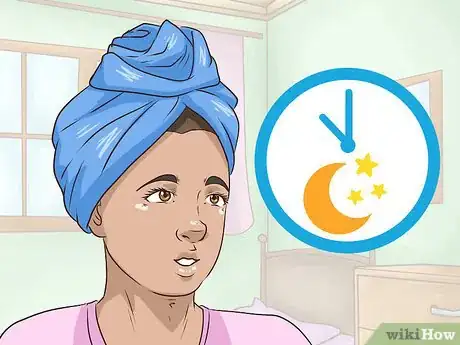
5Cover your weave overnight with a scarf. This helps to make it more comfortable for you to sleep and ensures that the flexi rods don’t come undone. Silk scarfs work best as they glide along your pillow; however, any scarf will work. Simply wrap the scarf around your head before you go to bed.
- If you don’t have a scarf, use a winter hat or a bonnet.[1]
- Leaving the flexi rods in overnight gives time for the curls to set.
-
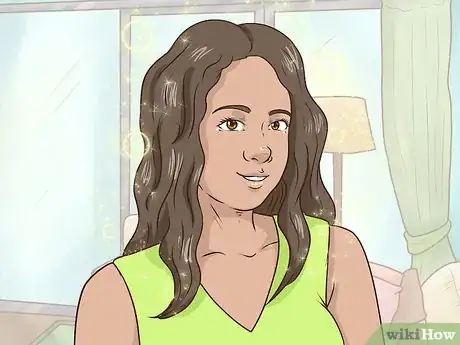
6Unravel your weave in the morning to reveal your curls. To remove the flexi rods, bend them back to a horizontal position and then gently unravel the hair. This will reveal your beautiful curled weave. Avoid tugging on the flexi rods, as this can damage your weave.
- Make sure that your hair is completely dry before taking it out of the flexi rods.
- The curls will loosen over the course of the day.
Advertisement
Method 2
Method 2 of 2:
Heat-Styling Your Weave
-
1Brush your weave to remove all the knots. This makes it easier to use the iron or curler on your hair and ensures that your curls look even and smooth. Any brush will work; however, if you have really knotty hair, a paddle brush or wide-tooth comb will be easiest.[2]
- If your weave is really knotted, try using a detangling spray to loosen the knots.
-
2Clamp and twist a 1 in (2.5 cm) section of hair in a straightener for loose curls. Take a 1 in (2.5 cm) section of hair at the front of your weave and clamp the roots in the straightening iron horizontally. Then, twist the straightening iron downward 180-degrees and slowly pull it toward the roots of your hair. This transforms your weave into loose curls.[3]
- Apply a heat protectant product to your weave first if it is made from human hair. This will help to protect the hair.
- Set the straightening iron to the lowest heat setting to minimise damage to your weave.
- Check the label of your weave to ensure that it is heat-safe before you style it with heated appliances, as weaves that are made from synthetic hair often cannot be styled with heated tools.
-
3Grip and roll your hair in a curler iron for tighter curls. Take a 1 in (2.5 cm) section of hair at the front of your weave and grip the ends in the curler. Then, roll it up and hold it for 5 seconds. This gives the hair a chance to absorb the heat and sets the curl. After 5 seconds, release the clamp to reveal the curl.[4]
- Don't worry if the curls are really tight at first, as they will slowly loosen over the day.
-
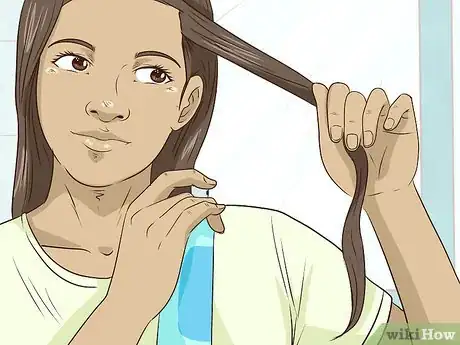
4Repeat the curling process on all the strands of your weave. Curl the front strands first and then work your way toward the hair at the back of your weave. Make sure to curl the bottom layer of hair as well, as this helps your hairstyle to look even.[5]
- Use a mirror to help see the back of your hair.
-
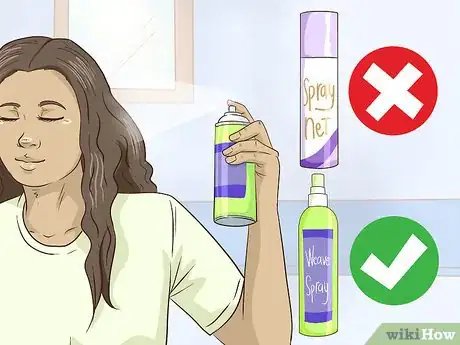
5Avoid spraying any product on your fresh curls. Using hairspray or gel on your weave can damage it and cause it to become dry and frizzy. Instead, simply leave your curls to sit naturally. They will drop a little during the course of the day; however, they will hold their shape better than natural hair.[6]
- If you do decide to use a spray on your weave, opt for a spray that is specifically designed for weaves.
Advertisement
Things You’ll Need
Using Flexi Rods
- Spray bottle
- Water
- Flexi rods
- Scarf
- Hair clips
Heat-Styling Your Weave
- Brush or comb
- Straightener or curling iron
- Mirror
- Heat protectant spray
- Hair clips
References
About This Article
Advertisement
