X
This article was co-authored by wikiHow staff writer, Nicole Levine, MFA. Nicole Levine is a Technology Writer and Editor for wikiHow. She has more than 20 years of experience creating technical documentation and leading support teams at major web hosting and software companies. Nicole also holds an MFA in Creative Writing from Portland State University and teaches composition, fiction-writing, and zine-making at various institutions.
This article has been viewed 32,173 times.
Learn more...
This wikiHow teaches you how to create a new branch in your GitHub repository.
Steps
-
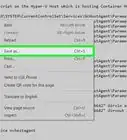
1Log in to your GitHub account. If you haven't yet done so, go to GitHub in a web browser, click Sign in at the top-right corner, and then log into your account.
-
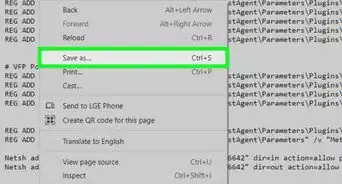
2Open the main page of your repository.[1]Advertisement
-
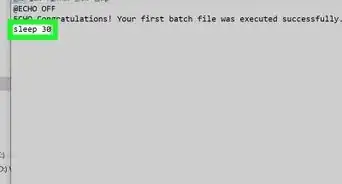
3Click the Branch menu. It’s at the top-left corner of your repository. A list of your current branches will appear.[2]
-
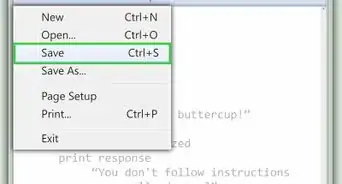
4Type a name for your new branch. If your branch name will include more than one word, use hyphens (-) instead of spaces.[3]
-
5Press ↵ Enter or ⏎ Return. Your new branch is now active.


Advertisement


References
- ↑ https://docs.github.com/en/repositories/configuring-branches-and-merges-in-your-repository/managing-branches-in-your-repository/viewing-branches-in-your-repository
- ↑ https://help.github.com/articles/creating-and-deleting-branches-within-your-repository
- ↑ https://help.github.com/articles/creating-and-deleting-branches-within-your-repository/
About This Article

Nicole Levine, MFA
wikiHow Technology Writer
This article was co-authored by wikiHow staff writer, Nicole Levine, MFA. Nicole Levine is a Technology Writer and Editor for wikiHow. She has more than 20 years of experience creating technical documentation and leading support teams at major web hosting and software companies. Nicole also holds an MFA in Creative Writing from Portland State University and teaches composition, fiction-writing, and zine-making at various institutions. This article has been viewed 32,173 times.
How helpful is this?
Co-authors: 3
Updated: October 2, 2022
Views: 32,173
Categories: Programming
Advertisement