This article was co-authored by wikiHow staff writer, Darlene Antonelli, MA. Darlene Antonelli is a Technology Writer and Editor for wikiHow. Darlene has experience teaching college courses, writing technology-related articles, and working hands-on in the technology field. She earned an MA in Writing from Rowan University in 2012 and wrote her thesis on online communities and the personalities curated in such communities.
This article has been viewed 91,418 times.
Learn more...
This wikiHow teaches you how to create Twitch emotes using the GIMP graphics editor. As long as you're a Twitch Affiliate or Partner, you can create and upload your custom emoticons right in the Twitch dashboard.
Steps
Using GIMP
-
1Install GIMP from https://www.gimp.org/. GIMP is a free version of Photoshop and a photo editor that will allow you to create your own images.
- You can use any image editor you wish as long as it supports transparent backgrounds. Unfortunate, MS Paint does not support this.
- To learn more about installing GIMP, see How to Install GIMP.
-
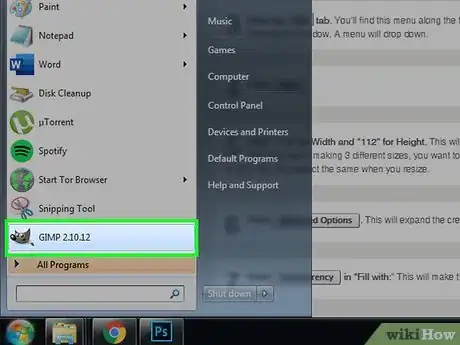
2Open GIMP. You’ll find this in your Start Menu or Applications folder.Advertisement
-
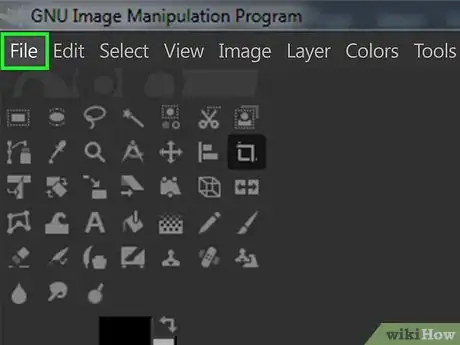
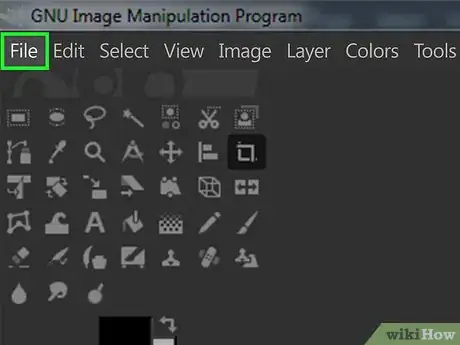
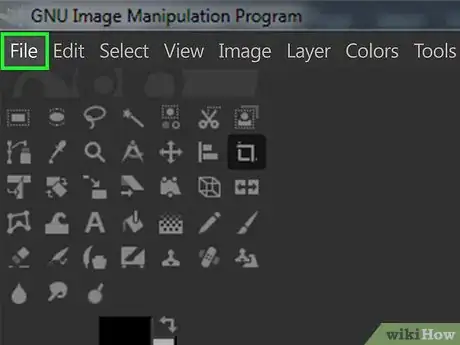
3Click the File tab. You’ll find this menu along the top of your screen or the top of the program window. A menu will drop down.
-
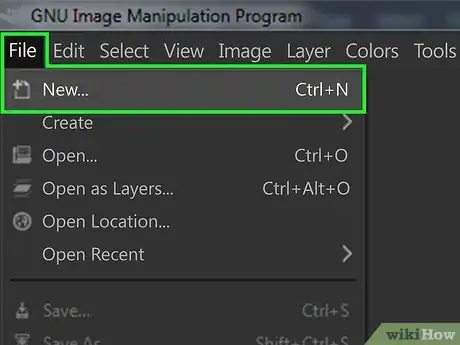
4Click New.
-
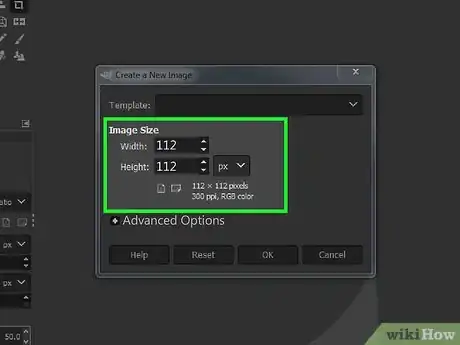
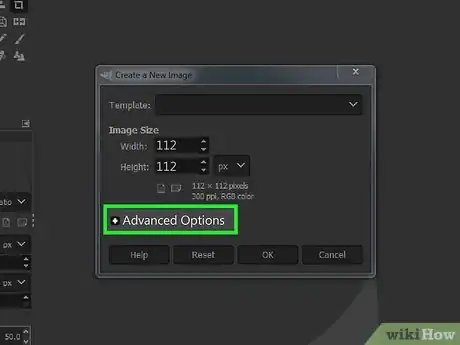
5Enter “112” for Width and “112” for Height. This will create a square canvas.[1] Although you’re making 3 different sizes, you want to start with the largest of the three to keep the ratio aspect the same when you resize.
-
6Click Advanced Options. This will expand the creation menu.
-
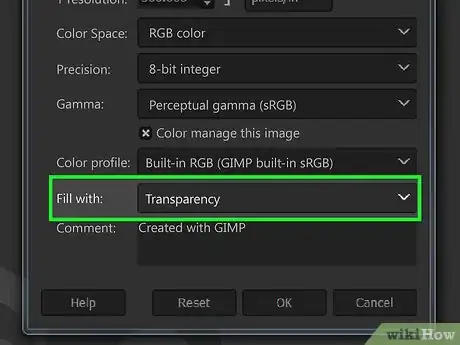
7Click Transparency in “Fill with:” This will make the background transparent.
-
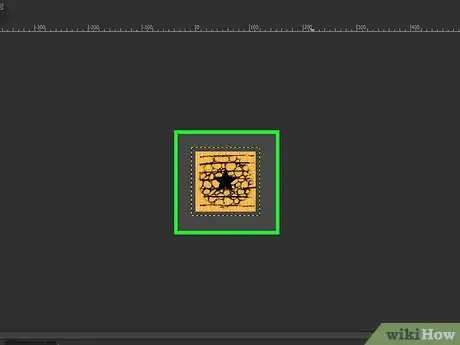
8Create your emote. You can use the wikiHow on using GIMP to learn more about how to use the program.
- You can open an image, copy it, then paste it on your canvas if you want to use an image you already have.
-
9Click the File tab. You’ll find this menu along the top of your screen or the top of the program window. A menu will drop down.
-
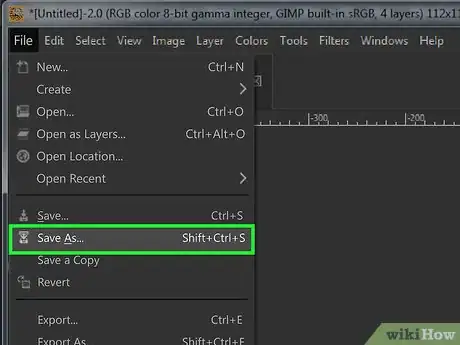
10Click Save as. You'll need to save it as a PNG image as per Twitch's guidelines.
- Make sure the file size is less than 25kb.
- Name your file something you’ll remember, like “112image” for the 112x112 file.
-
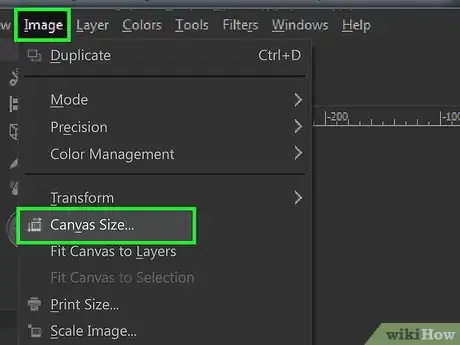
11Resize the image to make another emote. Since you’ll need all 3 sizes (112x112, 56x56, and 28x28), you’ll need to resize your work multiple times.
- Click the Image tab and select Canvas Size.... A new window will pop up.
- Enter “56” for Width and “56” for Height.
- Click Resize.
-
12Click the File tab. You’ll find this menu along the top of your screen or the top of the program window. A menu will drop down.
-
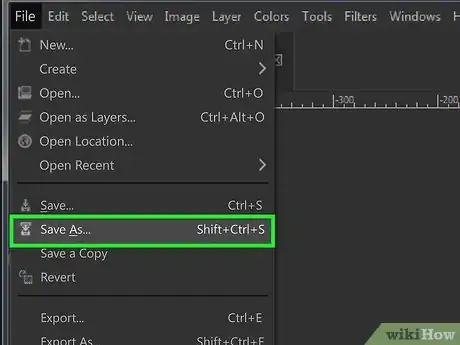
13Click Save as. You'll need to save it as a PNG image as per Twitch's guidelines.
- Make sure the file size is less than 25kb.
- Name the created emote files something you’ll remember, like “56image” for the 56x56 file.
-
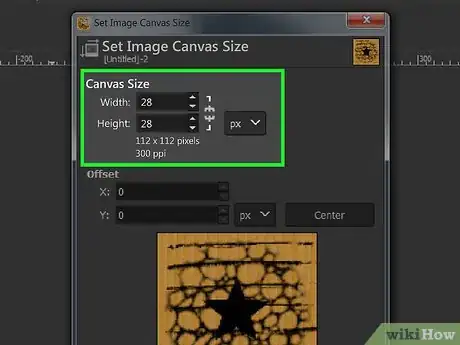
14Resize the image again for the last emote. You've created a 112x112 and a 56x56 emote size, so you'll need to make a 28x28 emote.
- Click the Image tab and select Canvas Size.... A new window will pop up.
- Enter “28” for Width and “28” for Height.
- Click Resize.
-
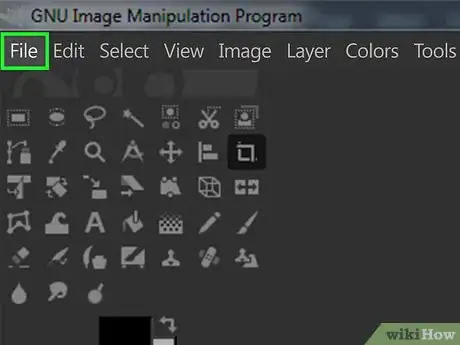
15Click the File tab. You’ll find this menu along the top of your screen or the top of the program window. A menu will drop down.
-
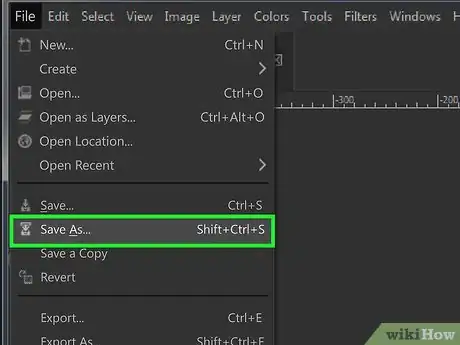
16Click Save as to save the file. You'll need to save it as a PNG image as per Twitch's guidelines.
- Make sure the file size is less than 25kb.
- Name the created emote files something you’ll remember, like “28image” for the 58x28 file.
Uploading to Twitch
-
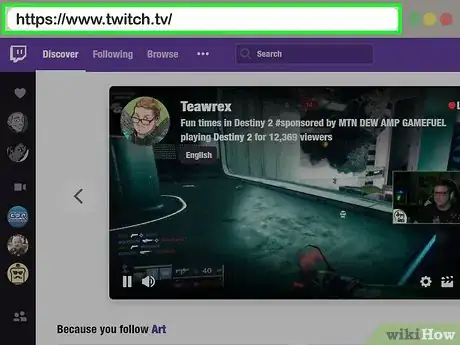
1Open Twitch. You can find this in your Start Menu or Applications folder.
- Only Affiliates and Partners can upload custom emotes.[2]
-
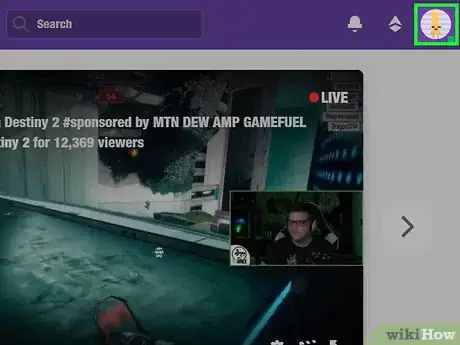
2Click your profile icon. You’ll find this in the upper right corner of the program window, and a menu will drop down.
-
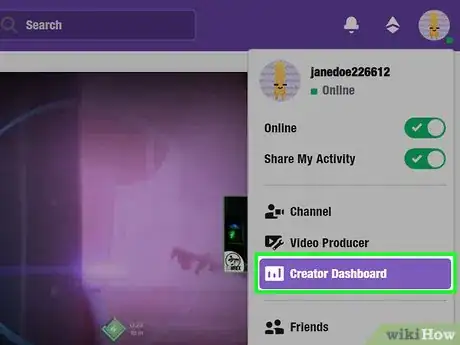
3Click Dashboard or Creator Dashboard. You’ll be taken to a new page.
-
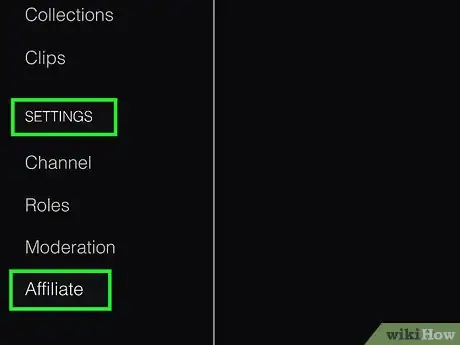
4Click Affiliate/Partner Settings. You’ll see this in the left-hand menu, under the “Settings” header.
-
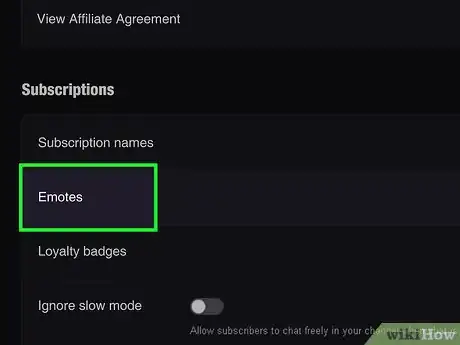
5Click Emotes. You’ll see this in the center of your program window under the “Subscription” header.
-
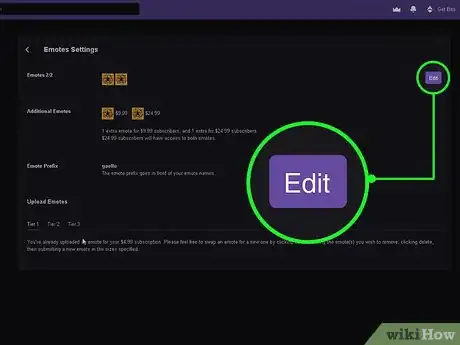
6Click Edit. The “Upload Emotes” section will slide out, and clicking the plus sign (+) inside an emote box will let you pick an image to upload.
- You’ll see tabs for Tier 1, Tier 2, and Tier 3. Those are Tiers users subscribe to, and those are the emotes they have access to as well as the Tiers proceeding.
- If you are not affiliated or a partner with Twitch, you can use custom emotes on your own channel using the BBTV extension in your web browser, which you can find at https://www.nightdev.com/betterttv.
References
About This Article
1. Download GIMP from https://gimp.org.
2. Create an emote on a new canvas as 112x112, 56x56, or 28x28.
3. Click your profile image.
4. Click Affiliate/Partner Settings.
5. Click Emotes.
6. Upload your emotes.

