This article was co-authored by Ryaan Tuttle. Ryaan Tuttle is a Home Improvement Specialist and the CEO of Best Handyman, Inc. in Boston, Massachusetts. With over 17 years of experience, he specializes in building home service businesses, focusing on creating scalable and efficient brands. With the help of his global team, the companies have achieved over 10+ million in sales and received recognition through magazine features, and enjoy partnerships with wikiHow and Jobber field service software. Boston Magazine and LocalBest.com have named Best Handyman Boston the Best Handyman in Boston. Ryaan holds Construction Supervisor and Home Improvement Contractor Licenses.
This article has been viewed 83,434 times.
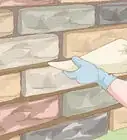
While tiling is easy to maintain, it can sometimes look outdated or unsightly. Luckily, you can cover tile inexpensively with rugs, decals, or paint to update the room and achieve the look that you want. Whether you’re covering the tile temporarily or permanently, there are a few solutions you can try.
Steps
Adding a Temporary Covering
-
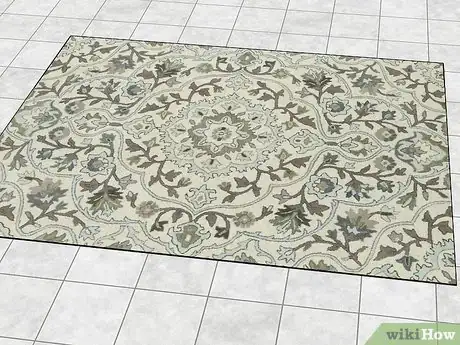
1Lay down a large area rug to cover unsightly tile flooring. Measure the area that you want to cover, and find a large rug that will cover most of the flooring. Try to get as close as possible to the correct dimensions for the room to ensure that the tile is mostly covered. If you’re having trouble finding inexpensive rugs, shop at thrift stores, or purchase a variety of smaller rugs to layer them and cover the floor.
- Remember to place a sticky mat under the rugs since the fabric can sometimes slide over the tiles. You can find inexpensive sticky mats at most home improvement stores and supermarkets!
-
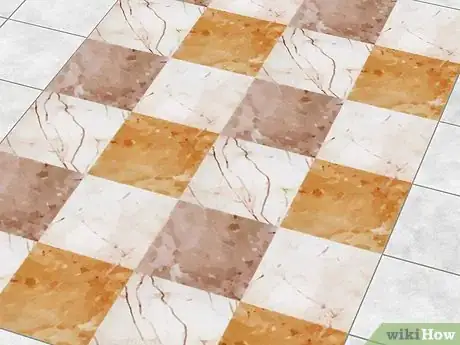
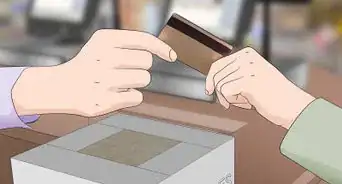
2Stick vinyl decals over flooring or a backsplash for a fresh look. Purchase a large sheet of vinyl decals to add character to tile flooring or a backsplash. Make sure you measure the area that you want to cover and be sure to buy enough decals to completely cover the area. When you’re ready to apply the decals, simply trim them to size, peel the backing off, stick them to the tiles, and smooth them with a credit card to remove air bubbles.[1]
- This is a great way to add a pattern to plain tiling without painting, and it’s easily removable when you want to change it up. All you have to do is peel off the decals to start over.
- Some decals have more "traditional" tile patterns, like mosaics or Tuscan tiles, while others are simple solid colors. If you like the original color of the tiles and want to give them a quick update, you can add decals that let the color of the tiles show through.
Advertisement -
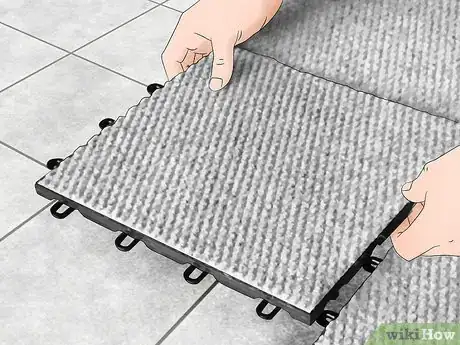
3Use adhesive carpet tiles to conceal large areas of tiled floor. Measure the area that you want to cover, and visit a home improvement or flooring store to see what kind of carpeting they have in stock. Keep in mind that most carpet tiles cost about $1 for 1 foot (0.30 m) squared, so you can plan your budget accordingly. When you’re ready, peel off the backing and stick them to the tile.[2]
- If you want to remove the carpet tiles or reposition them, simply pull them up by the corners to reveal the tile underneath.
-
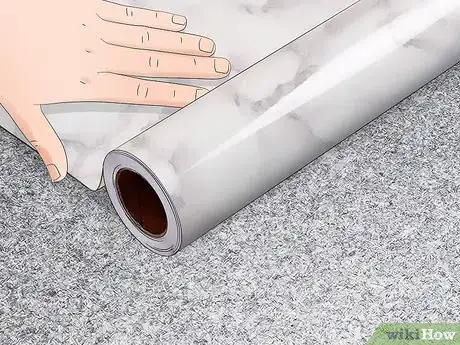
4Apply contact paper to countertops for an easily removable update. Measure the countertops to see how much contact paper you’ll need, and purchase large rolls to fit the space and save money. As you’re covering the tile, cut the sheets to be as long as possible, peel off the backing, and overlap the contact paper along the seams to prevent peeling. Smooth the paper with a credit card to remove air bubbles to finish off the project![3]
- Contact paper comes in a variety of different patterns and finishes that are perfect for countertops, including wood grain, glossy marble, and granite.
- To remove the paper, begin pulling it from the corner of the sheet and work slowly across the countertop.
Tip: Make sure the pattern on the contact paper lines up and is oriented in the same direction for a more professional, high-end look.
Concealing Tiles Permanently
-
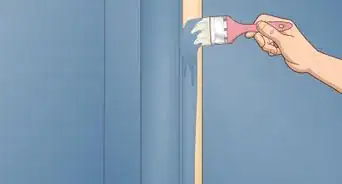
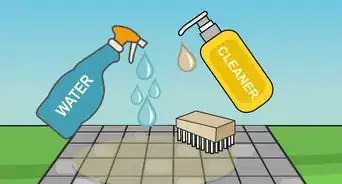
1Paint the tiles to match the color scheme of the room. For a more permanent solution to unsightly tiling, choose a color or a set of colors that matches your design aesthetic. Then, sand, wash, and prime the tiles to prepare for the paint. Apply the paint in 2 even coats, and add a layer of sealant over the painted tiles, especially if they might be exposed to foot traffic or water.[4]
- There are a variety of different paint options for tile, including chalkboard, latex, and oil-based. Opt for chalkboard paint if you want to save money since you don’t need to apply a primer.
- You can even add a pattern to the surface by hand painting the tiles or using a stencil.
-
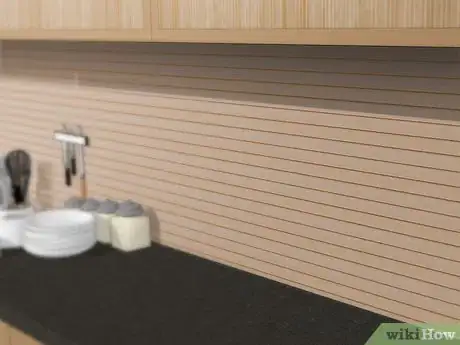
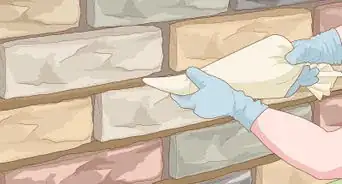
2Cover a tile backsplash with wood and liquid nails for a rustic effect. Visit lumber yards and home improvement stores to find inexpensive wood, and cut it to fit the tiled area. Apply the adhesive and stick the boards to the tile in your desired pattern. Follow the adhesive instructions to let the area dry before applying a sealant or touching the backsplash.[5]
Tip: Since you won’t see the adhesive, you can choose whichever color is the cheapest for this project.
-
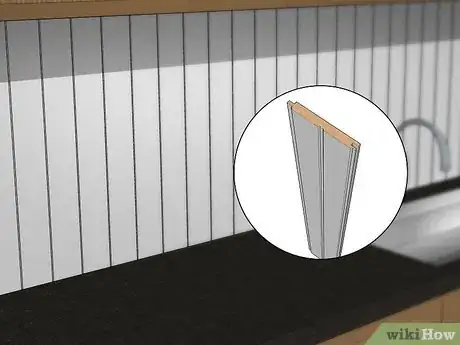
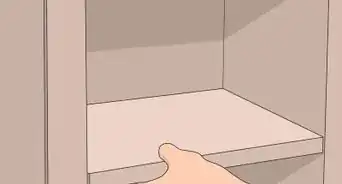
3Affix a layer of beadboard over a backsplash for a fresh, clean look. Purchase a few large sheets of beadboard, and paint them to your desired color. Measure and cut them to fit the area that you’re covering. Then, apply a layer of liquid nails adhesive to the existing tile and press the beadboard against the tile. Be sure to leave some overhang if possible, and use a nail gun to secure the corners of the beadboard.[6]
- It’s important to use traditional nails to keep the corners in place, since the material can sometimes warp due to high humidity or exposure to sunlight.
-
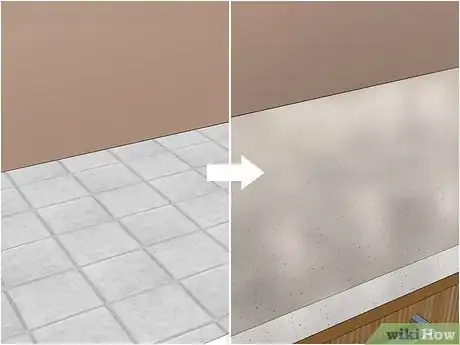
4Resurface countertops with quick-setting cement for an updated look. Sand the existing tile countertops and build a temporary form that attaches to the cabinetry, which will hold the cement as it sets. Then, simply mix and pour self-leveling concrete over the countertops and follow the package instructions to cure it. Paint a sealant over the concrete to protect it from water and debris.[7]
- While this is a more labor-intensive option, it can be very inexpensive, depending on the type of concrete you choose.
- Keep in mind that the concrete will likely crack slightly during the curing process, but you can fill in the cracks with the sealant.
Expert Q&A
-
QuestionCan I cover tile floors with hardwood?
 Ryaan TuttleRyaan Tuttle is a Home Improvement Specialist and the CEO of Best Handyman, Inc. in Boston, Massachusetts. With over 17 years of experience, he specializes in building home service businesses, focusing on creating scalable and efficient brands. With the help of his global team, the companies have achieved over 10+ million in sales and received recognition through magazine features, and enjoy partnerships with wikiHow and Jobber field service software. Boston Magazine and LocalBest.com have named Best Handyman Boston the Best Handyman in Boston. Ryaan holds Construction Supervisor and Home Improvement Contractor Licenses.
Home Improvement Specialist Unfortunately, you would not be able to put down hardwood flooring over tile because every time you put the staples through the wood, it would break the tile underneath.
 -
QuestionHow do you cover tile floors with carpet or laminate flooring?
 Ryaan TuttleRyaan Tuttle is a Home Improvement Specialist and the CEO of Best Handyman, Inc. in Boston, Massachusetts. With over 17 years of experience, he specializes in building home service businesses, focusing on creating scalable and efficient brands. With the help of his global team, the companies have achieved over 10+ million in sales and received recognition through magazine features, and enjoy partnerships with wikiHow and Jobber field service software. Boston Magazine and LocalBest.com have named Best Handyman Boston the Best Handyman in Boston. Ryaan holds Construction Supervisor and Home Improvement Contractor Licenses.
Home Improvement Specialist If you're going to put carpet down, you would put a pad over the tile first, and then the carpet would go over that. If you were going to put down a laminate floor, you would put a foam pad over the tile and then put that down.
Warnings
- Be sure to wear appropriate safety gear, such as gloves, masks, and eye protection, when doing home improvement projects that require the use of tools.⧼thumbs_response⧽
References
- ↑ https://www.architecturaldigest.com/story/temporary-flooring-ideas-for-rental-homes?verso=true
- ↑ https://www.architecturaldigest.com/story/temporary-flooring-ideas-for-rental-homes?verso=true
- ↑ https://www.thekitchn.com/10-ways-weve-disguised-ugly-rental-kitchen-countertops-224439
- ↑ https://www.apartmenttherapy.com/old-tile-backsplash-ideas-257565
- ↑ https://freshome.com/kitchen-backsplash-redo/
- ↑ https://www.apartmenttherapy.com/old-tile-backsplash-ideas-257565
- ↑ https://www.thekitchn.com/10-ways-weve-disguised-ugly-rental-kitchen-countertops-224439
