This article was co-authored by Ryaan Tuttle. Ryaan Tuttle is a Home Improvement Specialist and the CEO of Best Handyman, Inc. in Boston, Massachusetts. With over 17 years of experience, he specializes in building home service businesses, focusing on creating scalable and efficient brands. With the help of his global team, the companies have achieved over 10+ million in sales and received recognition through magazine features, and enjoy partnerships with wikiHow and Jobber field service software. Boston Magazine and LocalBest.com have named Best Handyman Boston the Best Handyman in Boston. Ryaan holds Construction Supervisor and Home Improvement Contractor Licenses.
There are 9 references cited in this article, which can be found at the bottom of the page.
This article has been viewed 11,018 times.
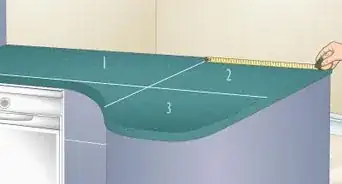
If you have a dated or worn-out laminate countertop that you want to change, you don’t have to replace the whole thing! Try covering the existing laminate with some fresh new tiles to give your countertop a whole new look, without the high cost and extensive work of installing a brand new one. This job does require some labor, but it’s not too hard to get done in a couple of days, as long as you have some basic DIY home improvement skills.
Steps
Counter Prep
-
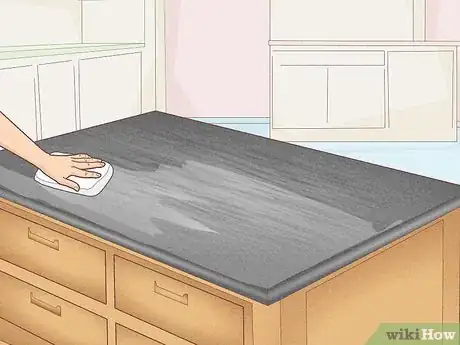
1Clean the countertop to get rid of any grease and dirt. Wipe the whole countertop down with a clean cloth soaked in a solution of warm water and dish soap. Rinse the cloth out and wipe the soap off the countertop with warm water. Dry the counter with a clean, dry towel.[1]
- Make sure the counter is totally dry before you proceed. Let it air dry for a few minutes after you dry it off with a towel to be sure.
-
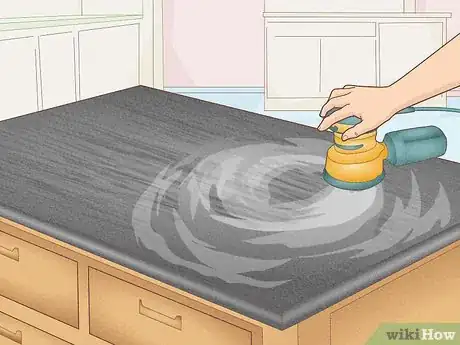
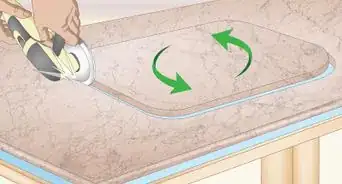
2Sand the laminate countertop thoroughly with 80-grit sandpaper. Fix a piece of 80-grit sandpaper to a sanding block or an electric sander. Rub the sandpaper back and forth over the whole surface until it is evenly roughed up. Wipe off the sanding dust using a clean, lint-free cloth.[2]
- Roughing the laminate up helps everything adhere to it properly when you’re installing the new tile on top of it.
Advertisement -
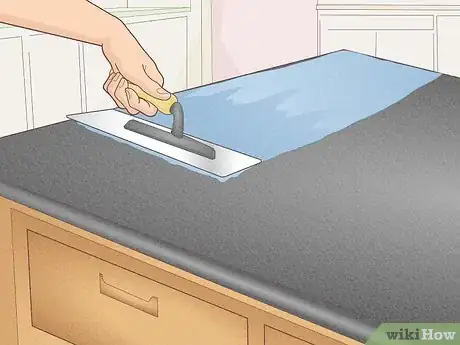
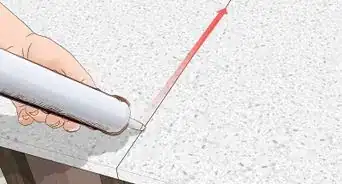
3Apply a thin layer of underlayment adhesive to the laminate with a trowel. Scoop the adhesive out of the container it comes in using the edge of a trowel, such as a V-notch trowel. Spread the adhesive liberally all over the countertop's surface and sides and smooth it out with the trowel until the whole counter is covered in an even layer.[3]
- Underlayment adhesive is used for attaching fiberglass-reinforced paper to create a base layer for installing tile on any surface.
- You could also use an uncoupling membrane, or you could use a cement backerboard or some cement underlayment.[4]
-
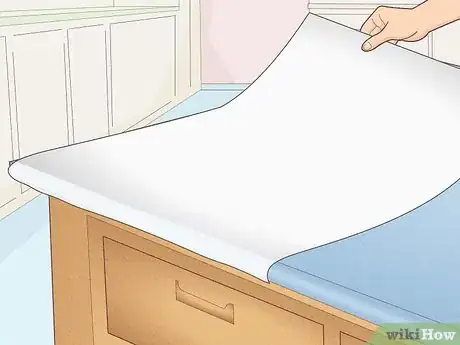
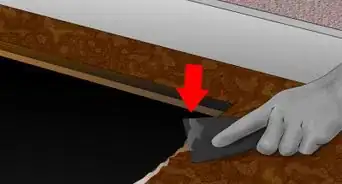
4Put fiberglass-reinforced paper on the counter and smooth it out. Measure the counter and cut the paper to the correct size with a pair of scissors. Press the paper into the adhesive, then run the edge of a putty knife over all of it to smooth out any air bubbles. Make sure to cover the sides of the countertop where they'll be covered in tile as well.[5]
- Tile mortar doesn’t stick well to laminate by itself, so this paper creates a surface to which you can apply mortar for the tiles.
- You don't have to let the adhesive dry before moving onto the next step.
-
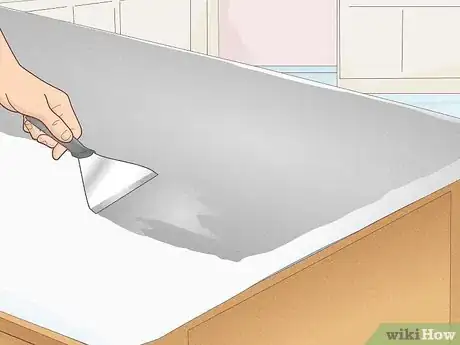
5Cover the paper with a thin layer of tile mortar using a putty knife. Scoop some mortar up onto the edge of the putty knife. Slap it onto the countertop and spread it out evenly over the top and the sides. Repeat this until you cover the paper in a thin, even layer.[6]
- This first coat of mortar is known as the skim coat. It works to prepare the surface of the paper for a second coat of mortar that you actually set the tiles into.
- If the existing laminate countertop has a lip at the front, apply additional mortar to the front 1/3 of the countertop and smooth it out with a long straight edge to create a perfectly flat surface for your tile. Note that the counter will have a slight incline towards the back if you do this.
-
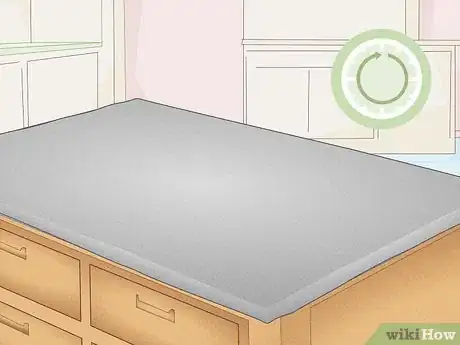
6Let the skim coat of mortar dry for 24 hours before you proceed. Wait a full day for the first coat of mortar to dry completely. Never apply the second coat of mortar onto a wet skim coat or the finished product may crack and deteriorate.[7]
Tile Installation
-
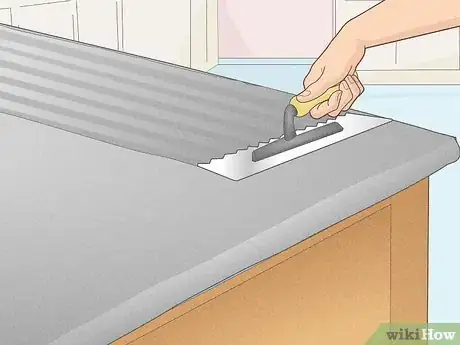
1Apply a layer of thinset mortar to the countertop and rake it with a trowel. Mix the mortar in a bucket and scoop it out using a trowel. Slap it onto the countertop and spread it out evenly into a layer that’s no greater than 3⁄16 in (0.48 cm) thick. Use the notched edge of the trowel to rake the mortar all over.[8]
- Raking the mortar gives it a texture that helps the tiles adhere better.
- If you’re tiling a large countertop, work in small areas of about 2 ft (0.61 m) by 2 ft (0.61 m), so the mortar doesn’t dry out before you put all the tiles down.
-
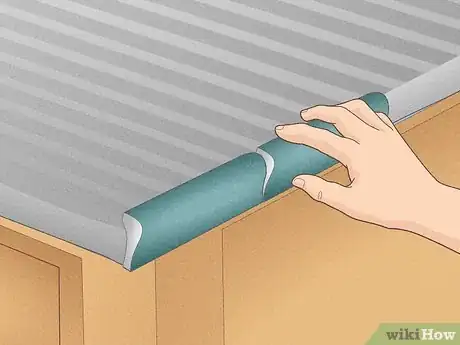
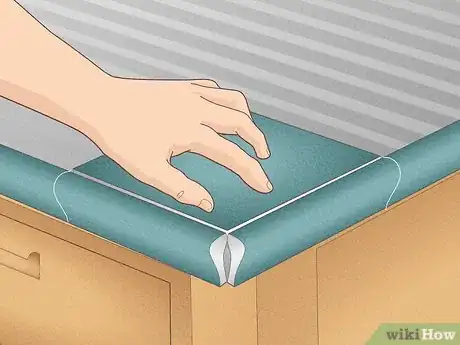
2Put mortar on the back of bullnose tiles and put them on the counter's edges. Use the edge of a trowel to apply an even layer of your thinset mortar to the back of each bullnose tile you’re installing. Push the tiles firmly onto the edges of your countertop to create rounded edges.[9]
- Bullnose tiles are rounded tiles that go over the edge. Always apply these first and always put extra mortar on them to provide added strength.
- Measure the edges of the counter ahead of time to figure out how many bullnose tiles you need to cover them.
-
3Press flat tiles into place on the countertop’s surface. Position the first flat tile behind the first bullnose tile at one edge of the countertop and push it into the mortar. Fill in the first row of tiles all the way, then repeat the process until you cover the whole countertop in flat tiles.[10]
- Measure the countertop ahead of time to calculate how many tiles you need to cover it.
- If you need to cut any tiles to fit around a sink or something else, do so ahead of time with a tile cutter so they’re ready to go when you start tiling your counter. You may also need to cut tiles if they would otherwise hang over an edge.
- Tap each tile in the center with a rubber mallet to help them settle even more into the mortar.
-
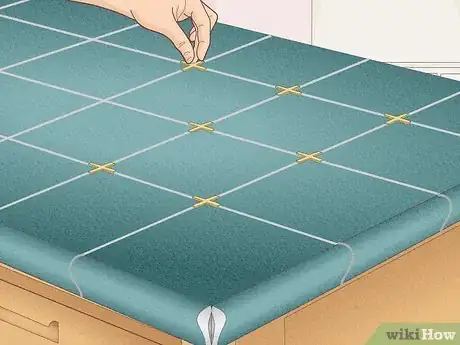
4Stick tile spacers in between tiles to ensure consistent spacing. Place 1 tile spacer between each pair of adjacent tiles. Adjust the tiles while the mortar is still wet so that the spacers touch both adjacent tiles and all the tiles are evenly spaced.[11]
- Tile spacers are small pieces of plastic that you can buy at a home improvement center, at a hardware store, or online.
-
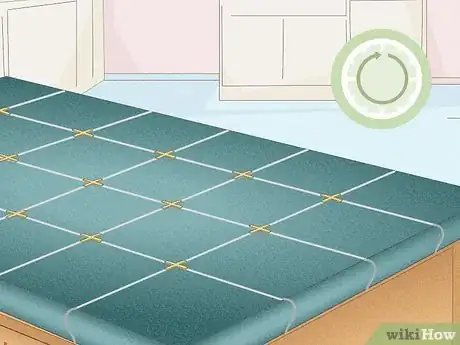
5Let the tiles dry in place overnight. Leave the tiles and mortar alone until the next day. This gives the mortar time to dry and sets the tiles securely in place.[12]
- Remove the tile spacers after the tiles are set in place and before you grout them.
Grout Application
-
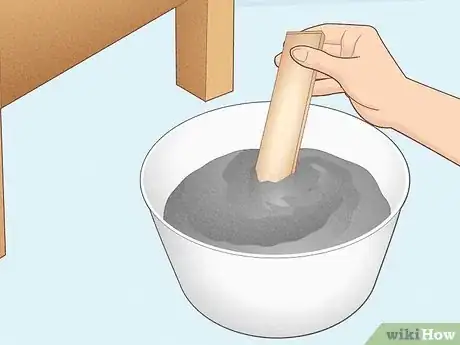
1Mix a tile grout of your choice to a peanut buttery consistency in a bucket. Fill the bottom of a bucket with water. Pour in some grout powder and stir it in thoroughly with a trowel. Add more grout powder or water as needed and stir the mixture until it’s smooth and creamy like peanut butter.[13]
- If you aren’t sure what color of grout to use, grey is a safe option that looks good with many different tiles.
-
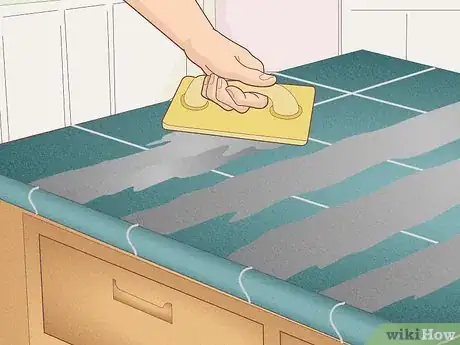
2Force grout into all the cracks between tiles using a grout float. Scoop some grout out of the bucket and press it firmly into a crack between 2 tiles. Spread the excess grout out over other cracks, pressing it into place firmly as you work. Repeat this until you completely fill all the gaps with grout.[14]
- A grout float is like a rubber trowel made specifically for pressing grout into gaps without damaging the tiling.
-
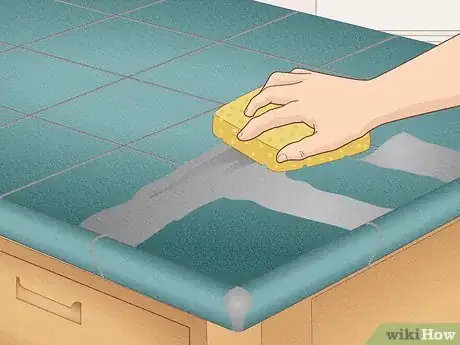
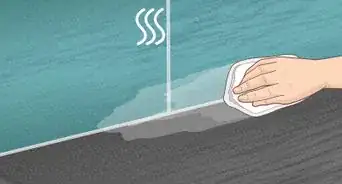
3Wipe off all the excess grout with a damp sponge. Soak a sponge in a bucket of water and wring out the excess moisture. Wipe down the whole countertop, rinse out the sponge, and repeat the process until there is no haze from the grout left on the tiles.[15]
- Change the water as you work to speed up the process of cleaning up the grout.
-
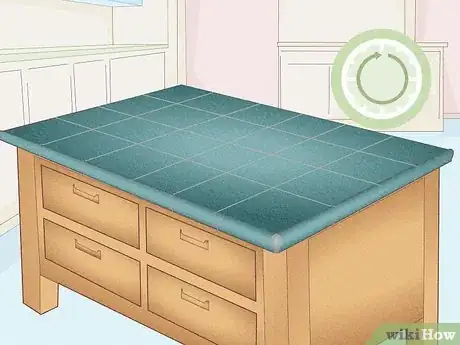
4Allow the grout to dry for 48 hours before you use the counter. Don’t set anything on the countertop or use it in any way for at least 2 days after you finish tiling and grouting it. This gives the grout plenty of time to dry completely.[16]
Expert Q&A
-
QuestionDo I have to cover my countertop before laying the tile?
 Ryaan TuttleRyaan Tuttle is a Home Improvement Specialist and the CEO of Best Handyman, Inc. in Boston, Massachusetts. With over 17 years of experience, he specializes in building home service businesses, focusing on creating scalable and efficient brands. With the help of his global team, the companies have achieved over 10+ million in sales and received recognition through magazine features, and enjoy partnerships with wikiHow and Jobber field service software. Boston Magazine and LocalBest.com have named Best Handyman Boston the Best Handyman in Boston. Ryaan holds Construction Supervisor and Home Improvement Contractor Licenses.
Home Improvement Specialist You need to put some type of extra layer over the laminate. Putting tile directly over the laminate won't work.
Warnings
- Don’t apply mortar directly to your laminate countertop or your new tile countertop might fall apart down the road.⧼thumbs_response⧽
Things You’ll Need
Prep
- Dish soap
- Cloth
- Towel
- Water
- 80-grit sandpaper
- Sanding block or electric sander
- Underlayment adhesive
- Trowel
- Fiberglass-reinforced paper
- Scissors
- Putty knife
- Tile mortar
Tile
- Thinset mortar
- Trowel
- Bullnose tiles
- Flat tiles
- Tile spacers (optional)
- Rubber mallet
Grout
- Tile grout
- Grout float
- Sponge
- Water
- Buckets
- Trowel
References
- ↑ https://todayshomeowner.com/how-to-tile-over-a-plastic-laminate-backsplash/
- ↑ https://toolboxdivas.com/how-to-tile-over-laminate-countertops/
- ↑ https://www.youtube.com/watch?t=47&v=CuETq9R_z3s&feature=youtu.be
- ↑ Ryaan Tuttle. Home Improvement Specialist. Expert Interview. 14 May 2021.
- ↑ https://www.ronhazelton.com/projects/how_to_lay_ceramic_tile_on_a_laminate_countertop
- ↑ https://www.youtube.com/watch?t=99&v=CuETq9R_z3s&feature=youtu.be
- ↑ https://www.ronhazelton.com/projects/how_to_lay_ceramic_tile_on_a_laminate_countertop
- ↑ https://www.youtube.com/watch?t=203&v=CuETq9R_z3s&feature=youtu.be
- ↑ https://www.ronhazelton.com/projects/how_to_lay_ceramic_tile_on_a_laminate_countertop
- ↑ https://www.youtube.com/watch?t=250&v=CuETq9R_z3s&feature=youtu.be
- ↑ https://www.ronhazelton.com/projects/how_to_lay_ceramic_tile_on_a_laminate_countertop
- ↑ https://todayshomeowner.com/how-to-tile-over-a-plastic-laminate-backsplash/
- ↑ https://toolboxdivas.com/how-to-tile-over-laminate-countertops/
- ↑ https://www.youtube.com/watch?t=324&v=CuETq9R_z3s&feature=youtu.be
- ↑ https://toolboxdivas.com/how-to-tile-over-laminate-countertops/
- ↑ https://todayshomeowner.com/how-to-tile-over-a-plastic-laminate-backsplash/
