This article was co-authored by wikiHow staff writer, Eric McClure. Eric McClure is an editing fellow at wikiHow where he has been editing, researching, and creating content since 2019. A former educator and poet, his work has appeared in Carcinogenic Poetry, Shot Glass Journal, Prairie Margins, and The Rusty Nail. His digital chapbook, The Internet, was also published in TL;DR Magazine. He was the winner of the Paul Carroll award for outstanding achievement in creative writing in 2014, and he was a featured reader at the Poetry Foundation’s Open Door Reading Series in 2015. Eric holds a BA in English from the University of Illinois at Chicago, and an MEd in secondary education from DePaul University.
There are 9 references cited in this article, which can be found at the bottom of the page.
This article has been viewed 22,613 times.
Learn more...
Due to its touch screen and small controllers, called Joy-Cons, the Nintendo Switch is prone to getting oily, smudged up, and generally dirty. Luckily, cleaning the Switch is a breeze and doesn’t require a lot of effort or time. Clean the screen with a dry microfiber cloth. If the screen is still dirty, use a damp cotton cloth or piece of tape to remove smudges. For the Joy-Cons, wipe the flat surfaces with a dry cloth. Use a dry toothbrush to clean around the buttons and joysticks. Only attempt to clean the charging port if it has something trapped inside or the Switch isn’t charging. Never use chemicals or abrasive cleaners to clean your Switch or you could permanently damage it.
Steps
Removing Dust and Smudges on the Screen
-
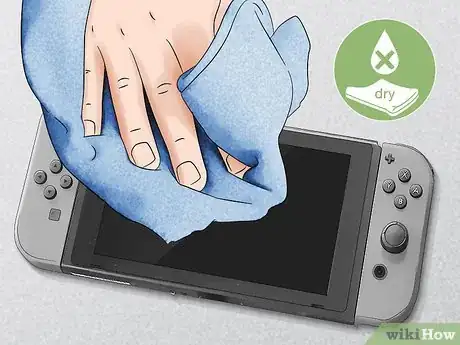
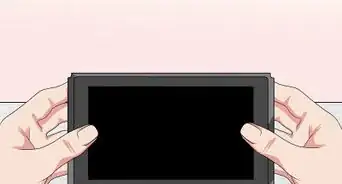
1Run a dry microfiber cloth over the screen 3-4 times to remove dust. Press and hold the power button for 3 seconds to turn the Switch off. Lay your Switch flat on a table with a clean towel or cloth underneath it. Get a clean microfiber cloth and roll it up so that it’s wider than your screen.
Gently brush the entire screen with your rolled-up microfiber cloth in one direction and motion. Repeat this process 2-3 times. This will remove most of the dust. In most cases, this is more than enough to clean the screen.[1]- Do this once every 2-3 weeks to keep dirt or dust from building up on your screen.
- You do not need to take the Joy-Cons out to do this. The Joy-Cons are the removable controllers that attach to the side of your screen.
-
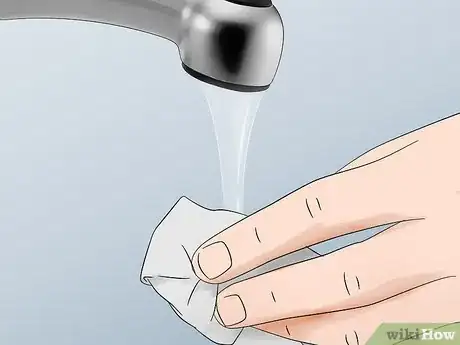
2Dampen a soft cotton cloth with a small amount of water. If your screen is still a little dirty, fill a small bowl with a 2–3 teaspoons (9.9–14.8 mL) of water. Grab a clean, soft cotton cloth and dip it into the water. Alternatively, you can run the cloth under a stream of water for 1-2 seconds and wring the excess water out.[2]
- You can use a pre-moistened lens cloth instead if you prefer.
- The cloths used to clean eyeglasses are perfect for this.
Warning: Never use any liquid other than water to clean your screen. The Switch, like other Nintendo products, is not designed to handle abrasive cleaners.[3] Do not pour water over the screen.
Advertisement -
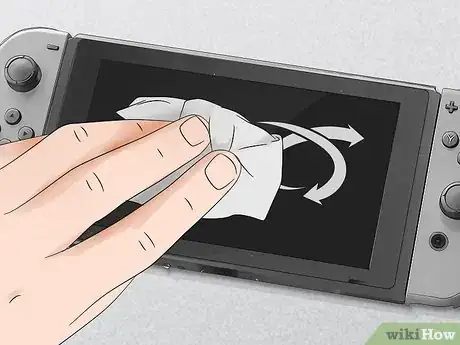
3Brush the screen with the cloth using circular motions. Grab the cloth firmly and orient it so the damp part of your cloth is exposed. Rub the cloth gently into the screen using a smooth circular motion until you’ve covered the entire screen 2-3 times.[4]
- Do not scrub the screen with the cloth. You’re more likely to crack the screen than clean it if you press really hard.
-
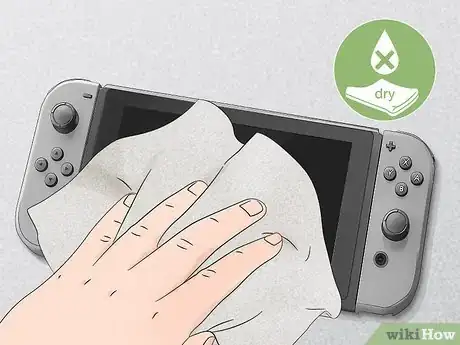
4Dry the screen with a dry cotton cloth. Grab a new cotton cloth or turn your current cloth around to use a dry section. Dry the screen by wiping in one direction, starting at the top. Hold the cloth against the top of the screen and wipe horizontally.
When you get to the edge of the screen, lift the cloth up and move down to the next horizontal section. Repeat this process until you’ve finished drying the screen.[5] -
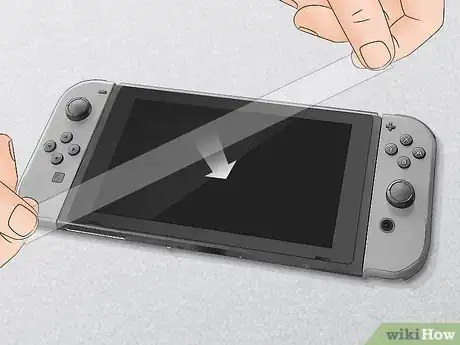
5Apply tape to stubborn smudges and dust to lift them off. If there are still smudges or thick layers of dirt on your screen, grab a roll of transparent tape.
Pull out a 7–9 in (18–23 cm) length of tape and hold it by both ends. Raise the tape over the smudge or dirt with the sticky side facing down. Lower the tape so that the sticky side touches the dirty area and lift it up.
Repeat this process with a new piece of tape for other dirty areas.[6]
The height of the screen is 6.2 inches (16 cm), so the tape has to be a little bigger than this to avoid touching the screen with your fingers as you lower the tape against the screen.
Don’t press the tape down. Simply touching the dirty area with the tape should be more than enough to clean your screen.
Caring for the Joy-Cons
-
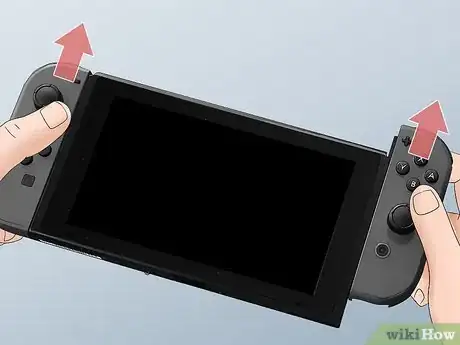
1Disconnect your Joy-Cons from the screen if necessary. Turn the Switch off and flip your Switch over. On the back of each Joy-Con, there is a small, black button at the top. It’s the only thing on the backside of the Joy-Con, so it shouldn’t be hard to find. Press this button to release the Joy-Con.
Then, gently lift the Joy-Con up and out of the slot. Repeat this process for your other Joy-Con.[7]- The power button is on the top left of the screen. Press and hold this button for 3 seconds to turn it off.
-
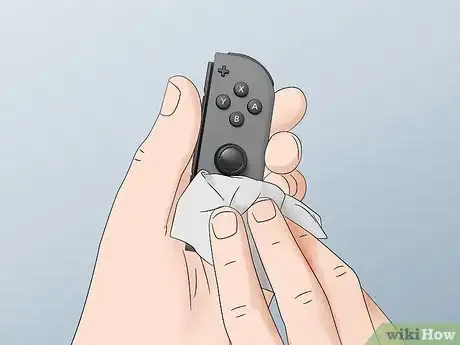
2Wipe flat surfaces with a soft, dry cloth to remove oil and dust. Grab a dry, clean, cotton or microfiber cloth. Wrap the fabric of the cloth around your dominant index finger and rub your finger around the flat portions of each Joy-Con. This will remove any dust, dirt, or natural oil from your hands.[8]
Tip: Do not use any liquid, including water, to clean the Joy-Cons. If water gets in between your buttons or joysticks, it could cause the Joy-Con to malfunction.
-
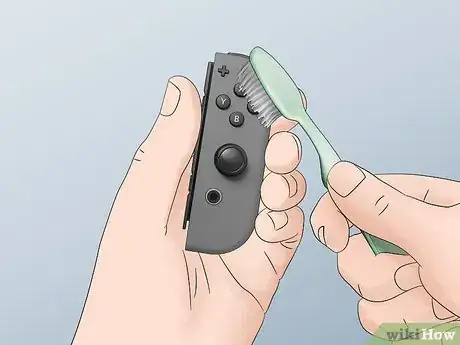
3Brush around the sticks and buttons with a clean, dry toothbrush. Hold the Joy-Con in your non-dominant hand with the sticks and buttons facing up. Use the dry bristles of the toothbrush to gently scrub around each button and stick. This pulls out any microscopic dust or grime that’s causing your buttons to stick or move slowly.
Do this for 10-15 seconds for each button and stick to remove any dust or dirt around the sensitive parts of the controller.[9]
If your buttons and joysticks are sticking, do this for as long as it takes to get them to move freely. -
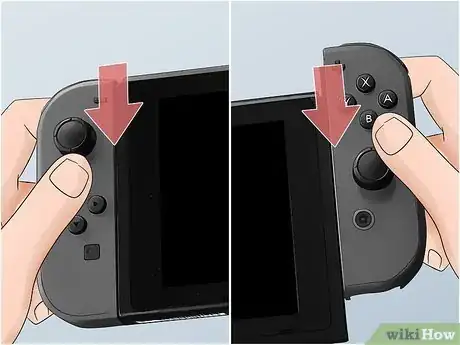
4Reattach your Joy-Cons to the Switch and turn it on. Slide your Joy-Con down the side of the screen to fit the side of the Joy-Con into the slot on the side of the screen. Slide the Joy-Con down until you hear it click at the bottom. Repeat this process with your other Joy-Con.[10]
- You don’t need to press the black button to reinsert the Joy-Cons.
- There are signs on the front of the Joy-Cons that tell you where they go. The Joy-Con with the minus sign (-) goes on the left. The Joy-Con with the plus sing (+) goes on the right.
-
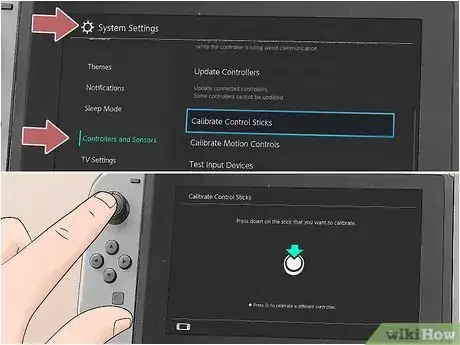
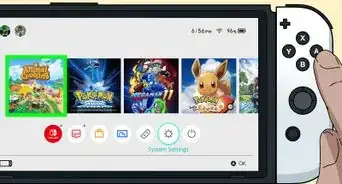
5Calibrate your joysticks to reset them. Turn the Switch on. Click “System Settings” on the home screen and select “Controllers and Sensors.” Then, flick the joystick down on the Joy-Con you want to calibrate.
A diagram of your joystick will show up on the screen. Follow the instructions by moving your stick to match the diagram to recalibrate your Joy-Con. Repeat this process for your other Joy-Con.[11]
Cleaning the Charging Port
-
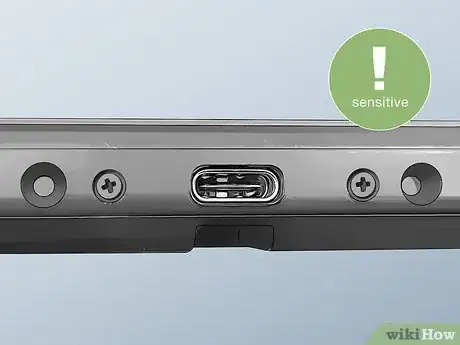
1Be exceptionally careful when cleaning your charging port. The charging port on the side of your Switch has extremely sensitive pin connectors, and damaging them can ruin your system or keep it from charging. Only mess with the ports if your system is failing to charge or if you can visibly see something trapped inside.[12]
- Before you mess with the ports, try changing your power cord or charging dock. The problem may not be the port itself.
-
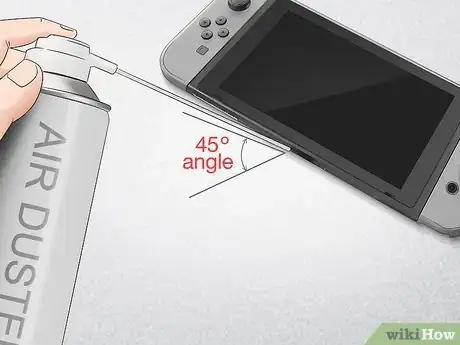
2Use compressed air to clear the port if it isn’t charging. Hold the Switch in your nondominant hand. Hold a can of compressed air in your free hand and point it at the port at a 45-degree angle. Pull the nozzle in 2-3 quick bursts to release a quick stream of air.
This should blow out any smaller particles that are blocking the pin connectors and keeping your switch from charging.[13]Warning: Do not blow compressed air directly into the port. This could permanently damage your Switch.
-
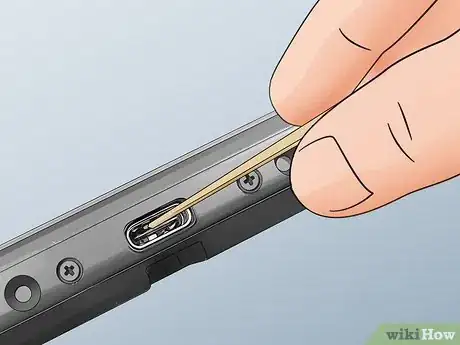
3Opt for a toothpick if you’re removing dust from inside the port. If there is a small piece of fuzz or dirt trapped inside of the port, grab a toothpick. Set the Switch on a table with the port facing up and hold the Switch in your non-dominant hand to brace it.
Carefully reach inside of the port with the tip of your toothpick. Stick the piece of dirt or fuzz with the pointy end and gently slide it out of the opening.[14]
Be extremely careful when doing this—touching the pin connectors inside of the port with your toothpick can permanently damage your Switch.
Things You’ll Need
Removing Dust and Smudges on the Screen
- Towel
- Microfiber cloth
- Cotton cloth
- Water
- Tape
Caring for the Joy-Cons
- Toothbrush
- Cotton cloth
Cleaning the Charging Port
- Compressed air
- Toothpick
References
- ↑ https://youtu.be/ISYazIeSDqQ?t=38
- ↑ https://en-americas-support.nintendo.com/app/answers/detail/a_id/47/~/how-to-clean-the-screen
- ↑ https://en-americas-support.nintendo.com/app/answers/detail/a_id/47/~/how-to-clean-the-screen
- ↑ https://youtu.be/ISYazIeSDqQ?t=41
- ↑ https://youtu.be/ISYazIeSDqQ?t=63
- ↑ https://en-americas-support.nintendo.com/app/answers/detail/a_id/47/~/how-to-clean-the-screen
- ↑ https://youtu.be/w6ziqX48BLY?t=34
- ↑ https://en-americas-support.nintendo.com/app/answers/detail/a_id/22641/kw/clean%20switch
- ↑ https://en-americas-support.nintendo.com/app/answers/detail/a_id/22641/kw/clean%20switch
- ↑ https://youtu.be/w6ziqX48BLY?t=12
- ↑ https://en-americas-support.nintendo.com/app/answers/detail/a_id/22340#DT:t1-q1a1EP:t1-q1a1-c
- ↑ https://iphonenosound.com/nintendo-switch-not-charging/
- ↑ https://iphonenosound.com/nintendo-switch-not-charging/
- ↑ https://iphonenosound.com/nintendo-switch-not-charging/
