This article was co-authored by wikiHow Staff. Our trained team of editors and researchers validate articles for accuracy and comprehensiveness. wikiHow's Content Management Team carefully monitors the work from our editorial staff to ensure that each article is backed by trusted research and meets our high quality standards.
This article has been viewed 38,561 times.
Learn more...
Earplugs protect your hearing in loud environments, like concerts or worksites, or when operating loud equipment, like guns or a chainsaw.[1] Disposable ear plugs, like many that made of soft foam or silicon, should be thrown away after every use. Wash reusable ear plugs in water and mild soap. Cleanse earmuff style “plugs” by wiping down the ear cushions with soapy water while keeping the muff safe from water damage. Clean swimming plugs by rinsing them after every use and storing them correctly.
Steps
Washing Reusable Earplugs
-
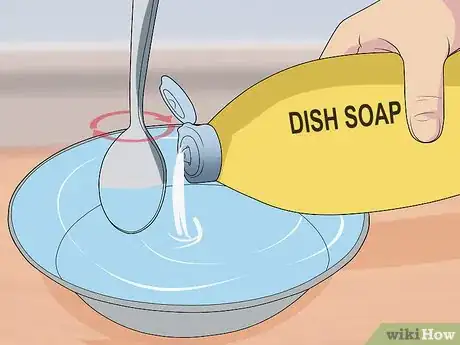
1Fill a bowl with warm water and soap. Fill a small bowl with enough warm water to completely submerge your ear plugs. Add a few drops of a mild soap, like dish soap. Mix the water with a stirring utensil, like a spoon, or with your clean hands to distribute the soap through the water.[2]
- Ear plugs that are regularly used should be washed whenever visibly dirty or every few days.
- Infrequently used plugs should be washed after using every time to prevent bacteria from breeding in the plugs while stored in their case.
- Using harsh cleaners or non-mild soaps could shorten the shelf life of your ear plugs or make them less effective.
- This cleaning technique can also be used for banded ear plugs. However, both banded and multi-use single-ear plugs should be replaced after 2 to 4 weeks for best performance.
-
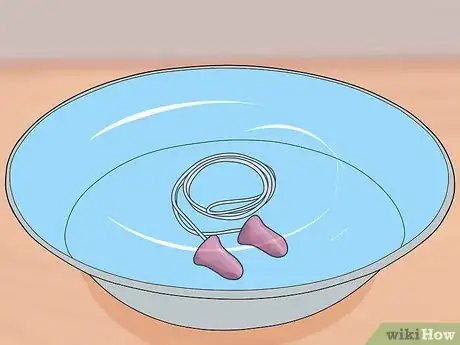
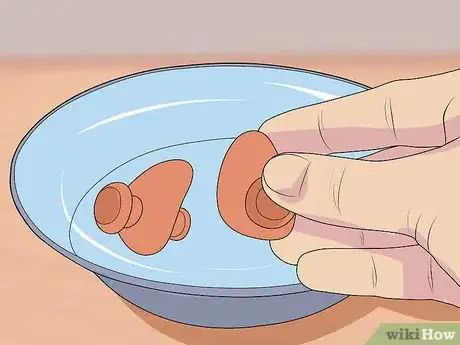
2Insert your ear plugs into the soapy water. Allow the plugs to soak in the soapy water for a few minutes to loosen dirtiness. Some ear plugs may float in the water. In this case, hold the plugs under the water for a few minutes, or until the plugs remain submerged in the water.[3]Advertisement
-
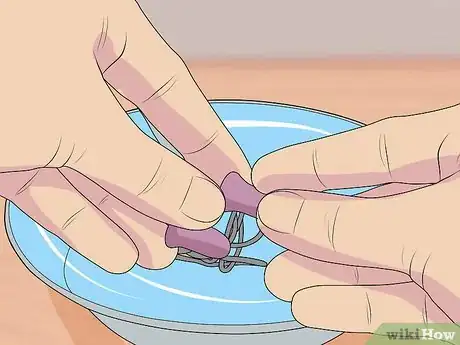
3Wipe or scrub the ear plugs. While submerged, use your clean hands to wipe away and buildup or stuck on dirtiness from the plugs. Alternatively, use a soft bristle brush, like a toothbrush, to scrub the plugs clean.
- You may need to remove the plugs from the water to get a better look. Swish the plugs in the solution to remove broken up dirt.[4]
-
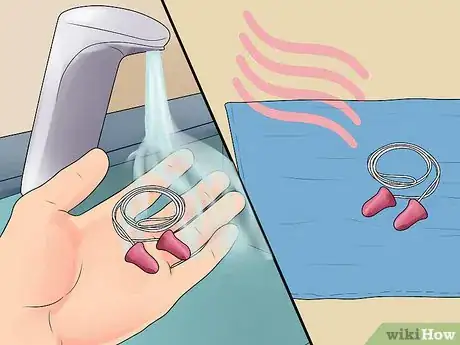
4Rinse and dry the ear plugs. After cleaning, rinse the plugs in cold water. Dab excess moisture from the plugs with a clean, dry paper towel to speed up the drying process. Allow the plugs to sit on a clean towel to air dry. Storing plugs that are still wet could cause bacteria to grow in the plug material.
-
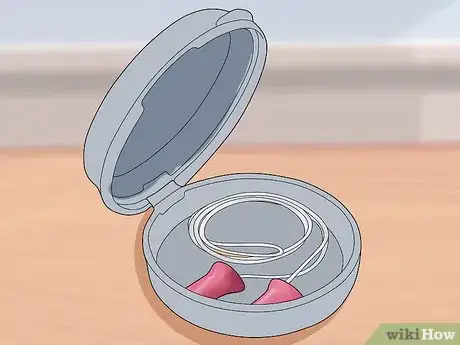
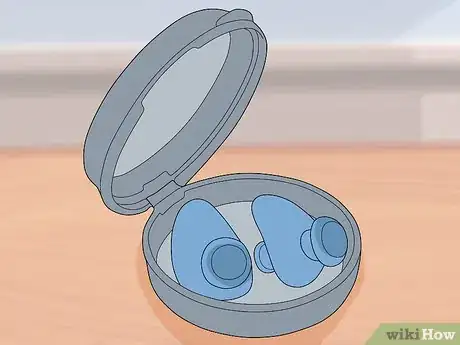
5Store the ear plugs in a case to keep them clean. When the plugs are completely dry, store them in their case. If you lack a case, you can use a small plastic container as a substitute. Keep them in their case except when using them to prevent maintain their condition and prevent re-dirtying them.
-
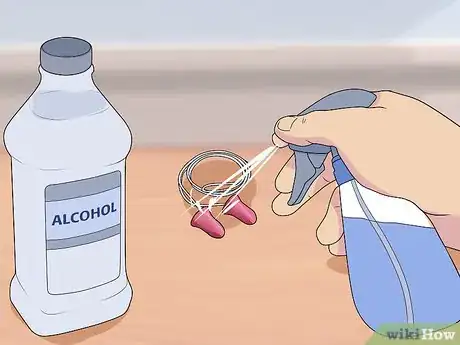
6Disinfect dry ear plugs, if desired. Fill a clean spray bottle with a small amount of isopropyl (rubbing) alcohol. Mist dry ear plugs lightly with the alcohol. Set the plugs on a clean towel to air dry. When completely dry, store the plugs in a case.[5]
- Ear plugs that are used often should be disinfected weekly or after any kind of activity that caused you to sweat.
- Plugs that are used rarely should be disinfected after every few uses or after activity that caused heavy sweating.
Cleansing Earmuff Style Ear “Plugs”
-
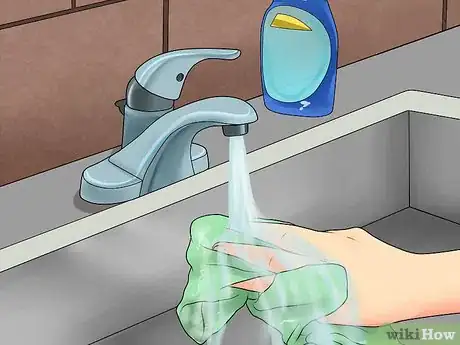
1Dampen a clean rag with warm water. Run a clean rag under warm running water. Wring the rag out over the sink to remove excess water from it. Apply a mild soap, like dish soap, to the rag. Rub the rag together to build up a light lather.
-
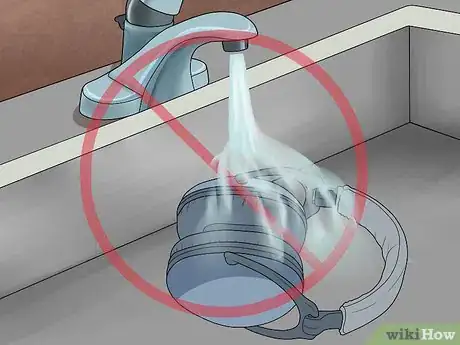
2Avoid getting the body of the earmuff wet. Many earmuff style noise reducers have specially designed inner parts that can be damaged or compromised if wet. Refrain from submerging the muffs in water. Take care to prevent water from dripping into the earholes.
-
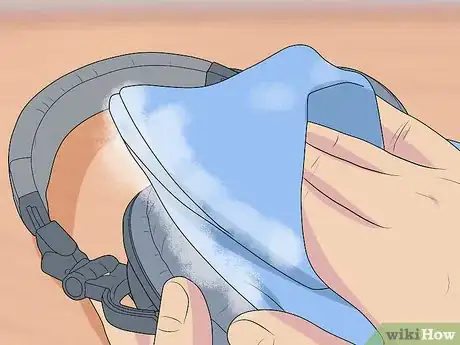
3Wipe the ear cushions thoroughly with your soapy rag. Pay close attention to the folds in the cushions. Dirt, earwax, and dead skin often collect here. If dirt remains stubbornly stuck inside a crack or crevice, use a cotton swap dipped in warm, soapy water or a toothbrush.
-
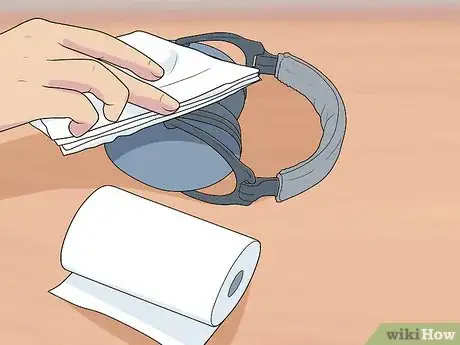
4Rinse and dry your earmuffs with paper towels. Dampen a clean towel with cool water and wipe away soap and remaining dirtiness from the muffs. Use a dry paper towel to dry any remaining moisture. Your earmuffs are now clean and ready to wear.
Cleaning Swimming Earplugs (Non-moldable)
-
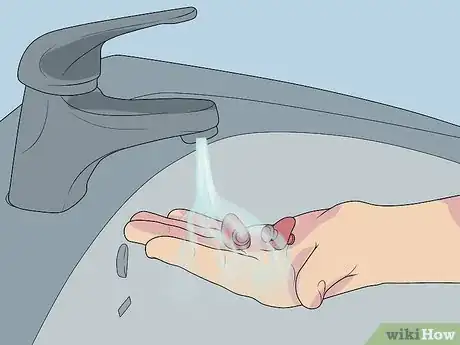
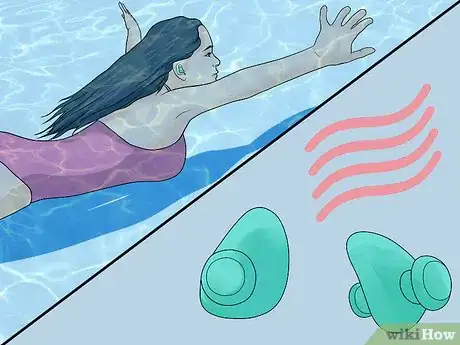
1Rinse your ear plugs after using them. Chlorine can remain on your ear plugs after a swim. This can cause your plugs to break down faster than normal. To keep your plugs in the best condition, rinse them thoroughly in non-chlorinated water after every swim.
-
2Allow plugs enough time to dry after swimming. Putting your still wet plugs straight into a case, even after a quick rinse following a swim, could cause bacteria to grow in them. Your plugs should air dry completely before being stored in a container.[6]
-
3Wash plugs in warm, soapy water. Fill a small bowl with warm, soapy water and lightly agitate the solution to distribute the soap. With your clean fingers, a soft brush (like a toothbrush), or a towel, gently scrub the plugs. Lay the plugs on a clean towel to air dry.
- Clean your swimming earplugs when visibly dirty on an as-needed basis. For the cleanest plugs, you may want to clean them weekly or every other week.
-
4Store your ear plugs in their container. When not in use, your plugs should always be kept in their container. If your plugs didn’t come with a container or it got lost, use a small plastic container instead.
Warnings
- Washing silicone putty or soft wax ear plugs, like the kind used in moldable swimming plugs, will compromise their ability to protect your hearing. For this reason, avoid washing these.[7]⧼thumbs_response⧽
- Do not share ear plugs with others.⧼thumbs_response⧽
Things You’ll Need
- Bowl (small size)
- Clean dishtowel
- Clean toothbrush (optional)
- Isopropyl alcohol (also called rubbing alcohol; optional)
- Mild soap (like dish soap)
- Paper towel
- Spray bottle
References
- ↑ http://www.entnet.org/content/noise-and-hearing-protection
- ↑ https://www.allearplugs.com/help-centre/how-to-care-for-your-ear-plugs.aspx
- ↑ https://www.allearplugs.com/help-centre/how-to-care-for-your-ear-plugs.aspx
- ↑ https://www.allearplugs.com/help-centre/how-to-care-for-your-ear-plugs.aspx
- ↑ https://www.allearplugs.com/help-centre/how-to-care-for-your-ear-plugs.aspx
- ↑ https://www.allearplugs.com/help-centre/how-to-care-for-your-ear-plugs.aspx
- ↑ https://www.allearplugs.com/help-centre/how-to-care-for-your-ear-plugs.aspx
