This article was medically reviewed by Luba Lee, FNP-BC, MS. Luba Lee, FNP-BC is a Board-Certified Family Nurse Practitioner (FNP) and educator in Tennessee with over a decade of clinical experience. Luba has certifications in Pediatric Advanced Life Support (PALS), Emergency Medicine, Advanced Cardiac Life Support (ACLS), Team Building, and Critical Care Nursing. She received her Master of Science in Nursing (MSN) from the University of Tennessee in 2006.
There are 10 references cited in this article, which can be found at the bottom of the page.
This article has been viewed 80,059 times.
Keeping your ears dry in the shower can be tricky, but it's necessary if you're dealing with an ear infection or recovering from ear surgery. There are lots of nifty pieces you can wear on and around your head to protect your inner and outer ears in the shower. Certain types of earplugs are also helpful if you need to keep water from going into your ear canal. If you get a little water on or in your ears, it's important to dry them as soon as you notice so you can heal faster.
Steps
Protecting Your Ears
-
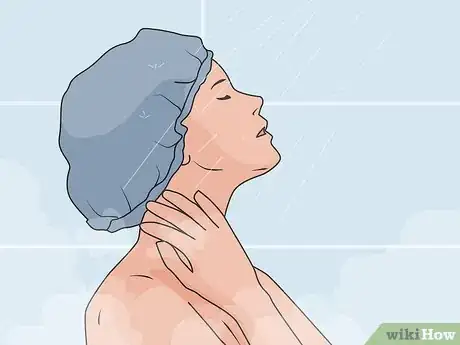
1Cover your head and ears with a shower cap. If necessary, put your hair up into a bun. Hold the shower cap by the elastic edges and loop one side around the back of your neck. Stretch the elastic and cover the rest of your head with the cap so the elastic runs along your hairline and over your ears.
- Shower caps are easy to find at most drug stores and beauty supply stores.
-
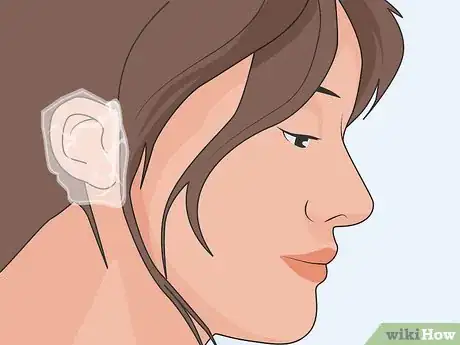
2Keep your ears dry with disposable ear covers. Disposable ear covers look like tiny shower caps that go over your ears. To put them on, stretch the elastic around the tops of your ears and pull it down over the lobes. If you’re washing your hair, be careful not to accidentally pull them off as you’re massaging shampoo and conditioner into your scalp.
- You can buy packs of disposable ear covers online or at beauty supply stores.
- These are also perfect for keeping your ears dye-free when you’re changing your hair color.
Advertisement -
3Wear a swim cap large enough to cover your ears. If you have long hair, pull it back into a bun or ponytail. Place the edge of the cap on top of your forehead and then stretch it over the top of your hair. Make sure the front edge is just above your eyebrows and your ears are covered on the sides.[1]
- If your cap isn't large enough to cover your ears, try to buy a full-coverage cap that has elongated sides made to go over your ears.
- You can buy swim caps online or from any superstore that sells swimsuits and swim accessories. Some gyms or activewear shops may also sell them.
-
4Put on a water-resistant headband that covers your ears. Hold the headband so that the inner lining (with small grips) is on the inside. Hold one edge at the top of your forehead and stretch the band over your head so the other edge sits at the base of your hairline on the back of your head.[2]
- Look for a headband made from 100% neoprene for the best protection and fit.
- You can buy swimming headbands online or from swimwear specialty shops.
- Make sure the band is wide enough at the sides to cover your ears entirely.
Keeping Your Ear Canals Dry
-
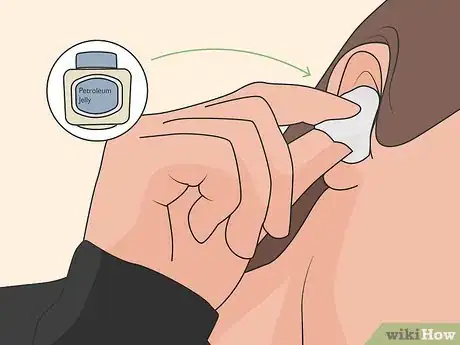
1Plug your ears with cotton balls covered in petroleum jelly. Use a clean finger to dab petroleum jelly onto one side of a cotton ball. Gently push it into your ear and, once it's snug, dab more petroleum jelly onto the outside of the cotton ball.
- The petroleum jelly will repel moisture from the cotton ball so none gets in your ear canal.
- Once you've showered, take out the cotton balls and throw them away.
-
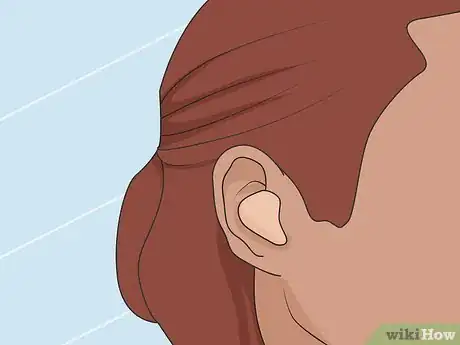
2Protect your inner ear with silicone ear putty. Wash your hands before you handle the ear putty. Place the earplug over your ear canal and use your fingers to shape the putty over the opening of your ear as well as the grooves. Don't force it into your ear canal, just gently mold it over your ear.[3]
- If you notice any cracks in the putty, don't try to remold it, just use a fresh pair.
- To take the plugs out, push your ear upward from the backside of your ear and then pull down on your earlobe. Keep doing this until the putty has loosened up enough for you to take it out.
- You can use the same pair of silicone earplugs for up to 2 weeks as long as they stay in good condition (i.e., no cracks or crumbliness around the edges).
- If you have an ear infection or if you’re recovering from surgery, talk to your doctor before using ear putty.
-
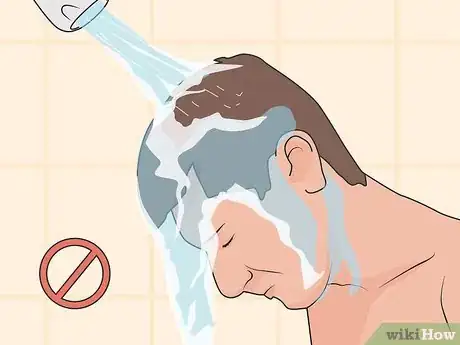
3Don't put your head under the stream of water. Stand back from the showerhead so only your body is getting wet. Carefully splash water onto your body with your hands or use a wet rag or sponge. You may still get some specks of water on your outer ear, so keep a dry hand towel nearby so you can pat any droplets away.
- Of course, this will only work if you don't plan to wash your hair.
Drying Your Ears
-
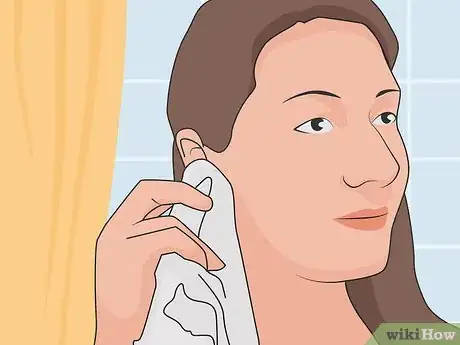
1Pat your ears dry with a towel or tissue. If you've accidentally splashed some water on your outer ear, dry that first as soon as you get out of the shower. Hold a soft bath towel or tissue in your hand and gently pat your ear. Layer the towel or tissue over your fingers to wipe away any moisture stuck in the small crevices and grooves.[4]
- Avoid using rough, itchy towels because they may irritate the sensitive skin on your ears.
-
2Tip your head to the side to drain water out of your ear canal. If you suspect you've accidentally gotten water inside your ear, get it out as soon as you hop out of the shower. Lean over to the front and then turn your head to the side so your ear is facing the ground. Hold the position until you feel the water come out.[5]
- It may help to gently bob your head up and down.
- If the water is really in there, bend your head all the way down (like you're touching your toes) so you're upside down until you feel it move around in your ear. Then, lift your torso to be parallel to the ground and turn your head to the side to drain it out.
- You can also lie down on your side with the water-laden ear facing down.
-
3Move your jaw around to help dislodge water stuck inside your ear. Chew gum, yawn, or move your jaw as if you’re chewing to loosen up the water. If the water still won’t come out, try doing these chewing motions when you’re leaning to one side or lying on your side with the water-laden ear facing down.[6]
- These simple movements help move your Eustachian tubes around, which can dislodge any stubborn droplets of water.
-
4Blow-dry your ears using a cool or low-heat setting. Hold the hairdryer 12 inches (30 cm) away from your ear and turn it on the lowest heat and speed setting. If your hair dryer has a "cool" button, alternate between low heat and cool.[7]
- Don't use a high heat setting because your ear will get hot very quickly!
-
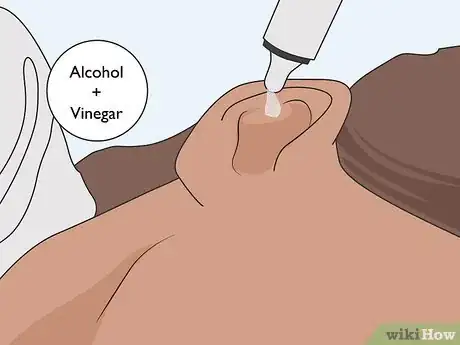
5Dry out your ears with rubbing alcohol and vinegar. Mix rubbing alcohol and white vinegar in equal amounts, then put 2-3 drops in the affected ear. You can use a medicine dropper or soak a cotton ball and squeeze it to release drops into your ear. Wiggle the outside of your ear gently to encourage the liquid to go into your ear canal, then tilt your head with the affected ear up for 3-5 minutes. Tilt your head the other way to let it drain out when you’re done.[8]
- The alcohol and vinegar mixture will help dry out your ear canal and prevent infections, like swimmer’s ear.
- If you prefer, you can use an over-the-counter ear drop solution, like Swim-Ear, Auro-Dri, or Debrox.
- Before adding this solution to your ear, dry the outside of your ear as much as possible with a towel or hair dryer on a low-heat setting.
-
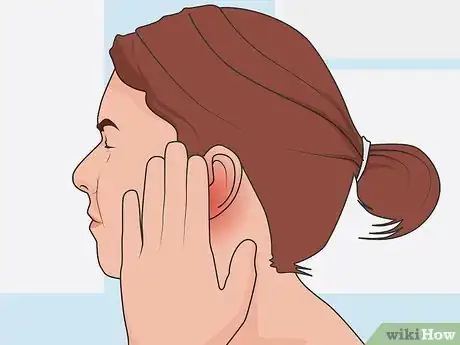
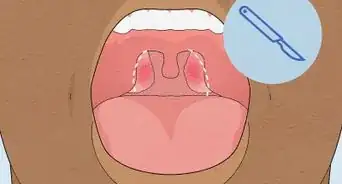
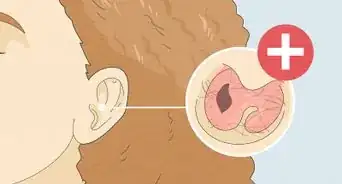
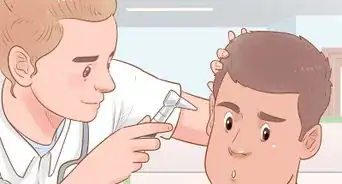
6See a doctor if you experience fever, itchiness, or drainage. If you notice any itching inside your ear canal along with redness or fluid drainage, call your doctor. Let them know if you feel feverish, have a headache, or if it hurts to touch your ear.[9]
- If you already have an ear infection and these symptoms get worse or don't go away, call your doctor.
Warnings
- Don't put any foreign objects in your ear canal because it can push wax deeper into your ear or you might accidentally damage your eardrum.[13]⧼thumbs_response⧽
References
- ↑ https://www.vumc.org/socks/socks-research-corner/just-keep-swimming-research-update-ear-tubes-and-water-exposure
- ↑ https://www.vumc.org/socks/socks-research-corner/just-keep-swimming-research-update-ear-tubes-and-water-exposure
- ↑ https://youtu.be/MnlbnmyPm1k?t=24
- ↑ https://newsnetwork.mayoclinic.org/discussion/home-remedies-suffering-from-swimmers-ear/
- ↑ https://www.pennmedicine.org/updates/blogs/health-and-wellness/2018/august/swimmers-ear
- ↑ https://www.uofmhealth.org/health-library/uf9680
- ↑ https://www.pennmedicine.org/updates/blogs/health-and-wellness/2018/august/swimmers-ear
- ↑ https://www.uofmhealth.org/health-library/za1096
- ↑ https://www.mayoclinic.org/diseases-conditions/swimmers-ear/symptoms-causes/syc-20351682
- ↑ https://www.mayoclinic.org/diseases-conditions/swimmers-ear/diagnosis-treatment/drc-20351688
- ↑ https://wexnermedical.osu.edu/blog/3-risks-of-blowing-your-nose-too-hard
- ↑ https://medlineplus.gov/ency/article/000638.htm
- ↑ https://newsnetwork.mayoclinic.org/discussion/home-remedies-suffering-from-swimmers-ear/

















Medical Disclaimer
The content of this article is not intended to be a substitute for professional medical advice, examination, diagnosis, or treatment. You should always contact your doctor or other qualified healthcare professional before starting, changing, or stopping any kind of health treatment.
Read More...