This article was medically reviewed by Ronn Callada, RN, MS. Ronn Callada, ANP, RN is a Nurse Practitioner at the Memorial Sloan Kettering Cancer Center in New York. Ronn is also part of the adjunct faculty at New York University in nursing. He received his MS in Nursing from Stony Brook University School of Nursing in 2013.
There are 16 references cited in this article, which can be found at the bottom of the page.
This article has been viewed 224,359 times.
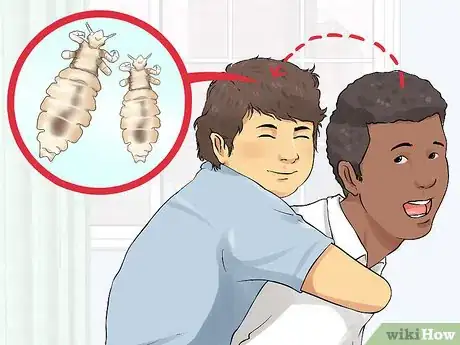
Head lice (Pediculus humans capitis), otherwise known as pediculosis,[1] are parasites that can live in humans' hair and on their scalps and clothes.[2] They don't carry disease, but they can be a nuisance, and frequent scratching of the scalp may lead to infection. Contrary to popular belief, head lice are not a problem related to poor hygiene; in fact, lice actually prefer clean hair. These critters don't jump like fleas, so they can only spread by crawling from one person to another. Therefore, a child with long hair that rests against another child is more likely to have some of these hitchhikers climb aboard during play.[3] While direct head-to-head contact is the most common means of transmission, sleepovers, wearing another child's hat, swapping hair brushes,[4] or laying on another child's bed are some of the common ways that children with any length of hair can contract lice.[5] If your child was recently exposed to someone with a confirmed case of lice or is complaining about an itchy head, this is how to check for lice.
Steps
Wet Combing to Diagnose a Lice Infestation
-
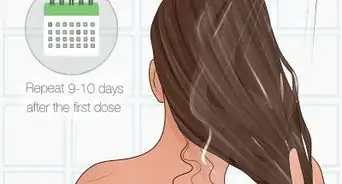
1Wash your child's hair. Be sure to use shampoo and conditioner. The resulting moisture at the root of your child's hair, where lice thrive, may temporarily prevent their movement along the scalp.[6] Conditioner will also make it easier to comb through your child's hair. Use a comb containing gaps no more than 0.2mm.[7]
-
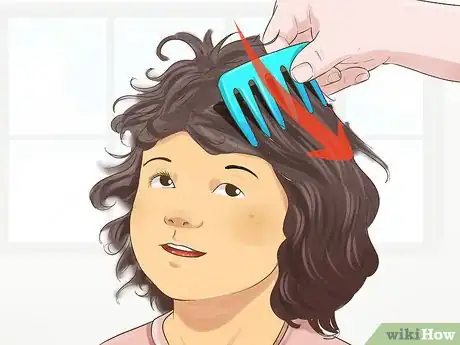
2Comb your child's hair. Use a wide-toothed comb to straighten out any tangles or knots in the hair.Advertisement
-
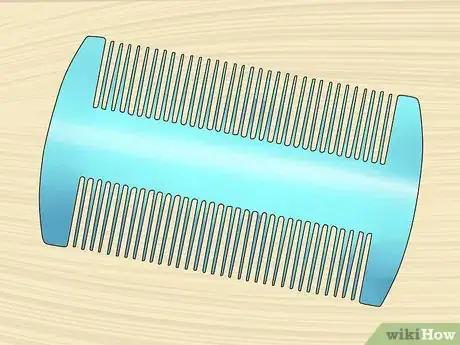
3Switch to a lice removal comb. Now that your child's hair is clean and straight, you can begin to inspect their scalp more closely for lice.
-
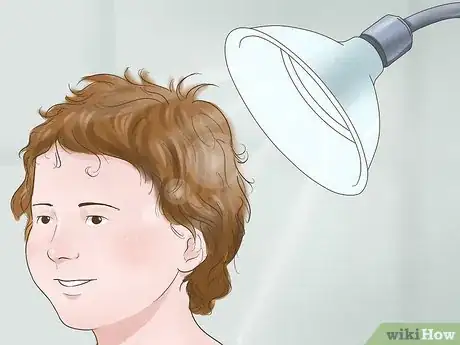
4Make sure you'll be able to see. Have your child sit perfectly still. Use a room with good lighting, or sufficient natural light from outside.
- Drape a white-colored cloth across your child's shoulders while searching. This way if any lice fall off your child's head while searching, the lice can be collected and easily discarded.
- If necessary, have a flashlight or headlamp handy so that you can examine the roots more carefully.
- You may also want to have a magnifying glass on hand to be sure you don't miss anything.
-
5Start at the scalp and brush out firmly to the ends of your child's hair. You can hold the brush in place with each stroke to systematically search for lice. This will allow you to thoroughly examine each section of your child's head. [8]
- Pay extra attention to the area of the scalp around the ears and at the nape of the neck. Although lice can live anywhere on the scalp, these areas tend to be tell-tale regions during an infestation.[9]
-
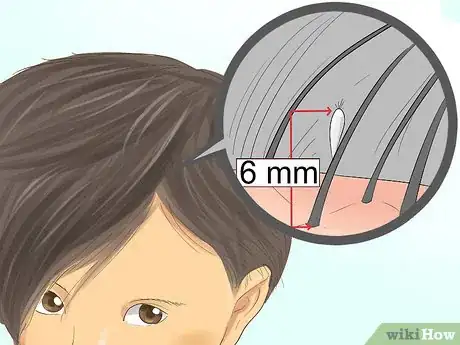
6Check near the hair follicle, about 1/4-inch (6 mm) to 1/2-inch from the scalp, for eggs (called nits). Nits are about the size of a pinhead and are glued onto the hair shaft. They are oval-shaped and translucent in color when first laid, but turn brown as the embryo develops.
-
7Inspect the comb's teeth after each stroke. Look for lice and their eggs (nits).
-
8Understand what to look for. Adult lice are light brown and their bodies will be about the size of a sesame seed. Nits may be brown, yellow, or white.[10]
- Closely examine the comb's teeth both during and after each comb stroke, using a magnifying glass if necessary. If examining under a blacklight, the nits will appear as light blue in color.[11]
-
9Rinse the comb under a faucet after each stroke or dislodge the lice using a piece of wet toilet paper. This will remove any lice that were picked up during combing. It will also wash away any dandruff your child might have, which can resemble lice nits.[12]
-
10Work over each region of your child's head at least once. It may be more effective to repeat this process, as lice can move around on the scalp.
Dry Combing to Diagnose a Lice Infection
-
1Comb through your child's hair. It may be helpful to detangle hair with a brush or comb first.
-
2Use a fine-toothed lice comb. This process will be similar to wet-combing.
- If nits pose a problem to thorough combing, try soaking hair in a 3%-5% white vinegar bath prior to using the lice comb.
-
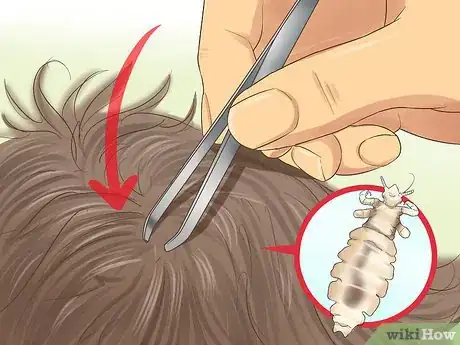
3
-
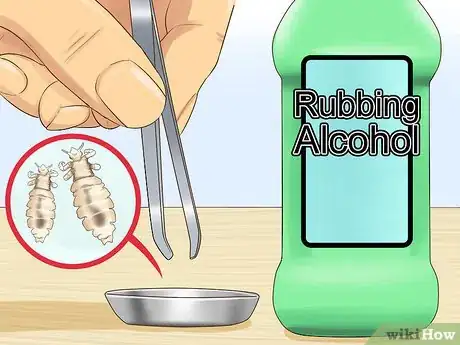
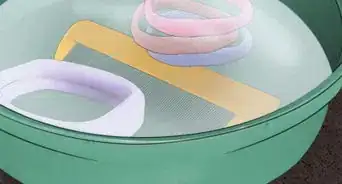
4Place any lice you find in a small cup of isopropyl (rubbing) alcohol. Lice can survive in water, and may escape if not properly dealt with after combing. You should also soak the combs used to find and catch lice in rubbing alcohol for at least one hour.
-
5Be vigilant. If you have found lice and/or nits and removed them with a comb or tweezers, it is important to repeat the procedure on a daily basis. Eggs may take several days to hatch, so it's important to continue treatment and removal, even if it seems like the problem is getting better. Some experts recommend nightly lice inspection and removal and continued monitoring for two to three weeks after the initial treatment.[15]
- While dry combing is an excellent way to detect lice, picking individual lice with tweezers can be a tiresome and time-consuming activity for both you and your child. Some experts recommend wet combing, as it allows you to quickly diagnose and partially treat the infection more efficiently.[16]
- If your child has a hard time sitting still for prolonged periods, try doing lice inspection/removal with a movie or TV show on. Television may provide a welcome distraction for your child while you look for and remove lice and nits.
-
6Wash your child's clothes and bedding. Even if your child doesn't show any signs or symptoms of a lice infection, if one of their friends has lice, it's best to take precautions.
Taking Preventative Action
-
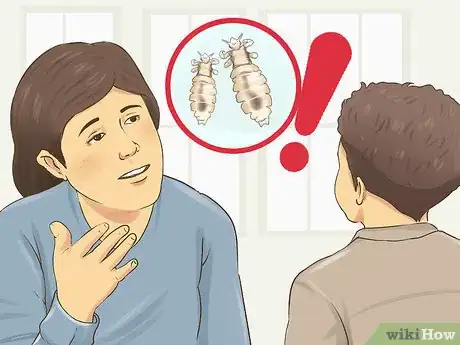
1Ask around. Find out from your child's school whether anyone in his or her grade has reported a lice inspection. You may want to ask other parents as well.
-
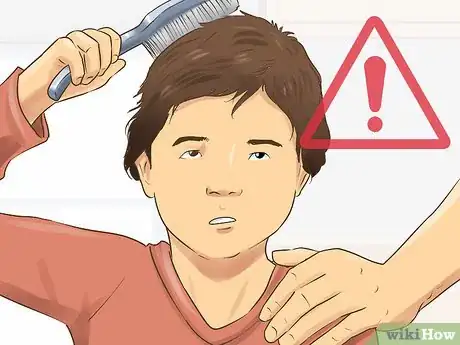
2Look for signs and symptoms. Take note if your child or one of your child's friends engages in frequent head scratching or appears to have an itchy scalp or crawling sensations.[17]
-
3Do not let your child share combs, brushes, helmets, or hats with anyone. You may also want to advise your child to avoid touching couches, chairs, or pillows that a person with lice has used.[18]
-
4Check the rest of your family. If your child has lice, there's a good chance you or someone else in your home may have been exposed to lice. If you are manually removing lice from your child's head, wear rubber gloves or thoroughly wash your hands afterward, as lice have been known in some cases to live underneath a host's fingernails before spreading to the head.
-
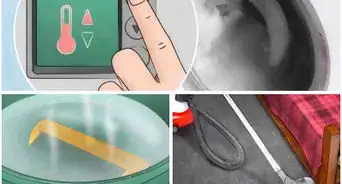
5Wash laundry frequently. Bedding, towels, hats, and recently worn clothes should be washed with hot, soapy water and put through a clothes dryer at 140 degrees Fahrenheit (60 degrees Celsius). You may also want to vacuum pillows and car seats, and store anything that can't be washed (like stuffed animals) in a sealed plastic bag for at least two weeks to ensure that any lice and unhatched eggs are dead.[19]
Warnings
- Head lice treatment products are expensive and contain pesticides, so it's important to confirm a child has live lice before applying a treatment. Lice treatments shouldn't be used simply as a preventative measure.⧼thumbs_response⧽
- A fine-toothed lice comb may not be effective method of checking a child's hair for lice. Unless you comb right against the scalp, you can easily miss capturing the lice. Nits are difficult to remove with a comb because they are glued to the hair shaft and may be smaller than the tooth gaps in the comb.⧼thumbs_response⧽
Things You'll Need
- Bright lamp or flashlight (optional)
- Comb
- Tweezers
- Rubbing alcohol
- Magnifying glass
References
- ↑ https://www.health.ny.gov/diseases/communicable/pediculosis/fact_sheet
- ↑ https://www.health.ny.gov/diseases/communicable/pediculosis/fact_sheet
- ↑ http://www.cdc.gov/parasites/lice/head/gen_info/faqs.html
- ↑ https://www.health.ny.gov/diseases/communicable/pediculosis/fact_sheet
- ↑ http://www.cdc.gov/parasites/lice/head/epi.html
- ↑ http://www.ncbi.nlm.nih.gov/pmc/articles/PMC1279305/
- ↑ Goldstein, MD, MPH, Adam O, & Goldstein, MD, Beth G. Pediculosis capitis. UptoDate. May 20, 2015.
- ↑ http://www.racgp.org.au/afp/2013/march/wet-combing/
- ↑ http://lancaster.unl.edu/pest/lice/headlice018.shtml
- ↑ https://www.aad.org/public/diseases/a-z/head-lice-treatment
- ↑ Goldstein, MD, MPH, Adam O, & Goldstein, MD, Beth G. Pediculosis capitis. UptoDate. May 20, 2015.
- ↑ http://www.patient.info/health/checking-for-head-lice
- ↑ http://www.nhs.uk/Conditions/Head-lice/Pages/Diagnosis.aspx
- ↑ http://www.consumerreports.org/cro/news/2014/09/to-get-rid-of-head-lice-comb-them-out-instead-of-using-nix-rid-or-other-chemicals/index.htm
- ↑ https://www.michigan.gov/documents/Final_Michigan_Head_Lice_Manual_106828_7.pdf
- ↑ http://www.bmj.com/content/321/7270/1187
- ↑ https://www.aad.org/public/diseases/a-z/head-lice-symptoms
- ↑ https://www.aad.org/public/diseases/a-z/head-lice-self-care
- ↑ http://lancaster.unl.edu/pest/lice/headlice030.shtml

