

PowerPoint 2013
Managing Slides
Slide sections
If you have a lot of slides, you can organize them into sections to make your presentation easier to navigate. Sections can be collapsed or expanded in the slide navigation pane and named for easy reference.
To create slide sections:
In our example, we will add two sections: one for dogs that are available for adoption, and another for cats and other pets.
- Select the slide that you want to begin a section.
 Selecting a slide to begin a section
 - From the Home tab, click the Section command, then choose Add Section from the drop-down menu.
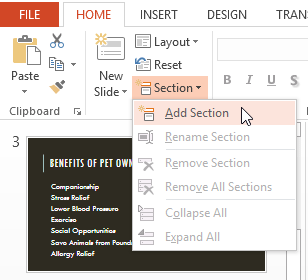 Clicking Add Section
 - An Untitled Section will appear in the slide navigation pane.
 A newly created section
 - To rename the section, click the Section command, then choose Rename Section from the drop-down menu.
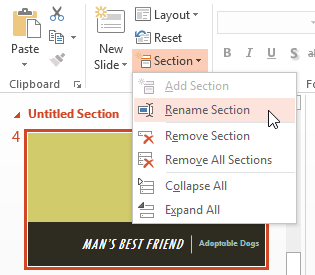 Clicking Rename Section
 - Type the new section name in the dialog box, then click Rename.
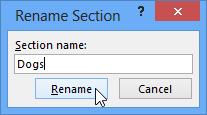 Renaming a section
 - Repeat to add as many sections as you need.
- In the slide navigation pane, click the arrow next to a section name to collapse or expand it.
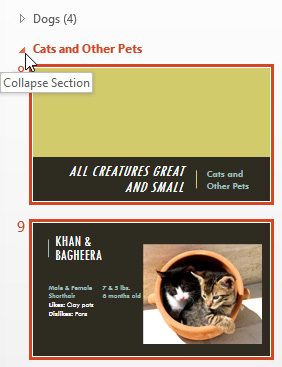 Collapsing a section
To remove a section, click the Section command, then click Remove Section. You can also click Remove All Sections to remove all sections from your slides.
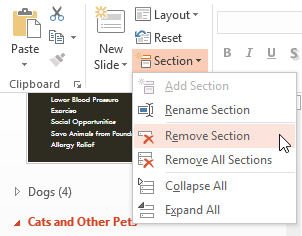 Removing a section


