

PowerPoint 2013
Formatting Pictures
Removing the background from an image

With Background Removal, PowerPoint uses special algorithms to determine which parts of the image are the background and then removes those areas from the image. This can give your images a cleaner appearance and will allow the slide background (or other objects) to show through.
Some images do not work as well with Background Removal, and they may require extra time and effort to get good results. Generally, it's more difficult if the image has a complex background or if the foreground and background blend together.
 Before
 After
AfterTo remove the background from an image:
- Select the desired image, then click the Format tab.
- Click the Remove Background command.
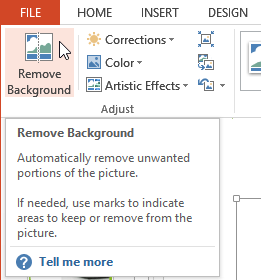 Clicking Remove Background
 - PowerPoint will try to guess which part of the image is the background, and it will mark that area with a magenta fill. It will also place a box around the image with selection handles.
 Background areas are marked with magenta
 - Drag the selection handles until all of the foreground is inside the box. After you do this, PowerPoint may readjust the background.
- At this point, you may need to help PowerPoint decide which parts of the image are foreground and which parts are background. You can do this by using the Mark Areas to Keep and Mark Areas to Remove commands:
- If PowerPoint has marked part of the foreground magenta, click Mark Areas to Keep and draw a line in that region of the image.
- If part of the background has not been marked with magenta, click Mark Areas to Remove and draw a line in that region of the image.
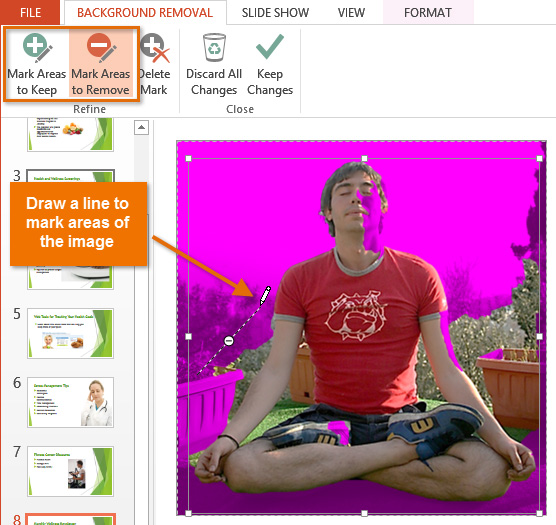 Marking areas to remove
 - After you add your marks, PowerPoint will readjust the image.
 After adding marks
 - When you're satisfied with the image, click Keep Changes.
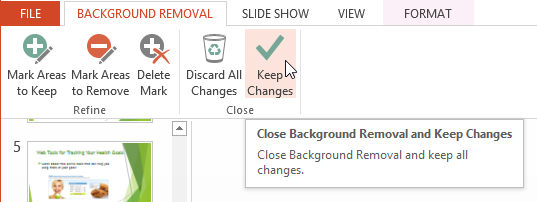 Clicking Keep Changes
 - The background will be removed. You can adjust the image at any time by clicking the Remove Background command again.
 The finished image
As with artistic effects, Background Removal will not work with some clip art images.


