This article was co-authored by wikiHow Staff. Our trained team of editors and researchers validate articles for accuracy and comprehensiveness. wikiHow's Content Management Team carefully monitors the work from our editorial staff to ensure that each article is backed by trusted research and meets our high quality standards.
This article has been viewed 27,742 times.
Learn more...
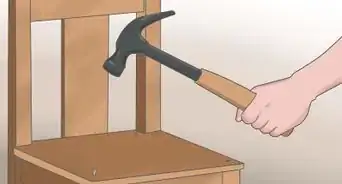
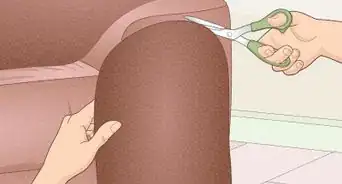
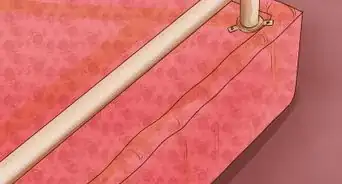
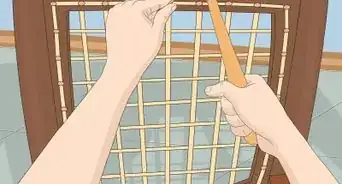
If you have a wooden chair with a worn out seat, or no seat left at all, webbing a new seat with cloth strips is easier than you might think. By cutting out your strips, stapling them to the chair seat, and weaving them together, you’ll have a new seat in no time. The main difficulty is that the shape of the chair seat may require you to adjust the process a little bit. If the chair you are using still has a seat on it, remove this before you start the webbing project.
Steps
Cutting the Strips
-
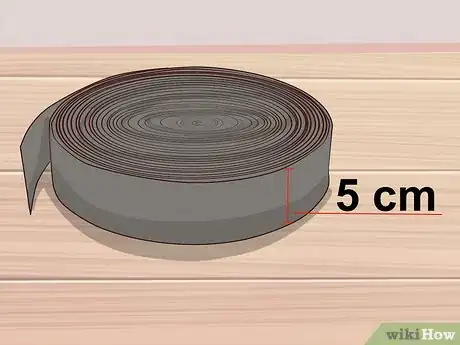
1Buy two-inch (5 cm) wide webbing at a craft store. Look for webbing made of cotton or nylon for a nice look and comfortable seat. If you have a choice of colors, choose the colors you prefer. One or two colors gives you simplest look and process.
- Jute webbing is another option, but this is typically used when a cushion will go over it and may not give you the look you want or be comfortable for sitting on.
-
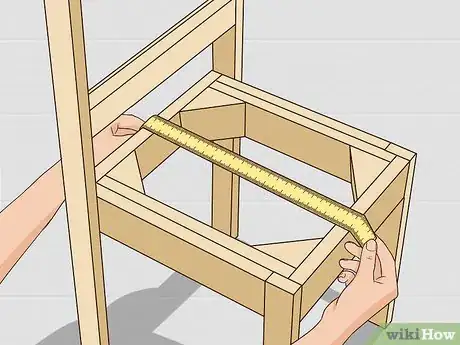
2Measure the seat from back to front. Set the end of your measuring tape at the back edge of the chair seat. Extend the tape out and find the number that is closest to the front edge of the seat. Write this number down and label it “back to front” to keep track of which measurement it is.
- If the chair has an irregular shape, e.g. it is not a square or rectangle, you may need to take multiple measurements that account for the parts which may be longer. It may be easier to take a measurement for each strip so you can cut each strip to the exact length that you need.
Advertisement -
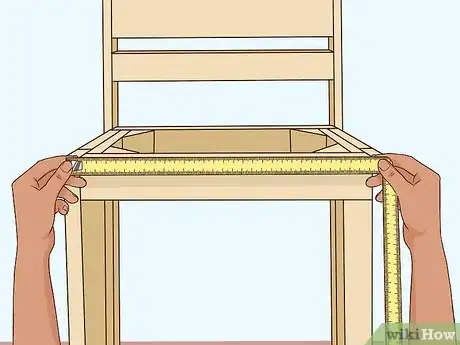
3Measure the seat from side to side. Set the end of the tape measure on either the right or left side of the chair, whichever one makes it easier to read the tape. Write down the number that is closest to the edge of the seat. Label it “side to side.”
- Again, note that more than one measurement may be necessary if the chair shape is not symmetrical.
-
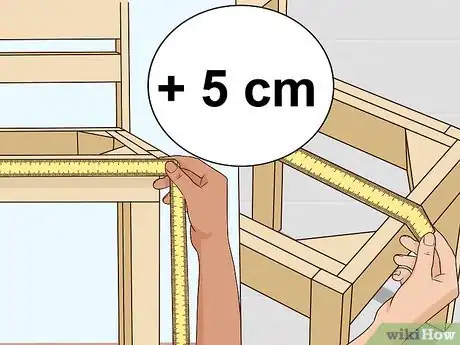
4Add two inches (5 cm) to both measurements. Since the strips of fabric will extend over the edge of the chair, they need to be longer than the seat itself. Adding two inches (5 cm) will give you one inch to work with on each end of the strip.
- If you measured separately for each strip, be sure to add the extra two inches to each measurement.
-
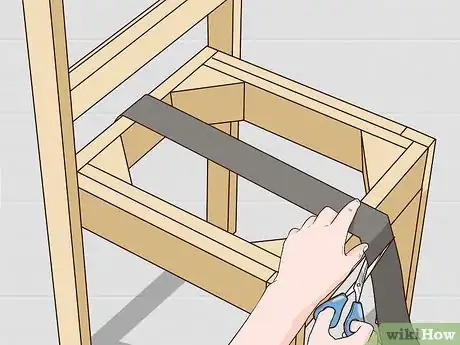
5Cut the strips for the back to front measurement. Using the tape measure, mark with a pen on the webbing the length you need for the back to front strips. Use scissors to cut the strips, laying them on the chair as you cut them to determine exactly how many you need to cut.[1]
- When you web the chair, you have the option of placing the strips tightly side by side or spacing them an inch or more apart. This decision will affect how many strips you need.
-
6Measure and cut the side to side strips. Lay the webbing out and use the tape measure to make marks based on the side to side measurements. Don’t forget to add the two inches (5 cm). Use sharp scissors to cut the strips and lay them side to side on the seat. Space them as you will when you attach them.
- Again, using wider spacing means you need less strips.
-
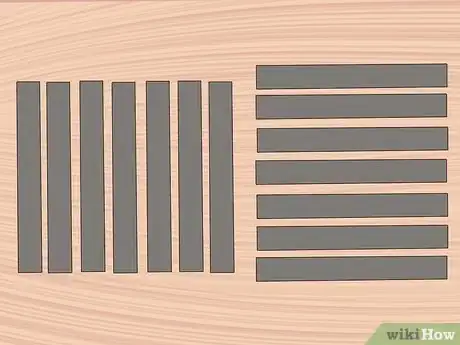
7Take the strips off of the seat and set them aside in two groups. Once you have the strips cut so that you have enough for the whole seat, lay them aside. Divide them up in a pile for back to front and a pile for side to side. If you have strips of various length, try to keep them arranged in order.
Attaching the First Layer of Webbing
-
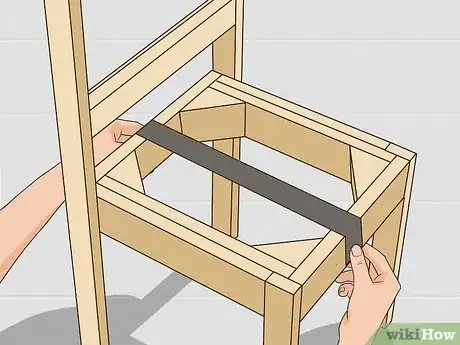
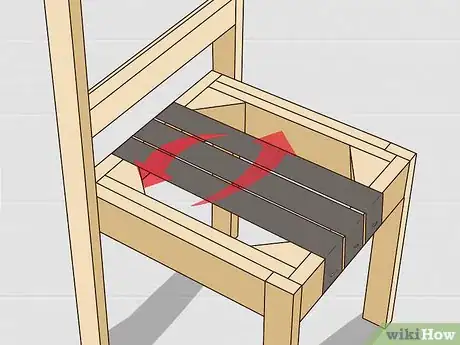
1Lay the first strip in the middle of the chair from front to back. Starting from the middle will help you adjust the spacing as you lay strips outward on each side. This gives you more flexibility than if you start on one side or the other.[2]
-
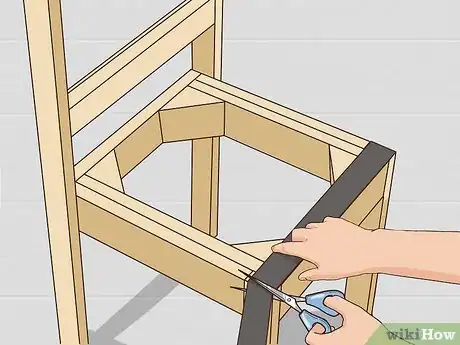
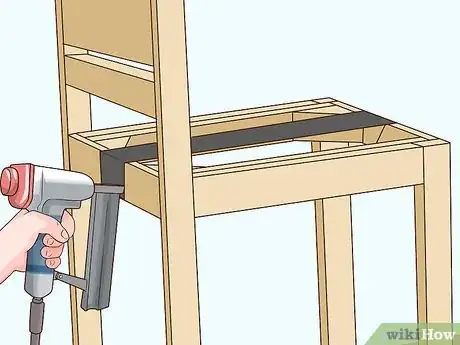
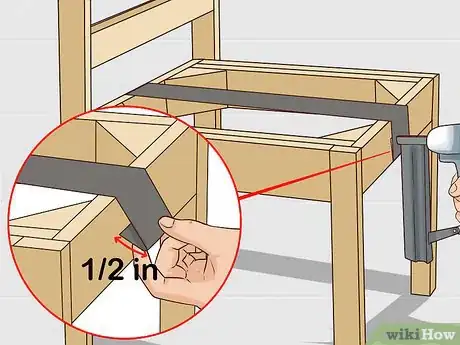
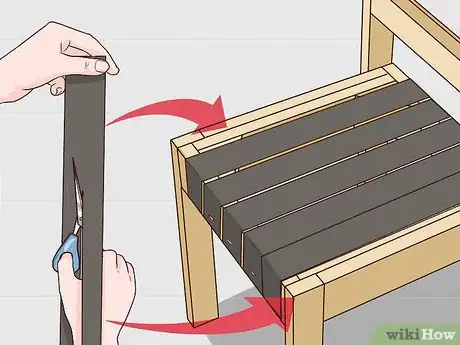
2Tuck the strip’s end under and staple it to the back of the seat. By tucking ½ inch (1.27 cm) at the end of the strip under, you hide the frayed end. Line the strip up so that it hangs ½ inch over the back of the seat and use a staple gun to attach it to the seat.[3]
- Place two or three staples if you want to make the strip more secure.
- If folding the webbing over the back of the seat is not an option, e.g. when there is a bar that sits on the back edge, staple the strip on top of the seat so the folded crease lines up with the back of the seat.
-
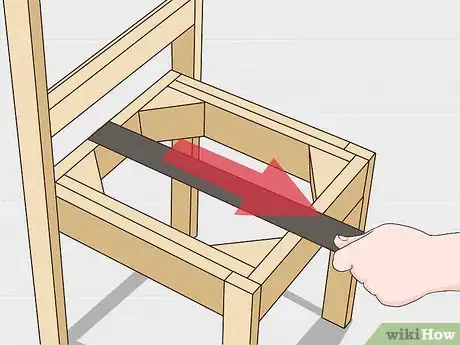
3Stretch the strip to the front of the chair. Once the webbing is secured to the back of the seat, pull it forward to the front edge of the chair so that it is taut. It’s okay to make the strips a little loose if you want to, but the tighter you pull them, the firmer the seat will be.[4]
-
4Fold the front end of the strip under ½ inch (1.27 cm) and staple it. In the same way that you pulled the strip over the back edge, pull it tightly over the front edge and tuck it under. Place one or two staples in the webbing to attach it to the chair. Be sure to keep it tight when you staple it.
-
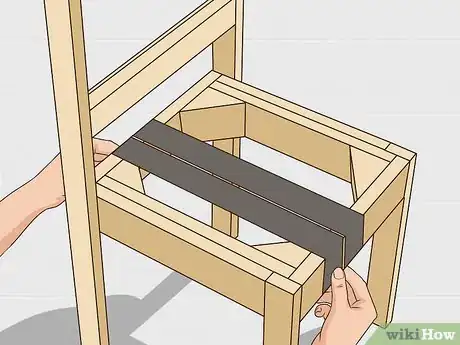
5Attach the second strip to either the left or right of the first. Following the same procedure as you used with the first strip, attach the second strip. Space it as close as you want to the first strip. Be sure to staple the back first, stretch the strip, then staple the front.
-
6Alternate from left to right of the first strip to attach the remaining strips. To check your spacing each time, lay one strip to the left of the first and then one strip to the right. Then go back to the left and back to the right, stapling each in place as you go. When you get close to the edges, you’ll be able to tell if you need to trim a strip down lengthwise.
-
7Trim the last one or two strips lengthwise if necessary. When you get to the edges of the seat, you may not have enough room to place a full two inch strip. If this is the case, lay the strip on the seat and make a mark for how wide it should be. Cut the strip down its length and attach it to the seat.
Weaving in the Second Layer
-
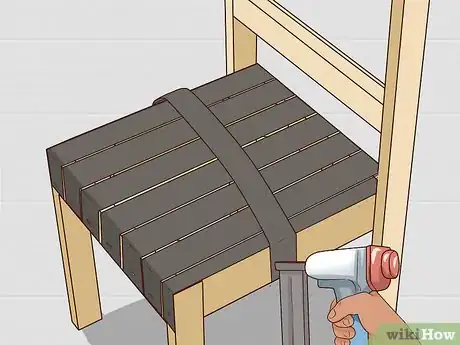
1Lay the first sideways strip in the middle of the seat. Take one of the strips with the side to side measurement and attach it like you did the first round of strips. Tuck the end under and staple it to the outside edge of the seat. Only staple one end of the strip for now.
-
2Attach a strip to the left of the first strip and then attach one to the right. Just as you did the first time through, lay a strip to the left of the first strip and staple just one end. Be sure to staple the same side as you stapled on the first strip. Then lay a strip to the right and continue going back and forth, stapling the same end each time.
-
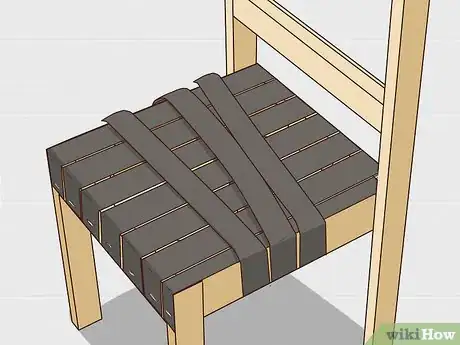
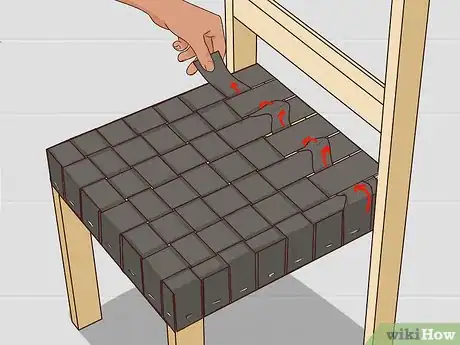
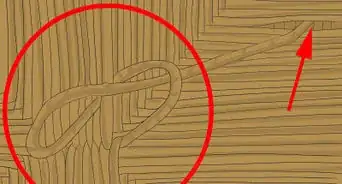
3Weave each strip through the first layer. Grab the unstapled end of one of the strips. Take it over the forward strip closest to the stapled end and under the second forward strip. Then alternate going over and under each strip until you reach the end.[5]
-
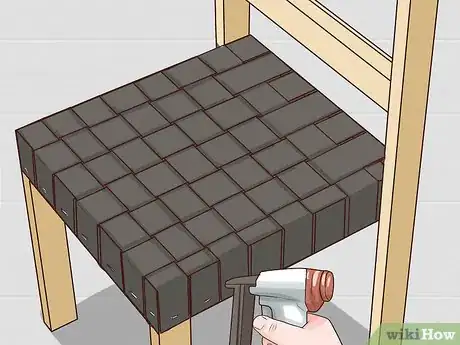
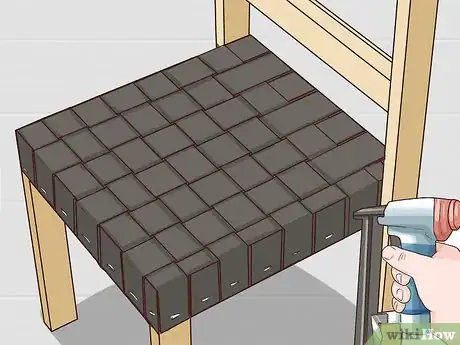
4Staple the end of the strip to the outer edge of the chair. In the same way that you have stapled the rest of the strips, staple this one. Tuck it under and staple it to the outside of the chair seat. Place two or three staples if you wish.
-
5Weave and staple all of the remaining strips. Once the first strip is woven through the first layer, repeat the same process with the rest of the strips. You can alternate the weaving pattern, if you want, by going under first and then over the second strip. Staple each strip to the seat when you finish weaving it.[6]
-
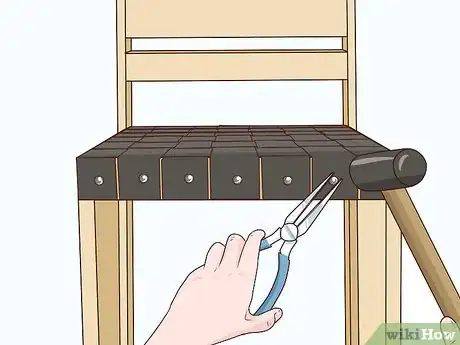
6Cover the staples with upholstery nail heads. To finish off the webbed chair and give it an elegant look, pound upholstery nails into the chair covering all of the staples. Put two nails in each strip, or as many as you need to cover the staples. You can put more nails than staples if you like that look better.[7]
- Use a rubber mallet to pound the nails.
Things You’ll Need
- A chair
- Webbing (cotton or nylon works well)
- Staple gun (manual or air-powered)
- Measuring tape
- Scissors
- Pen
- Paper
- Upholstery nail heads
- Rubber mallet
References
- ↑ http://thepaintedhive.net/2013/02/how-to-upholster-a-drop-in-seat-from-scratch/
- ↑ http://www.homedit.com/diy-jute-chair-seat/
- ↑ https://www.youtube.com/watch?v=swXgosAv3Zo&feature=youtu.be&t=54s
- ↑ https://www.periodliving.co.uk/advice/how-to-reupholster-a-dining-chair/
- ↑ http://www.motherearthnews.com/diy/jute-webbing-classic-furniture-ze0z1312zjhar
- ↑ http://www.homedit.com/diy-jute-chair-seat/
- ↑ http://www.homedit.com/diy-jute-chair-seat/
