This article was co-authored by Pippa Elliott, MRCVS. Dr. Elliott, BVMS, MRCVS is a veterinarian with over 30 years of experience in veterinary surgery and companion animal practice. She graduated from the University of Glasgow in 1987 with a degree in veterinary medicine and surgery. She has worked at the same animal clinic in her hometown for over 20 years.
wikiHow marks an article as reader-approved once it receives enough positive feedback. This article received 21 testimonials and 91% of readers who voted found it helpful, earning it our reader-approved status.
This article has been viewed 492,457 times.
An incubator is an artificial method for the hatching of eggs. In essence, an incubator allows you to hatch eggs without having hens. Incubators mimic the conditions and experiences of a brooding hen for fertilized eggs, including appropriate temperature, humidity, and ventilation levels. To successfully hatch eggs in an incubator, you need to properly calibrate the incubator and keep the settings stable throughout the incubation period.
Steps
Preparing to Use the Incubator
-
1Find or purchase an incubator. You will need the directions to the particular type and model you plan to use. The directions given here are for a basic incubator that is affordable for most hobbyists.[1]
- Since there are different types of incubators, it's important to have the correct directions for your specific incubator.[2]
- Be aware that the least inexpensive incubators will have only manual controls. This means that you will need to diligently monitor temperature, turning, and humidity many times a day. Pricier models have automatic controls for these processes, which require you to do a little less - though still daily - monitoring.
- If the incubator did not come with written instructions, look for the serial number on the incubator and the manufacturer's name. Check the manufacturer's website for directions or contact the company's customer service department by phone or email to obtain directions.
-
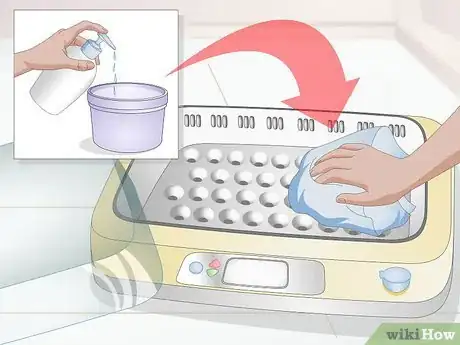
2Clean the incubator. Carefully wipe or vacuum off any visible dust or debris from all the surfaces of the incubator. Then wipe down all surfaces with a clean cloth or sponge dipped in a diluted bleach solution (mix 20 drops of household bleach in 1 quart of water.) Use gloves to protect your hands from the bleach and wring the cloth or sponge out before wiping down the incubator. Allow the incubator to air dry thoroughly before plugging it in for use.[3]
- This cleaning step is particularly necessary if you bought the incubator second-hand or if you had it stored away somewhere, collecting dust.
- Keep in mind that sanitation is highly important. Diseases can be transmitted through the eggshell to the developing embryo.
Advertisement -
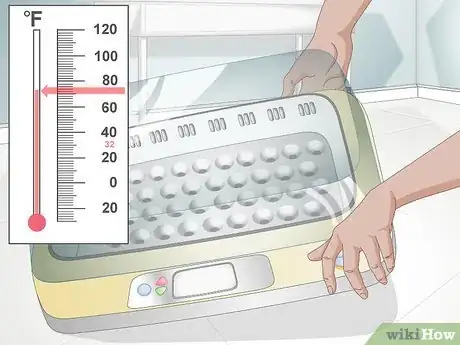
3Place the incubator in an area with little to no temperature fluctuation. Ideal room conditions are 70-75 degrees Fahrenheit. Avoid placing the incubator near a window, air vent, or any other area that experiences air flow or drafts.[4]
-
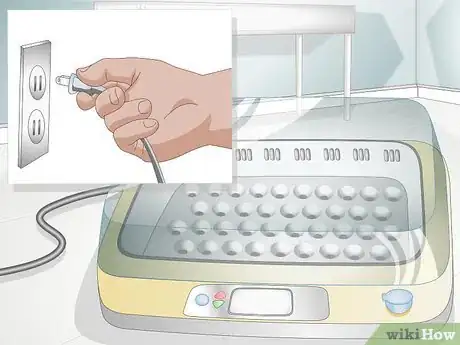
4Plug the incubator's cord into an electric outlet. Make sure you don't plug the cord into an outlet where it could easily detach, or where children might be able to unplug it. Check as well that that particular outlet is working.[5]
-
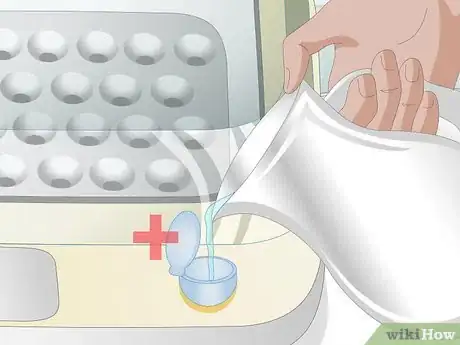
5Add warm water to the incubator's humidity pan. Consult the directions for the incubator to confirm the correct amount of water to add.
-
6Calibrate the incubator's temperature. You must calibrate the incubator to ensure the temperate is correct and stable at least 24 hours prior to incubating any eggs.[6]
- Make sure to adjust the incubator's thermometer so that it will measure the temperature around where the center of an egg will reach in the incubator.
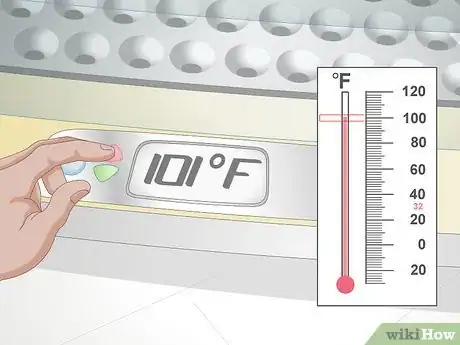
- Adjust the heat source until the temperature reads between 99 and 102 degrees Fahrenheit (37.2 and 38.9 degrees Celsius).[7] Getting the correct incubator temperature is very important. Low temperatures can keep the embryos from developing, while overly high temperatures can kill the embryos and cause abnormalities.[8]
-
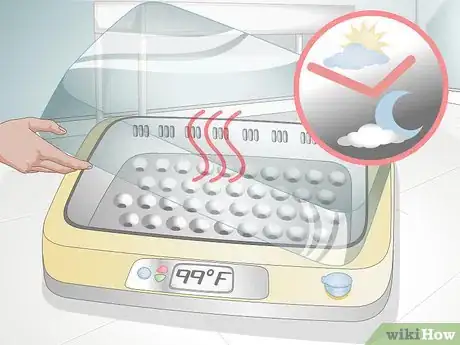
7Wait 24 hours to re-check the temperature again. The temperature should still be within the target range. Do not add eggs if the temperature has fluctuated outside of the target range as the eggs will not hatch properly.[9]
-
8Obtain fertile eggs for hatching. You will want to incubate the eggs within 7 to 10 days after they have been laid. Viability decreases as the eggs age.[10] Don't attempt to incubate eggs you bought from a supermarket. The eggs sold in stores are infertile and will not hatch.
- Locate hatcheries or farmers in your area who sell eggs for hatching. You will need to get eggs that are produced by hens in a flock with a male bird, or else the eggs may not be fertile. Contact your local agricultural extension office if you have difficulty finding an egg source. The office may have recommendations for local poultry farmers.
- Consider how many eggs you want to incubate. Note that it is very rare for all of the incubated eggs to hatch and that certain species have higher viability than others. You should expect about 50-75% of the fertile eggs will hatch, although it possible that this could be higher.[11]
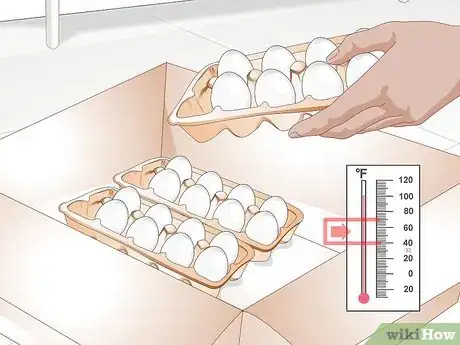
- Store eggs in cartons at 40 to 70 degrees F (4.5 to 21.1 degrees C) until ready to incubate. Rotate the eggs daily by propping up different ends of the carton each day or carefully turning over the carton.
Incubating the Eggs
-
1Wash your hands before touching the eggs for placement in the incubator. You should always wash your hands whenever handling the eggs or incubator after you have disinfected it. This will keep any bacteria from potentially transferring to the eggs or their environment.
-
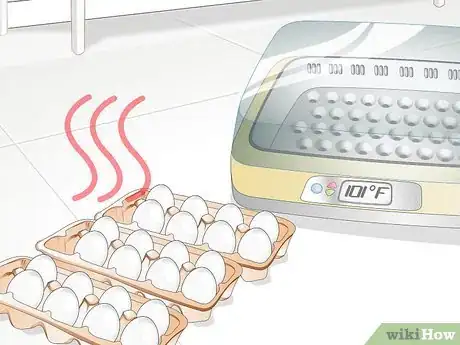
2Warm the fertile eggs to room temperature. Allowing the eggs to warm up will decrease the amount and duration of temperature fluctuation in the incubator after you've added the eggs.
-
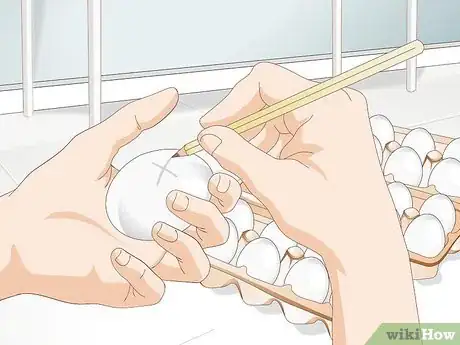
3
-
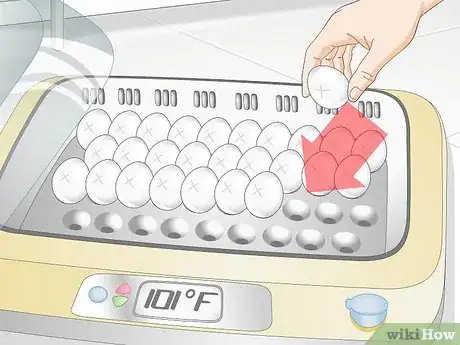
4Place the eggs carefully into the incubator. Make sure the eggs are lying on their sides. The larger end of each egg should be slightly higher than the pointy end. This is important as the embryos can become misaligned if the pointy end is higher and may have difficult pipping, or breaking through the shell, when it comes time to hatch.[14]
- Make sure the eggs are evenly spaced out and not too near the incubator’s edges or the heat source.
-
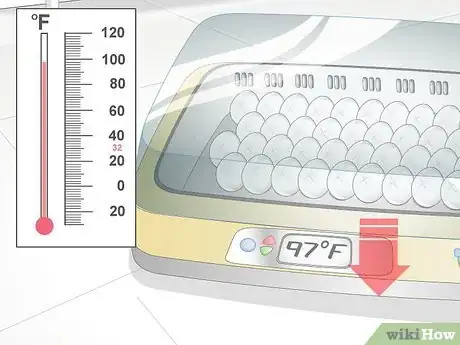
5Allow the incubator's temperature to drop after adding the eggs. The temperature will temporarily lower after you've introduced the eggs into the incubator, but it should readjust if you've calibrated the incubator correctly.[15]
- Don't increase the temperature to compensate for this fluctuation. Doing so could damage or kill your embryos.
-
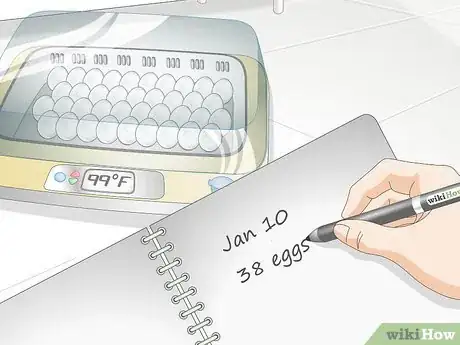
6Record the day and how many eggs you've incubated on a calendar. You should be able to estimate your hatch date based on average incubation times for the bird species you want to hatch. For example, chicken eggs typically take 21 days to hatch, whereas many duck varieties and peafowl may take 28 days.[16]
-
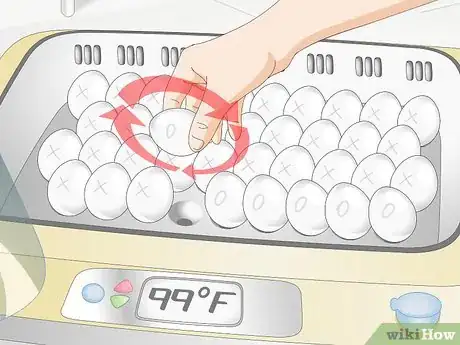
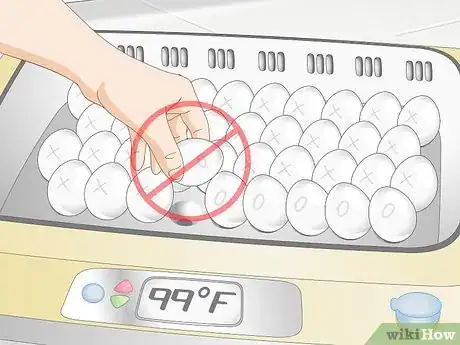
7Turn the eggs at least three times daily. Rotating the eggs and changing their position helps mitigate the effects of any temperature fluctuations. The rotation also helps mimic the behavior of a brooding hen.[17]
- Turn eggs an odd number of times each day. This way, the symbol on the eggs will change every day after you turn the eggs, making it easy to see whether or not you've turned the eggs yet for that day.
- As you do your daily turns, check to see if any eggs are cracked or spoiled. Remove these promptly and dispose of them in the garbage.
- Move eggs around to different positions in the incubator.
- Stop turning the eggs during the last three days of incubation, as, at this point, the eggs will soon hatch and turning is no longer necessary.
-
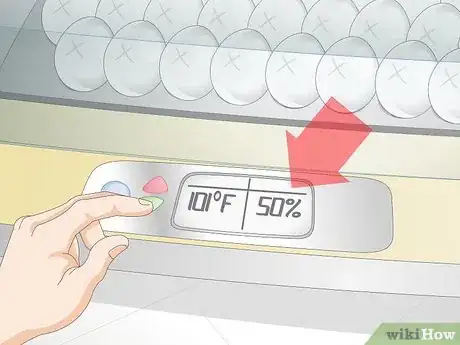
8Adjust the humidity levels in the incubator. Humidity should be around 45 to 50 percent throughout incubation, except during the last three days when you will want to raise it to 65 percent. You may need higher or lower humidity levels depending on the type of eggs you wish to hatch. Consult your hatchery or the available literature on hatching your particular species of bird.[18]
- Measure the humidity level in the incubator. Using a wet bulb thermometer or hygrometer, take a reading of the humidity level. Be sure as well to record the temperature in the incubator using a dry bulb thermometer. To find the relative temperature between the wet bulb and dry bulb temperature readings, consult a psychrometric chart online or in a book.
- Replenish the water in the water pan regularly. Filling up the pan helps maintain the desired level of humidity. If the water depletes, the humidity level will drop too low.[19]
- Always add warm water.[20]
- You can also add a sponge to the water pan if you want to increase the humidity.[21]
-
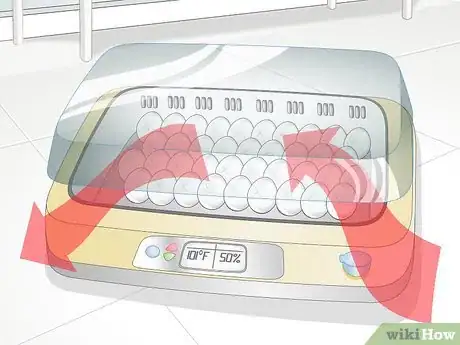
9Ensure the incubator has adequate ventilation. There should be openings on the sides and top of the incubator to allow air flow. Check to make sure these are at least partially opened. You will need to increase the amount of ventilation once the chicks begin to hatch.
Candling the Eggs
-
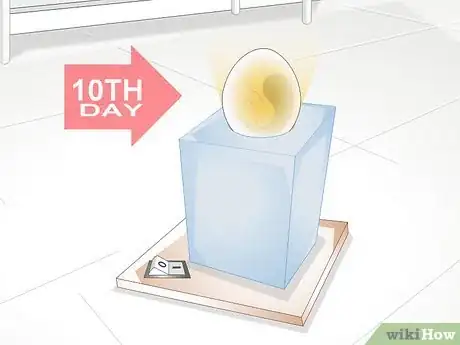
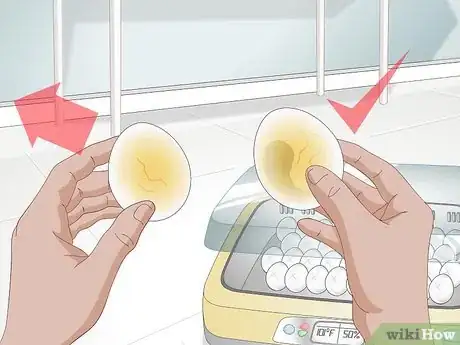
1Candle the eggs after 7 to 10 days. Candling the eggs is when you use a light source to view how much space the embryo occupies within an egg. After 7 to 10 days, you should see the development of the embryo. Candling allows you to remove eggs with embryos that are not viable.[22]
-
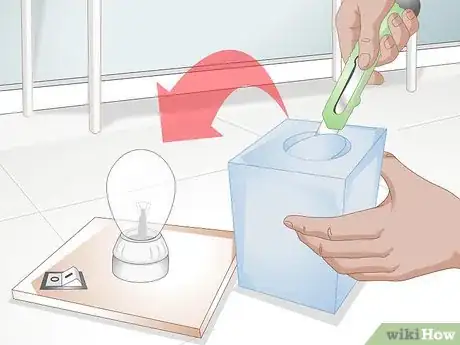
2Find a tin can or a box that can fit over a light bulb. Cut a hole in the can or box that is smaller in diameter than an egg.
-
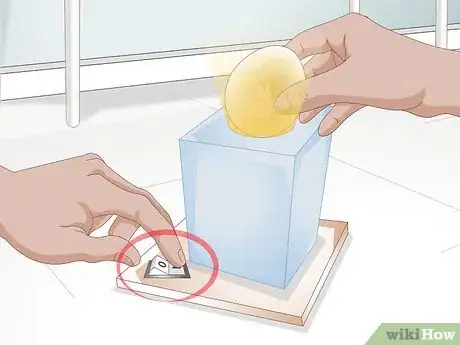
3Turn on the light bulb. Take one of the incubated eggs and hold it over the hole. You should see a cloudy mass if the embryo is developing. The embryo will increase in size as you near the hatch date.[23]
- If the egg appears clear, the embryo has not developed or the egg may never have been fertile in the first place.
-
4Remove any eggs that do not show a developing embryo from the incubator. These are eggs are not viable and will not hatch.[24]
Hatching the eggs
-
1Prepare for the hatch. Stop turning and rotating eggs three days prior to the estimated hatch date. Most viable eggs will hatch within a 24-hour period.[25]
-
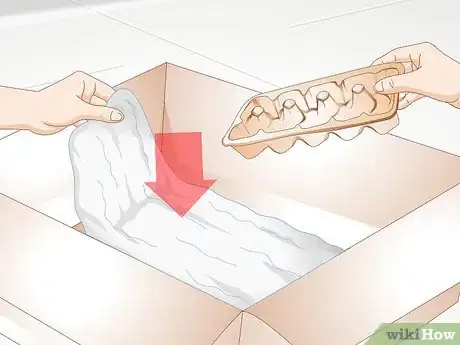
2Place cheesecloth under the egg tray prior to hatching. The cheesecloth will help catch bits of eggshell and other matter during and after the eggs hatch.
-
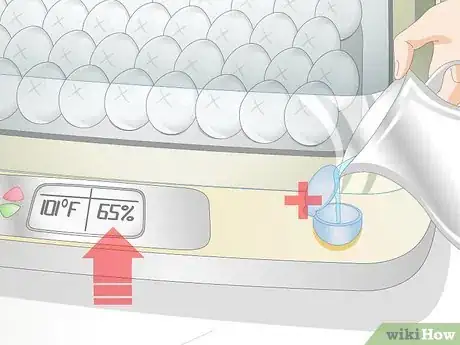
3Increase the humidity level in the incubator. You want the humidity level to be at 65%. Add more water or a sponge to the water pan to increase the humidity.[26]
-
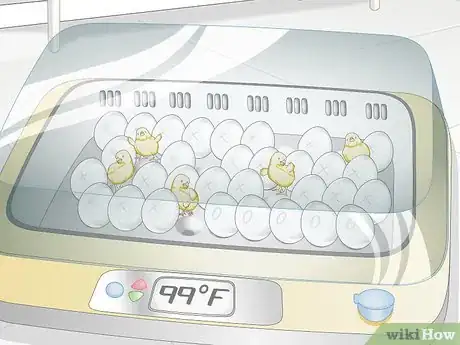
4Leave the incubator closed until after the chicks hatch. Do not open once the chicks are three days from hatching.[27]
-
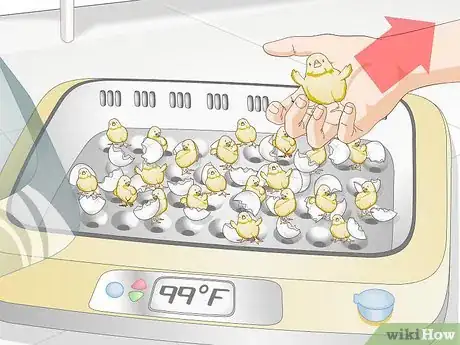
5Remove dry chicks to a prepared area. It's important to leave chicks in the incubator until they are completely dry. This can take four to six hours. You can leave the chicks in the incubator an additional 1 to 2 days, but you will want to lower the temperature to 95 degrees Fahrenheit (35 degrees Celsius).[28]
-
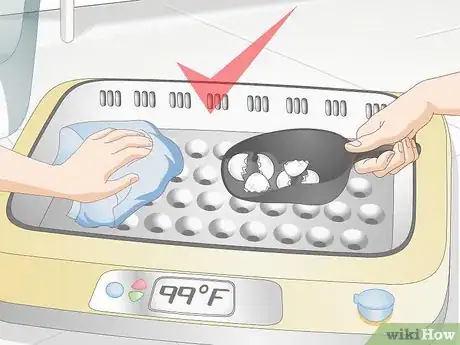
6Remove empty shells from the incubator and clean it. Once the incubator is clean, you can start the process all over again!
Expert Q&A
Did you know you can get expert answers for this article?
Unlock expert answers by supporting wikiHow
-
QuestionShould I always leave the incubator on?
 Pippa Elliott, MRCVSDr. Elliott, BVMS, MRCVS is a veterinarian with over 30 years of experience in veterinary surgery and companion animal practice. She graduated from the University of Glasgow in 1987 with a degree in veterinary medicine and surgery. She has worked at the same animal clinic in her hometown for over 20 years.
Veterinarian
-
QuestionHow do I check the fertility of eggs?
 Pippa Elliott, MRCVSDr. Elliott, BVMS, MRCVS is a veterinarian with over 30 years of experience in veterinary surgery and companion animal practice. She graduated from the University of Glasgow in 1987 with a degree in veterinary medicine and surgery. She has worked at the same animal clinic in her hometown for over 20 years.
Veterinarian
Things You'll Need
- Still air incubator with directions
- Fertile eggs
- Warm water
- Sponge
- Wet bulb thermometer
- Calendar
- Pencil
- Light bulb and box or can with a hole
- Cheesecloth
References
- ↑ http://lancaster.unl.edu/4h/embryology/incubation.shtml
- ↑ http://www.backyardchickens.com/a/how-to-incubate-hatch-eggs-just-21-days-from-egg-to-chicken
- ↑ http://www.extension.umn.edu/food/small-farms/livestock/poultry/hatching-and-brooding-small-numbers/
- ↑ http://lancaster.unl.edu/4h/embryology/incubation.shtml
- ↑ http://www.extension.umn.edu/food/small-farms/livestock/poultry/hatching-and-brooding-small-numbers/
- ↑ http://www.backyardchickens.com/a/how-to-incubate-hatch-eggs-just-21-days-from-egg-to-chicken
- ↑ http://lancaster.unl.edu/4h/embryology/incubation.shtml
- ↑ http://www.extension.umn.edu/food/small-farms/livestock/poultry/hatching-and-brooding-small-numbers/
- ↑ http://www.extension.umn.edu/food/small-farms/livestock/poultry/hatching-and-brooding-small-numbers/
- ↑ http://www.backyardchickens.com/a/how-to-incubate-hatch-eggs-just-21-days-from-egg-to-chicken
- ↑ http://www.backyardchickens.com/a/how-to-incubate-hatch-eggs-just-21-days-from-egg-to-chicken
- ↑ http://www.backyardchickens.com/a/how-to-incubate-hatch-eggs-just-21-days-from-egg-to-chicken
- ↑ http://www.backyardchickens.com/a/how-to-incubate-hatch-eggs-just-21-days-from-egg-to-chicken
- ↑ http://www.backyardchickens.com/a/how-to-incubate-hatch-eggs-just-21-days-from-egg-to-chicken
- ↑ http://www.extension.umn.edu/food/small-farms/livestock/poultry/hatching-and-brooding-small-numbers/
- ↑ http://www.extension.umn.edu/food/small-farms/livestock/poultry/hatching-and-brooding-small-numbers/
- ↑ http://lancaster.unl.edu/4h/embryology/incubation.shtml
- ↑ http://www.backyardchickens.com/a/how-to-incubate-hatch-eggs-just-21-days-from-egg-to-chicken
- ↑ http://lancaster.unl.edu/4h/embryology/incubation.shtml
- ↑ http://lancaster.unl.edu/4h/embryology/incubation.shtml
- ↑ http://lancaster.unl.edu/4h/embryology/incubation.shtml
- ↑ http://www.backyardchickens.com/a/how-to-incubate-hatch-eggs-just-21-days-from-egg-to-chicken
- ↑ http://www.backyardchickens.com/a/how-to-incubate-hatch-eggs-just-21-days-from-egg-to-chicken
- ↑ http://www.backyardchickens.com/a/how-to-incubate-hatch-eggs-just-21-days-from-egg-to-chicken
- ↑ http://www.extension.umn.edu/food/small-farms/livestock/poultry/hatching-and-brooding-small-numbers/
- ↑ http://www.backyardchickens.com/a/how-to-incubate-hatch-eggs-just-21-days-from-egg-to-chicken
- ↑ http://www.extension.umn.edu/food/small-farms/livestock/poultry/hatching-and-brooding-small-numbers/
- ↑ http://lancaster.unl.edu/4h/embryology/incubation.shtml
About This Article
Before using an incubator to hatch eggs, sterilize the incubator with a diluted bleach solution, plug it in, and add warm water to the humidity pan. At least 24 hours before incubating eggs, calibrate the temperature of the incubator, to make sure it will stay stable. Let the fertile eggs come to room temperature, then place them in the incubator. Turn the eggs 3 times a day for 18 days, then stop turning them in preparation for hatching. You can remove the chicks from the incubator 3 days after they hatch to allow them time to dry completely. To learn more from our Veterinarian co-author, like how to check if your eggs are viable, keep reading the article!

