This article was medically reviewed by Erik Kramer, DO, MPH. Dr. Erik Kramer is a Board-Certified Primary Care Physician at the University of Colorado. With over 15 years of experience, his clinical interests include obesity and weight management, diabetes care, and preventive care, as well as embracing a holistic approach to primary care. He received his Doctorate in Osteopathic Medicine (D.O.) from the Touro University Nevada College of Osteopathic Medicine and completed his residency at Central Maine Medical Center. Dr. Kramer is a Diplomate of the American Board of Obesity Medicine.
There are 7 references cited in this article, which can be found at the bottom of the page.
This article has been viewed 154,295 times.
One of the most valuable tools that a diabetic can have is an at-home blood sugar reader, otherwise known as a glucometer. This hand-held machine allows diabetics to monitor the amount of glucose in the blood, which helps in determining what food you can eat and how well any medication you are on is working, as well as how much insulin you may need to inject. Obtaining and properly using a glucometer at home can make diabetic care simpler and can help you to keep track of your blood sugars over time.
Steps
Preparing for Daily Testing
-
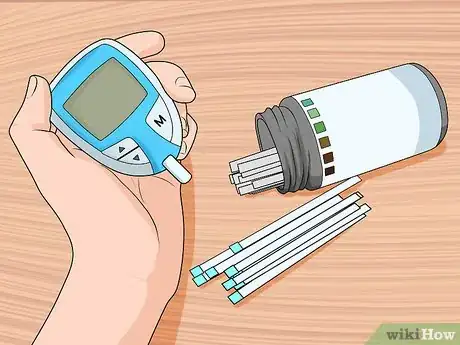
1Obtain a glucometer and test strips. You can go to any drugstore and buy a blood sugar testing kit. Most kits contain lancets (testing needles), a lancing device, testing strips, and a meter to read the results.
- Many insurance companies will pay for your meter and test strips if you obtain a prescription from your doctor.
-
2Read the materials and directions that come with your meter. Familiarize yourself with all the functions of your blood glucose meter, how much blood is required for testing, where you insert your test strip, and where the readout will be. Look at the pictures and read the instructions thoroughly, and if you have any questions or concerns then contact your doctor before trying to use the machine.[1]Advertisement
-
3Test the glucometer before using it. Most glucometers include a way to test to make sure they are reading correctly. This could be in the form of a premade test strip or a liquid you place on a test strip. These are inserted into the machine and the reading should be within acceptable limits, which the instruction manual will provide.[2]
Testing Blood Sugar with a Glucometer
-
1Clean your hands and sampling area. Use hot water and soap to wash your hands.[3] Clean the finger you’re going to prick with an alcohol swab, or with rubbing alcohol on a cotton ball. Alcohol evaporates rapidly so there's no need to dry the area; that will just recontaminate it. Let the alcohol air dry.
- Make sure your fingertips are warm. If they're too cold, it'll be hard for you to draw a blood sample. Using hot water when you wash your hands will help.
- Most glucometers instruct you to prick your finger for a sample, but some of the newer blood glucose meters let you use an area on your arm. Determine which of these areas is acceptable for your meter. In general, a finger prick is the most accurate. Alternative sites are okay to use when blood glucose is stable, but not when potentially changing rapidly, such as after eating or exercising, or when hypoglycemic or ill.[4]
-
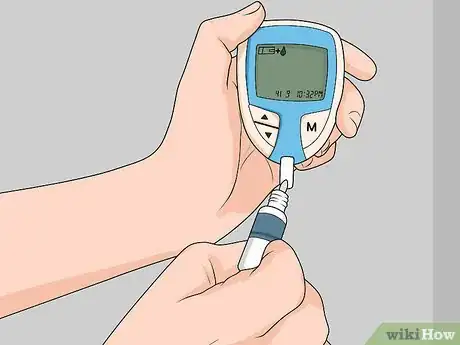
2Assemble the device. Insert a test strip into the glucometer, ensuring your insert the proper end inward. Insert a lancet into the lancing device you use to prick your finger.[5]
- Glucometers may differ in when you insert the test strip. Usually it is inserted in order to turn the machine on, but sometimes you have to put the blood on the strip and then insert it into the machine. Make sure you know which way your glucometer works before you prick your finger.
-
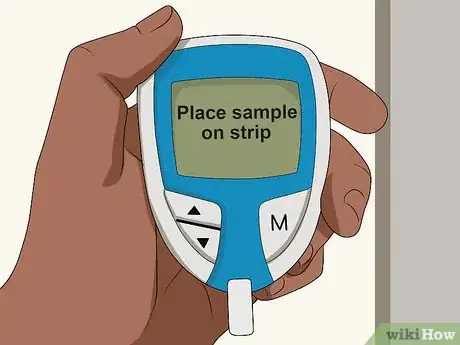
3Wait for the glucometer to prompt you for a sample. A readout on the glucometer will tell you to put the drop of blood on the strip. The readout may actually say "place sample on strip," or it may give you a symbol, such as an icon that looks like a droplet of liquid.[6]
-
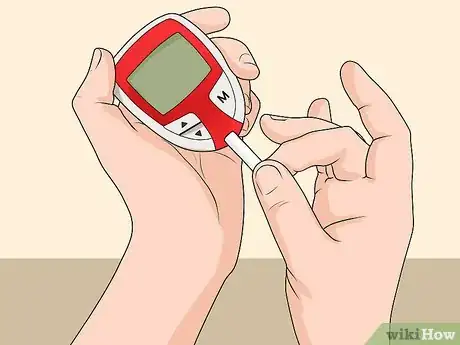
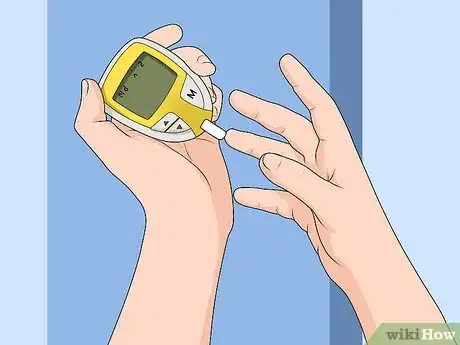
4Test your blood sample. Prick your finger with the lancing device. This usually causes no, or very minimal, discomfort. You may need to squeeze or massage the finger you pricked on either side to squeeze out a drop of blood. Let the blood form a small bead on your finger. Hold the bead of blood to touch the tip of the strip at the right place, which should be indicated on the strip.[7]
- Some people find it more comfortable to prick the side of the finger close to the fingernail, rather than the pad of the finger – there are fewer nerve endings on the side, making it a less sensitive area.
- If you find it difficult or painful to prick your finger, it may help to rinse your hand in warm water for a minute or two and then allow your hand to dangle at your side for another minute. This gets blood flowing to your fingers. Do this before you wash your hands with soapy water and use alcohol to clean the finger you’re going to prick.
- If you're not taking insulin, you can try taking a sample from your forearm instead. However, this may not be as accurate as using your fingertip.
- The newer strips offer a "wicking" action that will draw the blood up into the test strip. Older meters and strips require you to actually drop blood onto the strip.
-
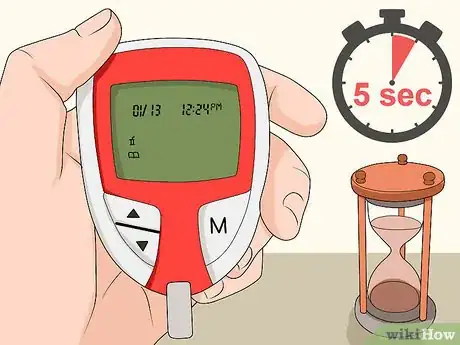
5Wait for your results. The glucometer will start to count down in seconds until your results are ready to read. Newer glucometers only take about 5 seconds, whereas older versions may take 10 to 30 seconds. The meter will sound a tone, or beep, when it has a reading for you.
-
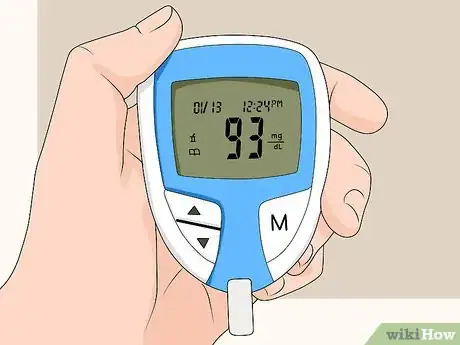
6Read the results. The results will show up on the digital screen of your glucometer. Results will vary depending on what time of day it is, how recently you ate, and what you ate. There is no single good result for every person. You should discuss your diabetes with your healthcare provider and set goals for your blood sugar.[8]
- Always use new strips that are made for use with your device. Additionally, make sure you test at the temperature recommended by your device manufacturer. Using old strips or testing your blood sugar under very cold or hot conditions could cause an error with your device.
Keeping Track of Your Readings
-
1Create a system to help you remember to do your readings. You and your doctor will make a plan for how often and at what times you should use your glucometer to check your blood sugar. Sometimes this should be done three times every day. It might be hard to remember this, especially at first, but creating a system to help you remember can get you into the habit.[9]
- If your blood sugar is under control and you're not using insulin, you only need to test your fasting blood sugar in the morning 2 to 3 times per week. If your blood sugar isn't controlled and you're not on insulin, test your blood sugar 1 to 3 times per day to track your highs.
- If you're taking insulin, test your blood sugar 3 to 5 times per day in the morning, after meals, and before bed. You might talk to your doctor about using a newer device that doesn't require finger pricking and instead syncs to your phone.
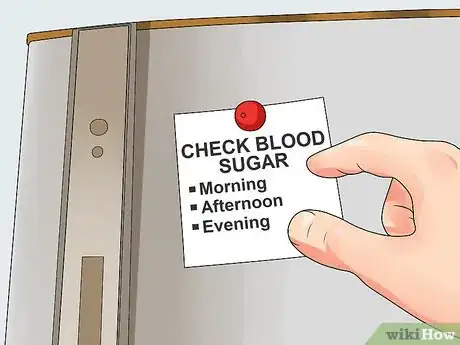
- Make a log that you have to check off for morning, afternoon, and evening. Put it on your refrigerator or bathroom mirror – somewhere that you look often throughout the day. Check off the boxes as you go.
- Be creative. Try keeping three small stones in your right pocket. As you do a reading, move a stone to your left pocket. By the end of the day you should have all stones in your left pocket. This can be a tangible reminder to do your readings. Come up with something that works for you!
-
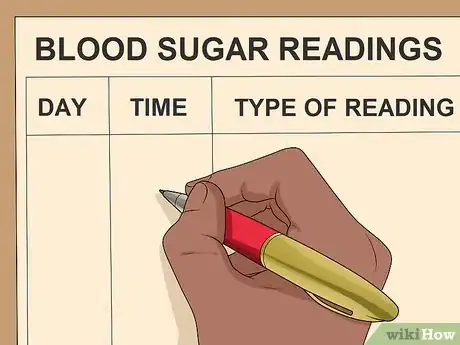
2Keep a record of your results. Some diabetic glucose meters will store the readings for you in their on-board memory. With others, you will have to write your results down. Make sure you note the day, time and type of reading. For instance, was the reading taken first thing in the morning? This is known as a fasting reading. Was it taken 2 hours after a meal? This is known as a 2-hour postprandial reading.[10]
-
3Bring your record to your doctor visits. Bring your glucometer with you every time you see the doctor who takes care of your diabetes. If it stores your results, they can access them directly. If your machine does not store your results, be sure to bring your written record with you. Bring your glucometer, as well, so your doctor can check to ensure it is working properly at every visit.[11]
Warnings
- Do not reuse lancets or test strips. Both of these items are meant for one-time usage.⧼thumbs_response⧽
Things You'll Need
- Diabetic glucometer
- Test strips
- Lancets
- Alcohol
- Cotton balls
- Paper and pencil (if your meter does not automatically store your results)
References
- ↑ https://share.upmc.com/2012/11/trouble-shooting-your-glucose-meter/
- ↑ https://share.upmc.com/2012/11/trouble-shooting-your-glucose-meter/
- ↑ https://www.cdc.gov/diabetes/managing/managing-blood-sugar/bloodglucosemonitoring.html
- ↑ http://www.fda.gov/medicaldevices/productsandmedicalprocedures/InVitroDiagnostics/GlucoseTestingDevices/default.htm
- ↑ https://www.diabetes.org/healthy-living/medication-treatments/blood-glucose-testing-and-control/checking-your-blood-sugar
- ↑ https://www.healthinfotranslations.org/pdfDocs/GlucoseMeter.pdf
- ↑ https://opentextbc.ca/clinicalskills/chapter/8-2-glucometer-use/
- ↑ https://www.diabetes.org/healthy-living/medication-treatments/blood-glucose-testing-and-control/checking-your-blood-sugar
- ↑ https://www.niddk.nih.gov/health-information/diabetes/overview/managing-diabetes/know-blood-sugar-numbers
About This Article
To use a glucometer, start by washing your hands and turning the device on by inserting a test strip. When prompted, prick your finger with a lancing device and squeeze a drop of blood onto the tip of the strip. After the glucometer beeps, read the results, which will vary depending on the time of day, the last time you ate, and what you ate. Finally, discuss your results with your doctor to manage your blood sugar if necessary. For more tips from our Medical reviewer, like how to keep track of your readings, scroll down!





Medical Disclaimer
The content of this article is not intended to be a substitute for professional medical advice, examination, diagnosis, or treatment. You should always contact your doctor or other qualified healthcare professional before starting, changing, or stopping any kind of health treatment.
Read More...