X
This article was co-authored by wikiHow Staff. Our trained team of editors and researchers validate articles for accuracy and comprehensiveness. wikiHow's Content Management Team carefully monitors the work from our editorial staff to ensure that each article is backed by trusted research and meets our high quality standards.
This article has been viewed 42,127 times.
Learn more...
Car ramps are an easy alternative to jack stands, as long as you use them correctly. It may take a couple tries to drive up them if you have placed them on a smooth floor, but once up and centered, your car should be stable.
Steps
Part 1
Part 1 of 2:
Choosing a Car Ramp
-
1Check the maximum rated load. This is the most important characteristic of your ramp: the larger this number, the safer you'll be. The ramp's rating refers to the maximum Gross Vehicle Weight (GVW) that can be driven onto the ramp.[1] You can find the GVW on your driver's door sticker or owner's manual. The ramp's rating should be well above your car's GVW, to allow for a margin of error or a front-heavy car.
- This rating usually assumes you are using two ramps. For example, a pair of ramps rated to 6,000 lbs can hold the front half of a 6,000 lb vehicle when using both ramps together.
-
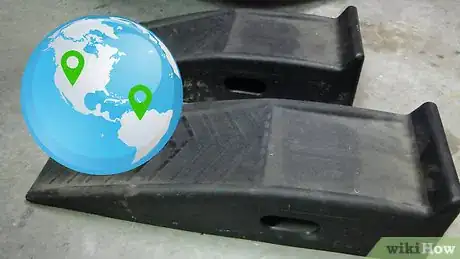
2Consider the country of manufacture. Ramps made in the United States and the European Union are typically subject to stricter quality control than ramps from other countries. While there are safe and well-made ramps manufactured elsewhere, you should use caution and find out what others think of the product before you take the risk.Advertisement
-
3Read reviews. Some car owners tell horror stories of a ramp collapsing under much less than the rated load. The risk is low but deadly, so it's worth searching online for the opinions of other users.
-
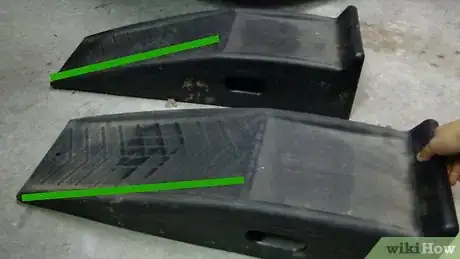
4Decide whether you need low-clearance ramps. These ramps have a more gradual incline so a sports car can drive up them without scraping the undercarriage. They tend to be expensive, so only buy them if you're sure a regular ramp won't do.
-
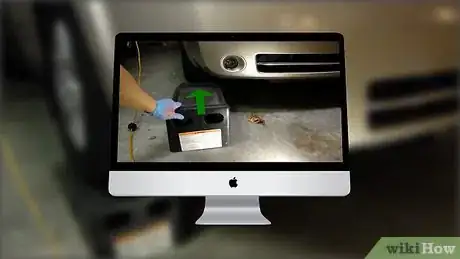
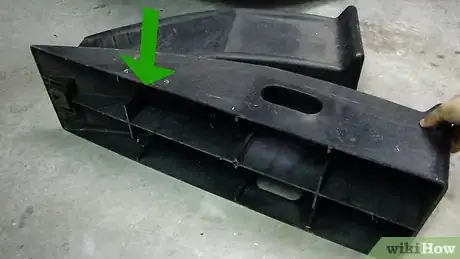
5Check for a rubber stop. The underside of many ramps include a rubber component make it less likely the ramps will slide when the car starts to drive up them. This is especially important if you work on your car on a smooth surface, since it will make it easier to drive up without the ramp sliding ahead of you.[2]
-
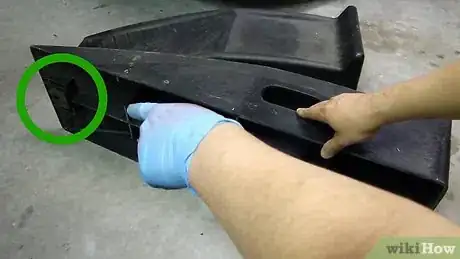
6Look for signs of damage. Throw away the ramp if you see any obvious signs of rust, cracks, or other damage.
-
7Purchase wheel chocks as well. Using at least two wheel chocks is recommended whenever you have your car on ramps. It's hard to go wrong with chocks, but if you have a smooth or slippery garage floor, get soft rubber chocks.
Advertisement
Part 2
Part 2 of 2:
Using the Ramps
-
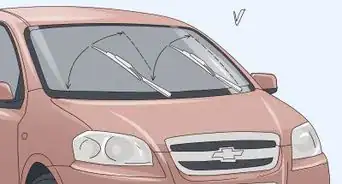
1Slide the ramps against the front tires. Position the lower slope of a ramp so it is perfectly centered with the tire. Sight along the side of the car to ensure the ramp is as straight as possible. Repeat with a second ramp on the other side.
- If the wheels are turned, move them so they point straight ahead and try again.
- Always work on a hard, level, paved or concrete surface.[3] Avoid wet or slippery surfaces, which can make it difficult to drive up the ramp without sliding.
-
2Drive up the exact center of the ramp. Get in the car and drive forward directly up the ramp. Get out and confirm that the front wheels are centered exactly on the ramps, and fully on the flat portion of the ramp. If they aren't, drive back off and try again.
- Most ramps have a small bump at the end to tell you when you've reached the edge. If this doesn't look adequate on your ramp, have a friend spot you to prevent you from driving over it.
- If the ramps slide forward as you drive, you'll need to drive a little faster — but keep it smooth and cautious. If you cannot safely drive up the ramp this way, hold the ramps in place by positioning a board between the wall and the back of the ramp.[4]
-
3Engage the parking brake. Once you are sure the car is centered, use the emergency brake to ensure the car does not roll back down the ramp. Stand to the side and gently rock the car to make sure it is stable.[5]
-
4Put two wheel chocks around a back wheel. Place one wheel chock in front of the back wheel, and the other one behind. This is an additional safety measure to keep the car from rolling in either direction. Now you can safely access the underside of the car.
- If you want to be extra safe, put your car on jack stands as well.
Advertisement
Warnings
- While under the car, never disassemble a part that could free the transmission or the brakes.[6]⧼thumbs_response⧽
- Do not try to make your own ramp at home. They may look simple, but commercial ramps are much sturdier than what you can make at home.⧼thumbs_response⧽
Advertisement
References
- ↑ http://mycarneedsthis.com/todays-best-automotive-ramps-to-buy/
- ↑ http://forum.miata.net/vb/archive/index.php/t-47655.html
- ↑ http://jalopnik.com/220504/and-you-will-know-us-by-the-trail-of-parts-using-car-ramps
- ↑ http://forum.miata.net/vb/archive/index.php/t-47655.html
- ↑ http://jalopnik.com/220504/and-you-will-know-us-by-the-trail-of-parts-using-car-ramps
- ↑ http://jalopnik.com/220504/and-you-will-know-us-by-the-trail-of-parts-using-car-ramps
- Videos provided by dial2fast
About This Article
Advertisement

