This article was co-authored by wikiHow staff writer, Amy Bobinger. Amy Bobinger has been a writer and editor at wikiHow since 2017. She especially enjoys writing articles that help people overcome interpersonal hurdles but frequently covers a variety of subjects, including health and wellness, spirituality, gardening, and more. Amy graduated with a B.A. in English Lit from Mississippi College in 2011 and now lives in her hometown with her husband and two young sons.
This article has been viewed 42,442 times.
Learn more...
Having a carbon monoxide (CO) detector in your home can help protect you from carbon monoxide poisoning, but only if it works properly. Checking your detector regularly will help make sure your family is safe. You should test the sensor on the unit annually with a special tester spray, and check the alarm circuitry once a month by pressing the test button.
Steps
Testing the CO Sensor with Canned CO Test Gas
-
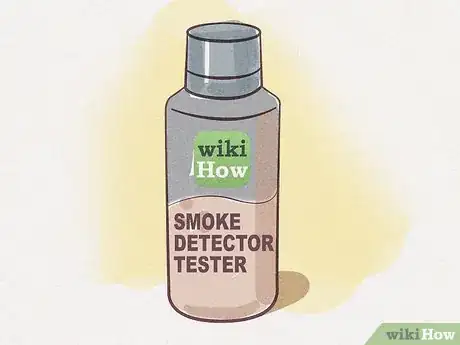
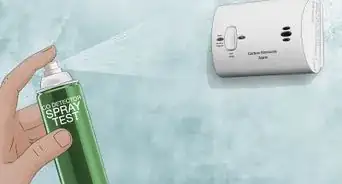
1Purchase CO detector tester spray to test your carbon monoxide detector. You can find this spray at most home improvement stores, or you can purchase it online. One can costs between $8-$15 USD and will usually last for a few years.[1]
-
2Follow the manufacturer's instructions for proper use of the CO test spray.Advertisement
-
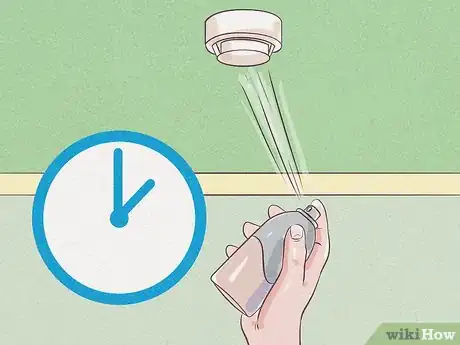
3Use a plastic bag to enclose the CO detector and the test spray nozzle tightly. Spray the canned CO test spray for at least 3 seconds. You'll need to spray enough so that your detector will be able to pick up the carbon monoxide in the canned test spray. Hold the sprayer down for about 3 seconds. If your detector is working, it will sound the alarm within 15 minutes, at a level of over 500 parts per million.
- You can buy or build a testing device that holds the test spray and seals around the CO alarm while you test the alarm.
- If the detector doesn't go off, you may need to change the batteries or replace the unit.
-
4Remove the test bag and sprayer from the CO alarm and fan the CO detector with fresh air. Press the test/hush button on the unit to turn off the alarm sound. There should be a small button somewhere on your detector, usually near an LED light.
- This is also the battery test button, so if you press it when the unit is at rest, the alarm will briefly sound, telling you that the battery is adequate, but does not test the sensor.
-
5Repeat the CO spray test annually to be sure your CO detector sensor is working. If you are checking the unit's test button once a month and changing the batteries regularly (assuming it has replaceable batteries), you should only need to check the sensor's sensitivity once a year.
Testing the Alarm's Circuitry
-
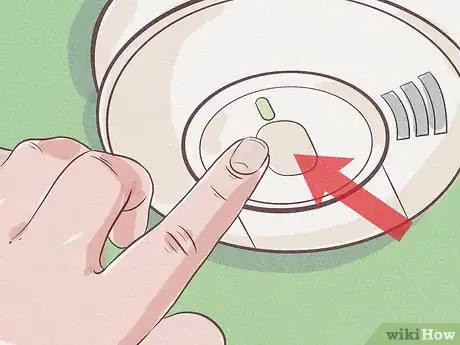
1Find the test button on your detector. The exact appearance and location of the test button will vary from unit to unit. However, on most models the test button is located next to an LED light that periodically flashes.[4]
-
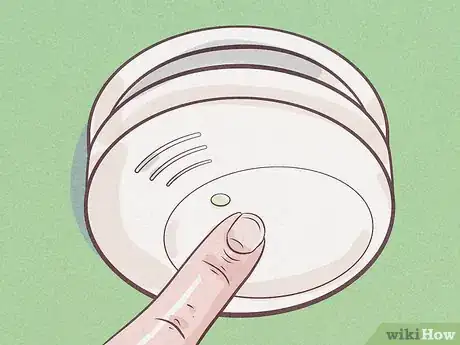
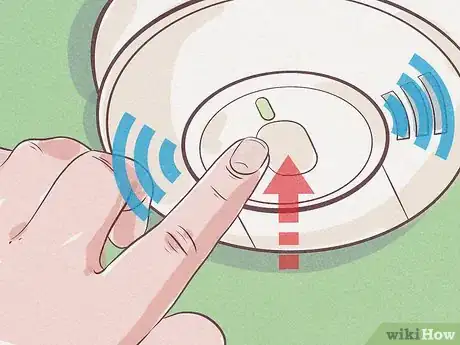
2Press the test button. If the circuitry in your detector is working, the alarm should sound for 3 to 5 seconds before automatically turning off. This alarm will be pretty loud, so you might want to cover or plug your ears.[5]
- Pushing the test button does not test the actual CO sensor; it tests to make sure the battery and circuitry in the unit is working correctly.
-
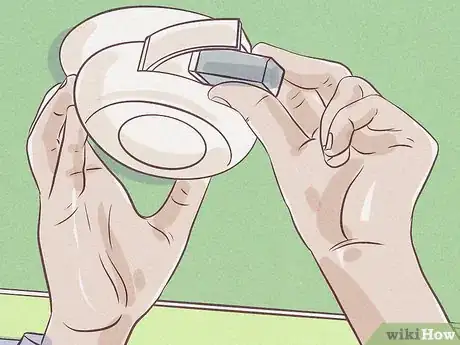
3Change the batteries if the alarm doesn't sound. The alarm should sound immediately after you press the test button. If it doesn't, try again. If you still don't hear anything, you may need to change the batteries in your detector, although not all CO alarms have replaceable batteries.[6]
- Some CO alarms now have a sealed 10-year battery and an automatic timer to tell you when the alarm needs to be replaced. It will start to beep or chirp a code periodically, telling you it needs replacement. Look at your unit's instruction manual to identify what the code means.
- To make sure the replaceable batteries stay fresh in your CO detector, change them every 6 months, but no less than annually. If you live in a place that recognizes Daylight Savings Time, switch out the batteries whenever you change your clocks.[7]
- If you change the batteries and the unit still doesn't work, or it continues to give a low-battery alarm, it may have expired. Replace your CO detector.
-
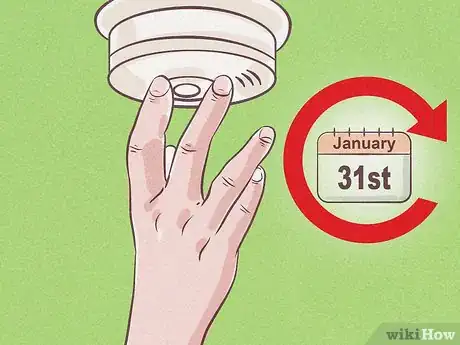
4Repeat the push-button test once a month. Having a set day of the month for testing your CO and smoke detectors will help you remember to do it. For instance, you might always check on the first day of a new month.
- If the CO alarm starts to chirp or beep periodically, check to see if the battery needs replacement by pressing the test/reset button. If the unit continues to beep or chirp after the test, and it does not have a replaceable battery, the unit may need to be replaced, having expired. Check your user manual for specific instructions on how to turn it off and to properly dispose of it. Install a suitable replacement immediately.
Installing and Caring for CO Detectors
-
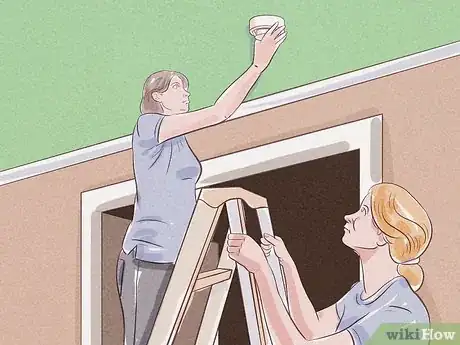
1Install at least one CO detector for each floor in your home. It's best to have CO detectors located within 10 feet (3.0 m) of your bedrooms. If your bedrooms are spread out across one floor, you may need more than one detector for that floor. If you can, purchase a set of detectors which can be interconnected, so when one sounds, all of them will sound.[8]
-
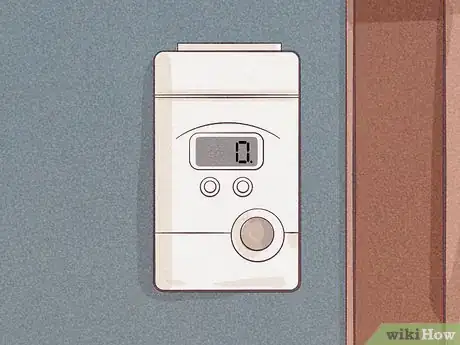
2Place your CO detector at eye level if you have a digital readout. Carbon monoxide doesn't rise like smoke does. Instead, it equalizes throughout the room. This means that you can place the detector at any height and it will still give an accurate reading. If you have a digital display, placing it at eye level will make it easier to read.[9]
- Although CO by itself is not lighter than air, one should note that many sources of CO also generate heat. The heated air rises in cooler air, naturally carrying the CO with it, as the CO mixes with the air.
-
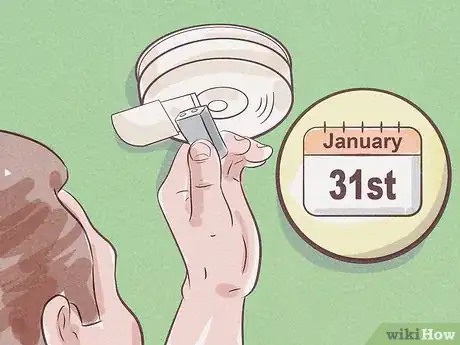
3Replace your CO detectors every 10 years, or whenever it fails testing. To make sure you can remember how long it's been, write the purchase date on the back or side of the unit with a permanent marker.[10]
Warnings
- If a person comes into contact with canned smoke, flush the skin with plenty of water. If the skin is frosted, thaw it with lukewarm water, but do not rub the affected area.⧼thumbs_response⧽
References
- ↑ http://www.diy.com/ideas-advice/how-to-install-test-and-maintain-smoke-carbon-monoxide-alarms/CC_npcart_3600003.art
- ↑ https://inspectusa.com/HSI/MSDS/MSDS_CO8.pdf
- ↑ https://inspectusa.com/HSI/MSDS/MSDS_CO8.pdf
- ↑ http://www.diy.com/ideas-advice/how-to-install-test-and-maintain-smoke-carbon-monoxide-alarms/CC_npcart_3600003.art
- ↑ http://www.diy.com/ideas-advice/how-to-install-test-and-maintain-smoke-carbon-monoxide-alarms/CC_npcart_3600003.art
- ↑ http://www.diy.com/ideas-advice/how-to-install-test-and-maintain-smoke-carbon-monoxide-alarms/CC_npcart_3600003.art
- ↑ https://www.cpsc.gov/content/change-smoke-and-carbon-monoxide-alarm-batteries-when-changing-clocks-this-weekend-cpsc-also
- ↑ https://www.nfpa.org/Public-Education/By-topic/Fire-and-life-safety-equipment/Carbon-monoxide
- ↑ https://www.ncbi.nlm.nih.gov/pubmed/21536403
